Battle Royale
This week we were back to Saga: Age of Vikings. This battle was a little different in that we had three players, so went for one of the mass battle scenarios. Most scenarios in Saga assume just two players (and hence two warbands). Though there are some scenarios for three or four players, they tend to be simpler ‘meet and fight’ engagements. At least one does have a complicated mechanic for teams and changing sides, they are very gamy with no in-game reason.
The Battle Royale scenario is probably the simplest – it takes place on a double size table (120cm x 180cm), with randomly placed terrain and units. We had three warbands:
- Anglo-Saxons
- Irish
- Vikings
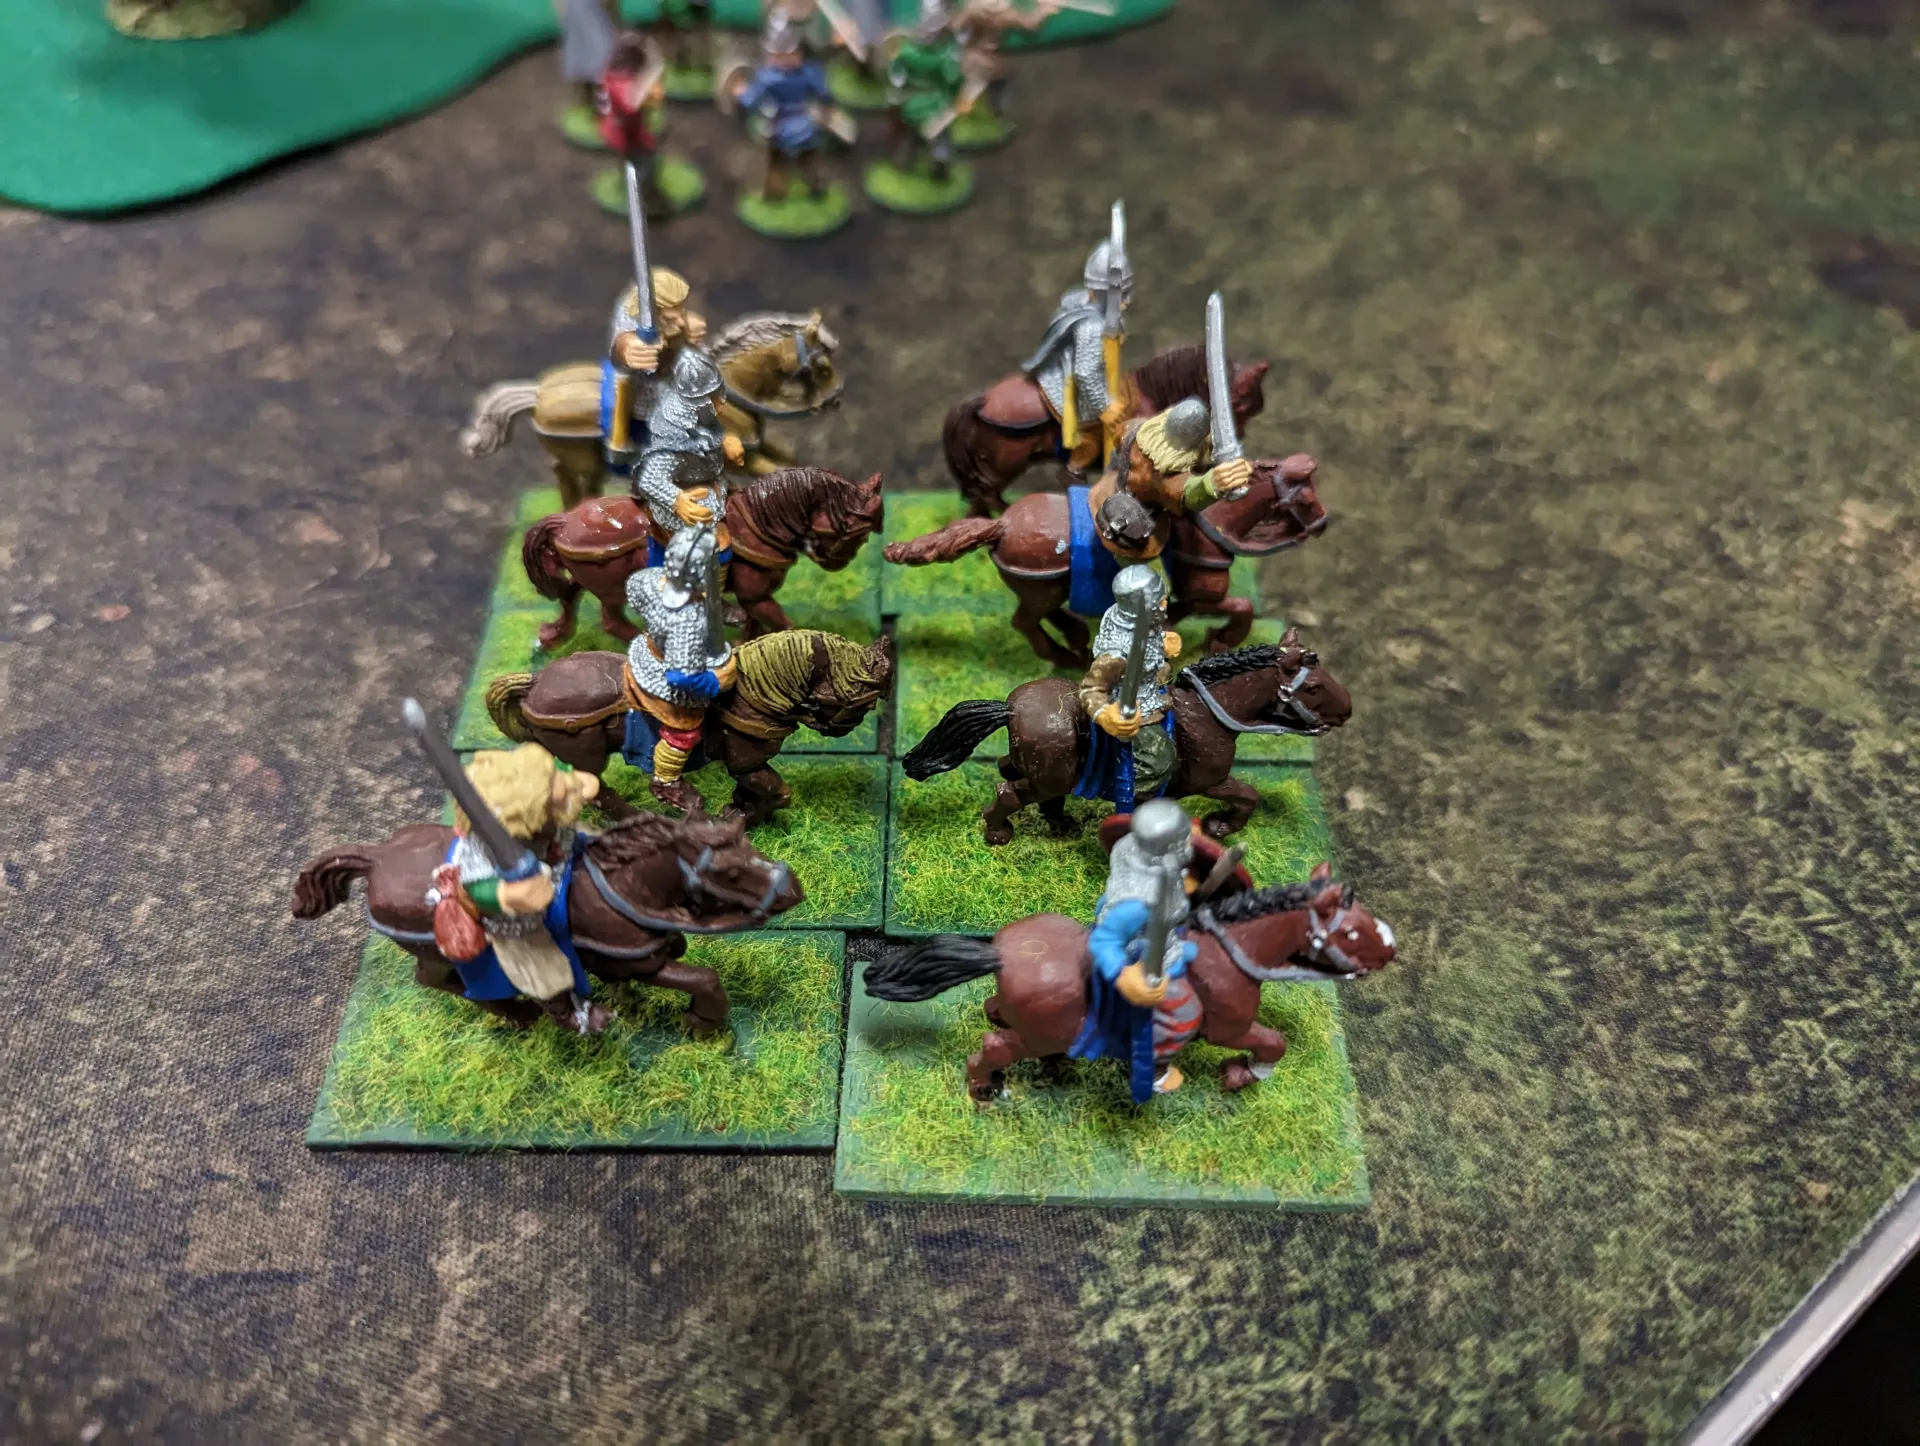
This was my first outing with the Anglo-Saxons, and I’d taken the leader Athelstan so that I could use more mounted units. The purpose of my Anglo-Saxons was actually to find a use for all my mounted dark ages figures. I have a lot (purchased a long time ago for other games), and so far I hadn’t had a use for them in Saga. The Anglo-Saxons are unusual in that they have a preference for large units, and their activations are based on unit size rather than the usual hearthguard/warrior/levee distinction.
The Irish warband took Brian Boruma as a warlord. This allowed each unit to have determination.
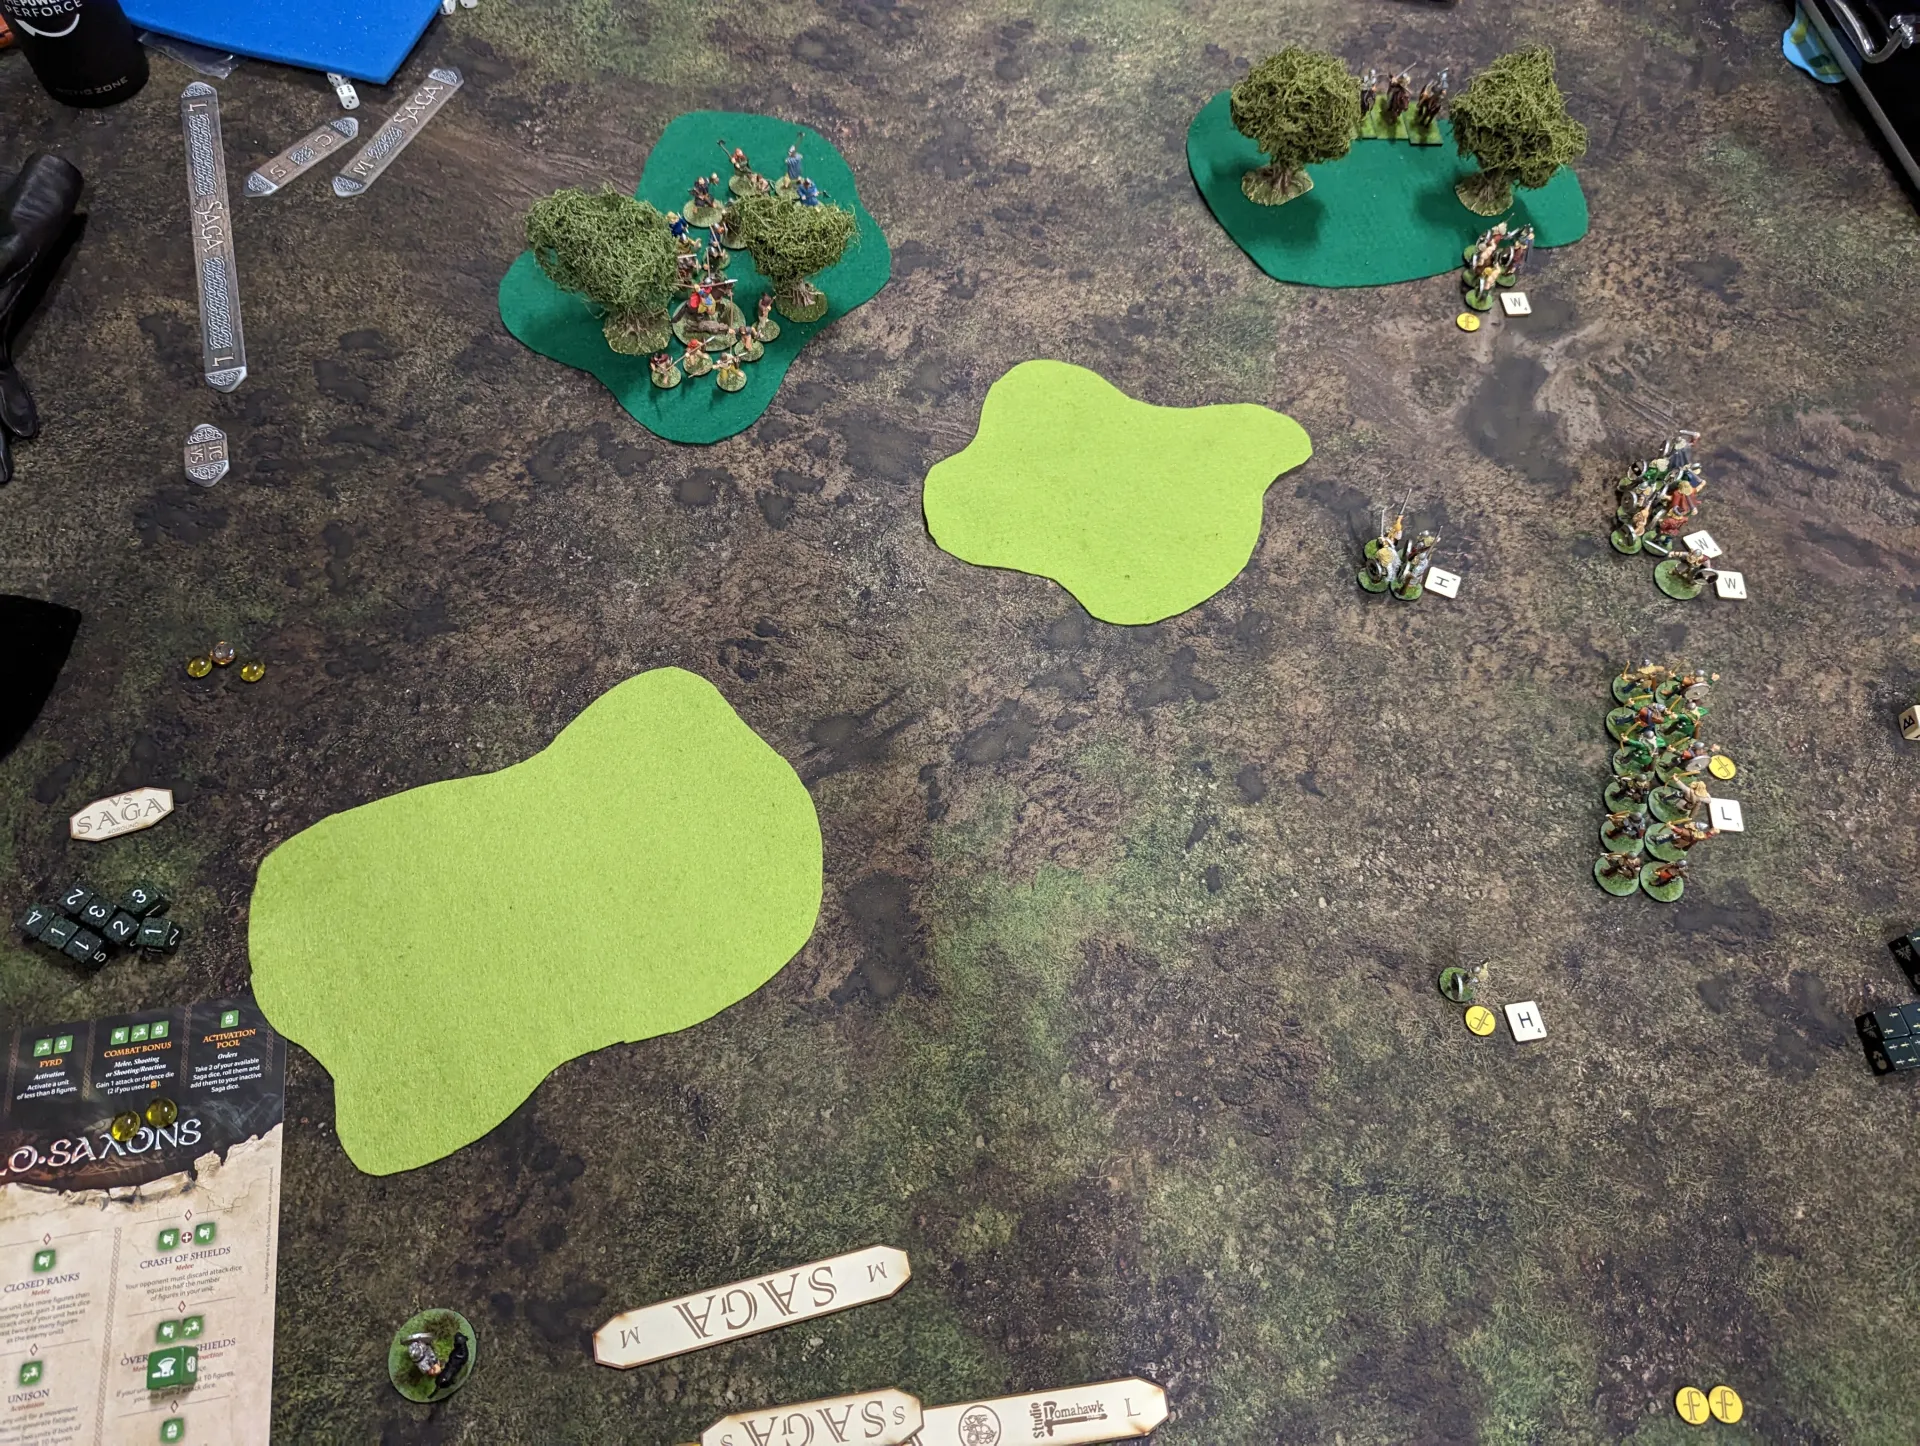
Initial step is terrain placement. Each player takes it in turns to place two pieces of terrain. With only three players, this meant there wasn’t really enough terrain for the entire table – one quarter of it was open ground. The Vikings placed across the centre, forming a shield wall that gave them a strong presence.
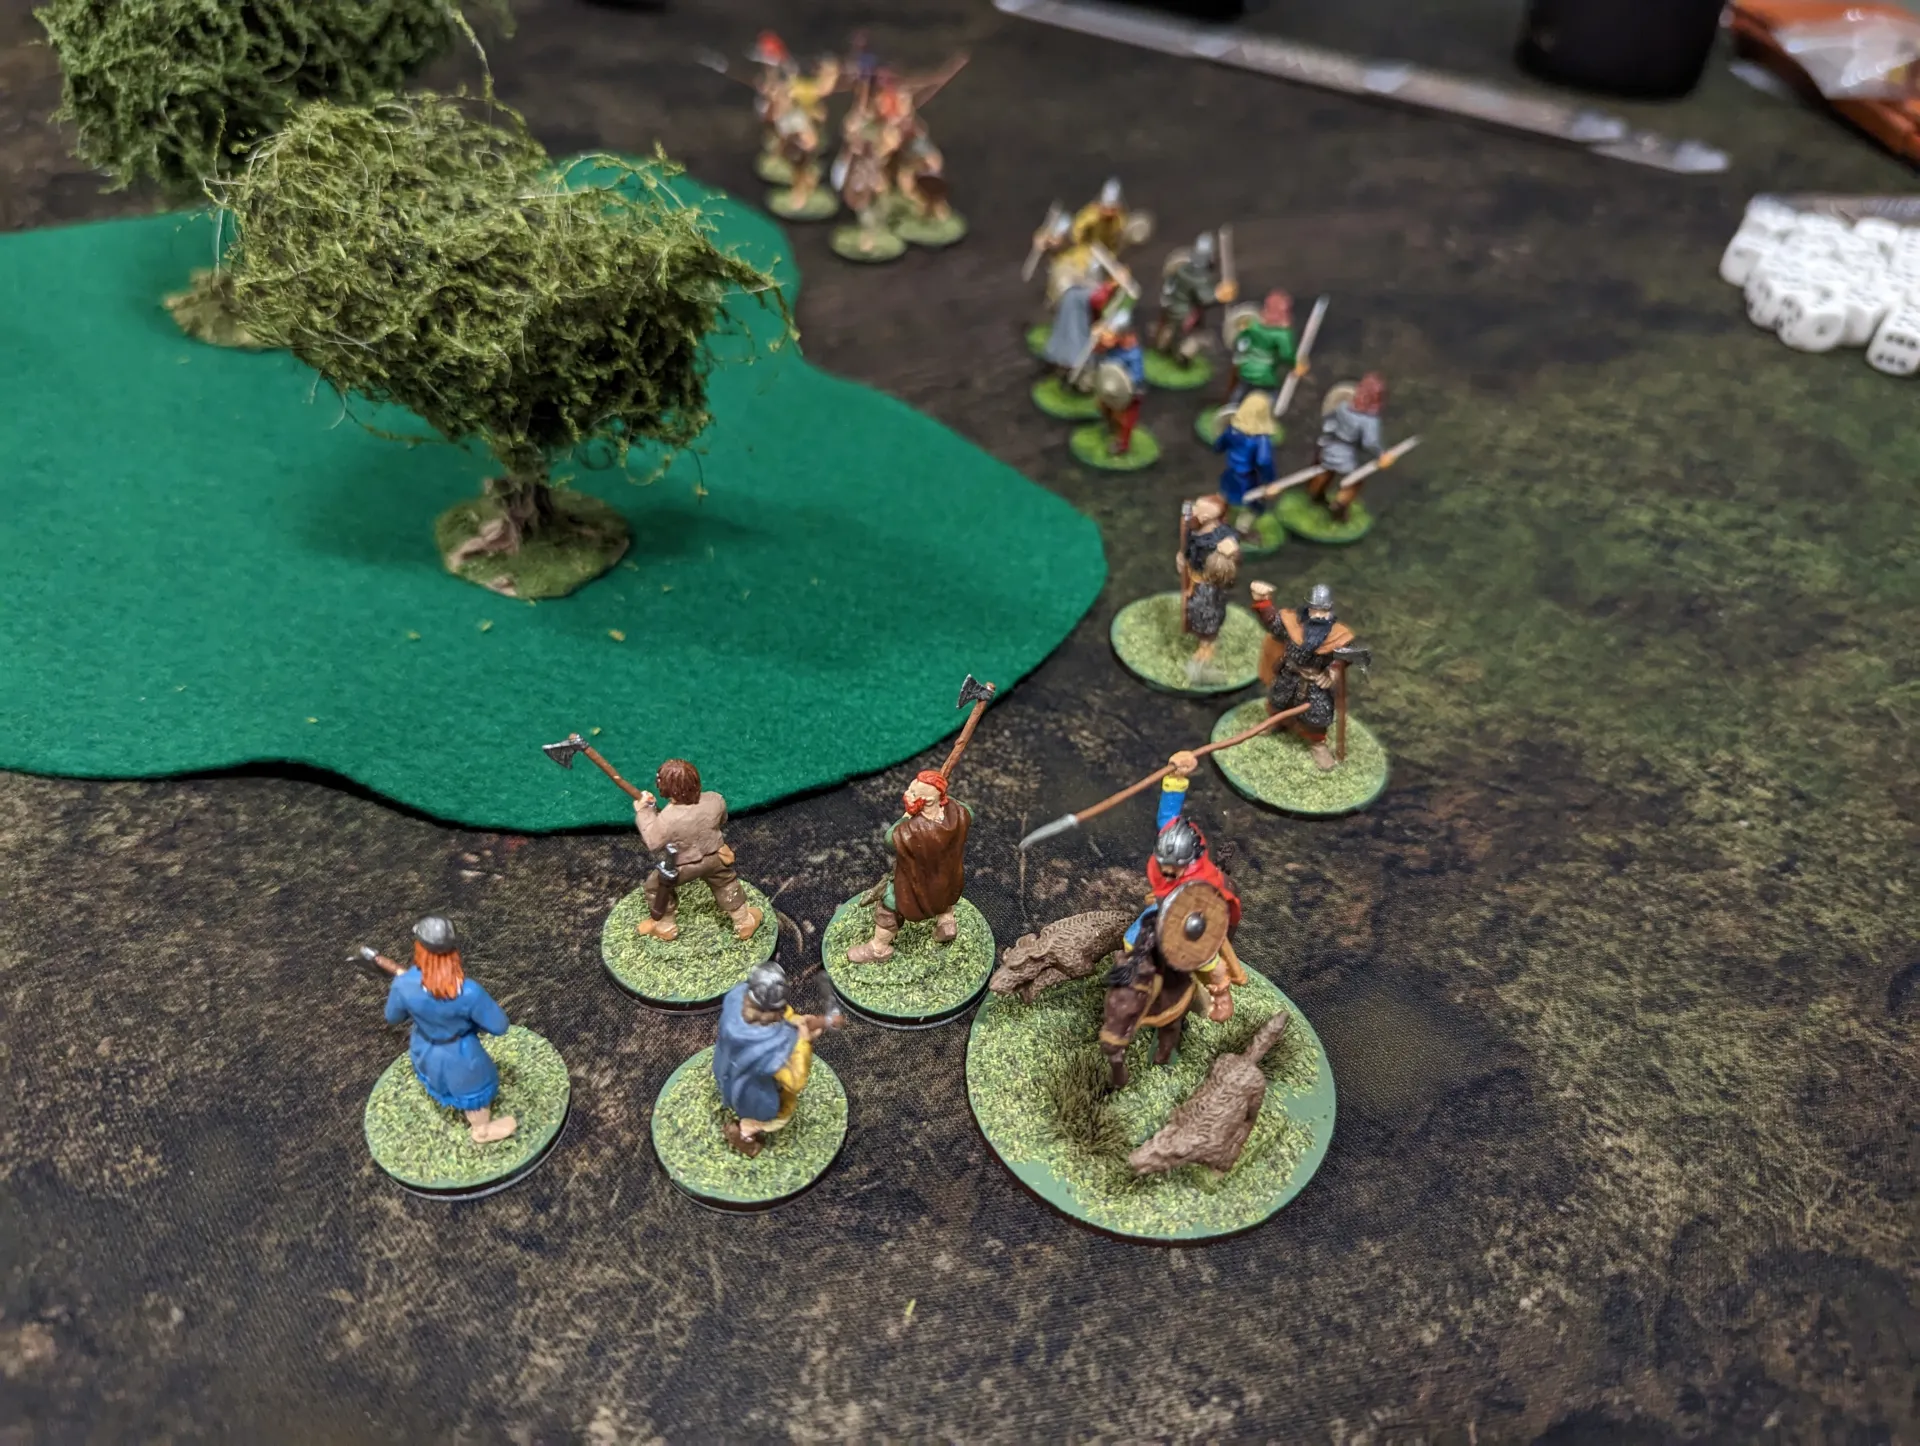
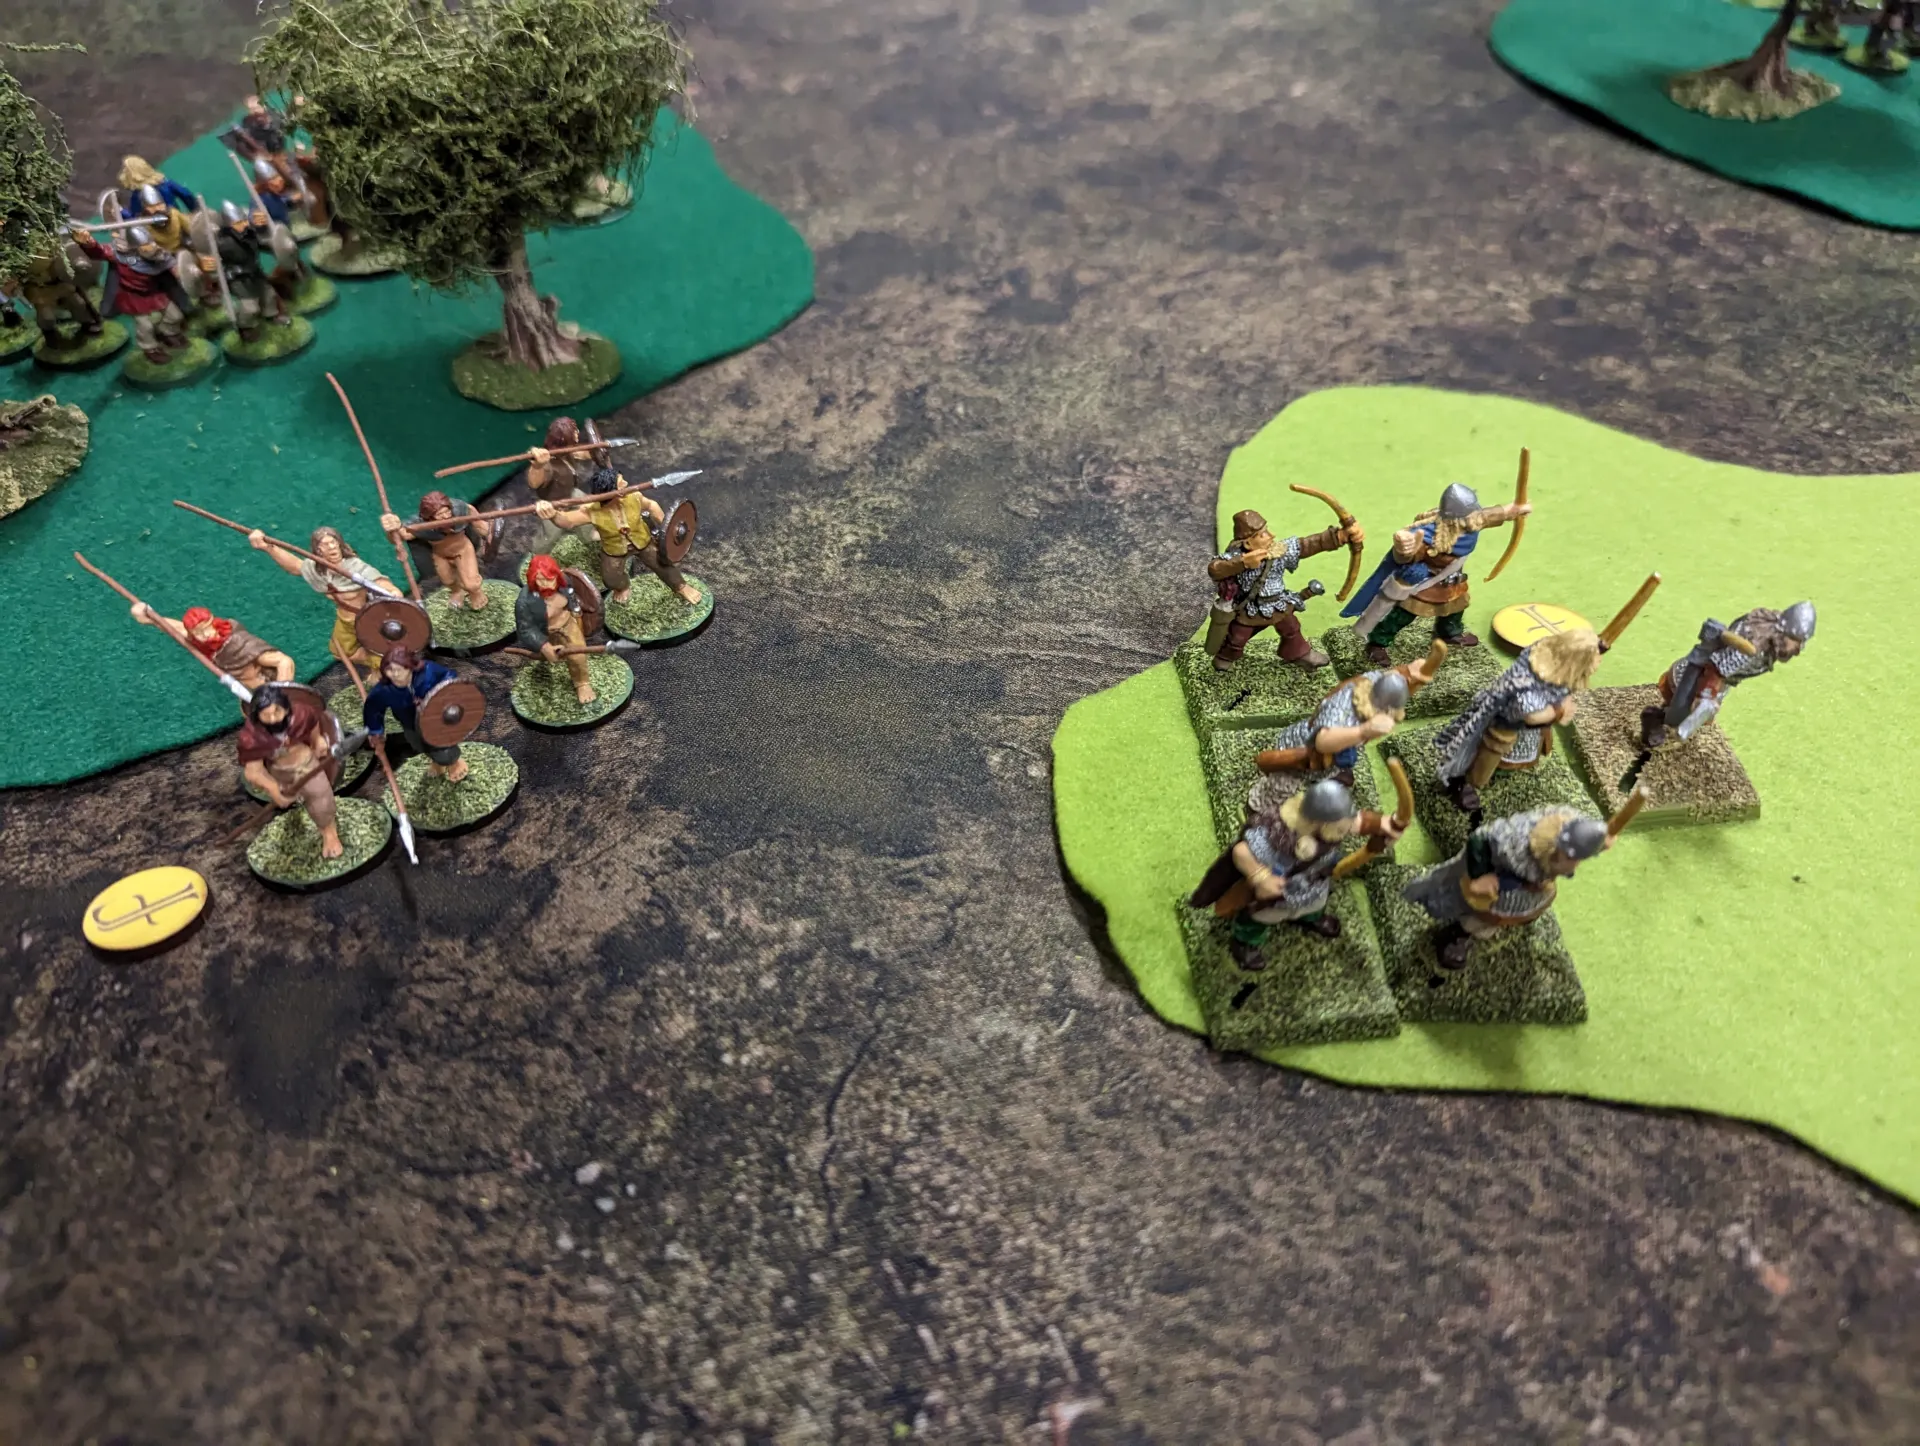
The Irish, as usual, chose to hide in the woods. Knowing the typical Irish tactics, I knew that a likely scenario would be for the Vikings and Anglo-Saxons to fight it out whilst the Irish stayed on the sidelines and pinged us with missile weapons. So I split my Anglo-Saxons to ensure that I could threaten the Irish as well as the Vikings.
The turn order for this scenario was interesting. Each player got 6 tokens, and after randomly determining who would go first, each player discards a token at the end of their turn. They then select a player who has more tokens than them to go next. If nobody has more tokens, then they can select anyone.
This means that the order of turns isn’t a simple A -> B -> C -> A -> B -> C. Player C can select player B or A to go after them. With four players it’s going to be more varied. It allows some tactical decisions about the turn order.
I went first, and started with the usual 3 Saga dice for being first. However, I’m not certain that this is right for a mass battle game, because it left me with a massive early disadvantage. The scenario rules don’t say that there is a dice limit, but they also don’t say that there isn’t – only that nobody can shoot or change during their first turn.
The basic scenario in the main book lists this as a rule, and we assumed that it was something that applied for all games. But a careful reading of different scenarios post-game, seems to suggest that some scenarios mention this, some don’t, and some have other ways of restricting the first player. So I think this was a mistake and I should have got my full set of Saga dice.

So I ended up with one unit of warriors facing off against a whole shield wall of Vikings. They moved into within charge range, then the Irish hid in the woods and then it was the Vikings again. Their berserkers charged me, which was not unexpected. They sacrificed a figure to Valhalla to get bonus attack dice, and killed six of my mounted warriors. However, all the berserkers were killed. Which meant I technically won.
This allowed a second unit of Viking hearthguard to charge in, finishing off my unit.
My Hearthguards I moved into the woods to take on the Irish hiding there, and managed to wipe out a unit of warriors, but doing this had meant I’d taken casualties from Sons of Dana and general javelin attacks. Positioning my archers on a hill, I was able to shoot down into another woods, taking out a few Irish hiding there. The Irish responded by coming out and taking out my archers.
The Anglo-Saxons, split across multiple fronts, were taking heavy casualties. With fewer units, and fewer Saga dice, my options were often limited. My warlord Athelstan, with only an aggression of 2, wasn’t really someone I could throw into combat.
Eventually, some of the Irish I’d driven out of the woods were attacked and destroyed by the Vikings. My final unit of Hearthguards I made a last ditch attempt to bring them around to the main concentration of Irish, to attack and hurt them, but they used Heirs of Mil to hide and stop me charging them.
The final victory was going to go to either the Irish or the Vikings. For this scenario, we got points for those who had survived, but also got bonus points for every charge that had been made. The Anglo-Saxons had almost nothing left, so wasn’t even in the running. The Irish had taken the fewest casualties, but also hadn’t made any charges.
Final victory points were 21 for the Irish and 22 for the Vikings. The Anglo-Saxons were somewhere in single digits.
With three six point armies and six turns, we just about managed to finish the game before we needed to pack up. I think it went reasonably well, though there weren’t any real objectives other than to kill the enemy. With three players, it did allow one warband to basically avoid most of the combat. Four players may have worked better, and would also have given us more terrain.
Being used to playing Vikings, I do need to work out the Anglo-Saxon tactics a bit more. I barely got to use any of their advanced abilities, and I think I made a few mistakes (such as the starting dice) which weren’t in their favour. I’d like to mix a mass battle game with one of the capture-the-objectives (sheep or loot) scenarios, so I need to think how best to do that.
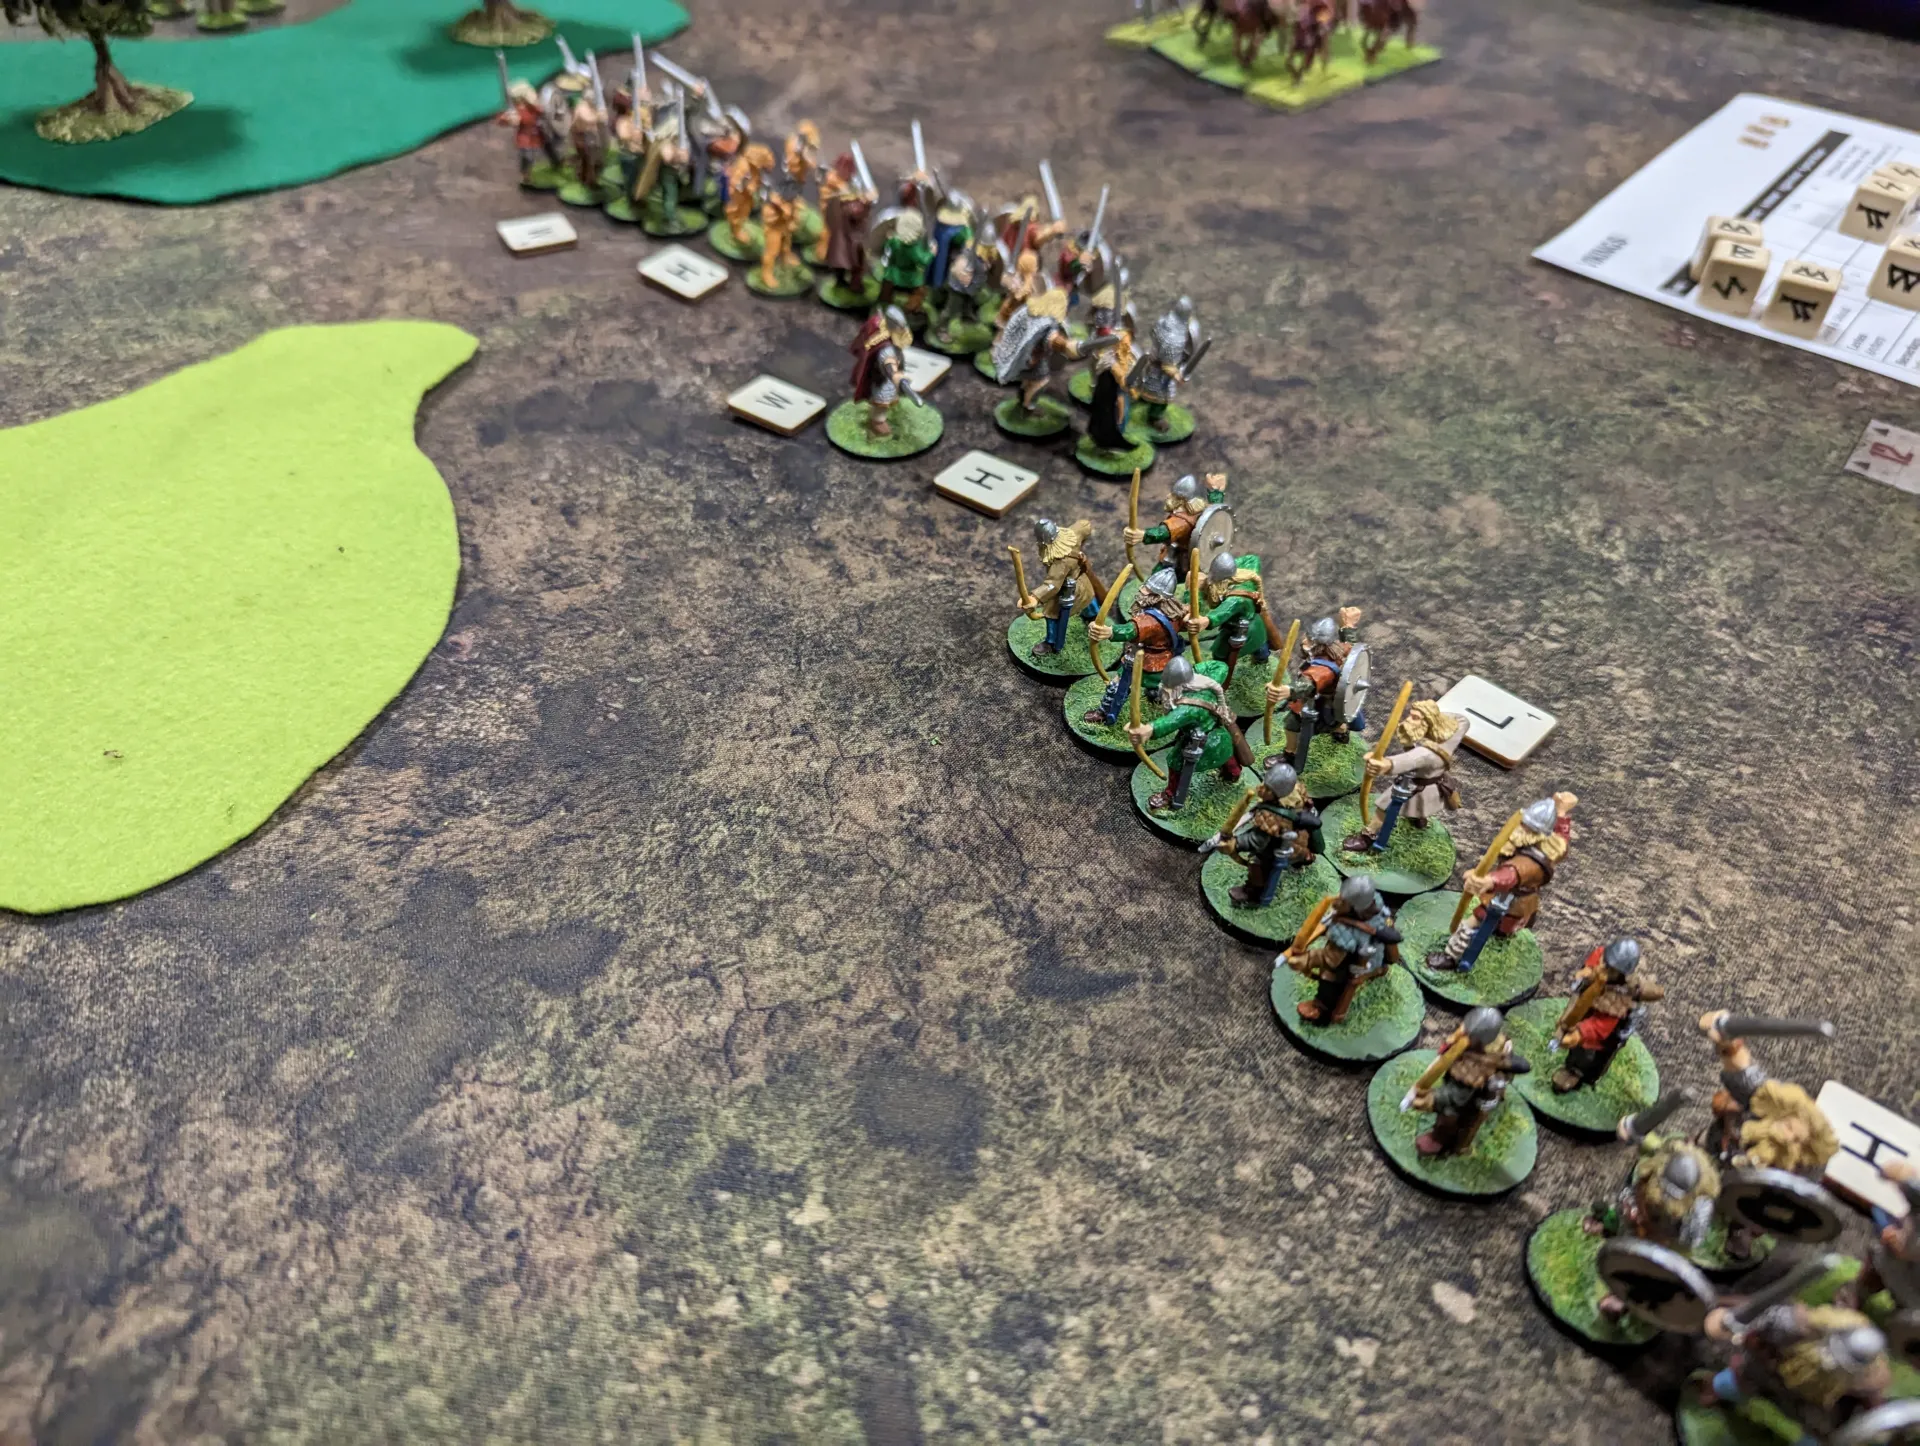
The little H, W and L tokens on the table were the idea of the Viking player, who was new to the game. They helped denote what the unit types were (Hearthguard, Warrior or Levee). Useful if you don’t know the warband well enough to be able to remember which is which.