Stargrunt
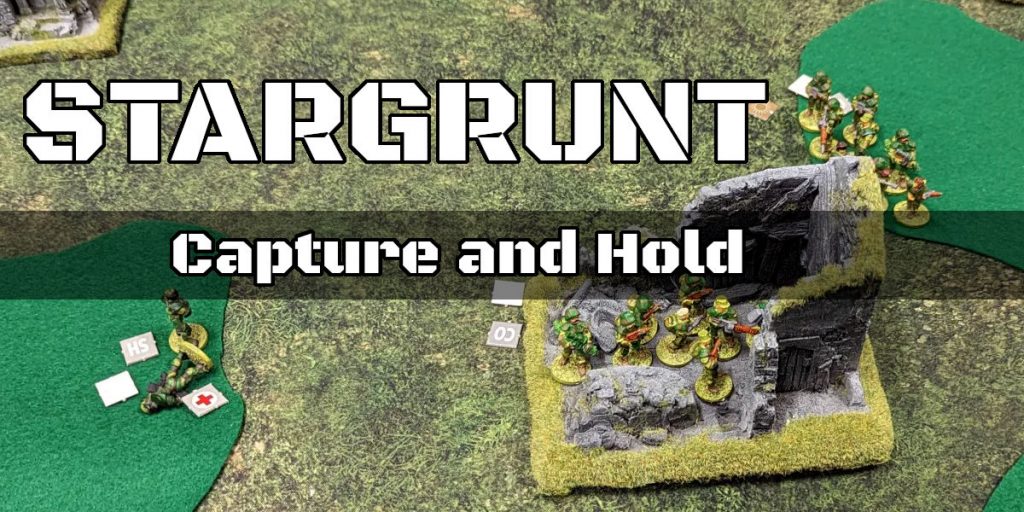
This Friday’s game at Farnborough Wargaming was another round of Stargrunt II. I went for a relatively simple scenario – five objectives which needed to be captured in a heavily wooded area. The two sides should have been balanced – five infantry squads of FSE (Federal Stats Europa), versus four infantry squads of NSL (Neu Swabian League) plus a power armour squad. FSE squads are eight troops, NSL squads have six. I actually noticed that the back of the Stargrunt book gives stats for the four main armies, so I used those.
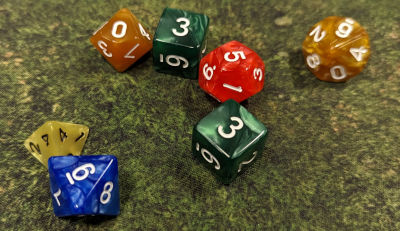
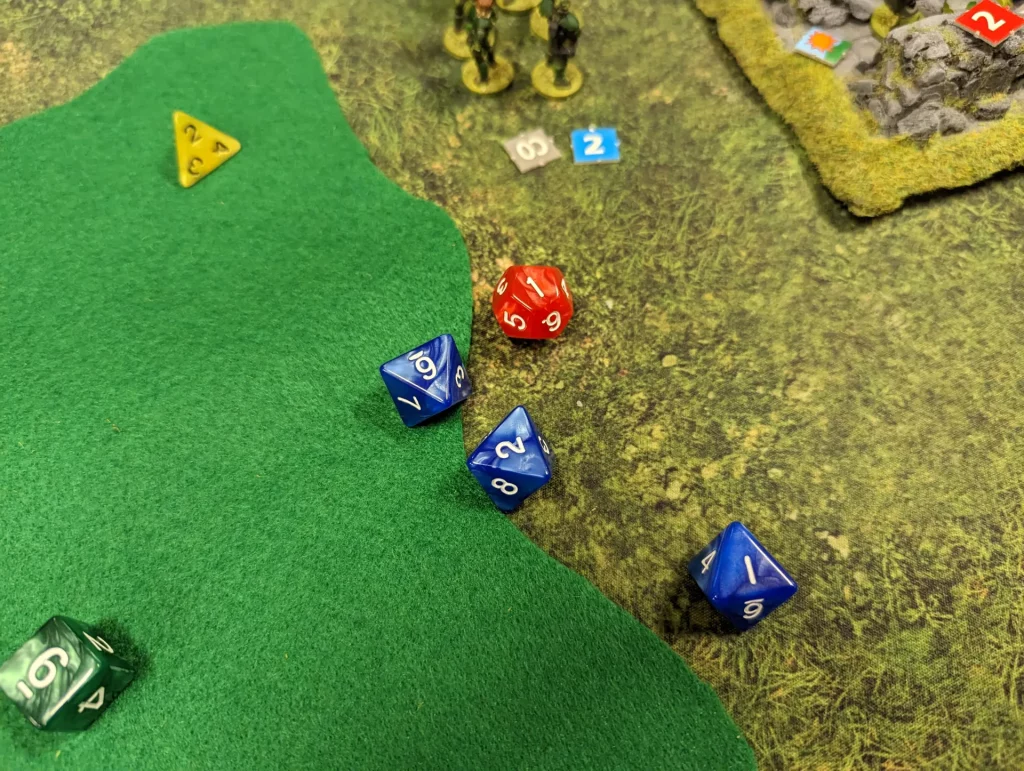
It was also a chance to use the dice I had specifically purchased for use with Stargrunt and Dirtside. They are coloured according to the unit quality colours. So a yellow ‘untrained’ unit uses a D4, a green ‘green’ unit uses a D6, a blue ‘regular’ unit uses a D8 etc.
I bought four sets, thinking that two sets would be plenty for each player, but I turned out to be wrong there. But I think it definitely helped in selecting which die type needed to be rolled.
I chose the TDSO Pearl dice from the Dice Shop, since they seemed to provide the right colours for each die type, which were also readable across all colours.
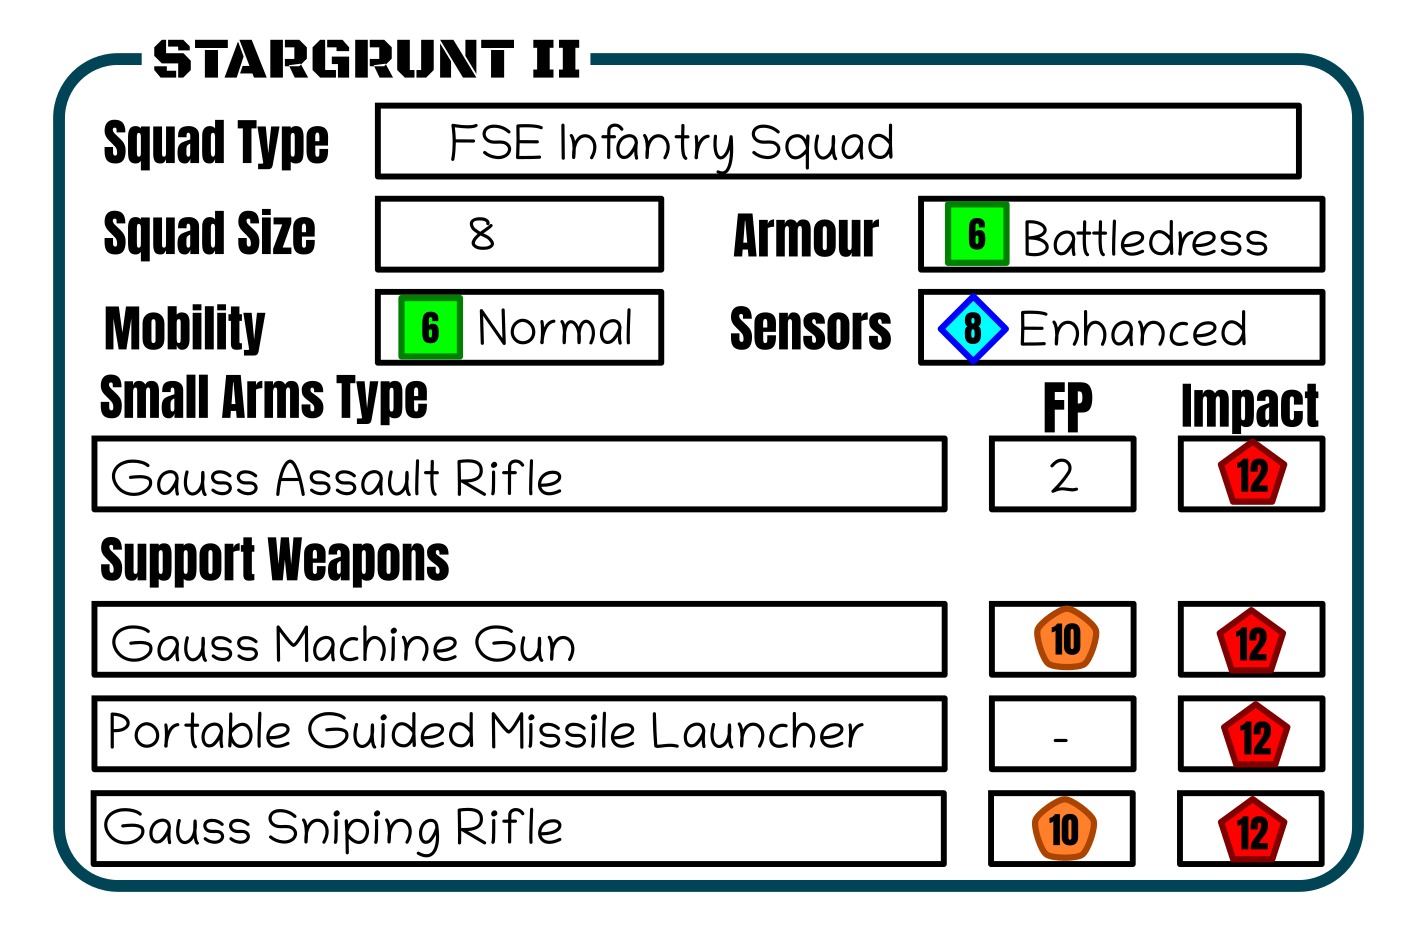
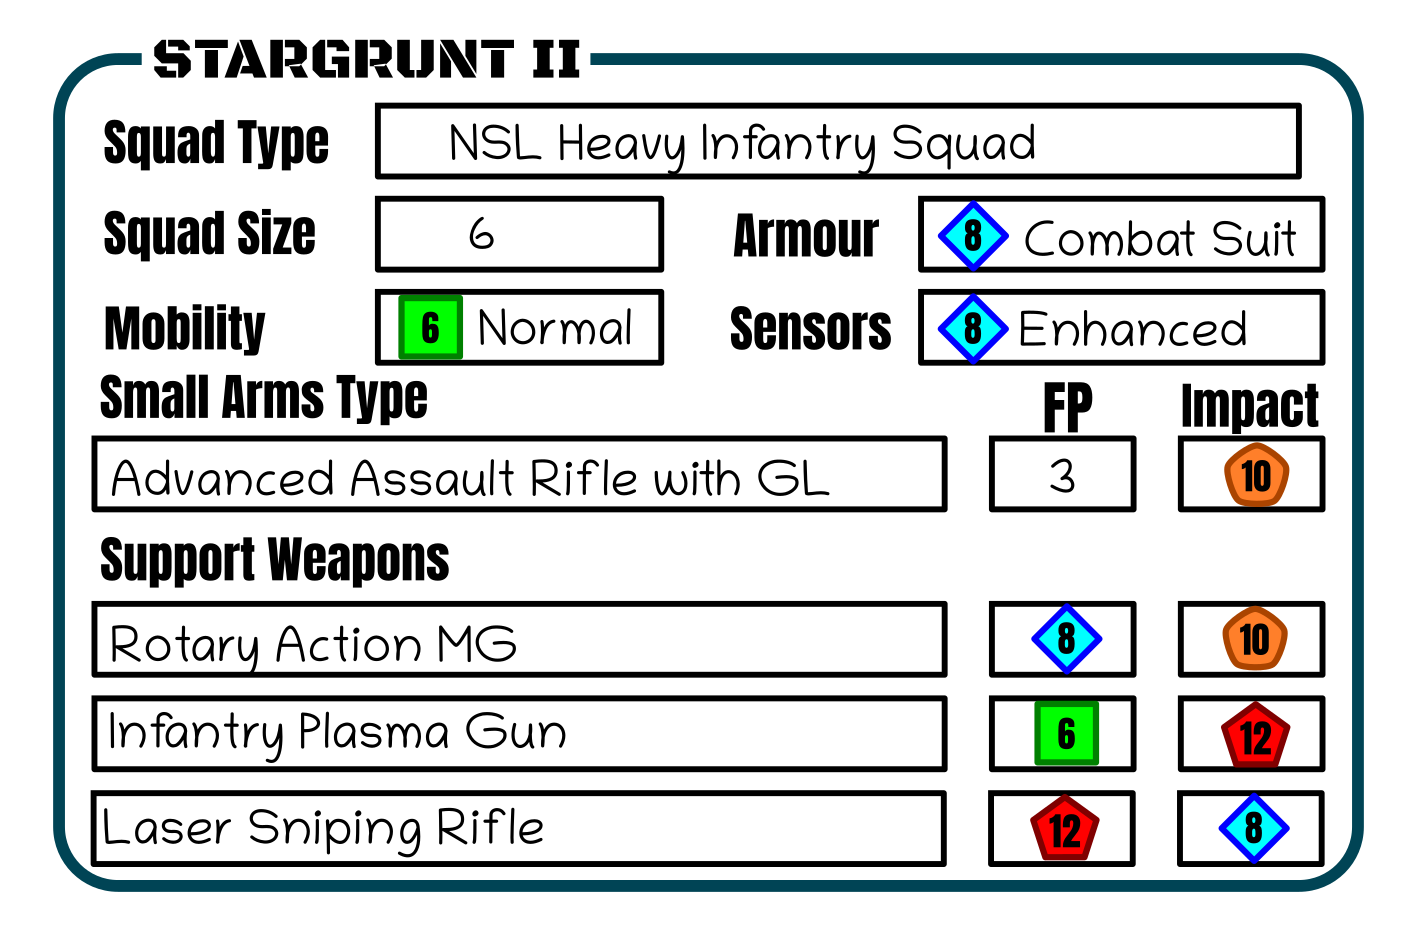
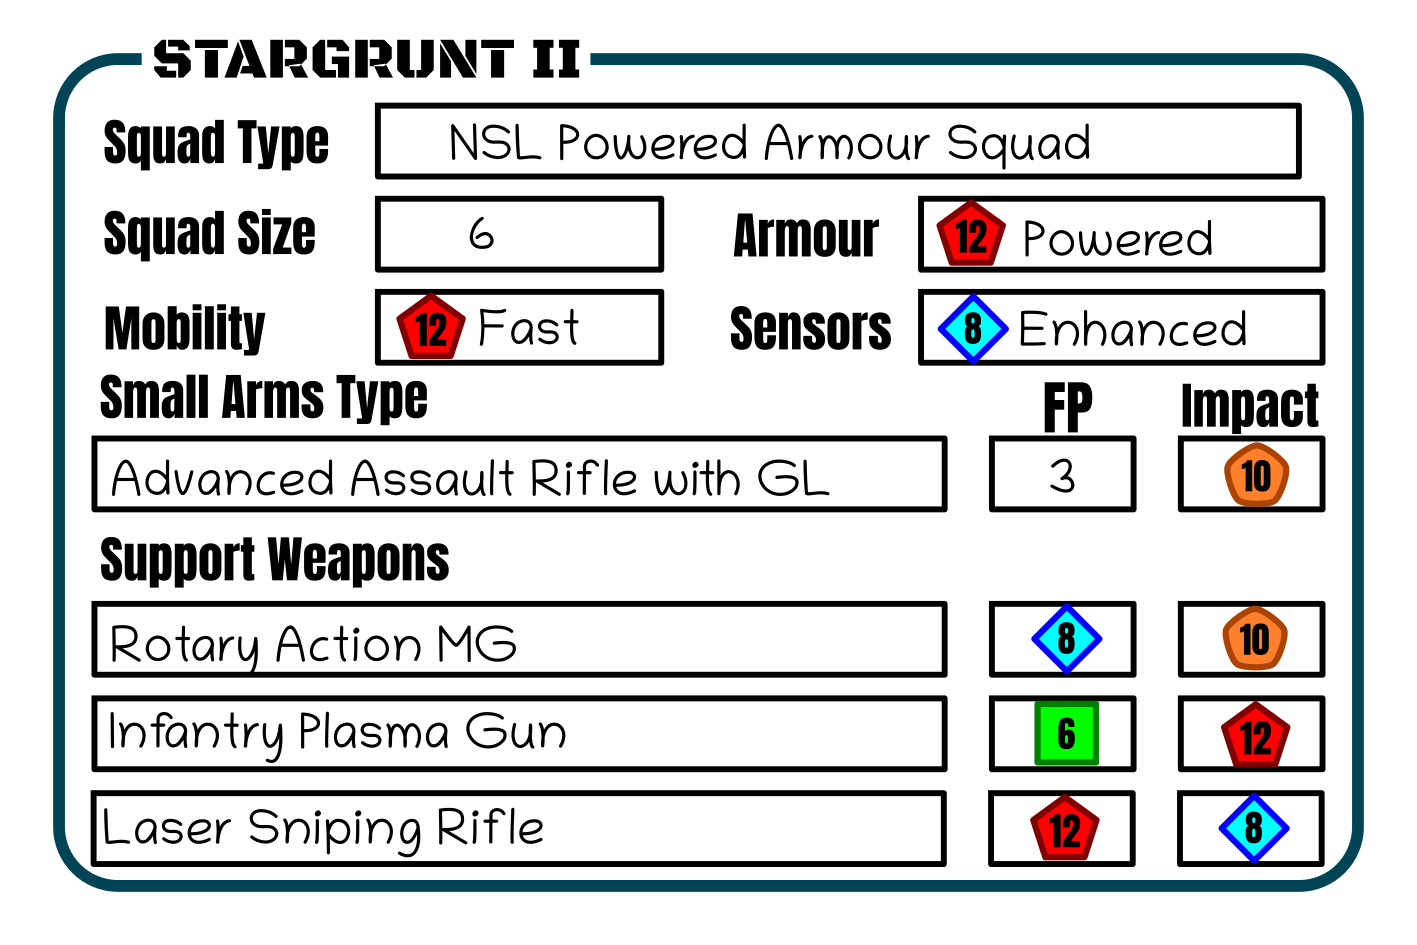
I also printed out some statistic cards for the units, so we didn’t have to keep on referring back to the rules. I tried to include the most likely weapons that would be used for each squad. There were actually quite a selection of weapon types, and I didn’t include things like shotguns and flamethrowers (which have their own special rules). Again though, I think it was useful and helped make the game run a bit smoother.
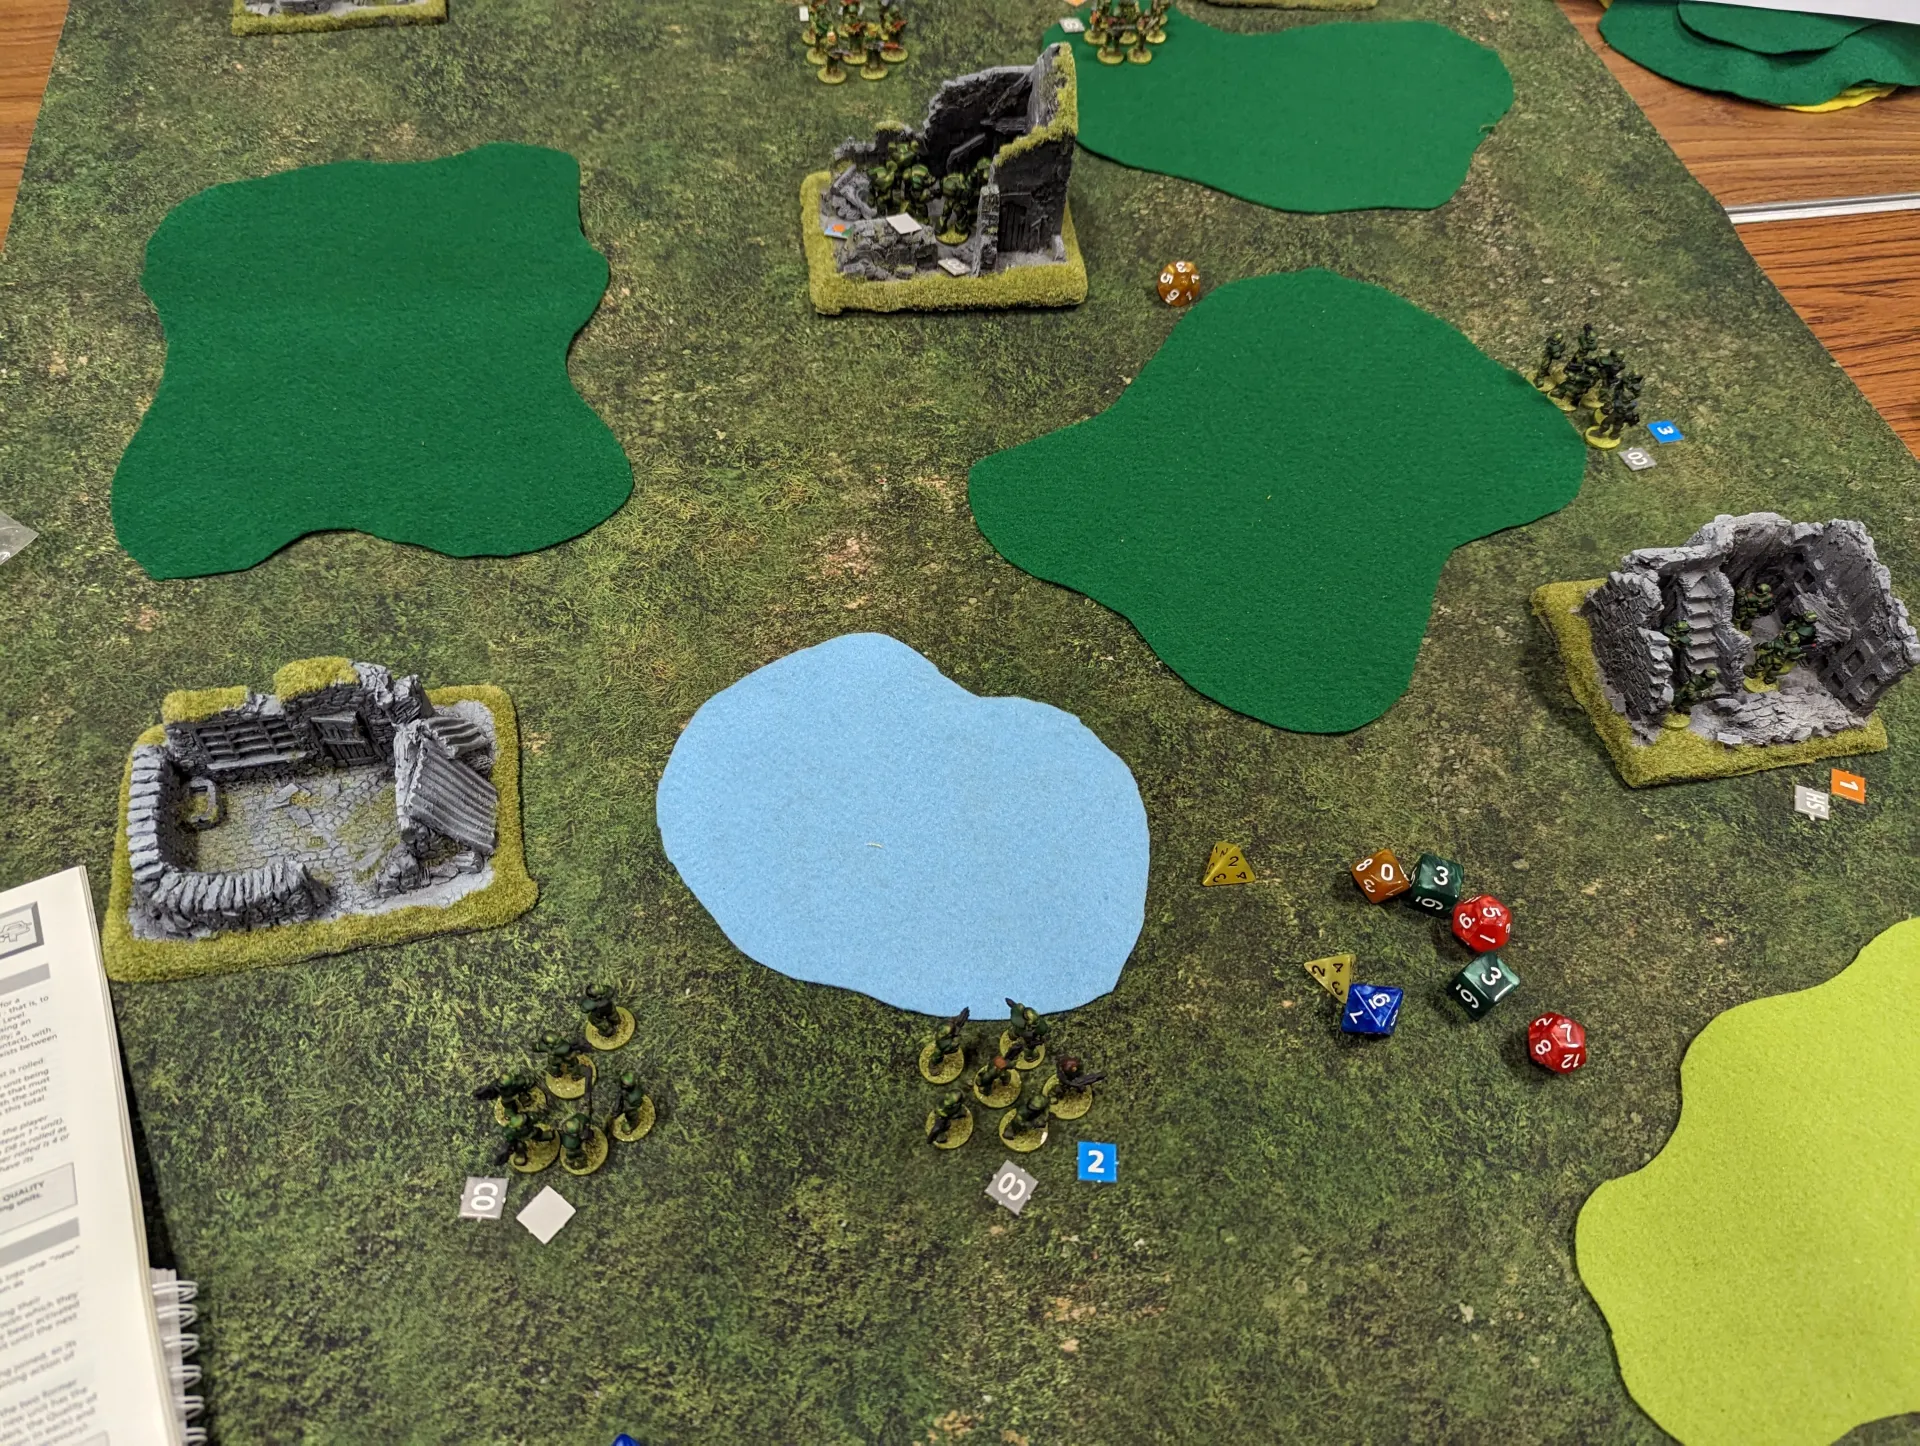
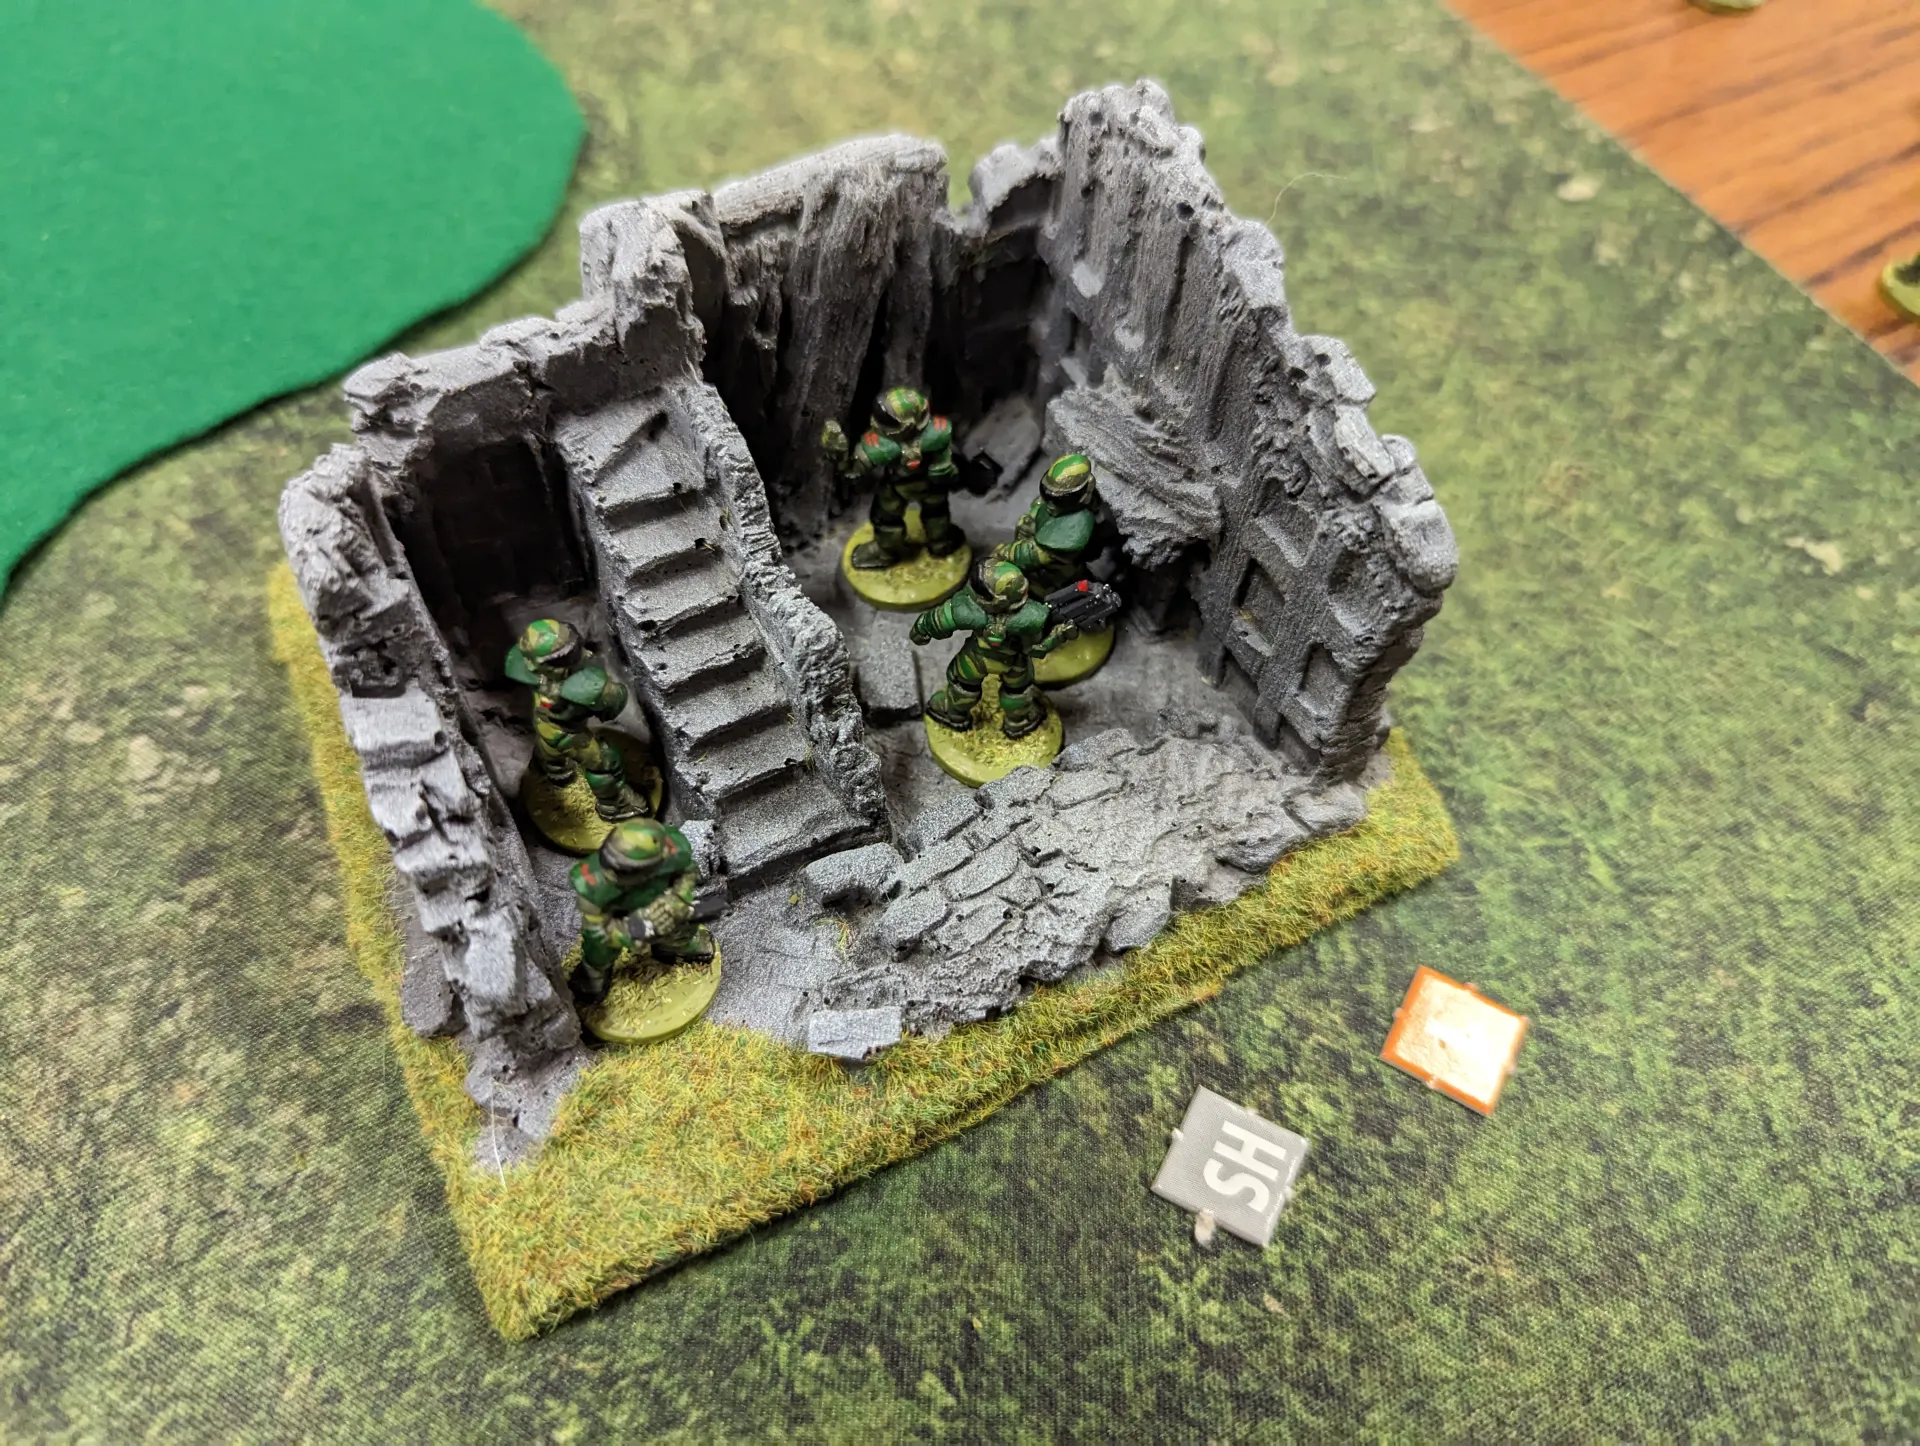
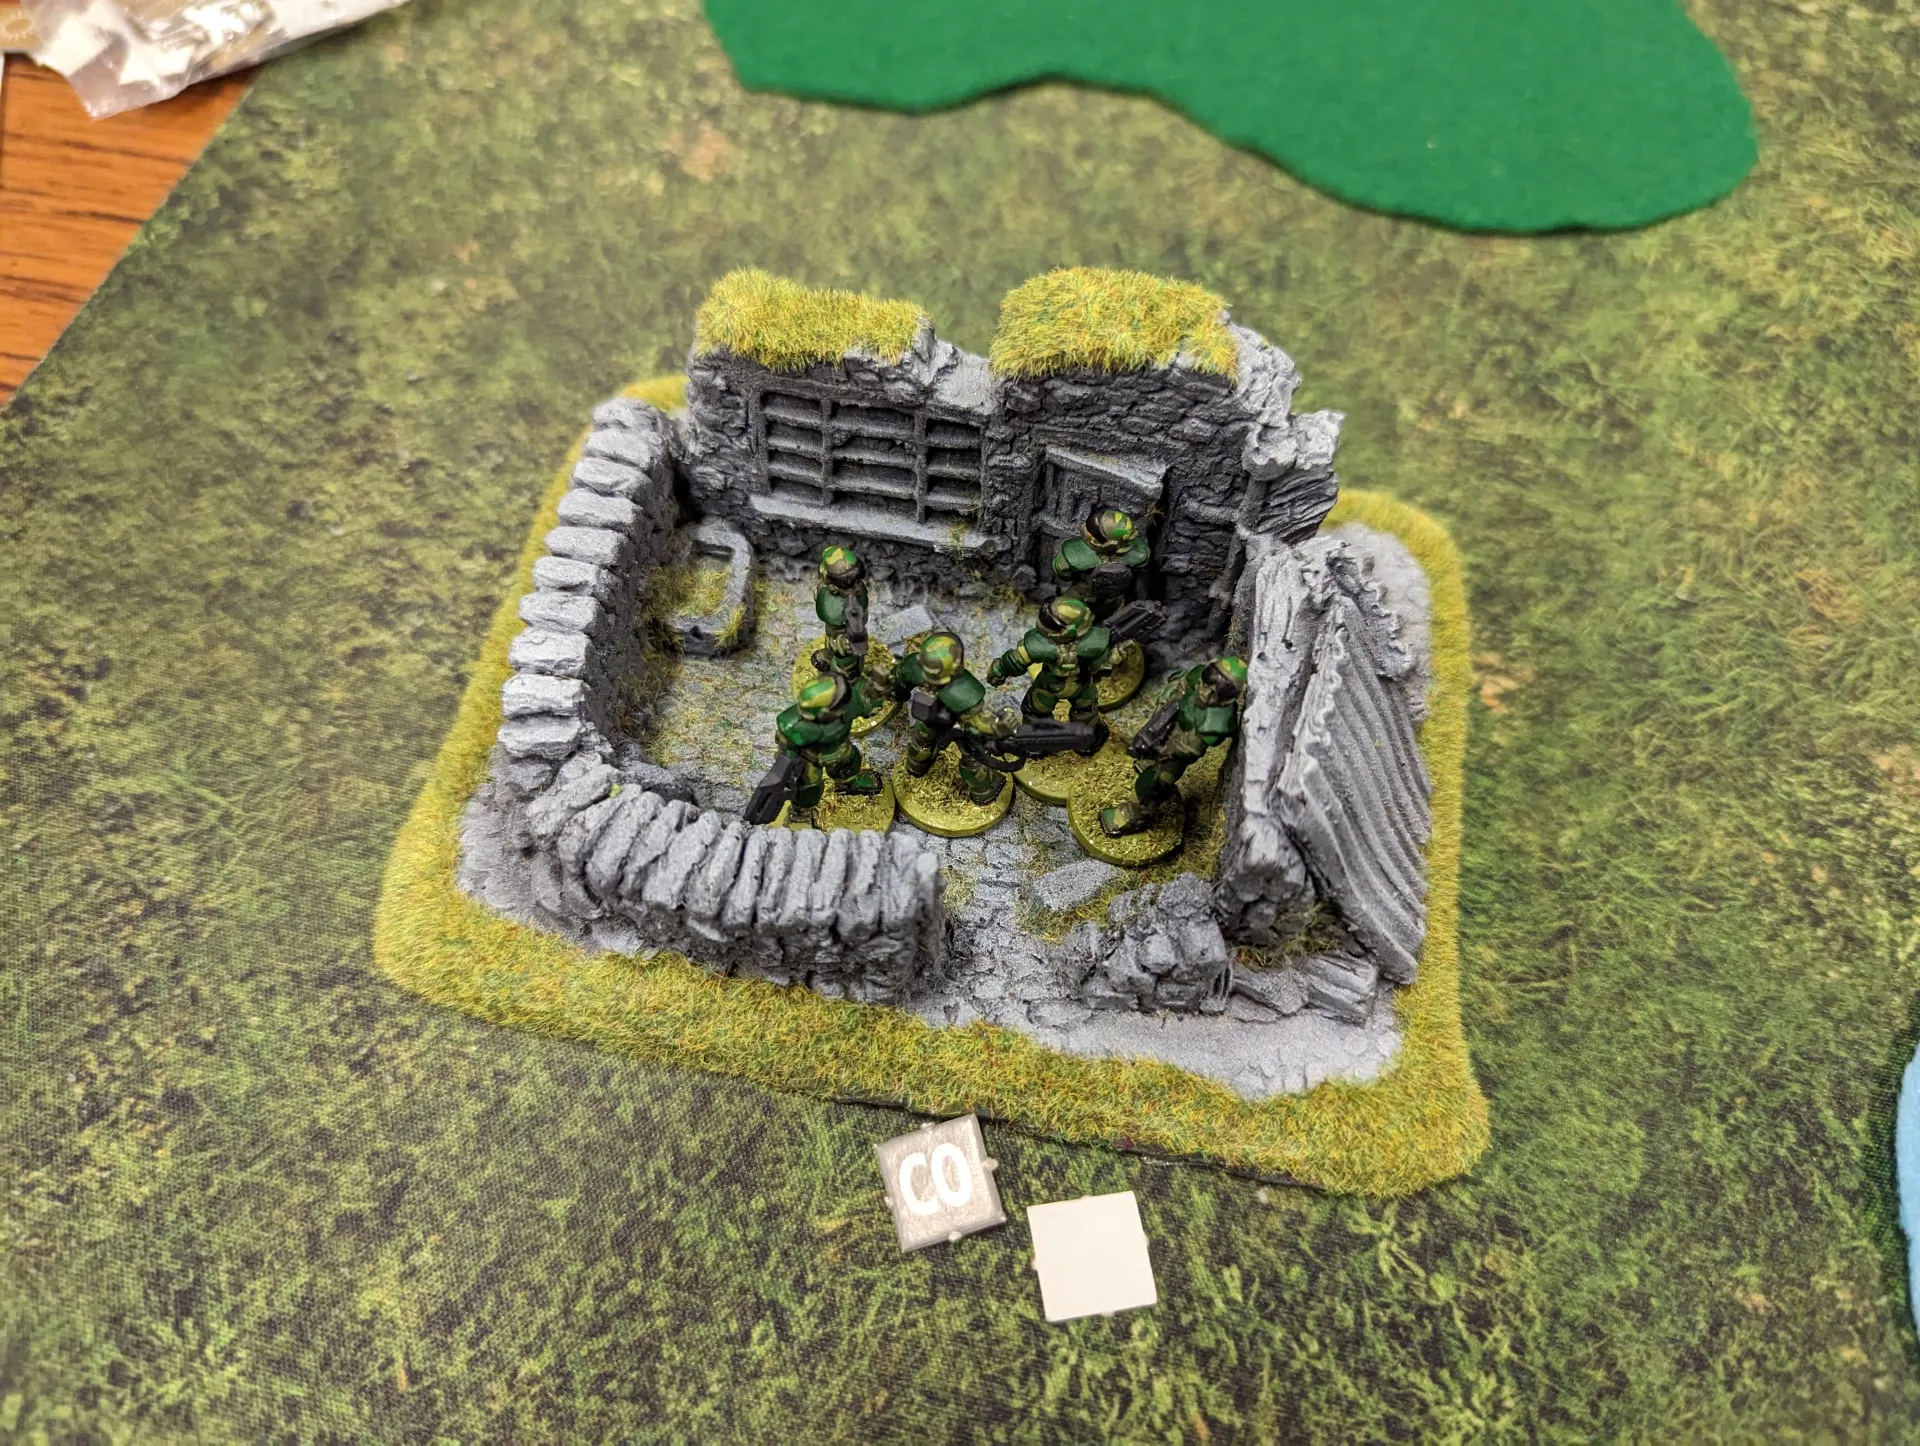
The terrain layout was pretty straightforward. I placed five ruins on the table, each representing a cluster of buildings that were the objectives. Two in each player’s half of the table, and one in the centre of the table. In hindsight, it may have been better to have more in the middle since it mostly turned into a fight over just the single middle objective.
After placing the objectives, we each put down three pieces of terrain – either woods (dark green), hills (light green) or lakes (blue). I had wanted to ensure that there wasn’t a big area open to long range fire in the middle of the table, but ended up leaving good line of sight from the FSE side to the central objective. This turned out to be a contributing factor to FSE victory.
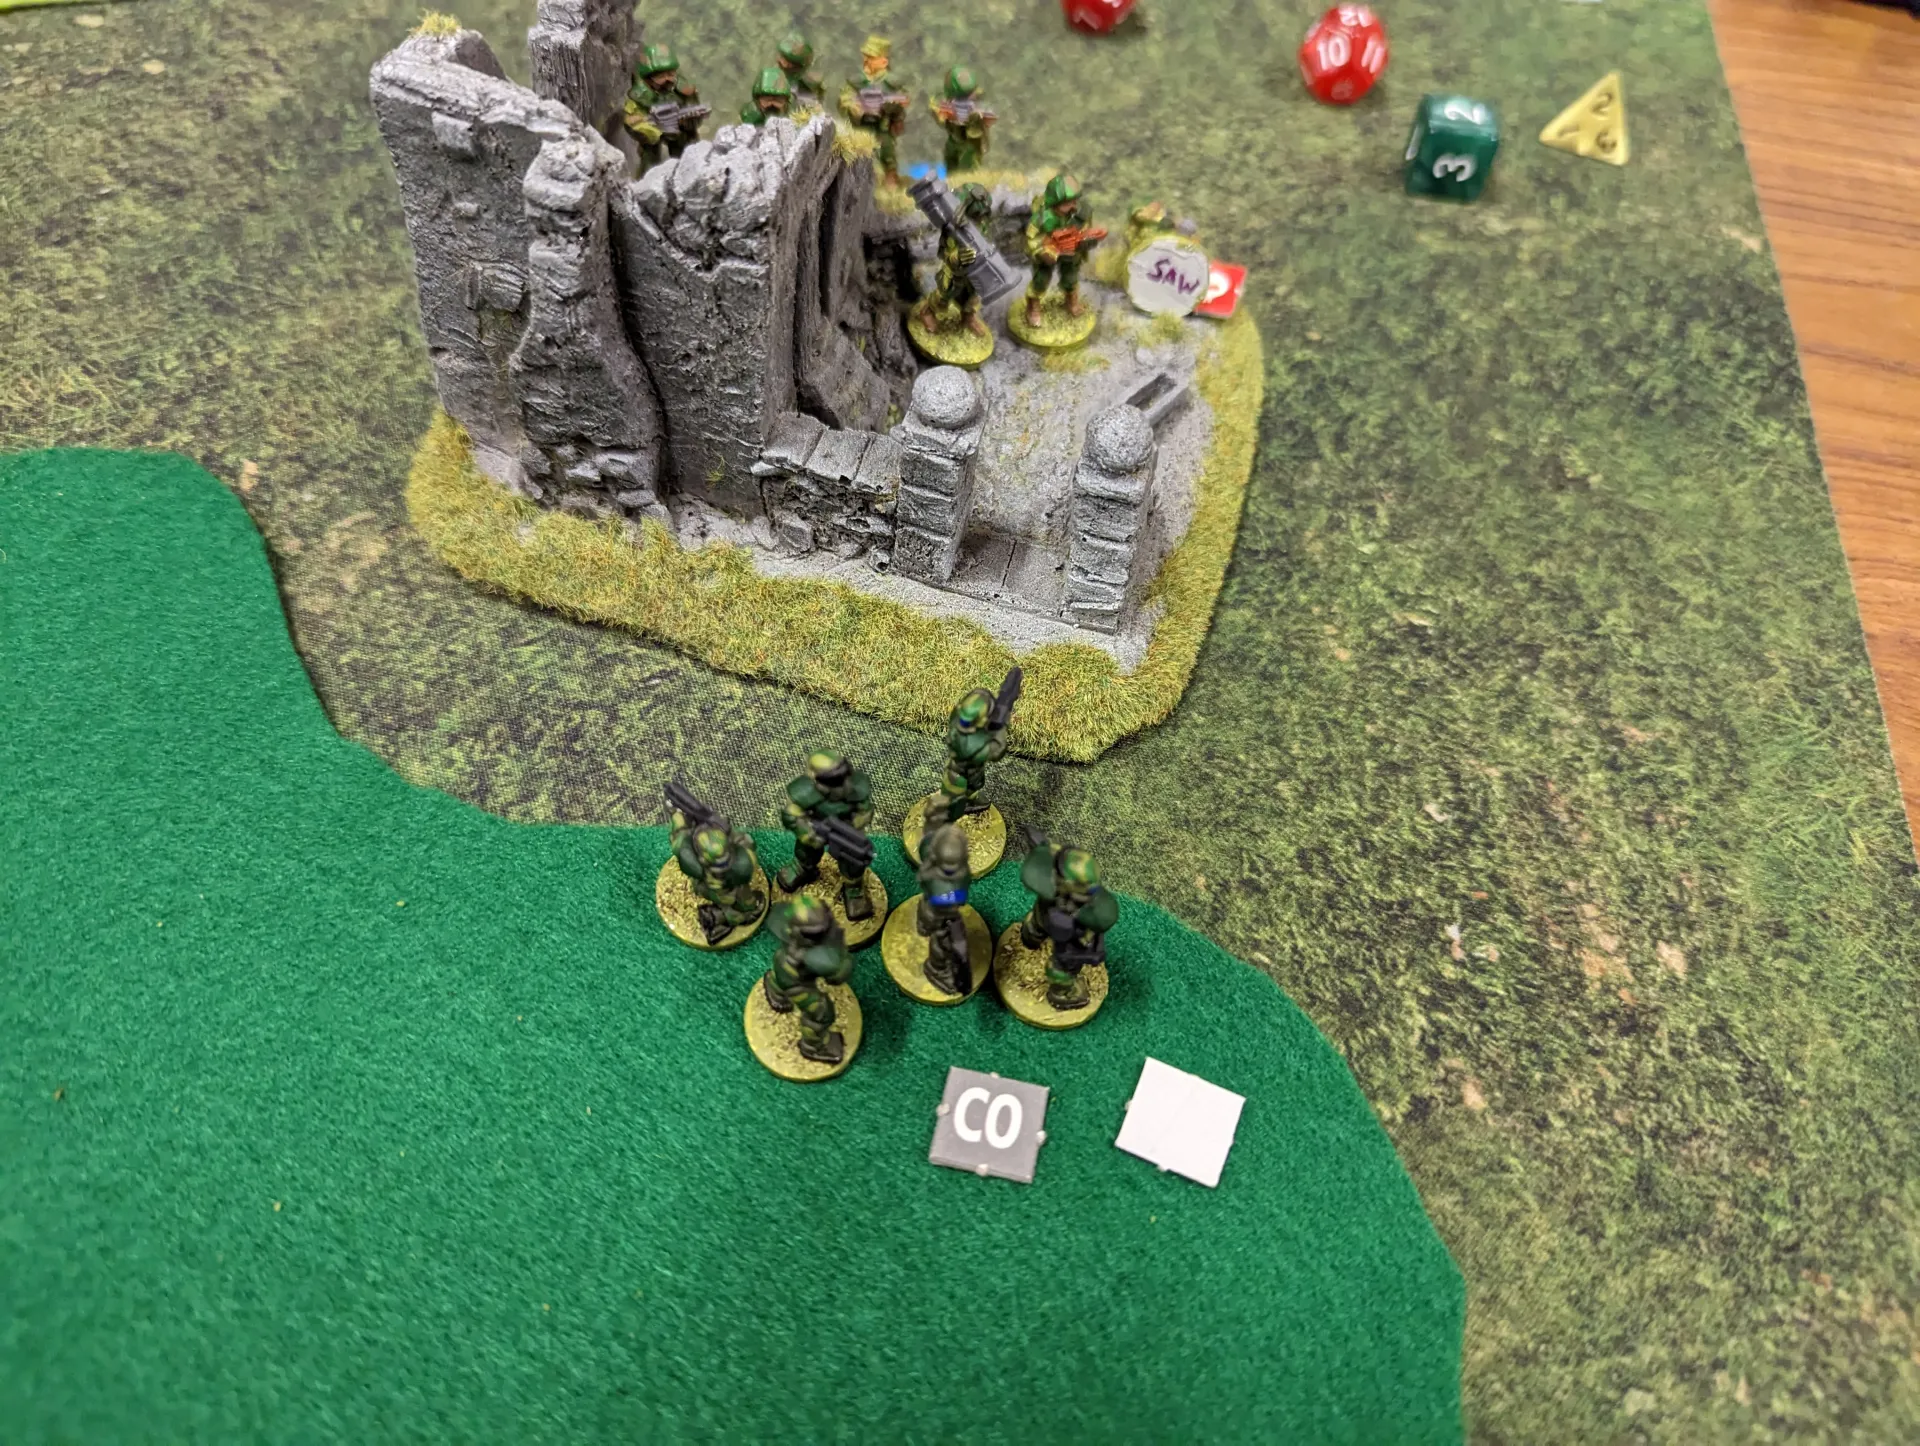
The FSE took up position in the north (top of the map), with the NSL (me) taking up position in the south.
The game opened with the FSE choosing to fire a GMS/P (personal guided missile system) at my NSL command squad on the southern hill. Which immediately brought a halt to everything since I had no idea how that worked. Can a GMS/P fire at infantry? The rules were unclear, but we ended up assuming there was no ECM for the infantry unit (I really should have taken an ECW specialist figure), and that it would act like artillery and have D8 penetration. There was a single instant kill, so I was already down one person.
Next up, a NSL infantry squad moved up from the SW to the lake, and their sniper took a shot at the FSE command unit on their hill. I completely failed to hit anything, but a sniper always causes at least a suppression result.
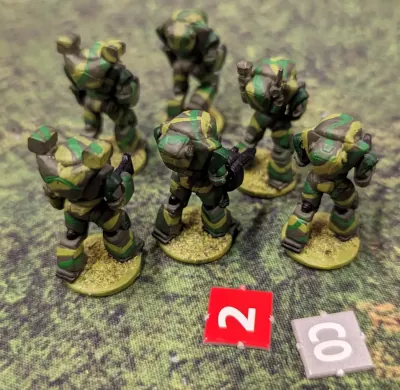
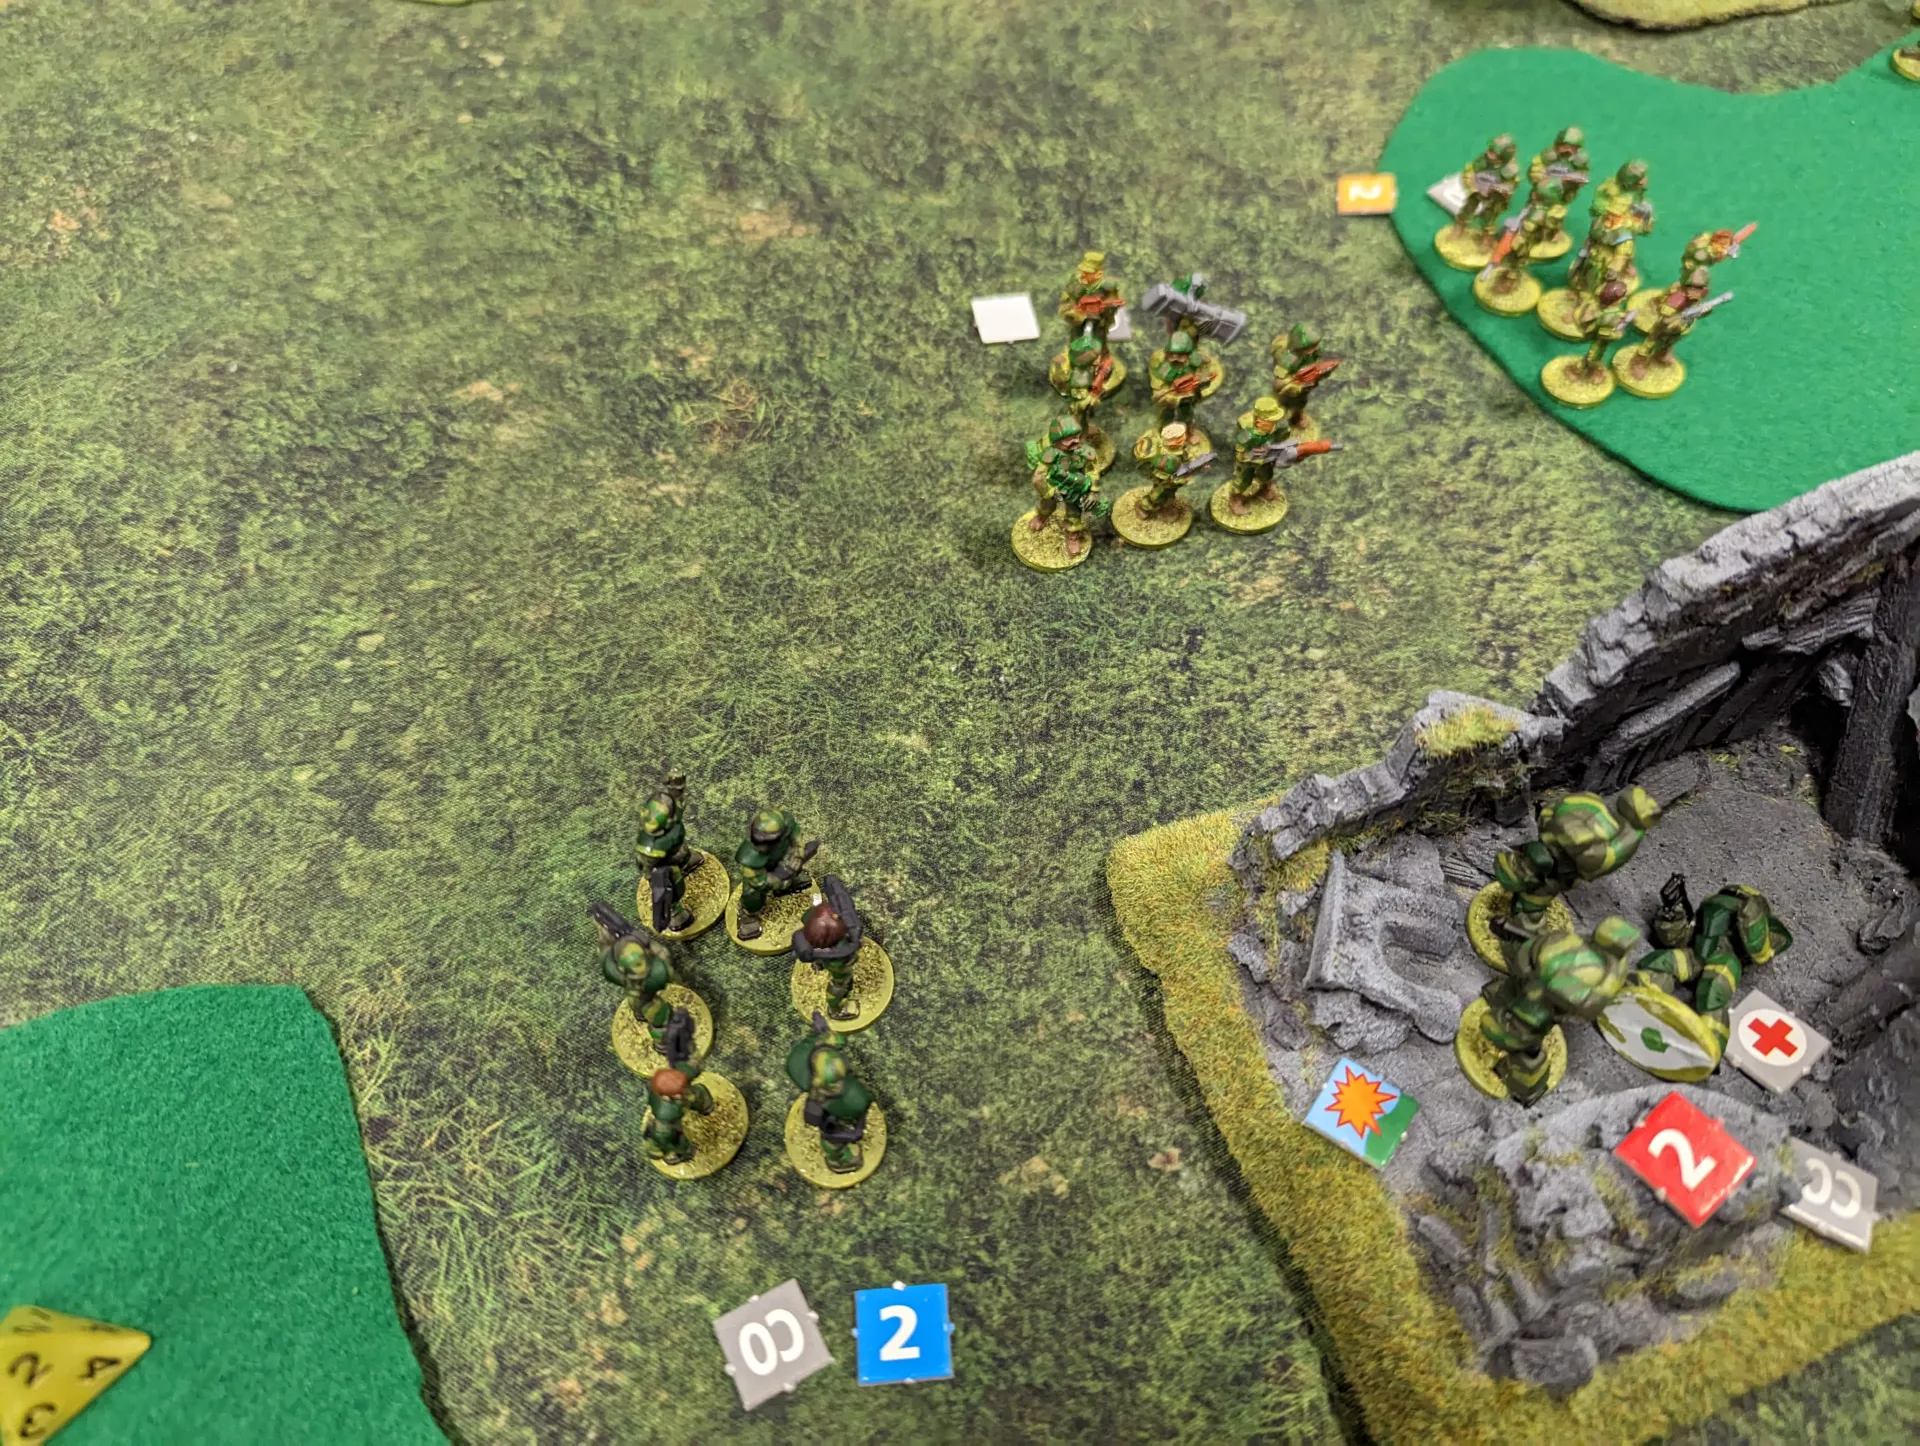
Further actions in turn one consisted of another GMS/P attack on my command squad, which was suppressed, and my PA (Powered Armour) squad rushing up to take control of the central objective. With a move of 12″ (double everyone else), it seemed a good idea to take advantage of their speed. My command squad managed to rally and remove their suppression, and moved down off the hill.
In turn two, the FSE seemed to start picking on my PA squad. There were in the buildings, which gave them hard cover (shifting their target die up two levels, so a D4 (close range) became a D8. Nevertheless, they were suppressed and it took them both their actions to remove their suppression. This was the story of the PA for the rest of the game – they’d get suppressed, then not be able to do anything.
One attack managed to get 4 actual hits on the PA squad. This is where Stargrunt can get a bit swingy in the way dice work. The FSE had four attack dice (a quality die, a standard smalls arms die, and two dice for support weapons, which were mostly D10s), and the PA had a single target die (D8). Each attack die which was over the target die would be a hit. Rolling a 1 on the target die meant it was pretty easy for the FSE to get four hits. For penetration, the PA roll a D12 for their armour, but its’ easy to roll low. One PA troop went down, killed immediately.
By now I’d claimed two of the objectives, including the central one. The FSE had claimed the two northern ones. Since it was easy for me to claim the second southern one, I had the positional advantage. But there was a lot of fire coming into the central objective which was pinning down my PA squad. I started to move one infantry squad up on the eastern flank, using the woods as cover.
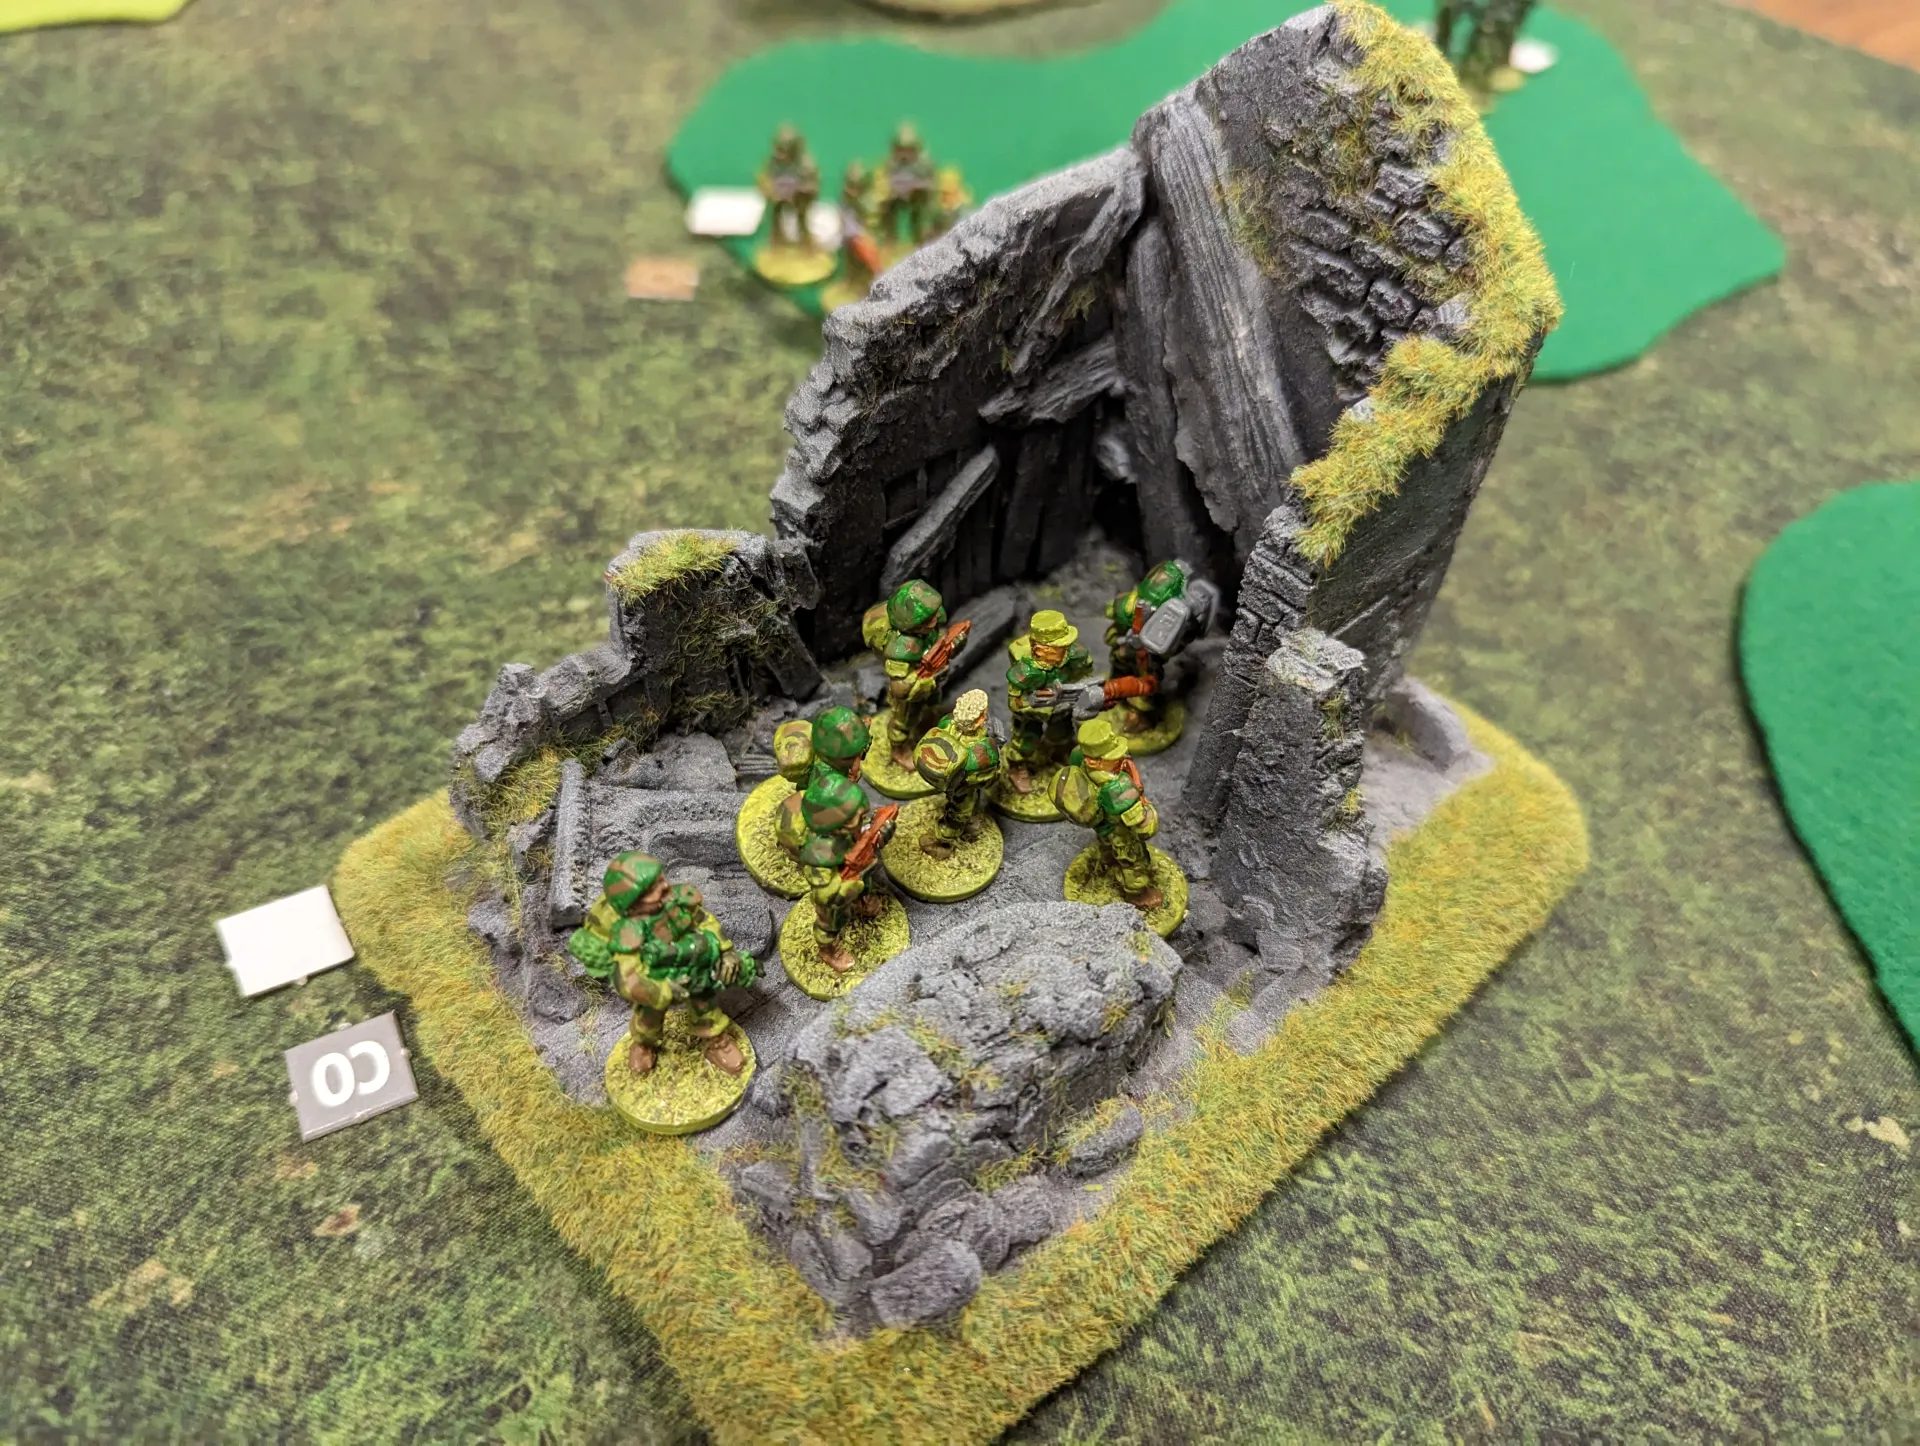
At the start of turn three, with my command unit now safely in cover, they used their actions to activate other units. One thing I like about Stargrunt is that leaders actually get to be used as leaders. When a unit activates, it gets two actions. A leader can use an action to activate another squad, who get both their actions immediately. So you can use a leader to immediately activate two squads to perform a combined manoeuvre. Communication checks are needed for this. I’d failed at that in the previous turn, but this turn I moved the eastern squad up, then also moved my central squad up.
The central squad did a combat move (D6 x 2″, rather than 6″), rolled a 12″ move and headed up to try and support my PA, who were taking more losses from heavy fire.
They opened fire, and had 3D8 and a D12 against a D4. Each die roll over what the D4 rolled would be a success. The D4 got a 2… I got a 1, 1, 2 and 6. A simple suppression result. This left my squad exposed in the centre for only minimal benefit. They were pretty much wiped out by returning fire.
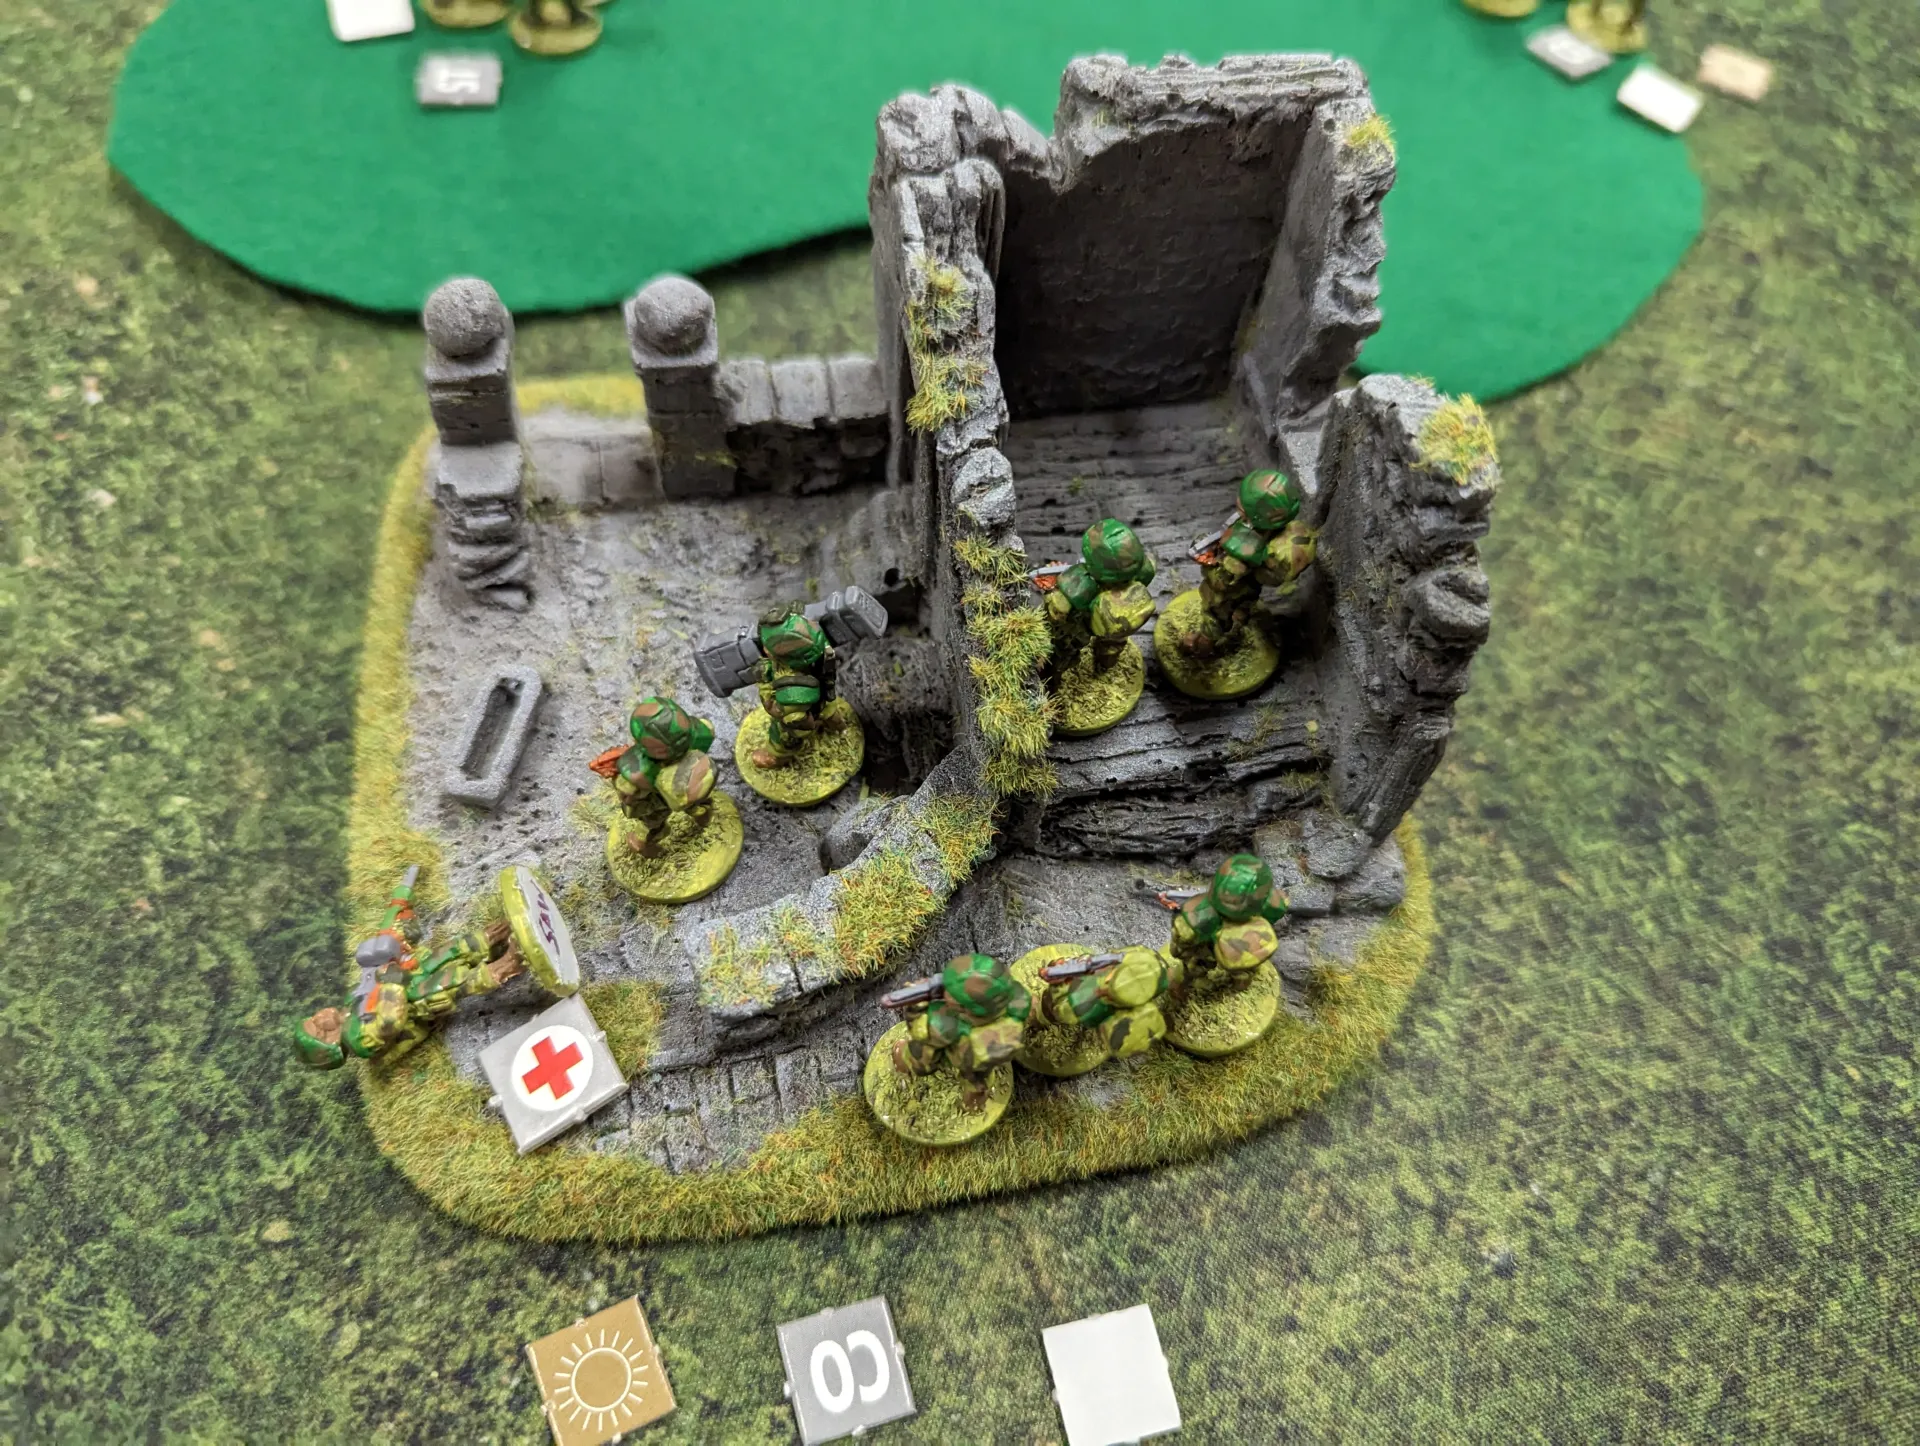
My squad in the woods to the east had moved up on one of the northern objectives, but couldn’t rally themselves for a close assault. Partly because they failed their reaction test, and partly because we then realised that close assault takes both your actions, so they couldn’t move then close assault. They opened up with a ranged attack instead, causing one casualty. It was the only casualty (wounded, not KIA) the FSE suffered in the entire game.
By the end of turn three, the NSL had taken a lot of casualties. A lot of it came down to bad dice rolls. After taking the central objective, my PA had been pinned down and unable to do anything proactive. With the FSE in cover, and now ‘in-position’, it was hard to do anything against them. Two of my units (the command unit, and my sniper unit in the SW) weren’t really contributing anything to the fire fight.
So at the start of turn 4, I figured I should begin moving back to prevent loss of further life. I had been planning to make this a four turn game, but hadn’t really communicated this at the start. I could try to hang on to the central objective, which if I did would give me three objectives to the FSE’s two. That would be a win, but I figured it would be unfair to spring a “and the game ends” at this point.
So I started pulling everyone back. This denied the FSE a chance to close assault my PA, but there were only three of them left alive (one was wounded, but stable). Another unit was down to two troopers (again, one wounded), and another was down two.

The NSL retreated back to the two southern objectives, and the FSE consolidated their control over the others.
It was a good game, and despite the disparity in losses on either side, I think it was relatively balanced. The NSL hadn’t taken any GMS/P, because we didn’t have any vehicles. I had wanted to do the same for the FSE, but I don’t have enough FSE figures to remove all their GMS/P.
The snipers got used mostly in an infantry support role. Mine got used a couple of times as an actual sniper, but never got more than a suppression result. Neither side detached our snipers to work independently. Using a smaller ‘board’ also helped I think, in concentrating the action.
Not being able to support my PA unit was probably my biggest mistake. I should have moved a couple of extra units up in cover, to be able to help suppress the FSE legionnaires, to take the pressure off the PA. Then I could have held the central objective.
I think we’re starting to get a better understanding of the rules now. I deliberately avoided using vehicles, artillery or other aspects of the game which would complicate it. I also wanted a balanced fight this time, to see how well units stacked up against each other. It might be worth bringing in a couple of vehicles next time, though we could try a similar scenario again.
Another change I would make, would be to have multiple central objectives, rather than just one. That would make the tactics a bit more interesting than just attacking/defending a single location.