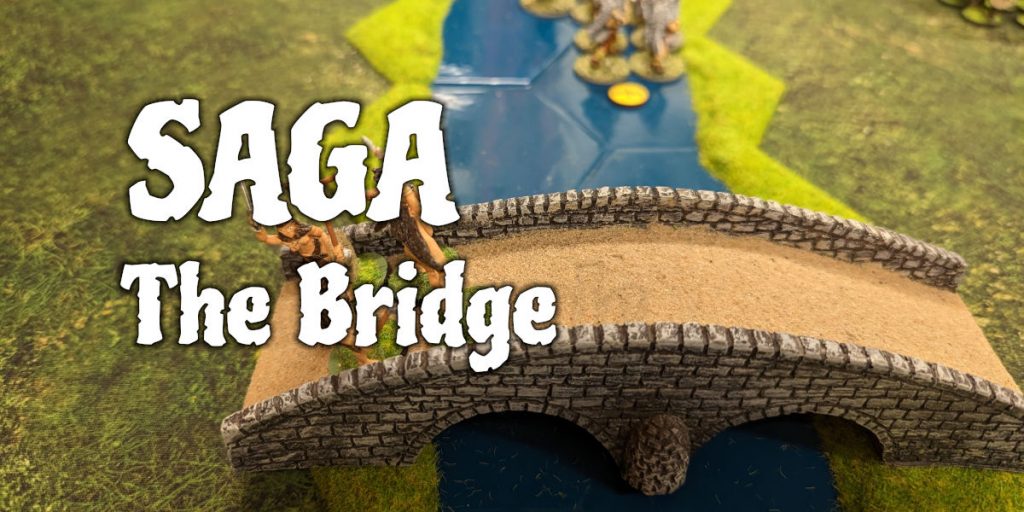
The Bridge
Our weekly wargaming at FWGS consisted of another game of Saga, this time trying out the scenario “The Crossing”. It was Vikings v Jomsvikings, which meant two aggressive armies facing off against each other. The Crossing is one of the scenarios from the Book of Battles, and doesn’t actually require anyone to fight each other. When you stick two groups of Vikings together on one tabletop though, fighting is what tends to happen.
This was our first outing with the Jomsvikings, and I’d put this army together specifically to use some figures I’d bought many years ago for use in a Warhammer Fantasy army. They were all ‘viking’ style, with wolfskins and bearskins. I had about 20 models, equipped with either axes or swords. So I needed an army that was going to be a small number of figures that fit that description.
I chose the Jomsvikings, in particular under the leadership of Sigvaldi. This gave me an excuse to have a warband consisting entirely of Hearthguards. Five units of Hearthguards (3 with heavy weapons), plus Sigvaldi himself.
As usual, I played the Vikings and my opponent took the Jomsvikings, having decided she didn’t want to field her usual Irish in a scenario which was more like to require offensive manoeuvring.

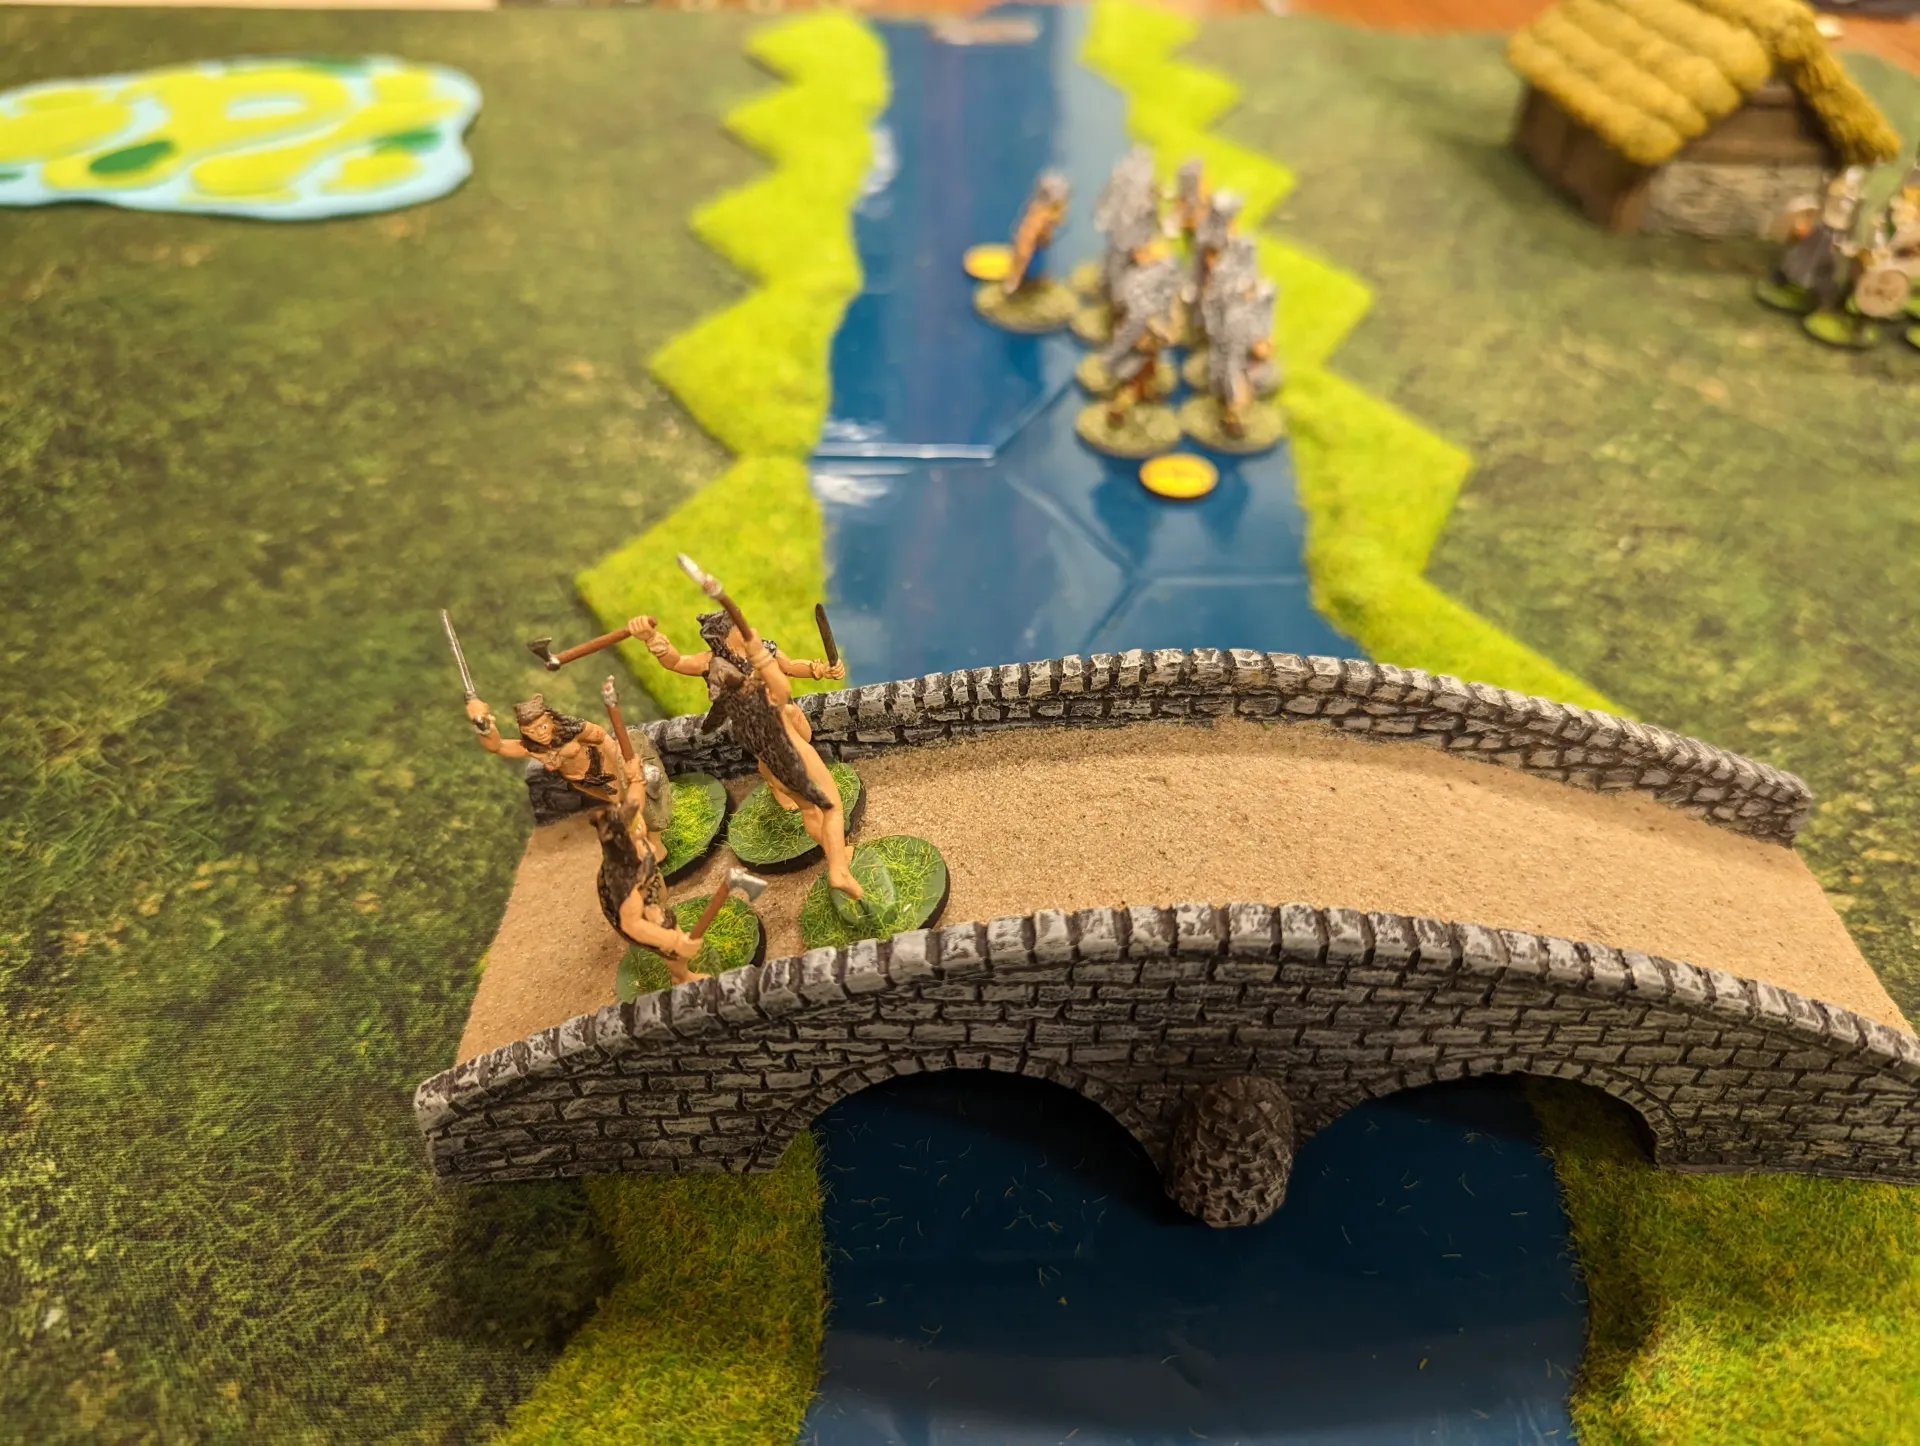
Terrain consisted of a river running across the centre of the table, with a single bridge crossing it in the middle. Other terrain was added as well as per the usual rules, but the Jomsvikings didn’t want any terrain so we ended up with only four items.
Warband deployment consisted of splitting each warband into two halves, and them being deployed in opposite corners. So both warbands had their army divided on opposite sides of the river. Points would be scored by getting your entire army over on one side of the river next to your warlord.
The nature of the river was determined randomly – the west side (left of photo) was impassable, the eastern side was merely dangerous terrain (slow movement, plus gain a fatigue if you stop in the terrain).
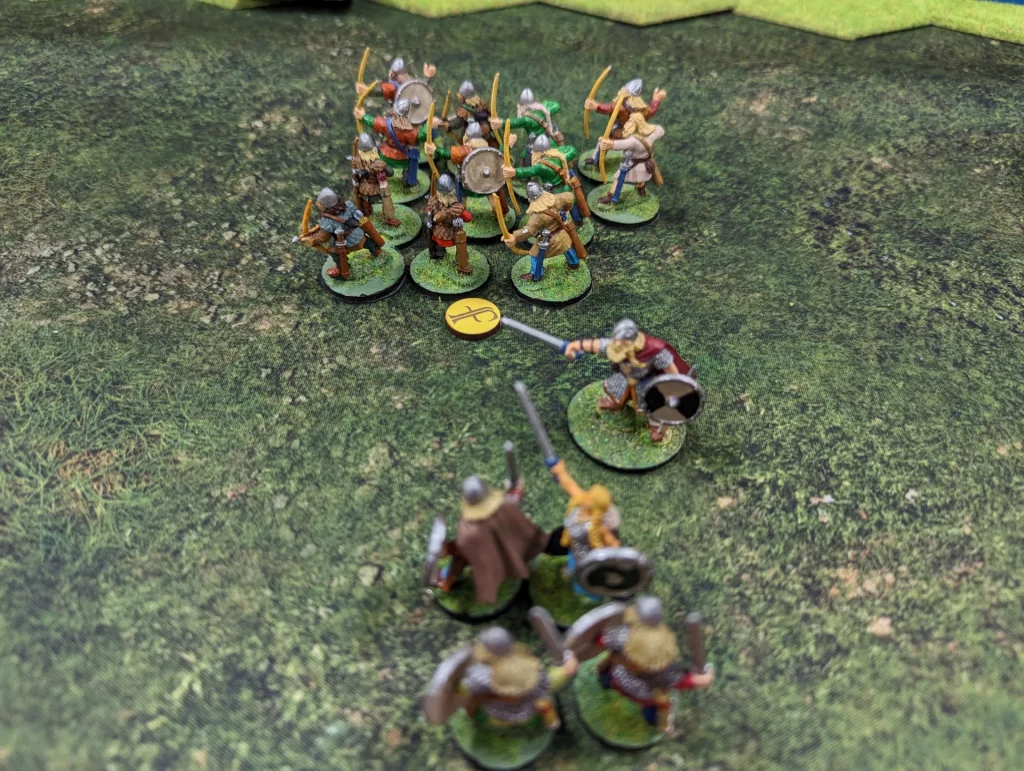
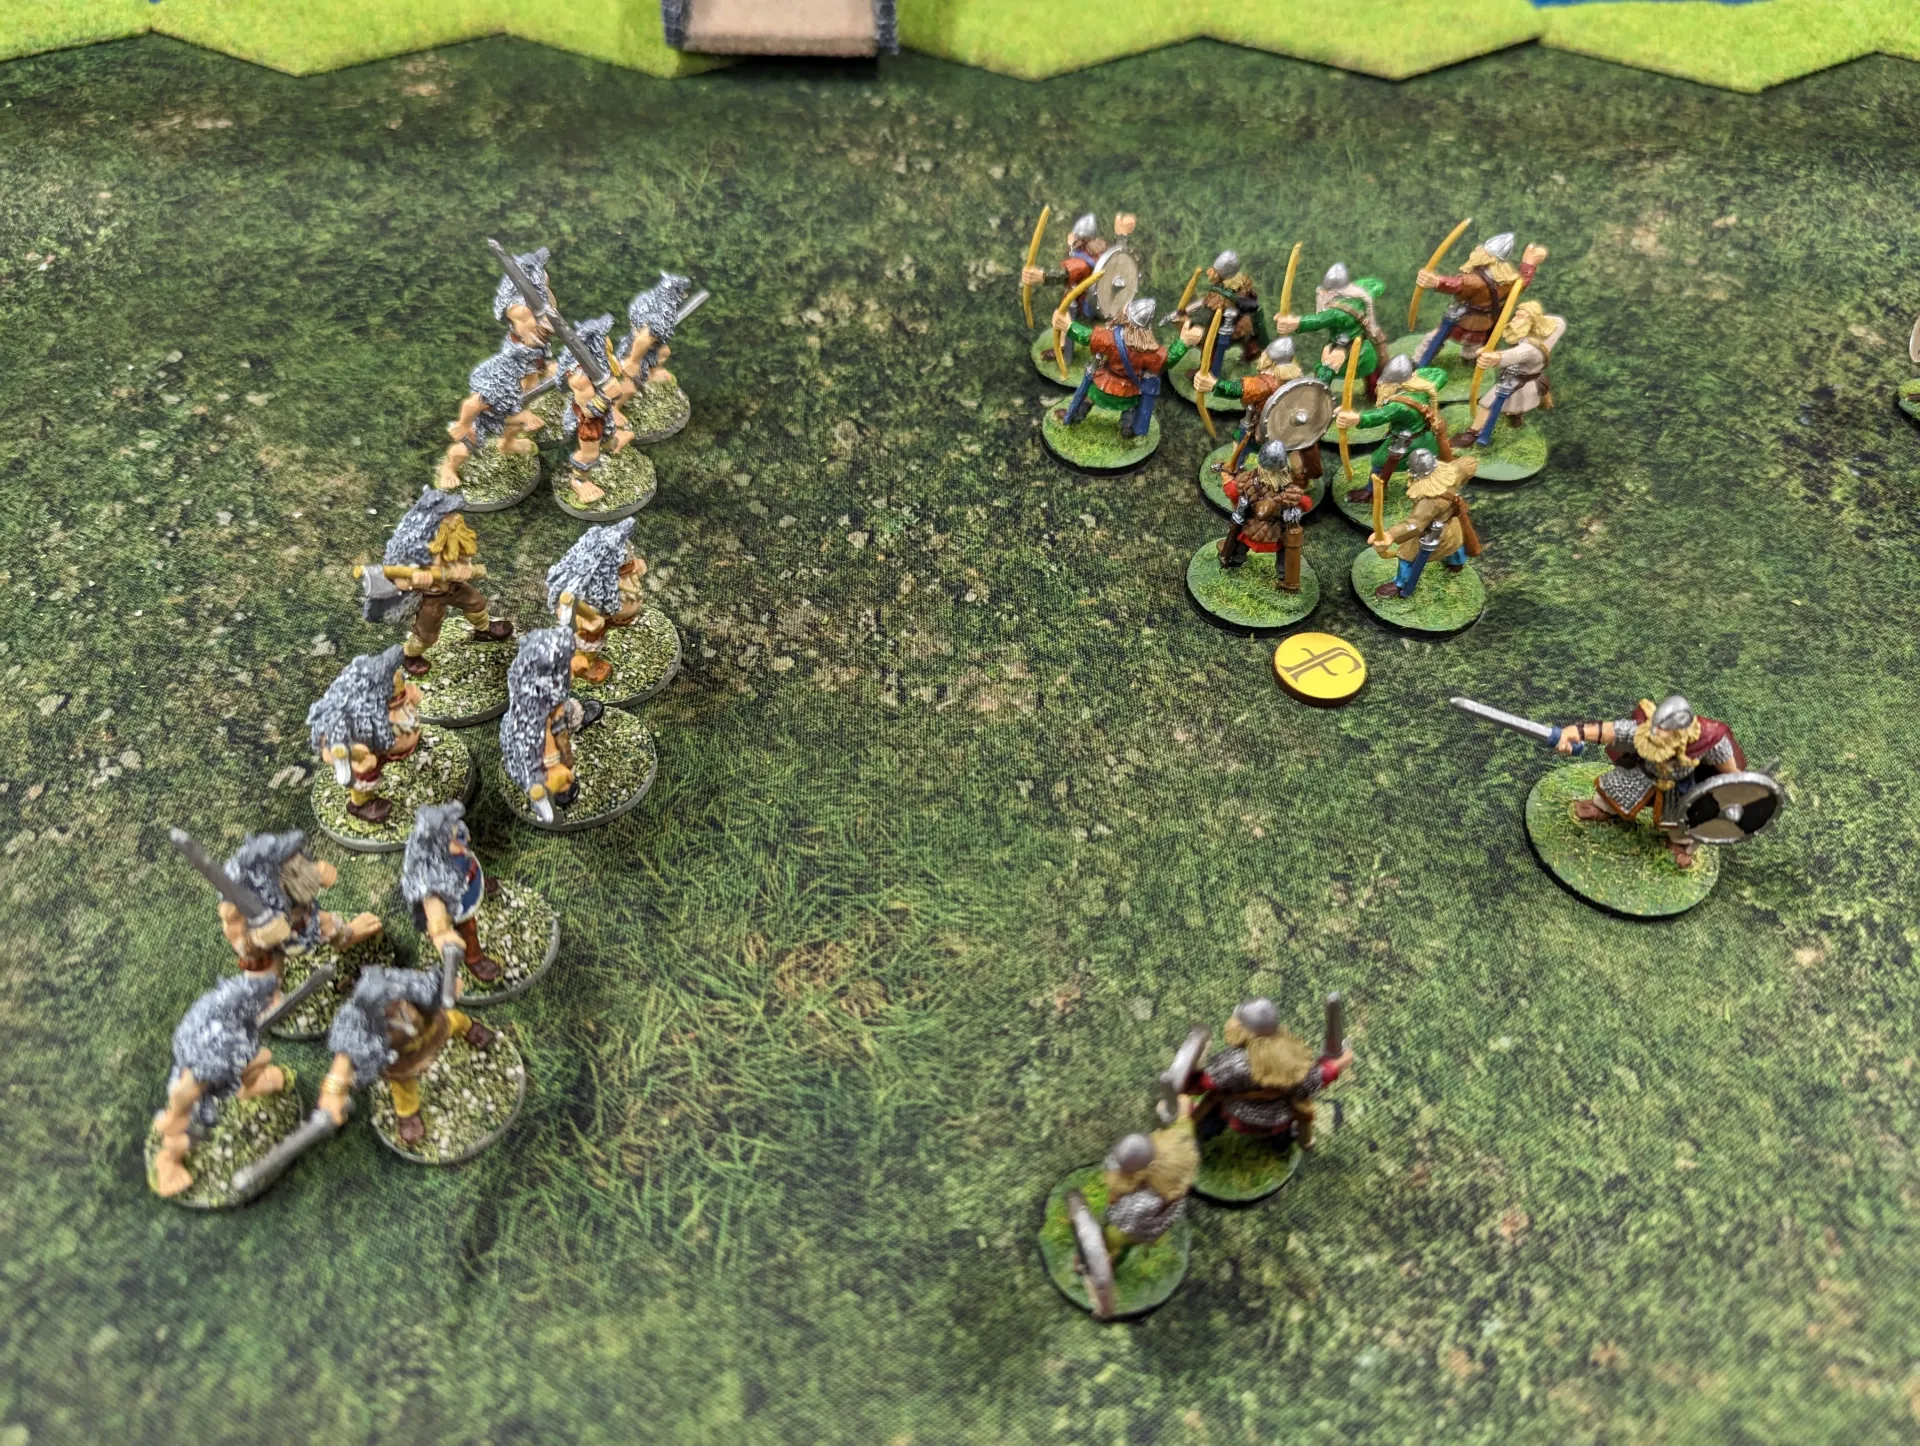
The vikings archers started by moving towards, and shooting at the Jomsvikings on their (southern) side of the river. Sigvaldi’s men had really high armour (6) against being shot it, so this did little. The Jomsvikings on the north bank responded by moving to the river in preparation to cross. The Jomsvikings in the south also started approaching the viking units.
Back to the Vikings, and I managed to get another really consistent role – all but one die was aᚠ. I decided to try to move everyone across to the south, which was where my warlord was, and also the direction the Jomsvikings were heading in.
In the south, it turned out that the Jomsvikings had an advanced ability that allowed them to use javelins. Song of Steel was one of their abilities which used Wrath tokens – a special rule that the Jomsvikings had. This was a resource they could build up and use to give them extra bonuses. Activating several units with a single die was quite powerful, but needed a token per unit. I lost some Hearthguard and levees to that.
The nothern Jomsvikings started across the river, as I started across the bridge. The main problem with the bridge was keeping the figures upright as they crossed – my berserkers (from Footsore Miniatures) were particularly top heavy.
To the south, my half-strength hearthguard unit used Valhalla to charge a Jomsviking unit. I sacrificed both of my figures to give me as many bonus attack dice as a could. This led to the strange situation of starting the combat with no figures in the unit – but this seems to be valid according to the rules since the attack dice were already calculated. It did make the counter-attack by the enemy pointless, which I see as as a definite bonus. I took down three Jomsvikings to my two this way.
The Jomsvikings responded by charging my levees and wiping out most of them.
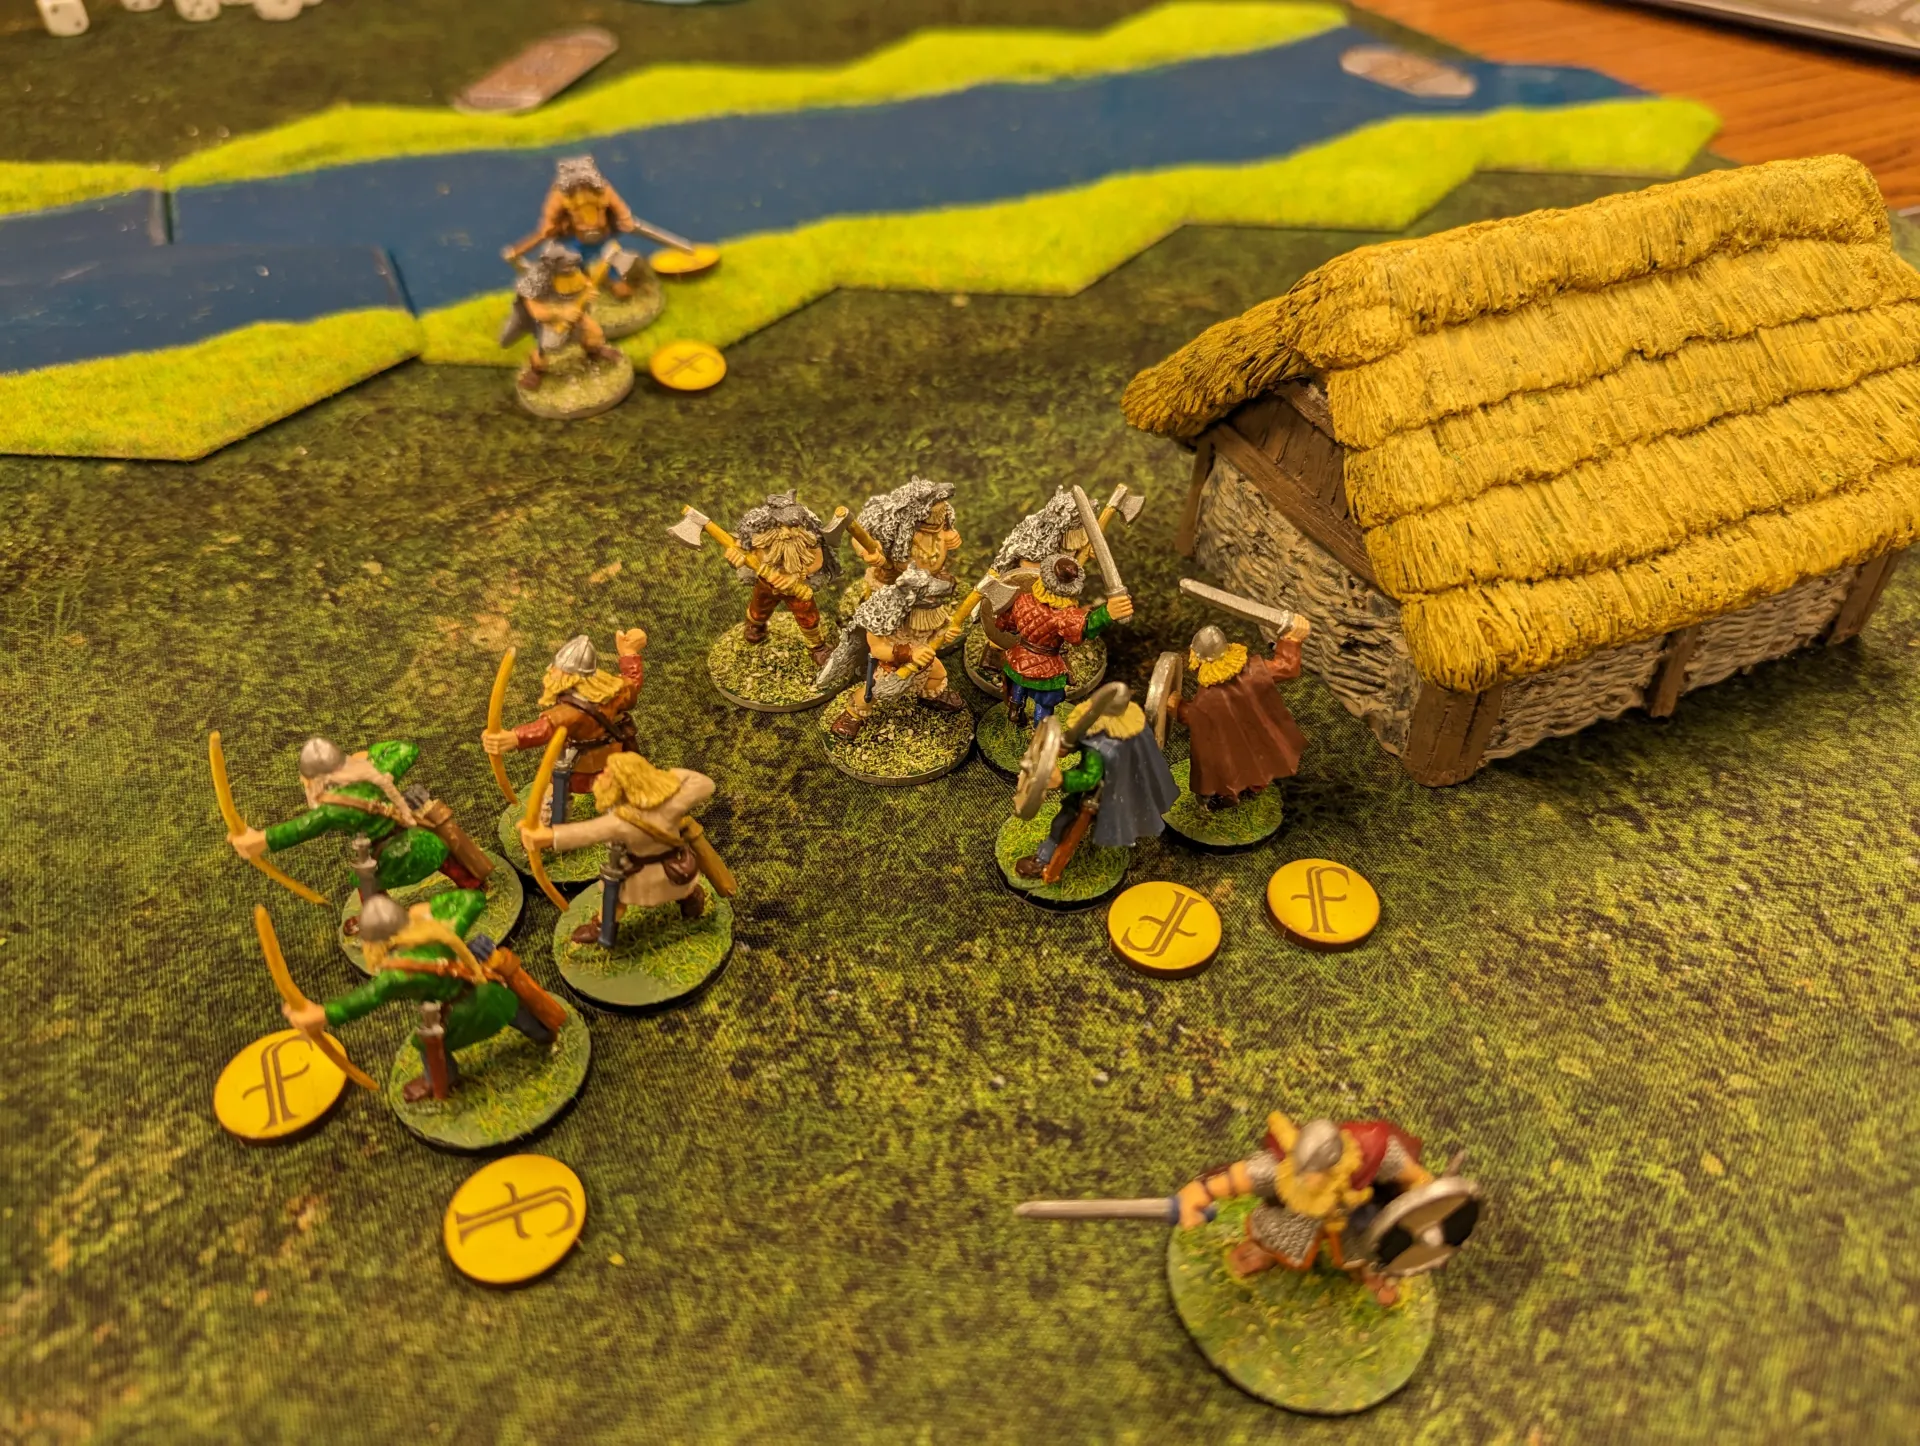
The Jomsvikings crossed over the river and assaulted my forces there. Unfortunately they were quite successful and wiped out my hearthguards, leaving my warlord open to attack.
A second unit charged forward, using their Holmgang ability. This allows them to spend wrath tokens to give themselves a extra attack dice (up to six). It also reduces the enemies attack dice by the same amount. So my Warlord was greatly reduced in effectiveness, and was no longer supported by anyone who could act as bodyguards. He took enough hits that he couldn’t save with resilience, and was slain.
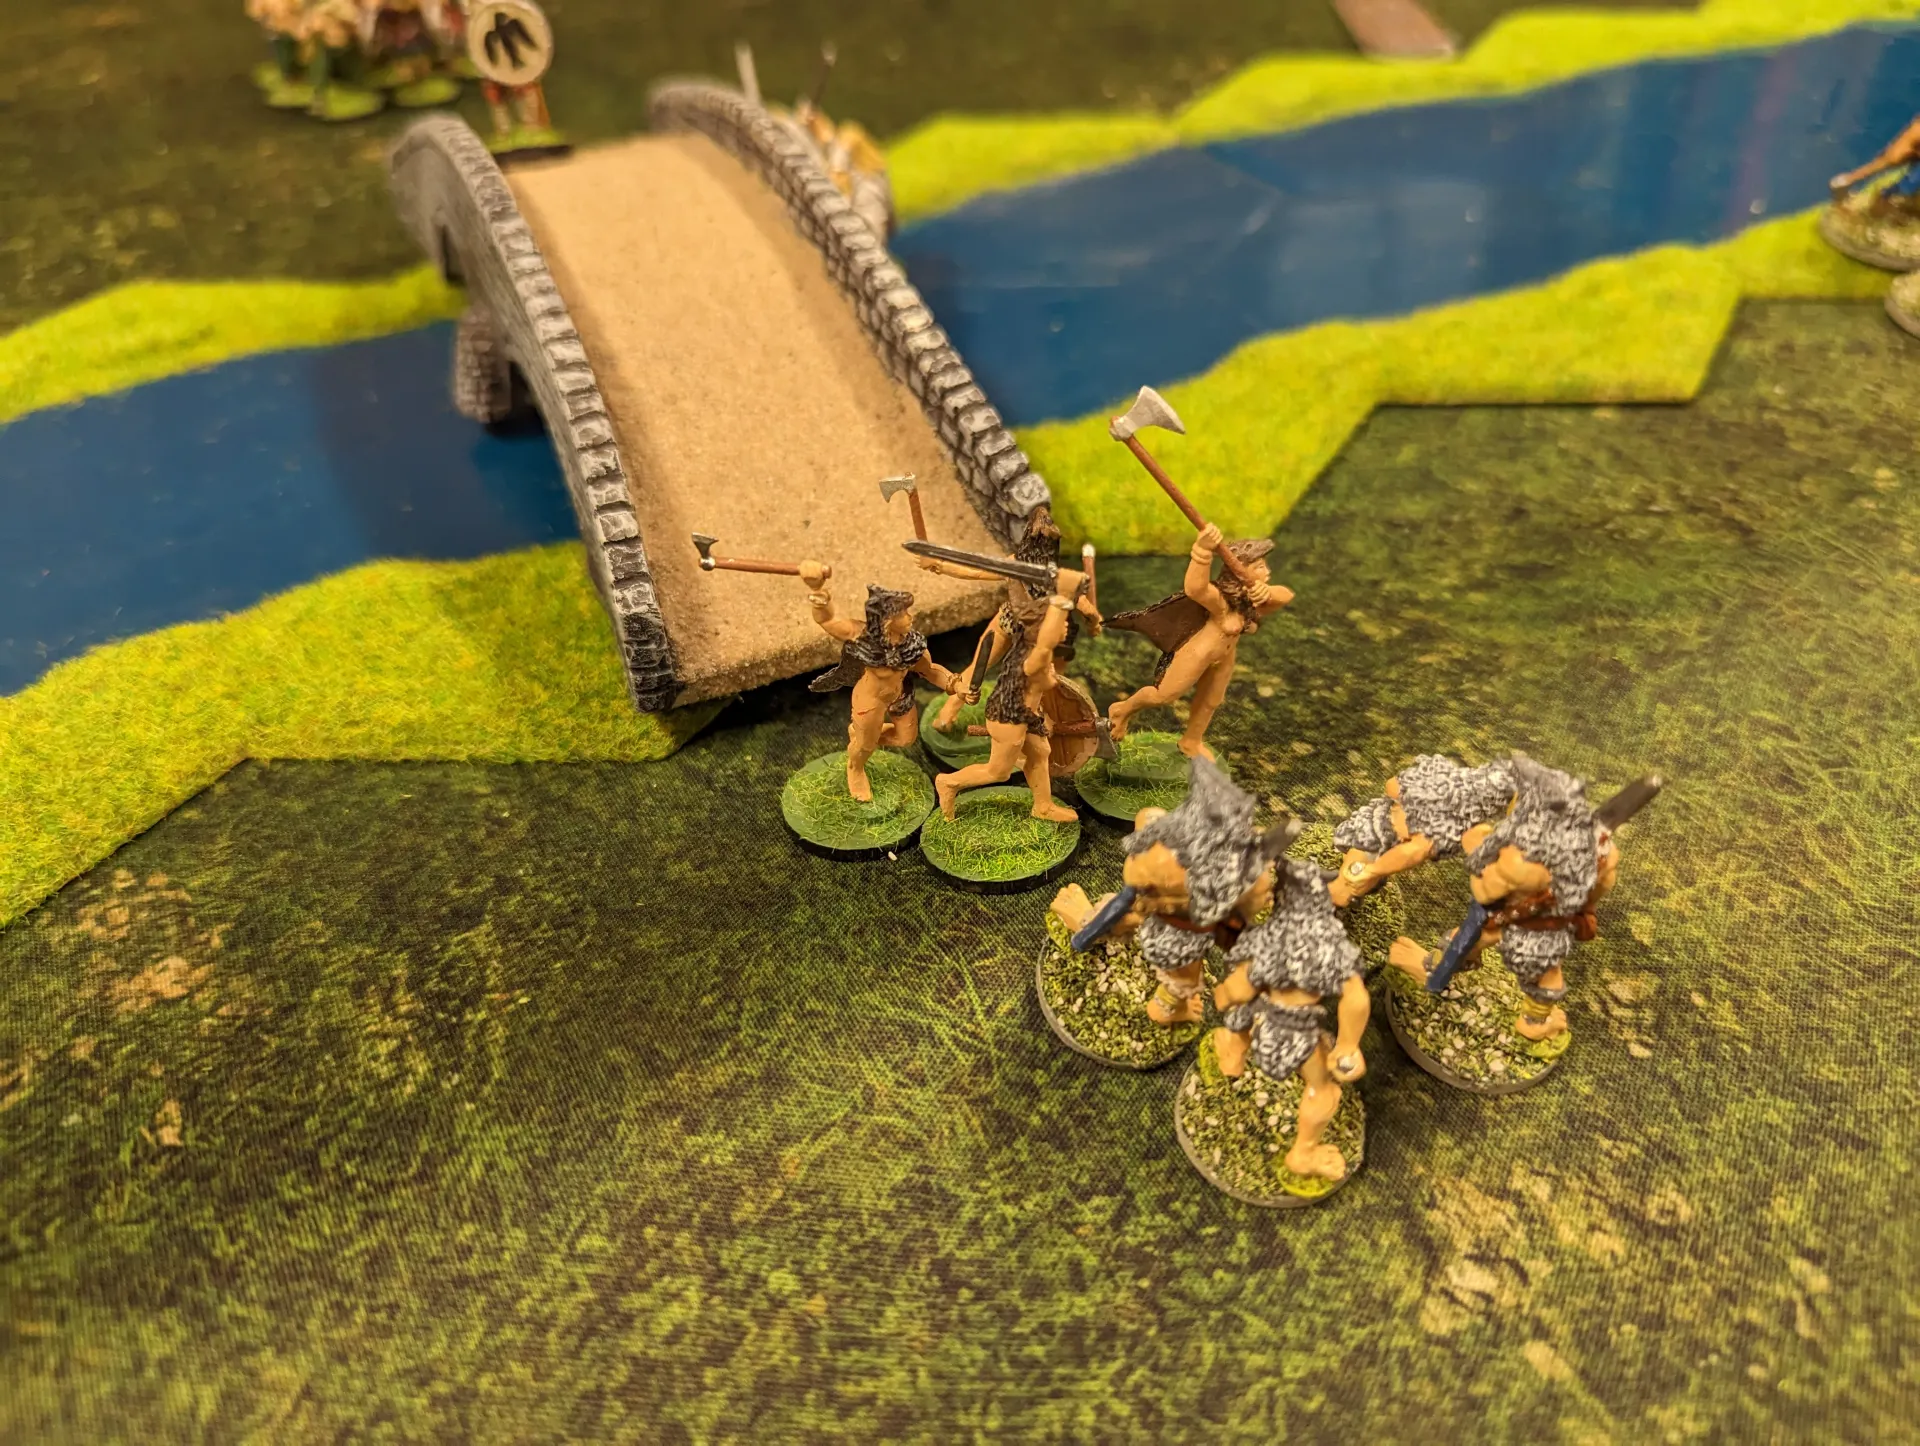
My berserkers, who had just made it across the bridge, where quickly charged by the Jomsvikings. They both wiped each other out in a blood fuelled frenzy.

We were now at turn 5, but I didn’t see too much point in continuing. I probably should have used a similar tactic to the Jomsvikings – just charge my Warlord and associated units across the river to reach the northern side, possibly avoiding a fight altogether. However, what would have been the fun in that?
The Jomsviking ability to move multiple units with a single Saga dice is quite powerful, and really allows them to manoeuvre. Speaking of which, the manoeuvre option wasn’t available in this scenario, which meant I couldn’t just move my units which were far from the combat.
I had hoped that my archers could have done something more, but with an armour of 6 for the Jomsvikings, they were never really going to be that effective.
So once again the Vikings lost. To be honest, the Jomsvikings weren’t that far ahead in terms of units, but they had got everyone across to the right side of the river and still had a warlord, which gave them a lot of extra points. Maybe I should try the Anglo-Saxons again?