King of the Hills
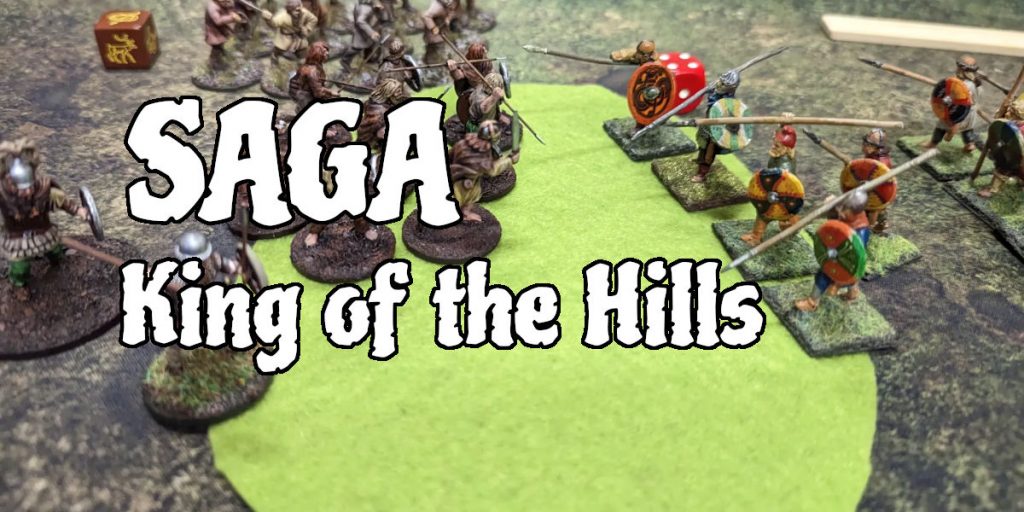
Friday’s game of Saga: Age of Vikings at Farnborough wargames club was designed to be a four way battle across five hills. In the end, one player was unable to make it so we had a three player game. The Book of Battles gives three scenarios for use in a mass battle (3+ players) game, but I wasn’t entirely happy with any of them. Instead I went with a scenario which was a mash up of a couple of them.

The scenario had five hills – one in the middle of the table and four to the sides. There were then forests in each of the corners. The original plan was for each warband to begin in the corners. Each of the hills would be the objectives. At the end of each player’s activation phase, they would gain one point for each hill that they dominated.
Domination meant that they had more figures than everyone else on the hill (with Presence counting towards that, so Warlords would count as 4 figures). Each player would have two hills to fight over with their immediate neighbours, plus a central hill which would be a free for all. The aim of the scenario was to encourage aggression and manoeuvring.
Since scoring was done at the end of each activation phase, the idea was to encourage players to try and grab hills even if they wouldn’t be able to hold them.
For turn sequence we’d use the sequence given in Battle Royale scenario (from Book of Battles). Each player starts with 4 tokens, and you discard one at the start of your turn. After your turn, you select another player who has the most tokens. I feel that this gives an interesting tactical dynamic to the turn order.
Note that most Saga scenarios suggest turns, but I didn’t think that we’d actually have time for 6 turns. In sixthe end we decided to try for five turns, but ended after four due to lack of time. The table we used was 120cm by 180cm, giving plenty of room for four warbands.
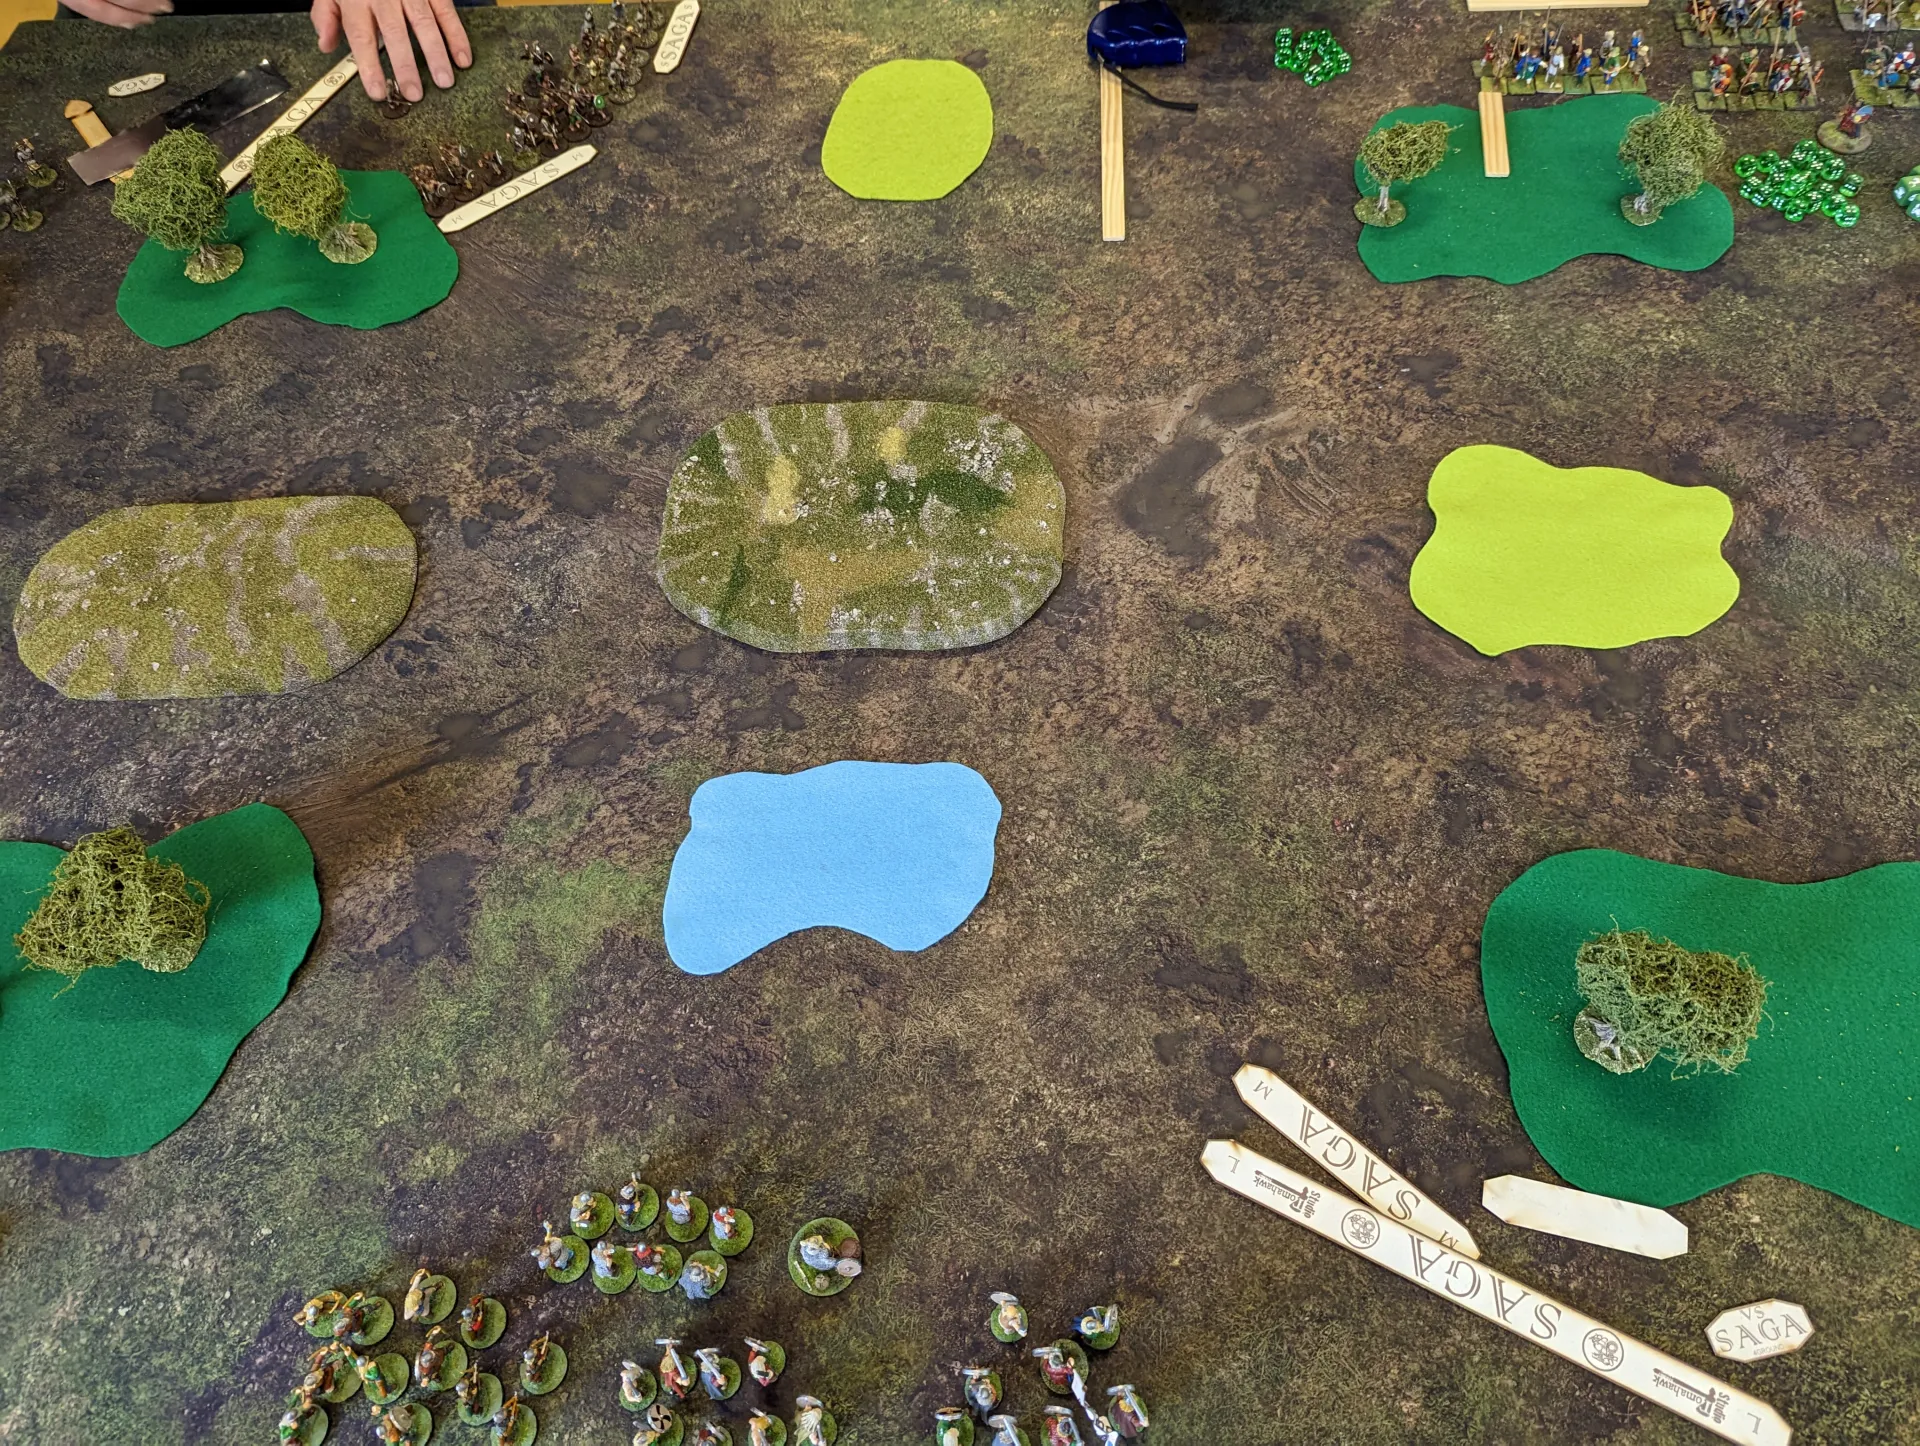
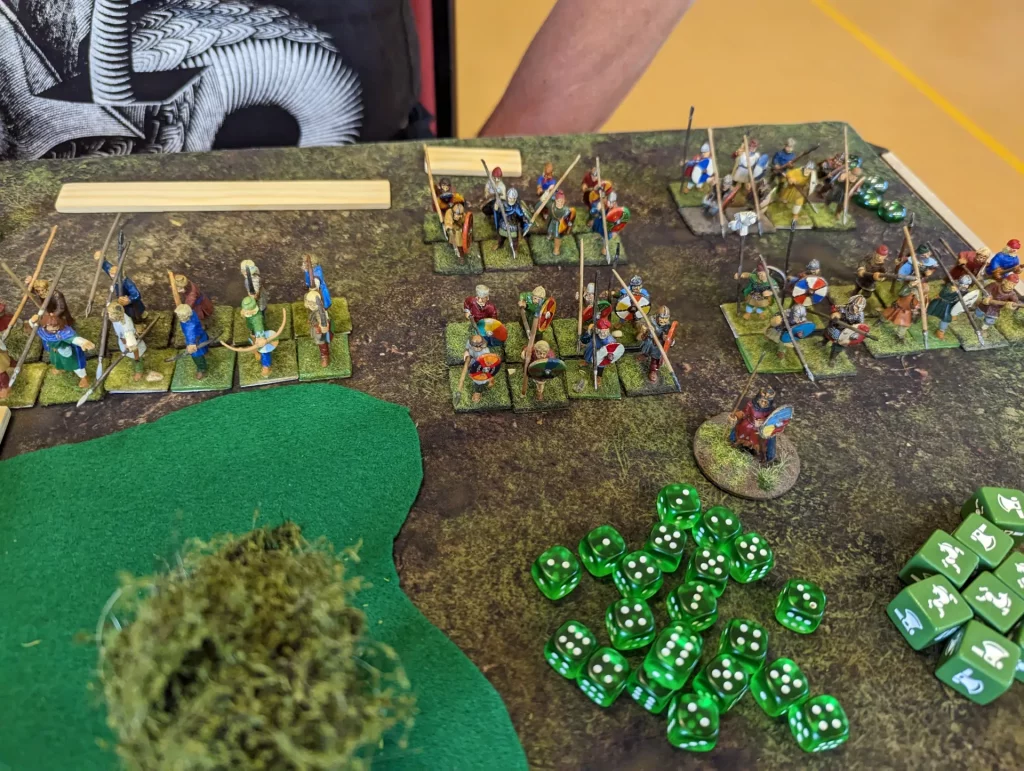
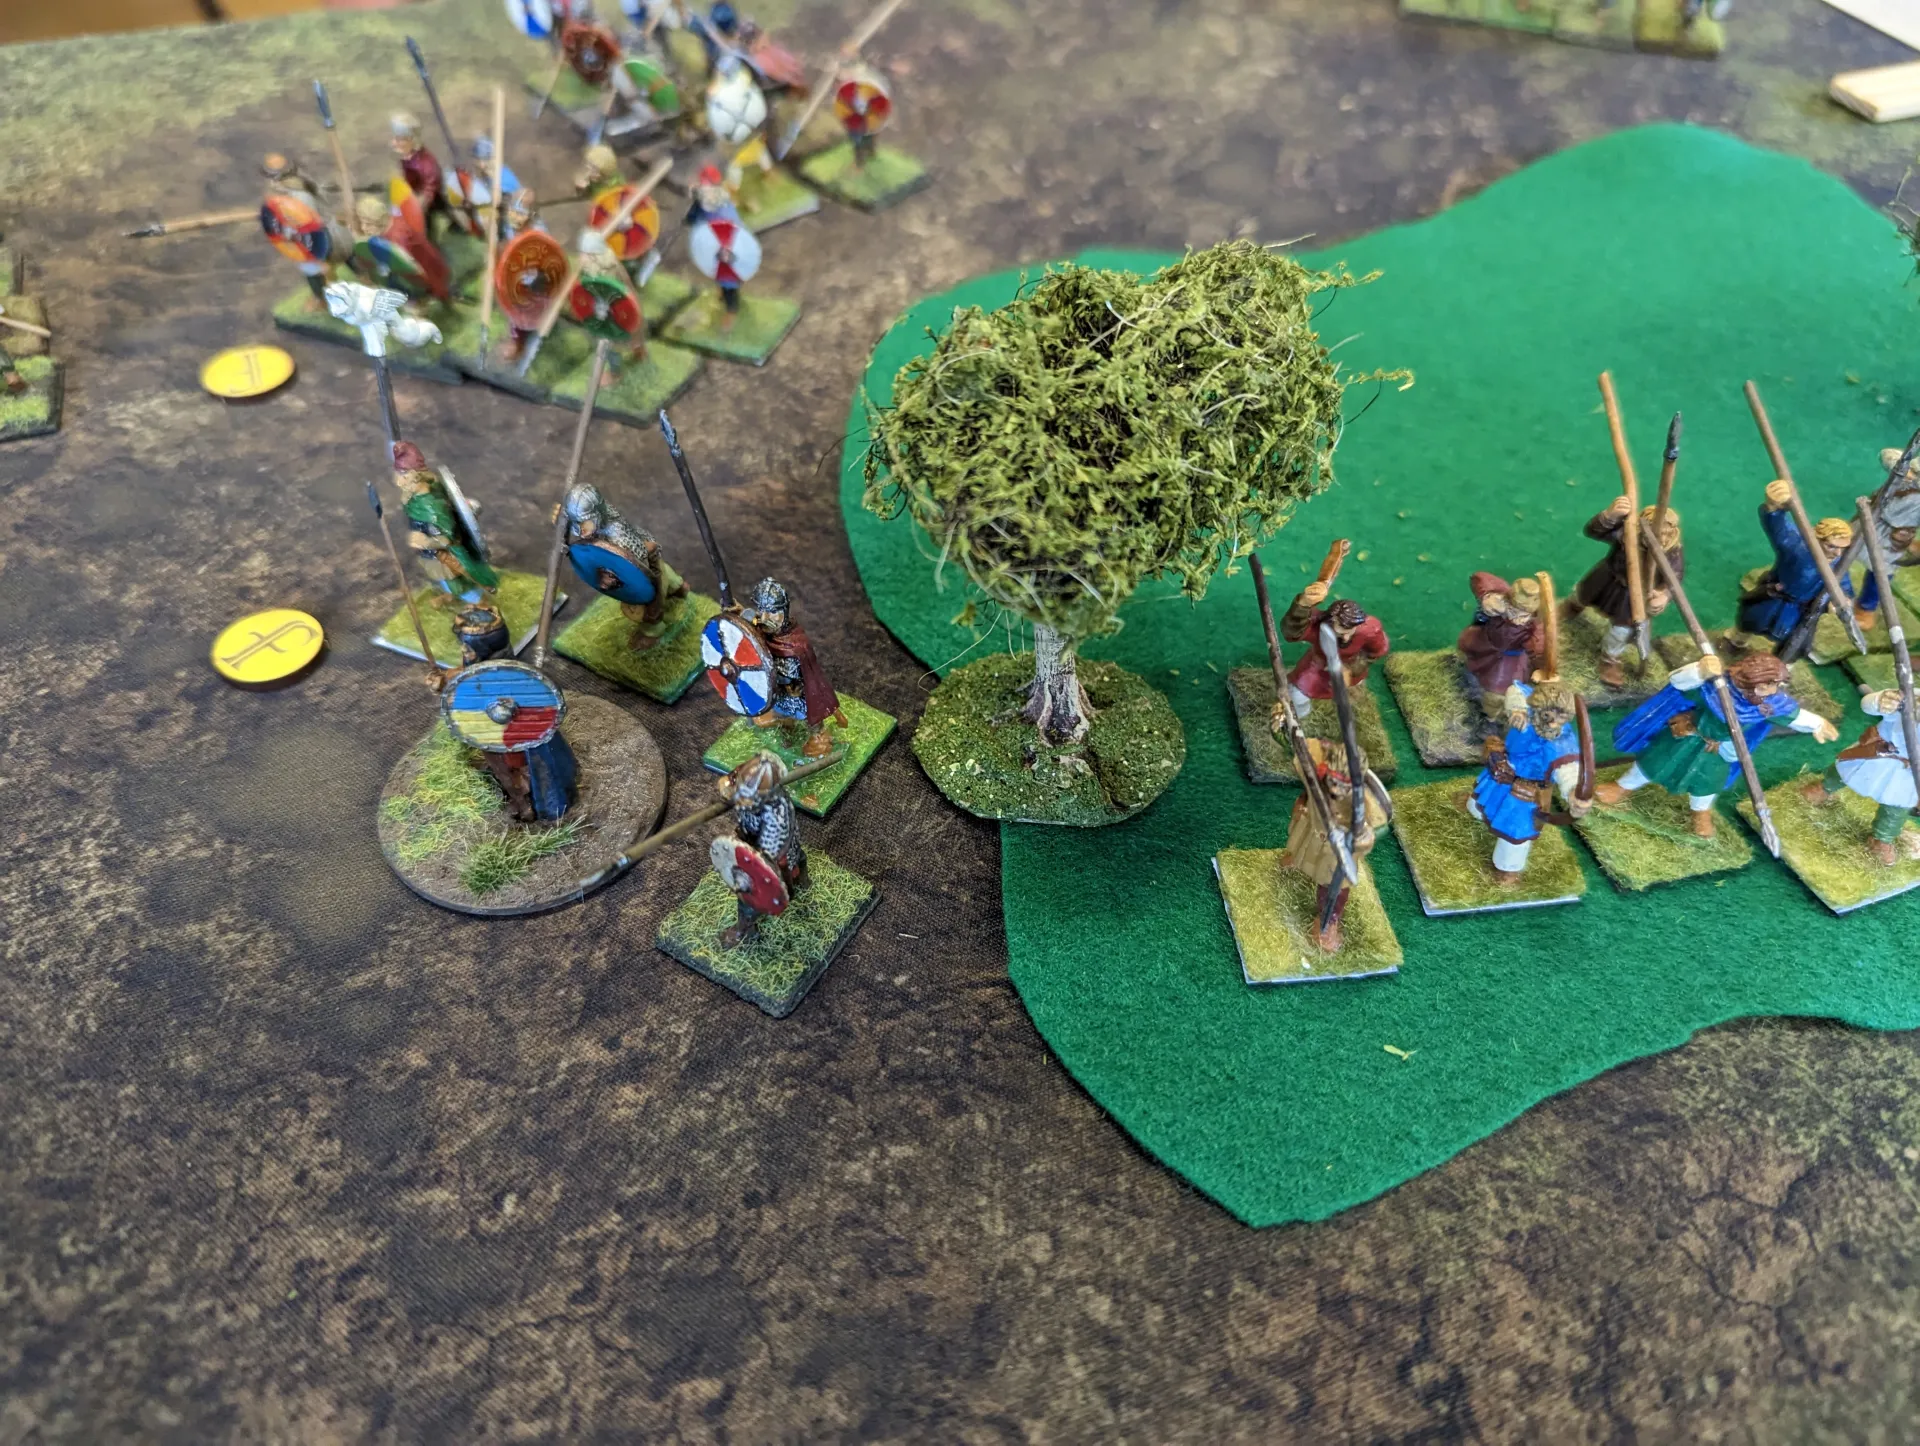
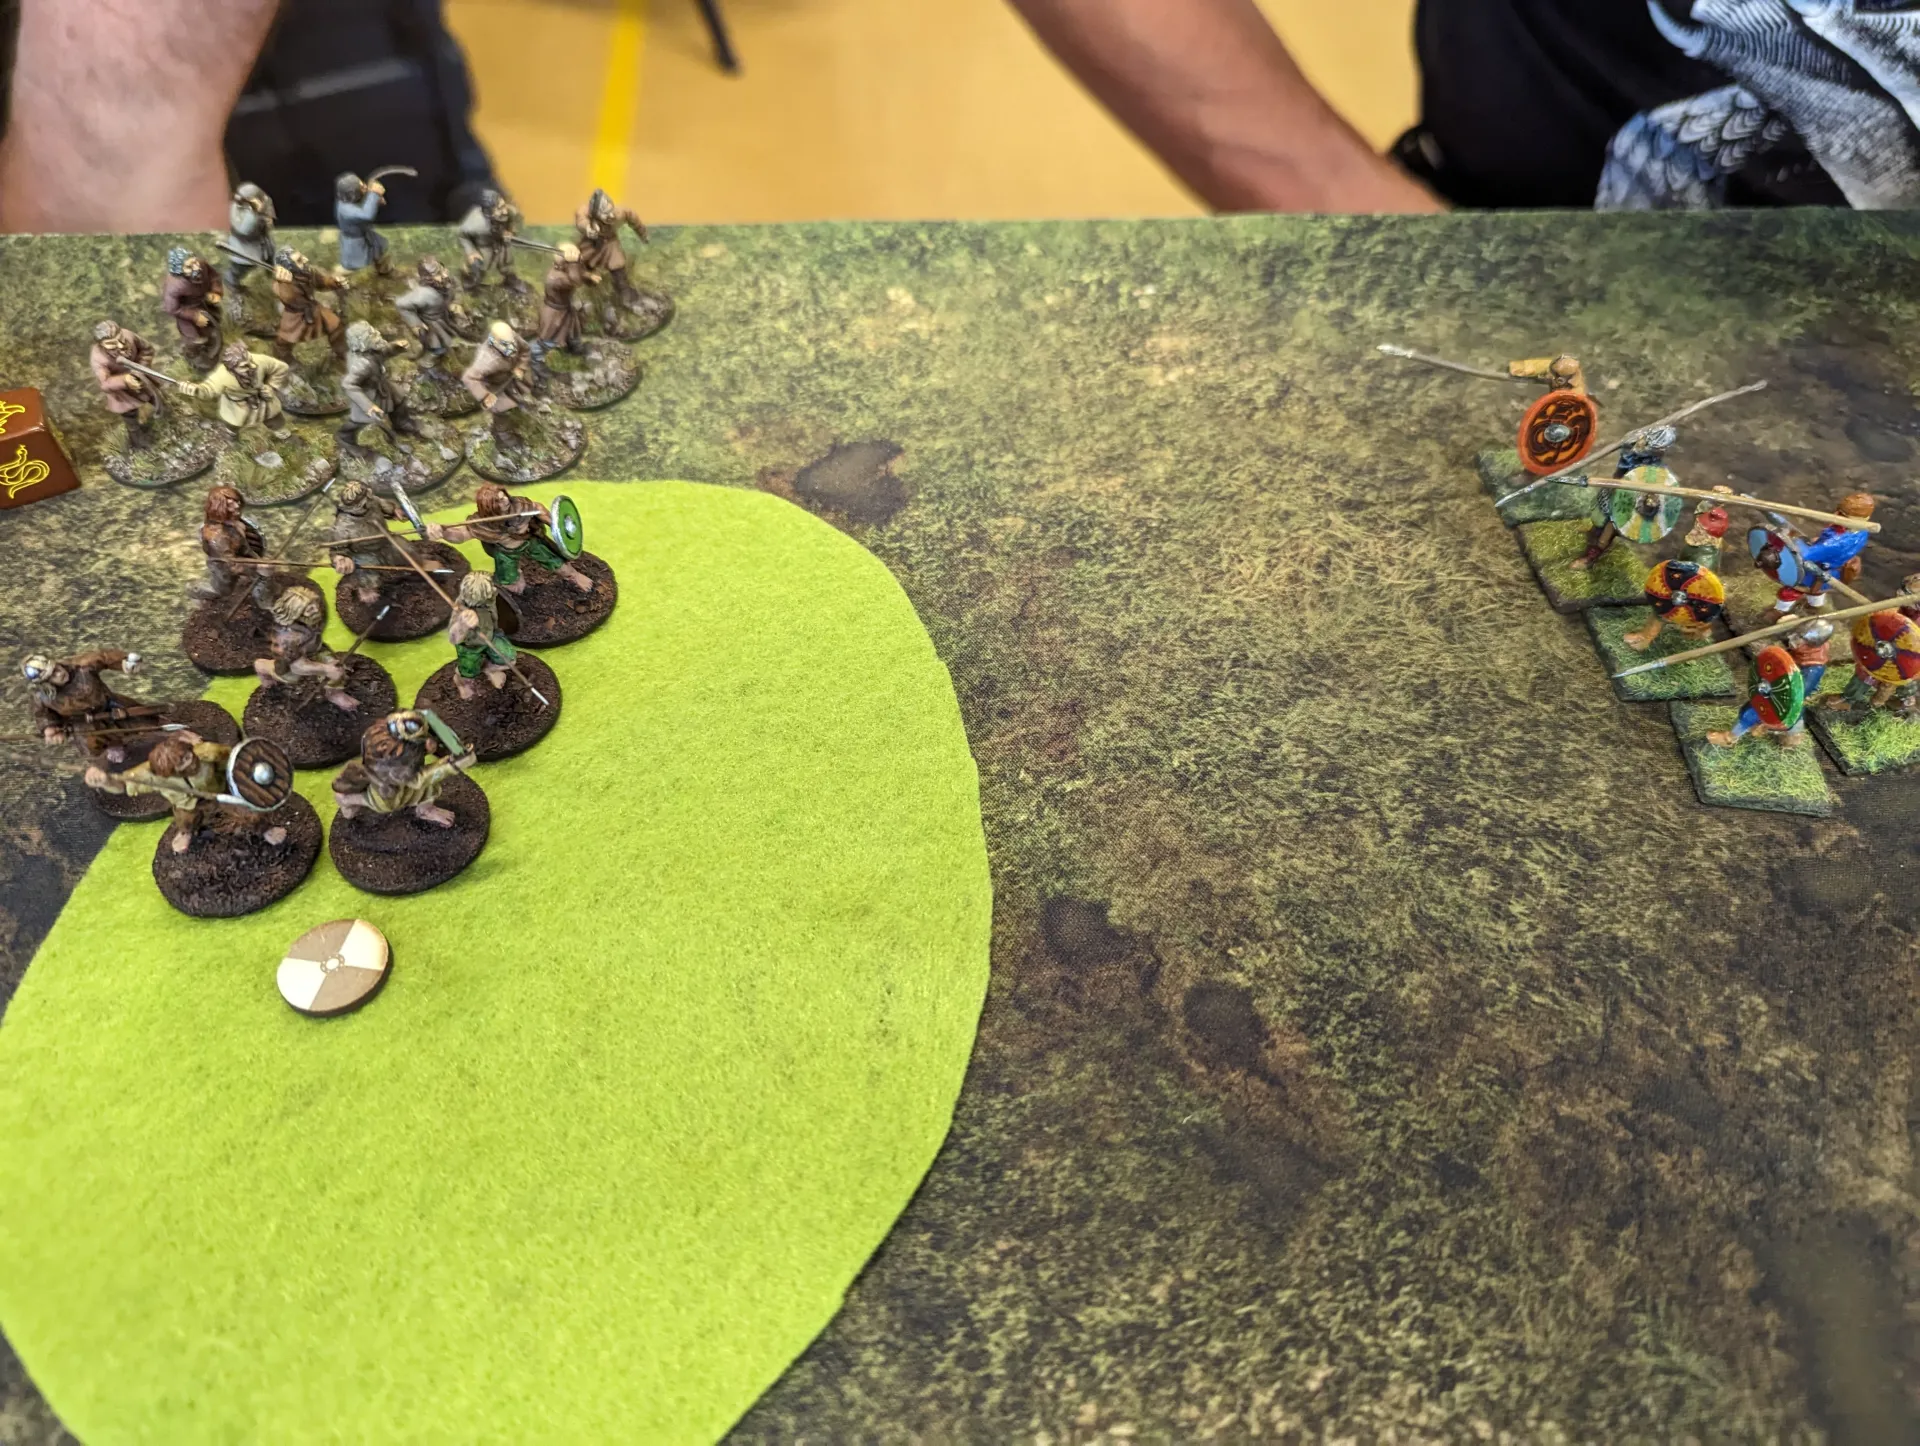
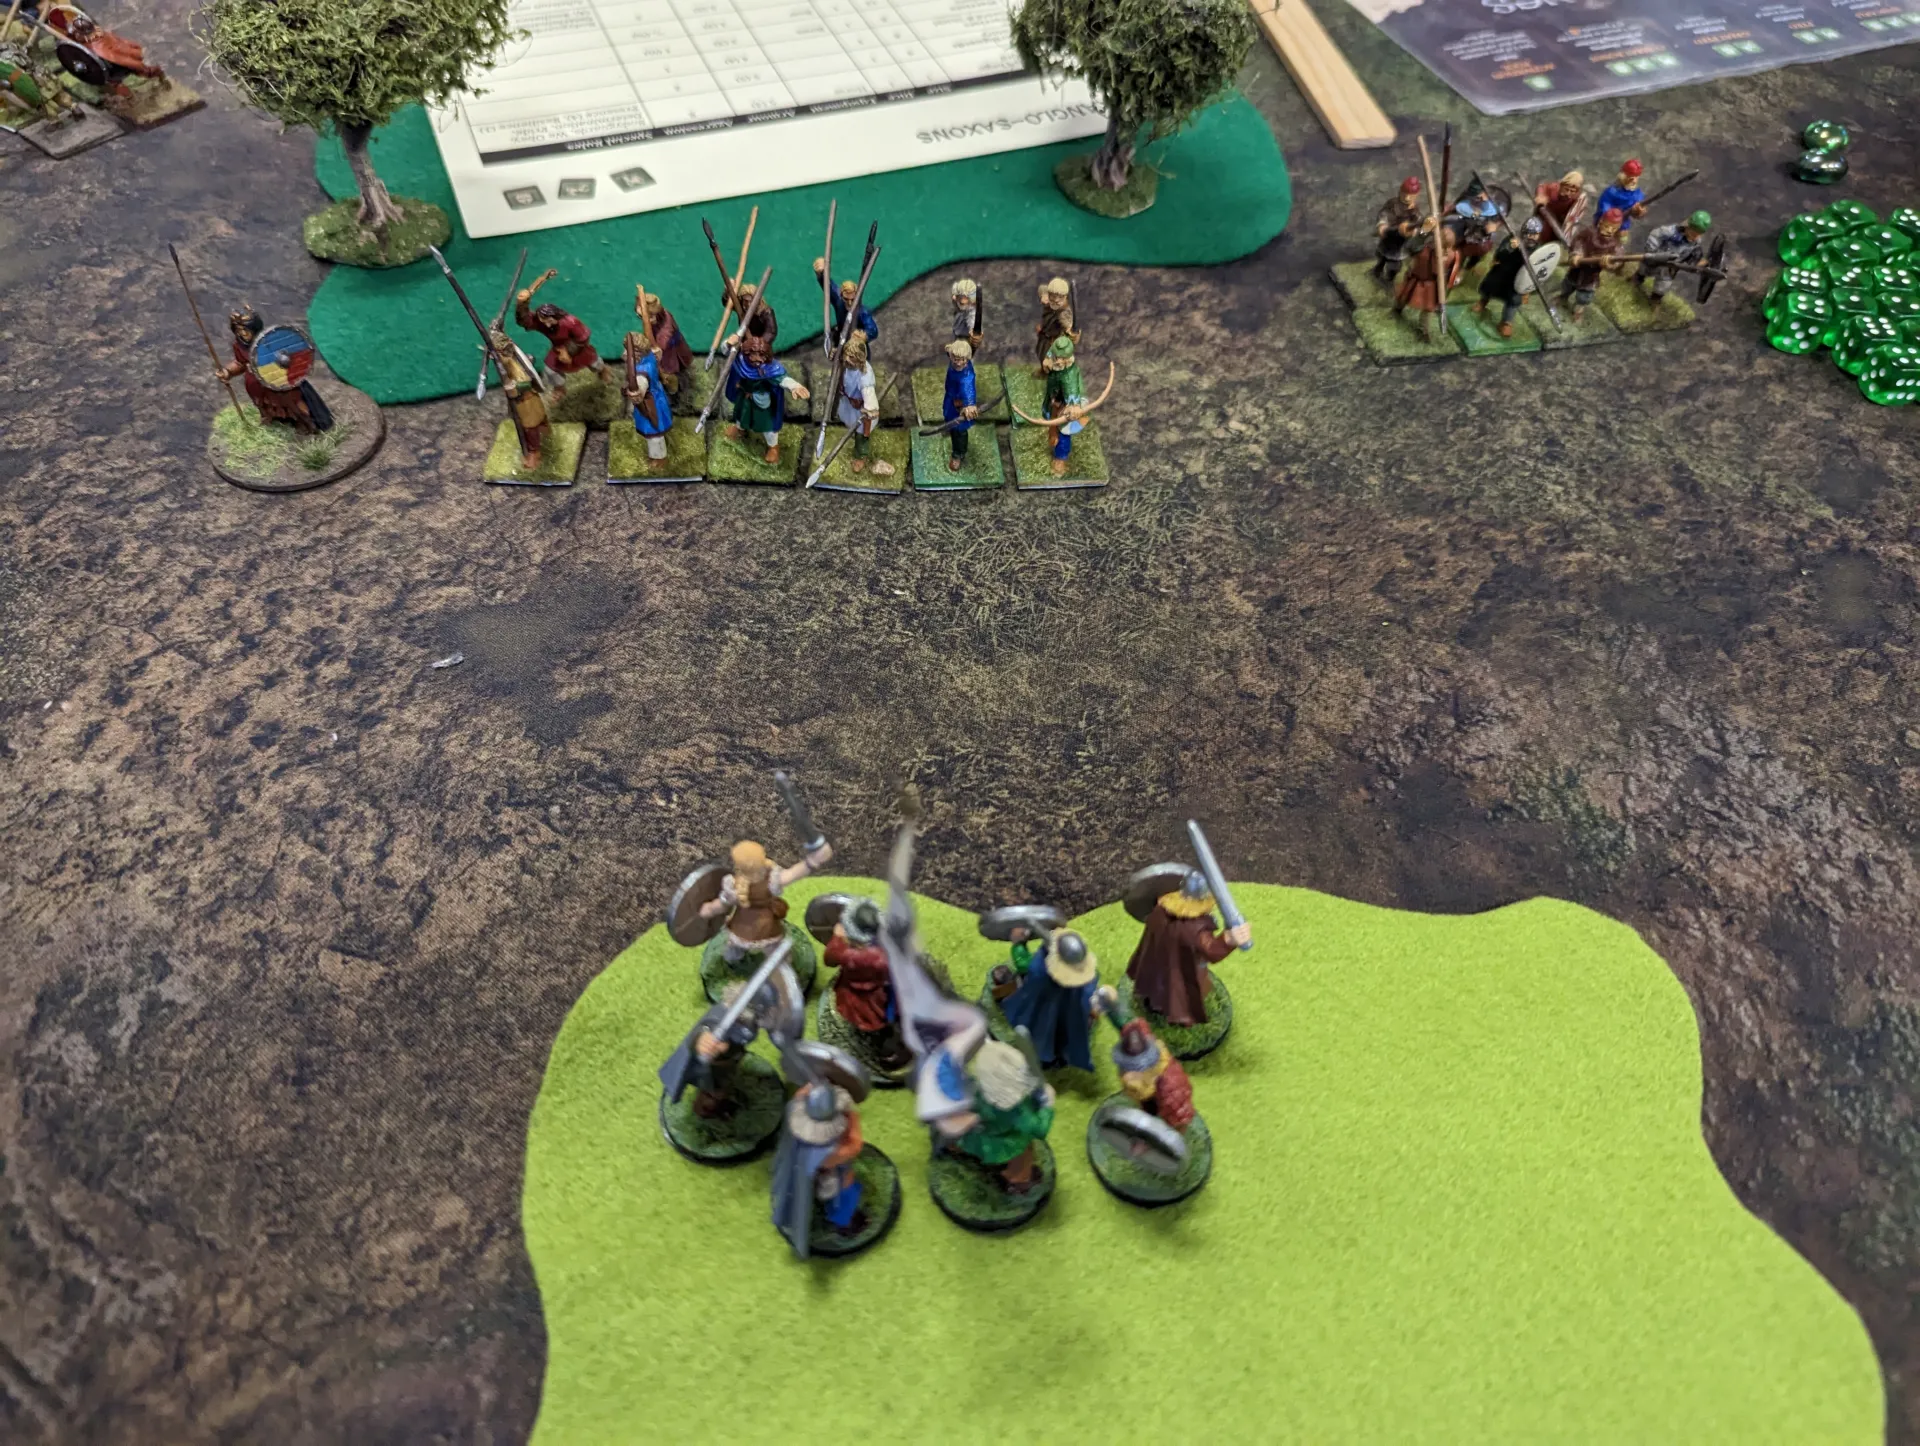
As it happened, we ended up with only three players so some changes were made. One player (myself with the Vikings) deployed in the middle of the southern (bottom) edge, and the southern hill was removed. The other two warbands deployed by the NE and NW woods, L in from the corners. We placed a lake where the southern hill was, to give the vikings an obstacle.
This may have given the Vikings a bit of an advantage, though it’s difficult to tell. Though I had sent an overview of the scenario out to people earlier in the week, I’d had more time to think about the scenario before hand, so that also probably helped in my choice of war band and strategy. I tend to be very reactionary in wargames, and not great at coming up with a workable plan from the start. This time I had a plan, and was mostly able to execute it.
The three armies were:
- Vikings, led by Harald Hardrada
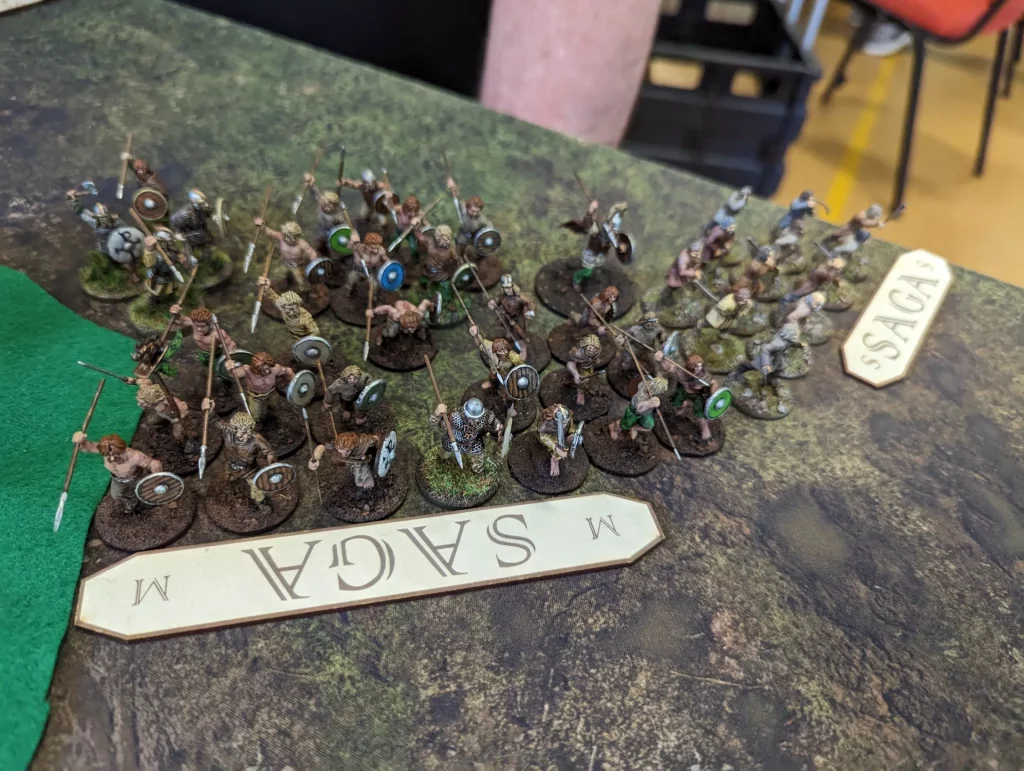
- Irish
- Anglo Danes
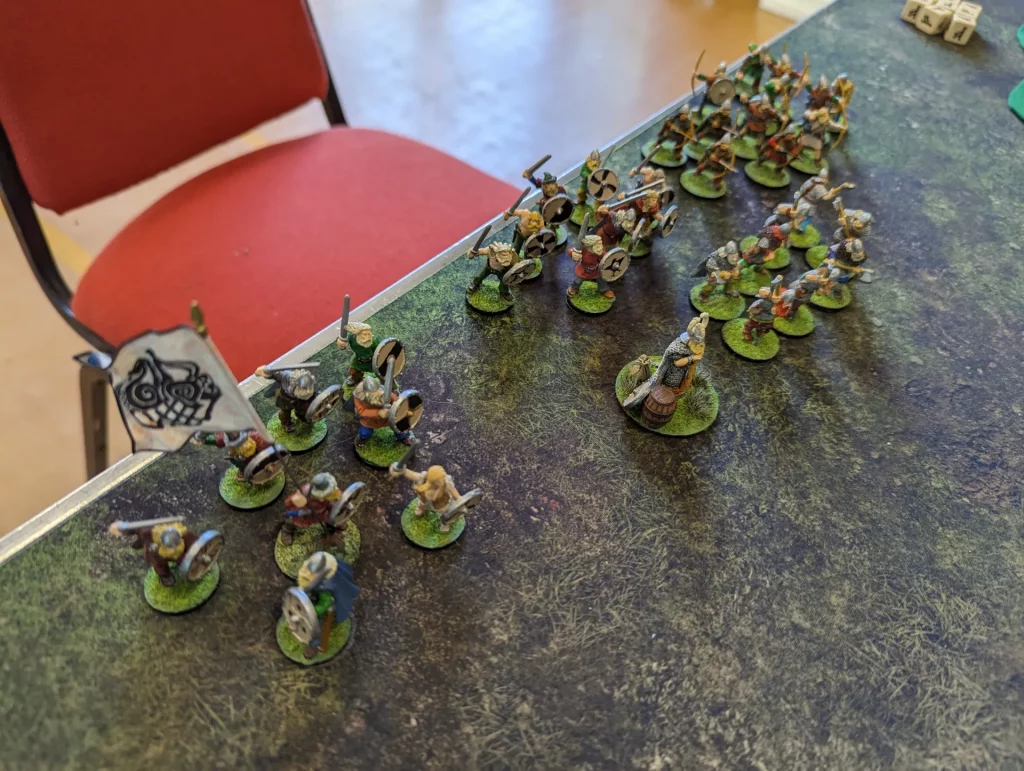
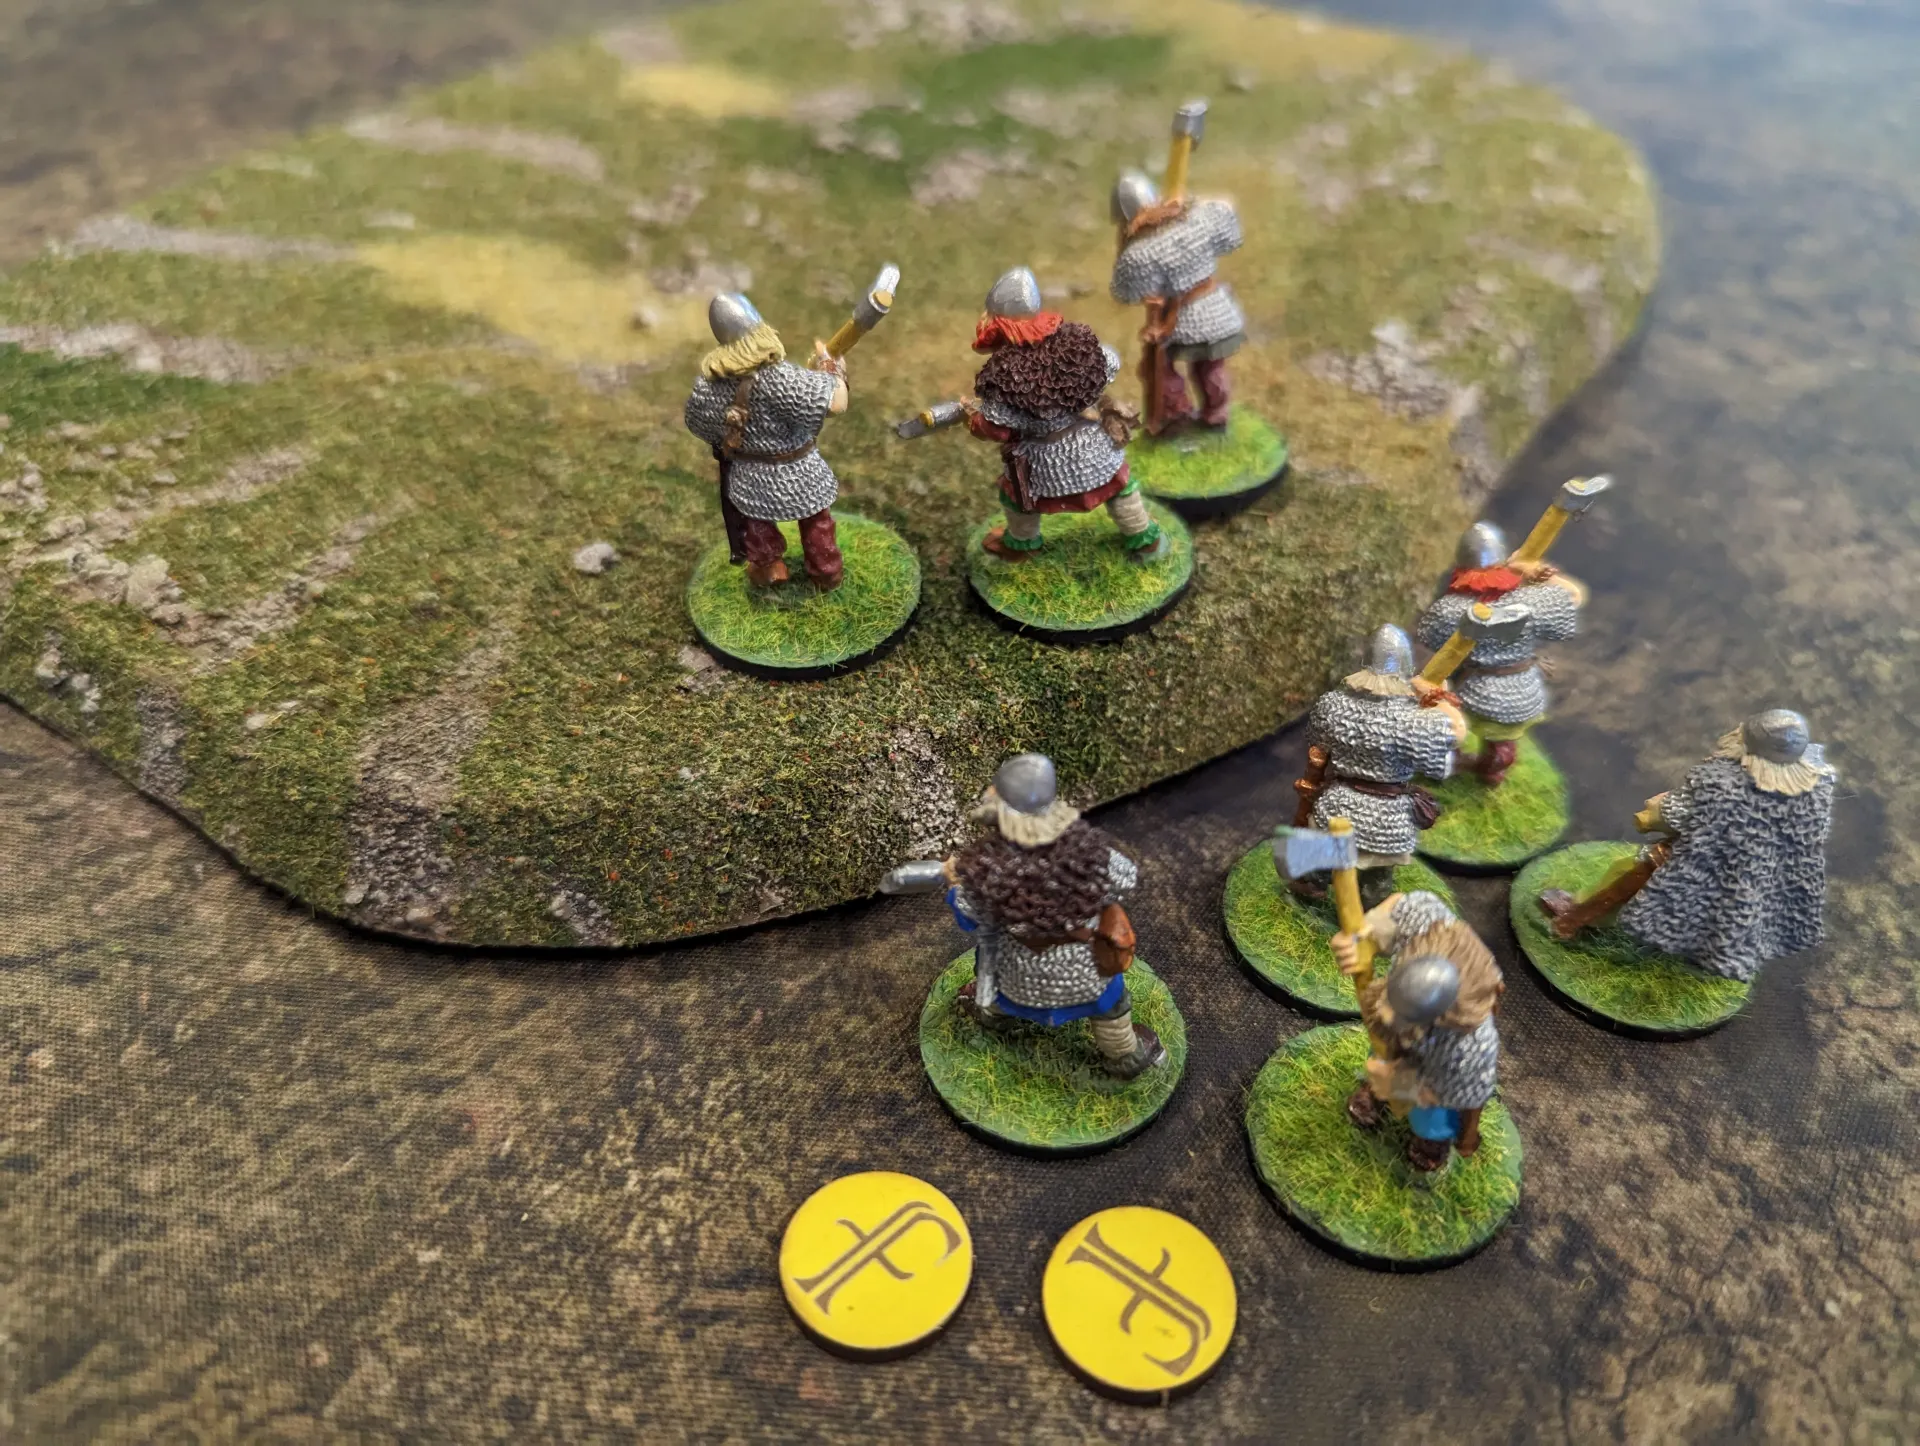
For my Vikings, I had decided to play Harald Hardrada with a unit of 8 Varangian guard (a double sized unit of Hearthguard). This cost me Saga dice, but also gave me a pretty tough unit. We all took a unit with a war banner.
Nobody had mounted troops though, which I think would have been a big advantage in this scenario. There’s quite a bit of space to cover, and having fast moving units would have been beneficial.
We diced to see who went first, and the Vikings won. My carefully planned strategy was to make heavy use of the Viking’s battle boad abilities to manage fatigue, as well as my war banner. Using a combination of manoeuvre (free movement actions if you’re in open terrain and not close to enemy units) and taking a lot of exhaustion in the first turn, the Vikings would try to take as many hills as they could.
Obviously, I got things wrong. I completely forgot the manoeuvre action, and sent my warlord in completely the wrong direction. I also failed to get a yew (ᛇ) on my saga dice, so couldn’t use Njord (remove a fatigue from everyone within M of your warlord).

However, my Varangian guard captured the central hill, with my thralls and bondi (with their war banner) a good way towards two of the other hills. This gave me an immediate 1 victory point.
With my turn completed, I handed over to the Anglo Danes. They went for a more cautious start, sending one unit through the woods, and the others spilling out towards the northern hill. However, they didn’t manage to capture any of the hills.
This meant that the Irish had to go next, and they were more aggressive. In my experience this is unusual for Irish warbands, since they are very good at skulking in woods and avoiding a good fight. They also normally win using these tactics.
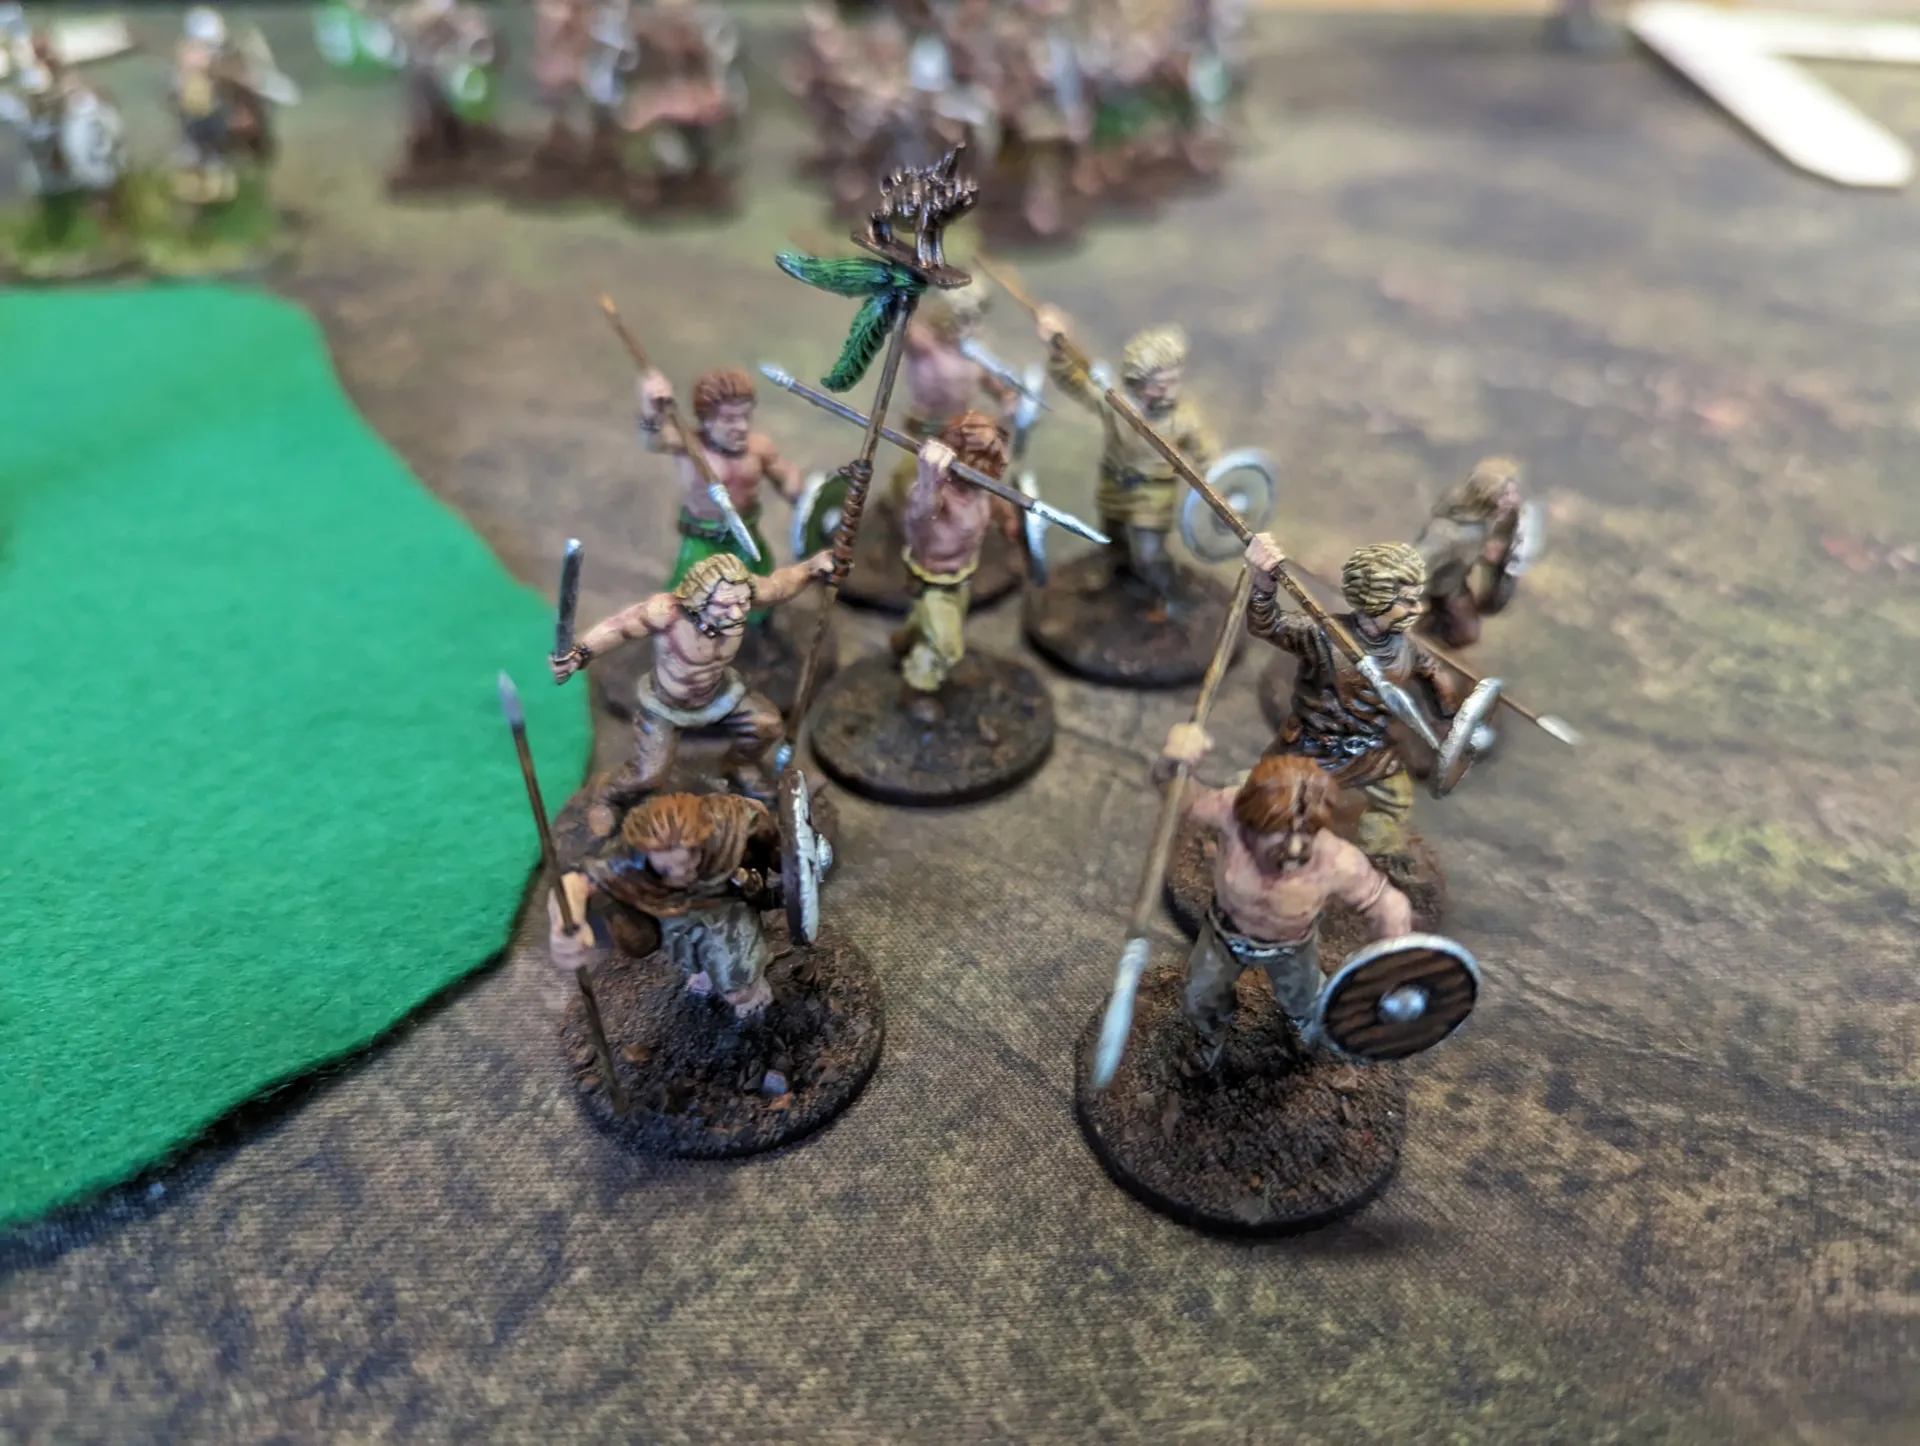
But the Irish in this instance went for a more aggressive strategy, and this enabled them to capture the northern hill, giving them 1 point as well. Their use of The Old Way to activate multiple units gave then a movement advantage. From their position by the hill, they were also able to get first blood – their slingers took down some of the Anglo Dane warriors that were approaching from the East.
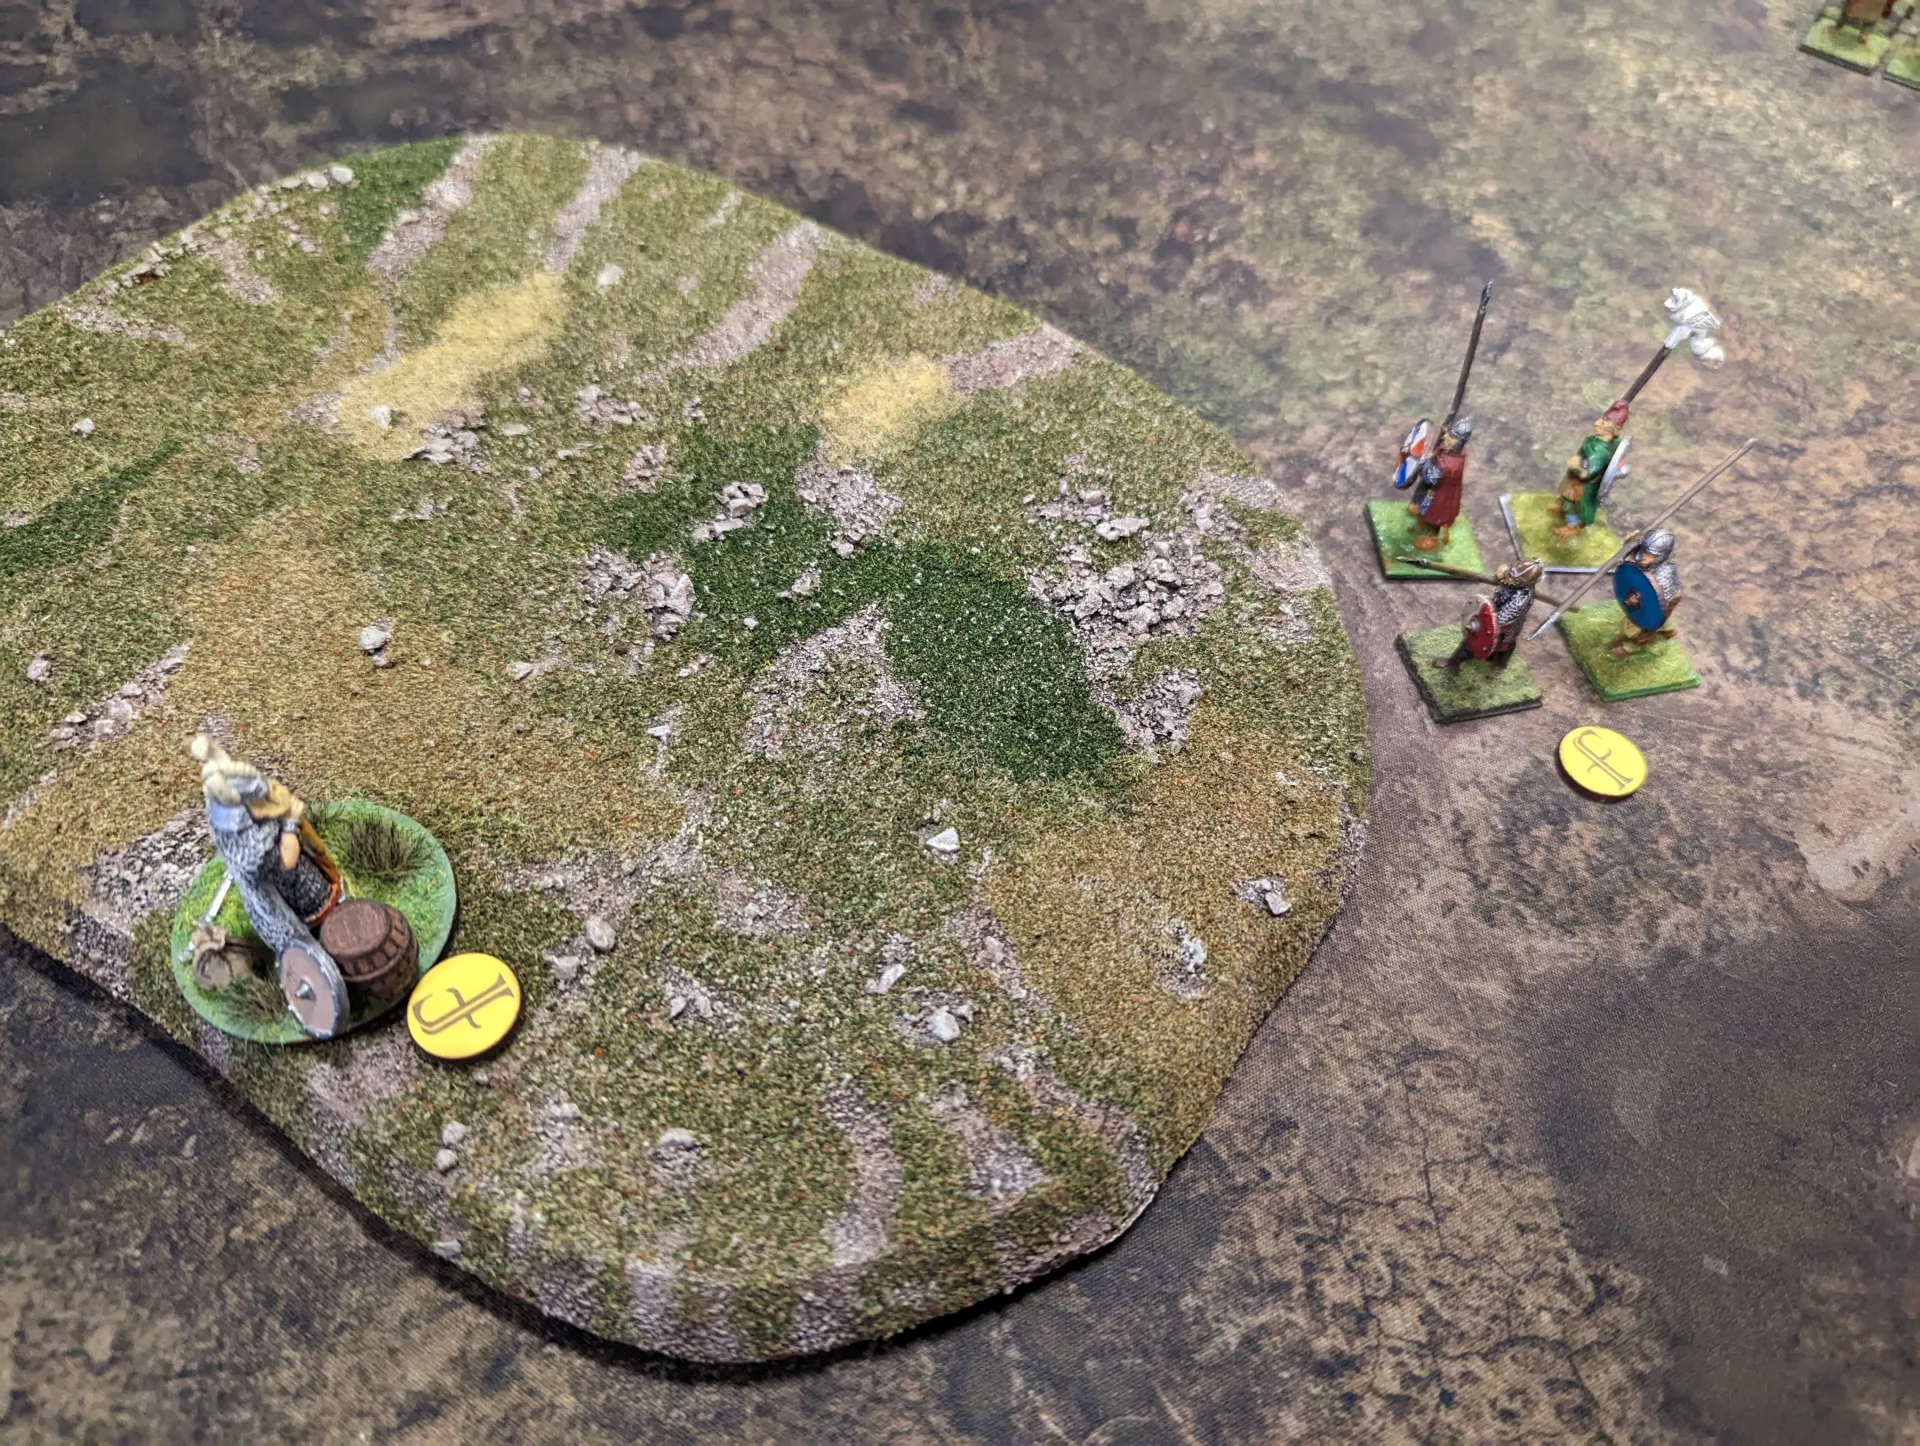
It was now time for turn 2, and the Irish handed over to the Vikings. Moving my levees up to the western hill allowed the Irish to use Sons of Dana on me, shooting from the woods. But I captured my second hill. I also moved to the East to capture that hill as well, giving myself a full 3 points this turn.
I had to fix the mistake I’d made in the first turn, moving my warlord close to (but not at) exhaustion to get back around to my western flank where he should have been. There he was able to use Njord (I’d finally rolled a yew ᛇ) to recover fatigue from my units.
Wanting to give the Anglo Danes something to worry about, I handed activation to the Irish. They began to consolidate their domination of the northern hill, but also began threatening me in the west, taking control of the western hill. This wasn’t difficult to do, since I barely had one figure on it.
Their attempts to shoot me didn’t go well, and my thralls only took a single casualty. But they were now getting 2 points for their control of two hills.
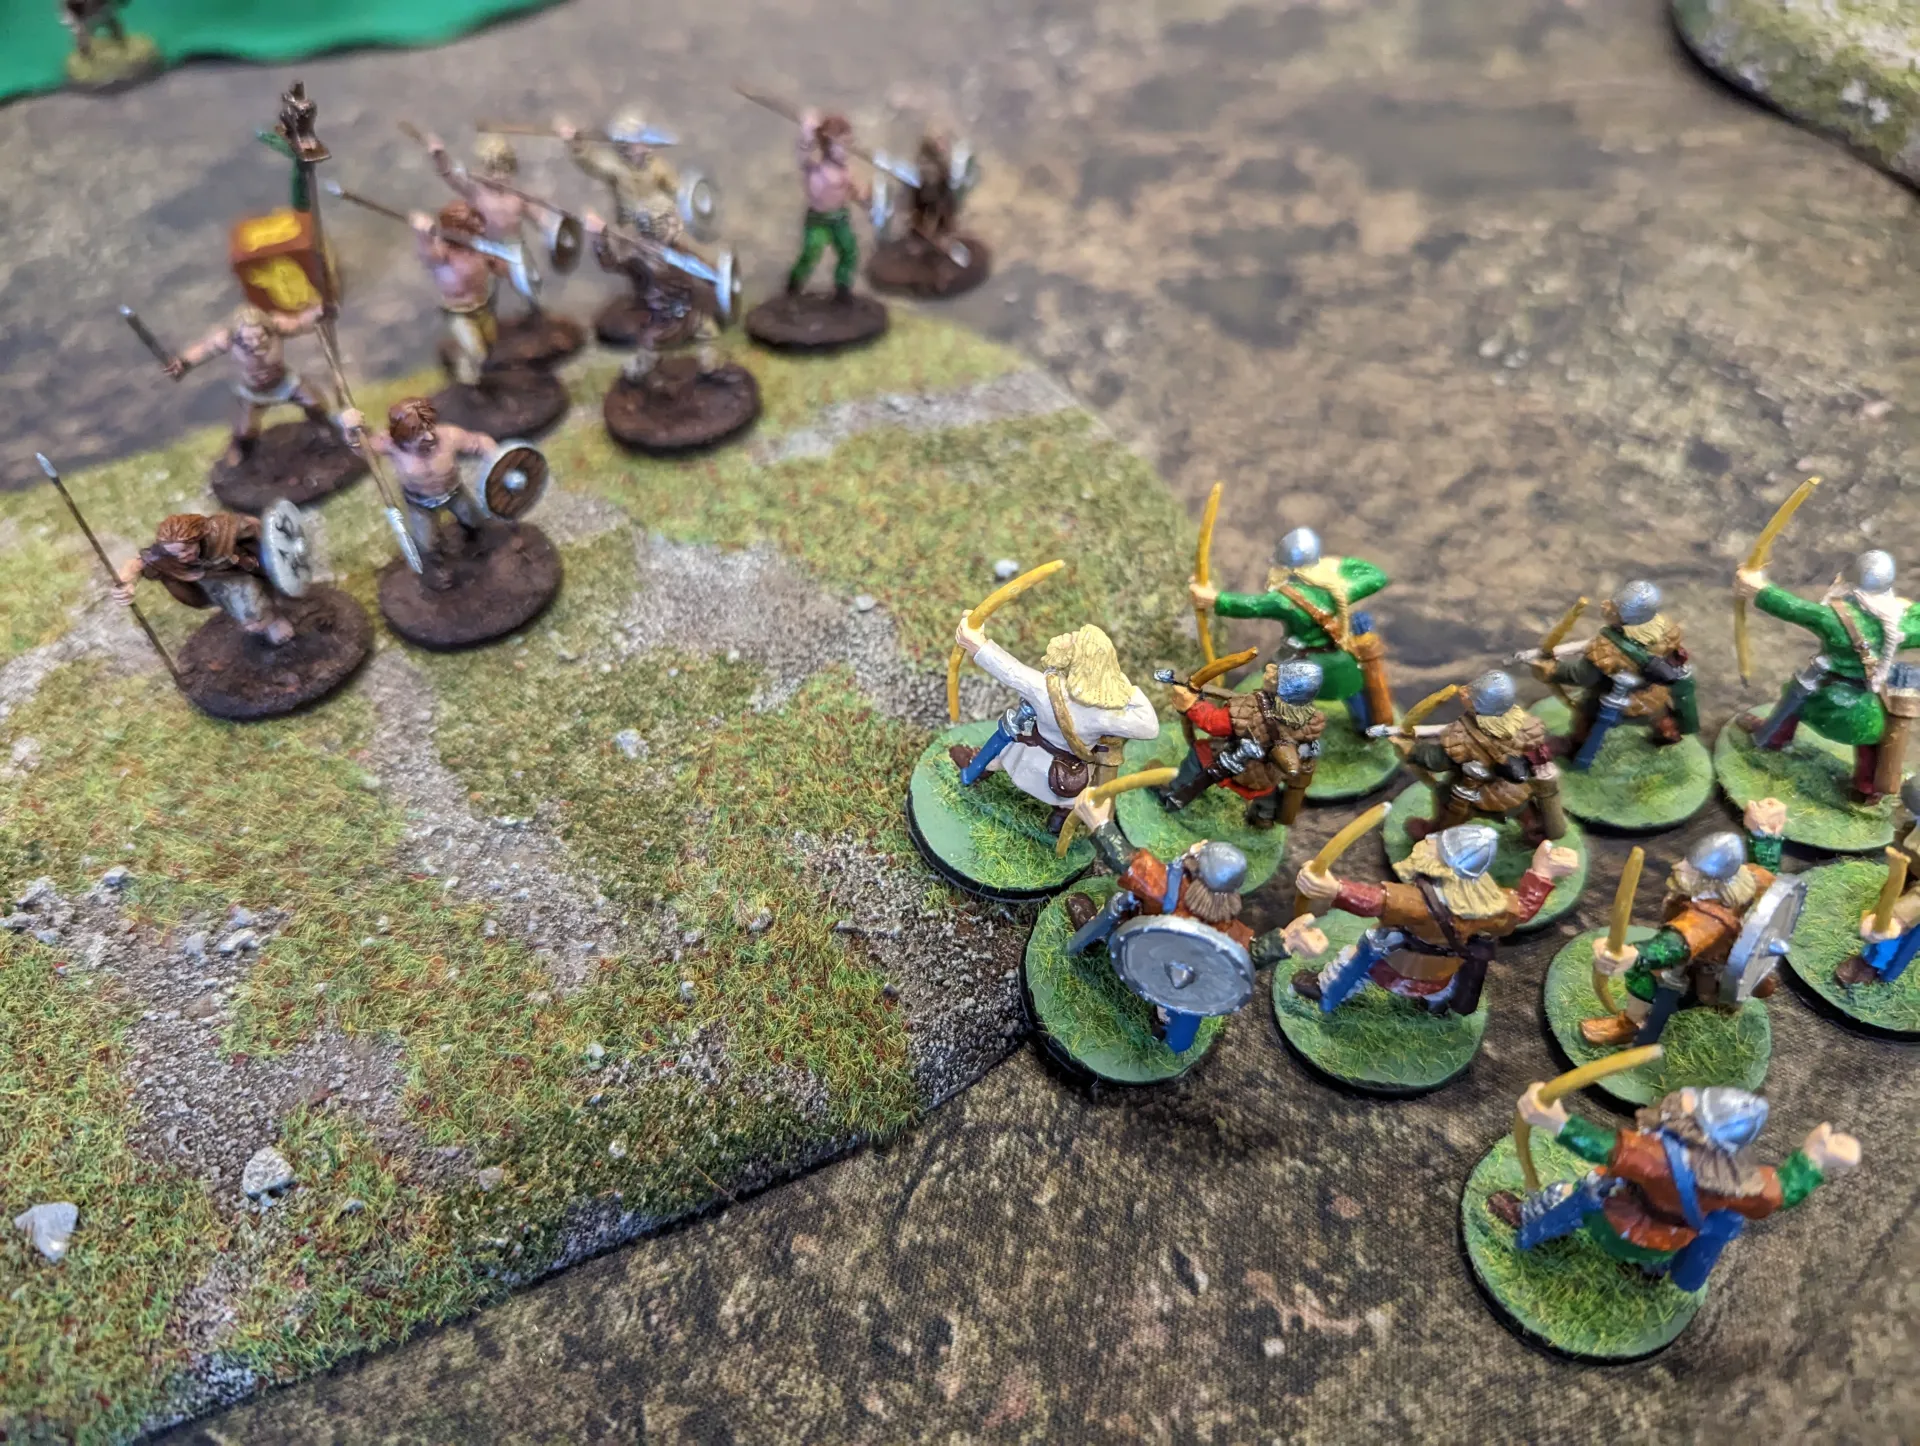
Back around to the Anglo Danes, who continued to move gradually out. The Anglo Danes weren’t being as aggressive as they probably could have been, choosing to keep at range and play defensively. This meant that unfortunately by the end of the second turn they hadn’t scored any points.
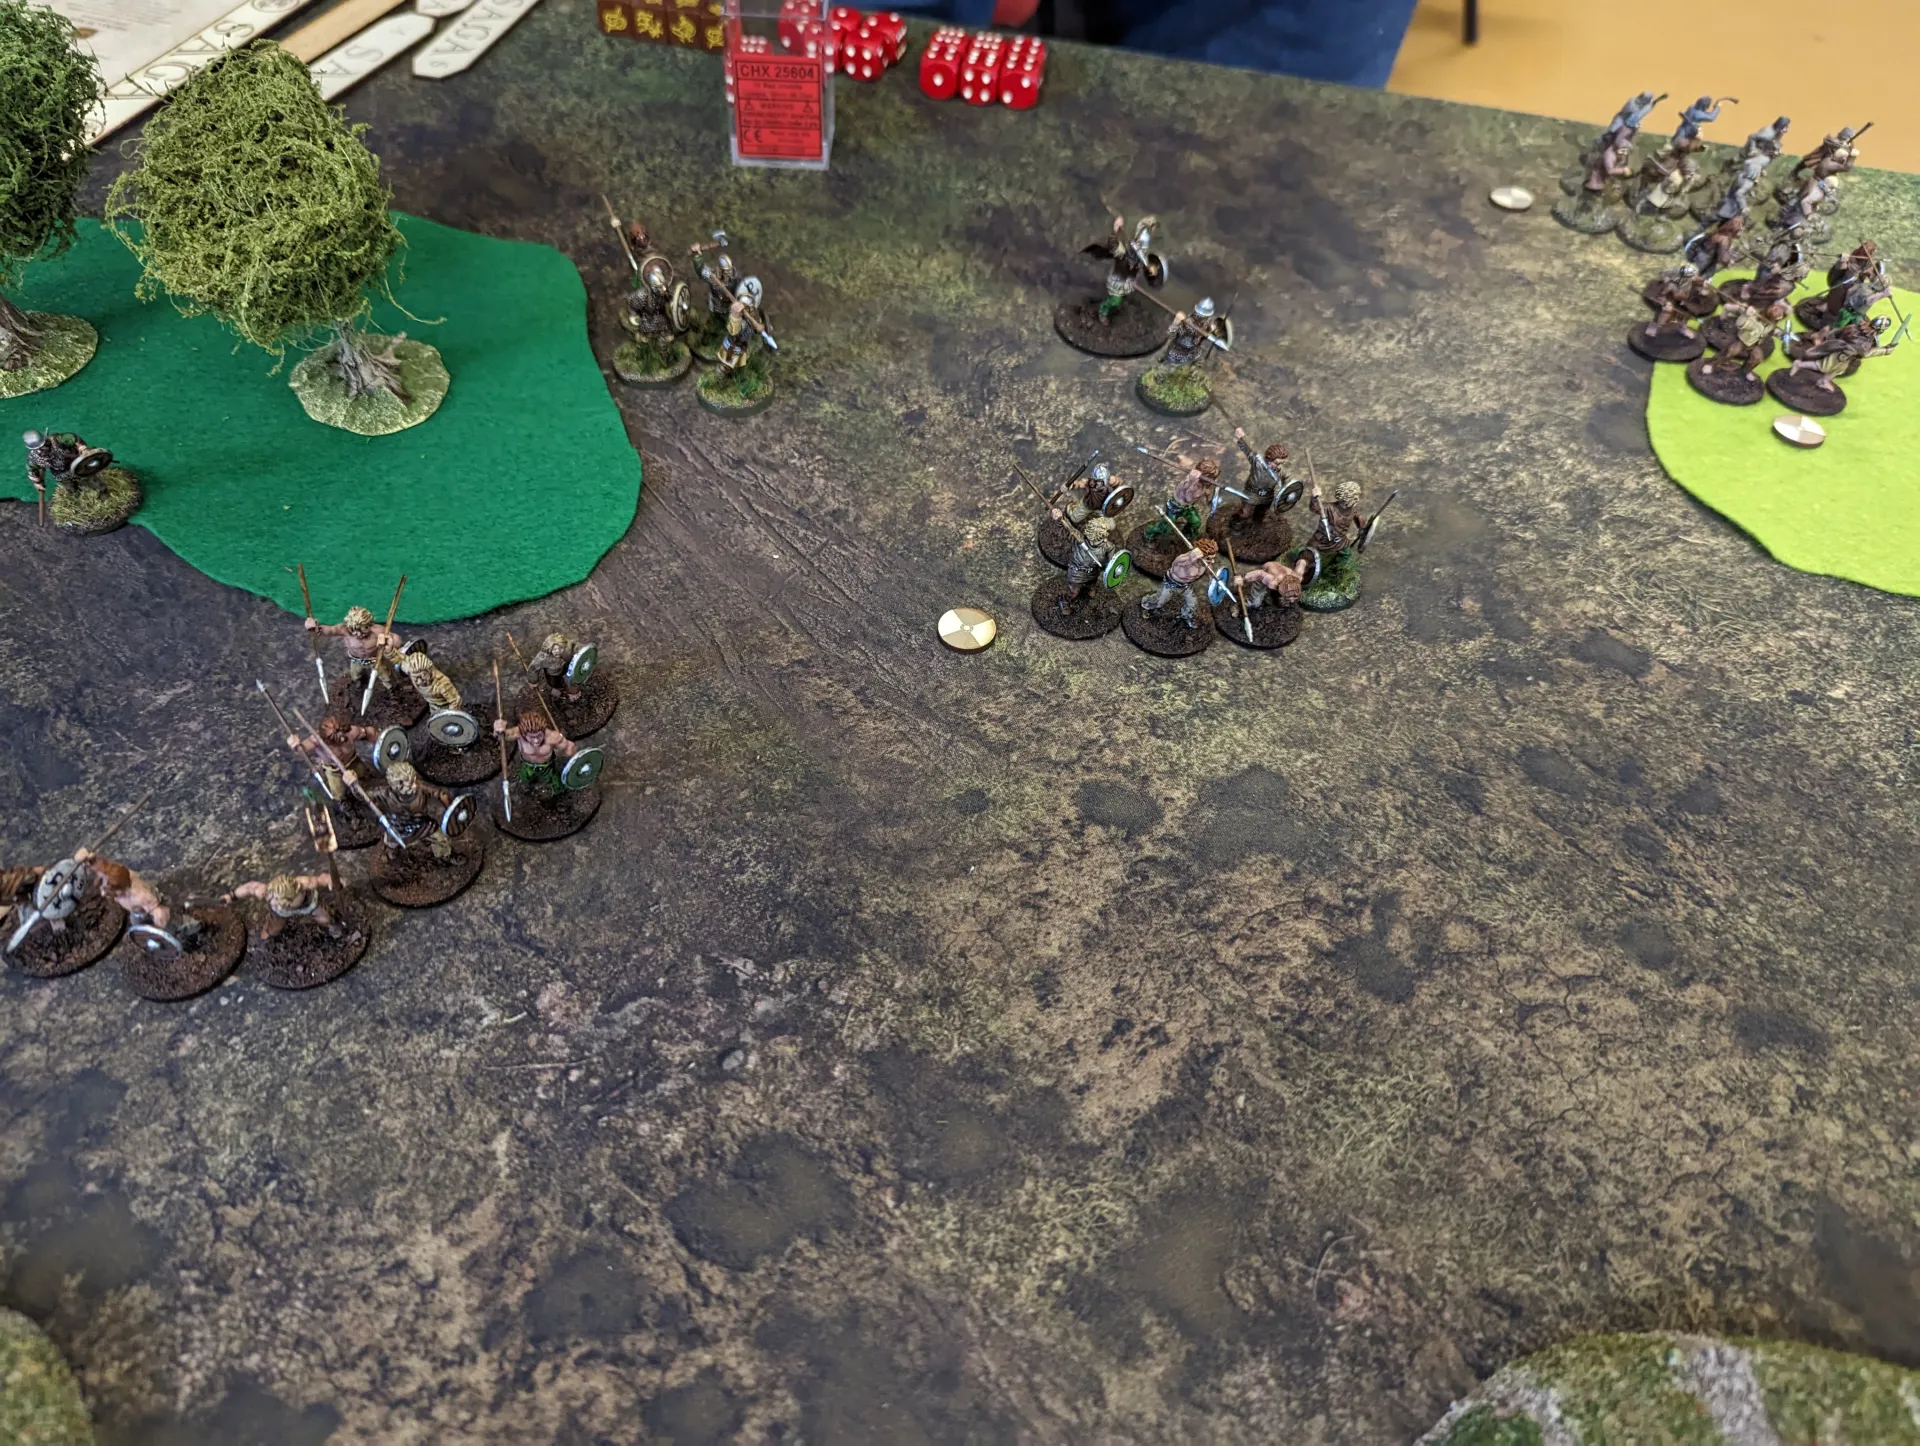
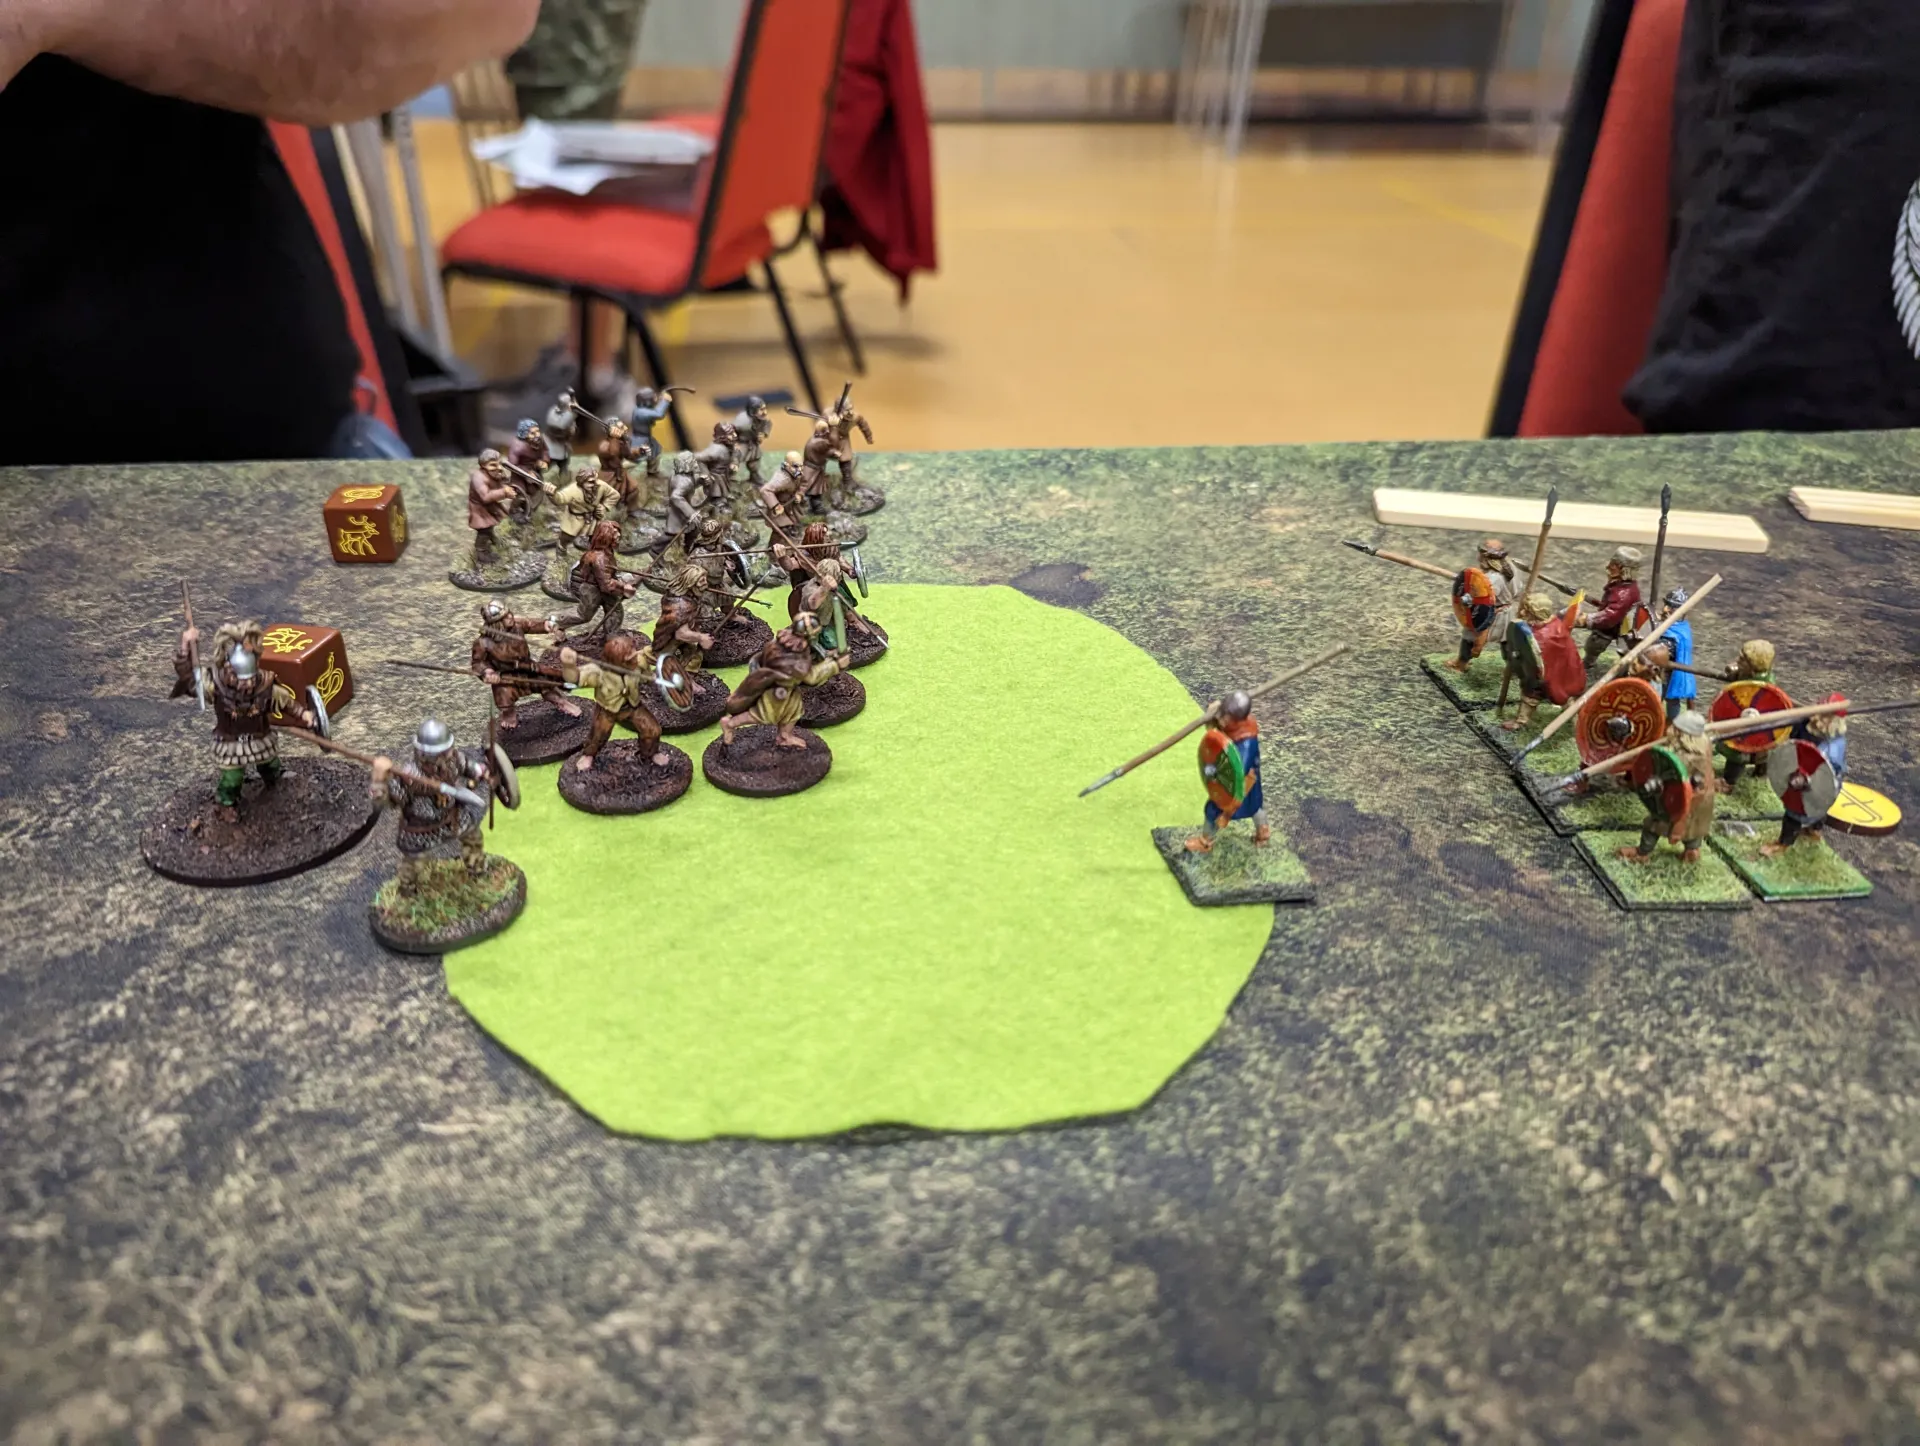
Turn three started with the Vikings again, who were slightly miffed that the Irish had dared to take one of their hills away from them. It was a nice hill, with a good view of the surrounding woods, and the Vikings wanted it back. This wasn’t going to go well for the Irish. I started by softening up the Irish unit with some bow fire, killing a couple of them.
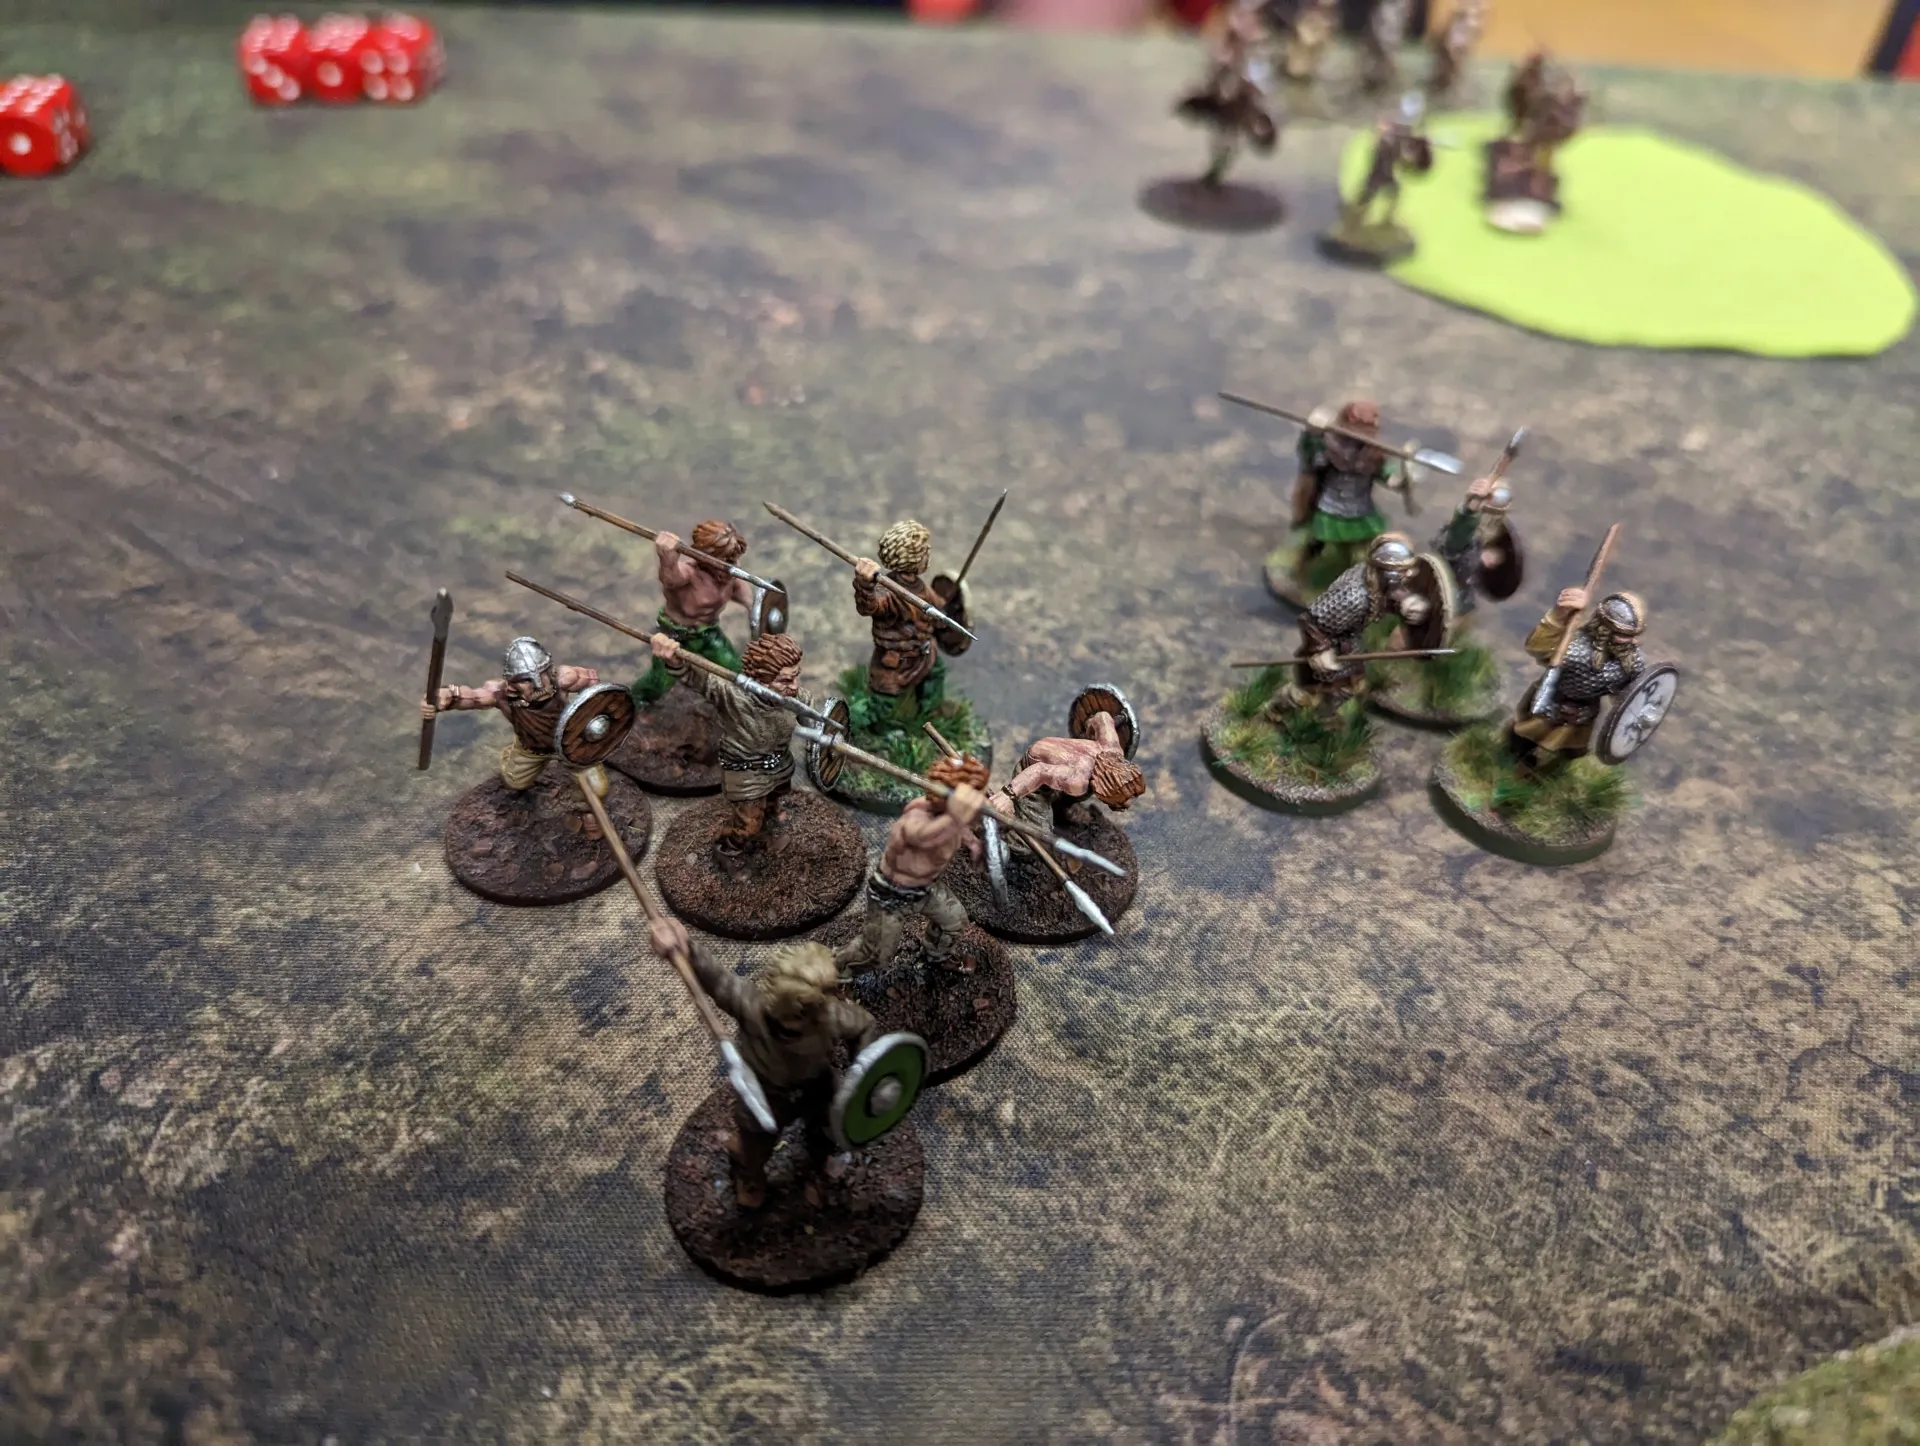
Then it was my chance to see how well my Varangian guard worked. As a 8 figure unit of Hirdmen (Hearthguards), they had a base of 16 attack dice. They moved down off the middle hill, and then charged up to the Bonnachts (Irish warriors) who were dominating that western hill.
I used the battle board abilities Loki to discourage the Irish from using my fatigue, and Thor to inflict an extra automatic hit on each 6 or more I rolled. My unit had heavy weapons, so I was rolling at +1. In total, I got 19 hits on the Irish – they got 3 on me. I lost one man, they lost all 7 of theirs. Taking a risk, I moved my warlord up onto the central hill, and I was now back to getting 3 victory points at the end of my activation phase.
It was around now that the Irish player pointed out that I’d got the armour values for my Varangian guard wrong, and that their armour was too high. After checking the rules, it was found out that he had been half right. Their armour was wrong, but it was too low. I’d given then an armour against shooting of 5, when it should have been 6. It didn’t affect the results of the melee.
I handed things back over to the Anglo Danes who were now shooting at me in the East, but they got no kills. Their warriors were moving around the woods to approach me as well, so I’d soon have to decide how much I wanted to keep the hill.
Their Huscurls were also threatening my domination of the central hill, and therefore my warlord. They didn’t quite get there though.
It was the turn of the Irish now, who decided not to try to retake the western hill. Instead they continued to use their position in the north to shoot the Anglo Danes from the top of the hill, inflicting more casualties. They had another unit that were in position to advance towards the central hill, but were holding back. They continued to gain one point.
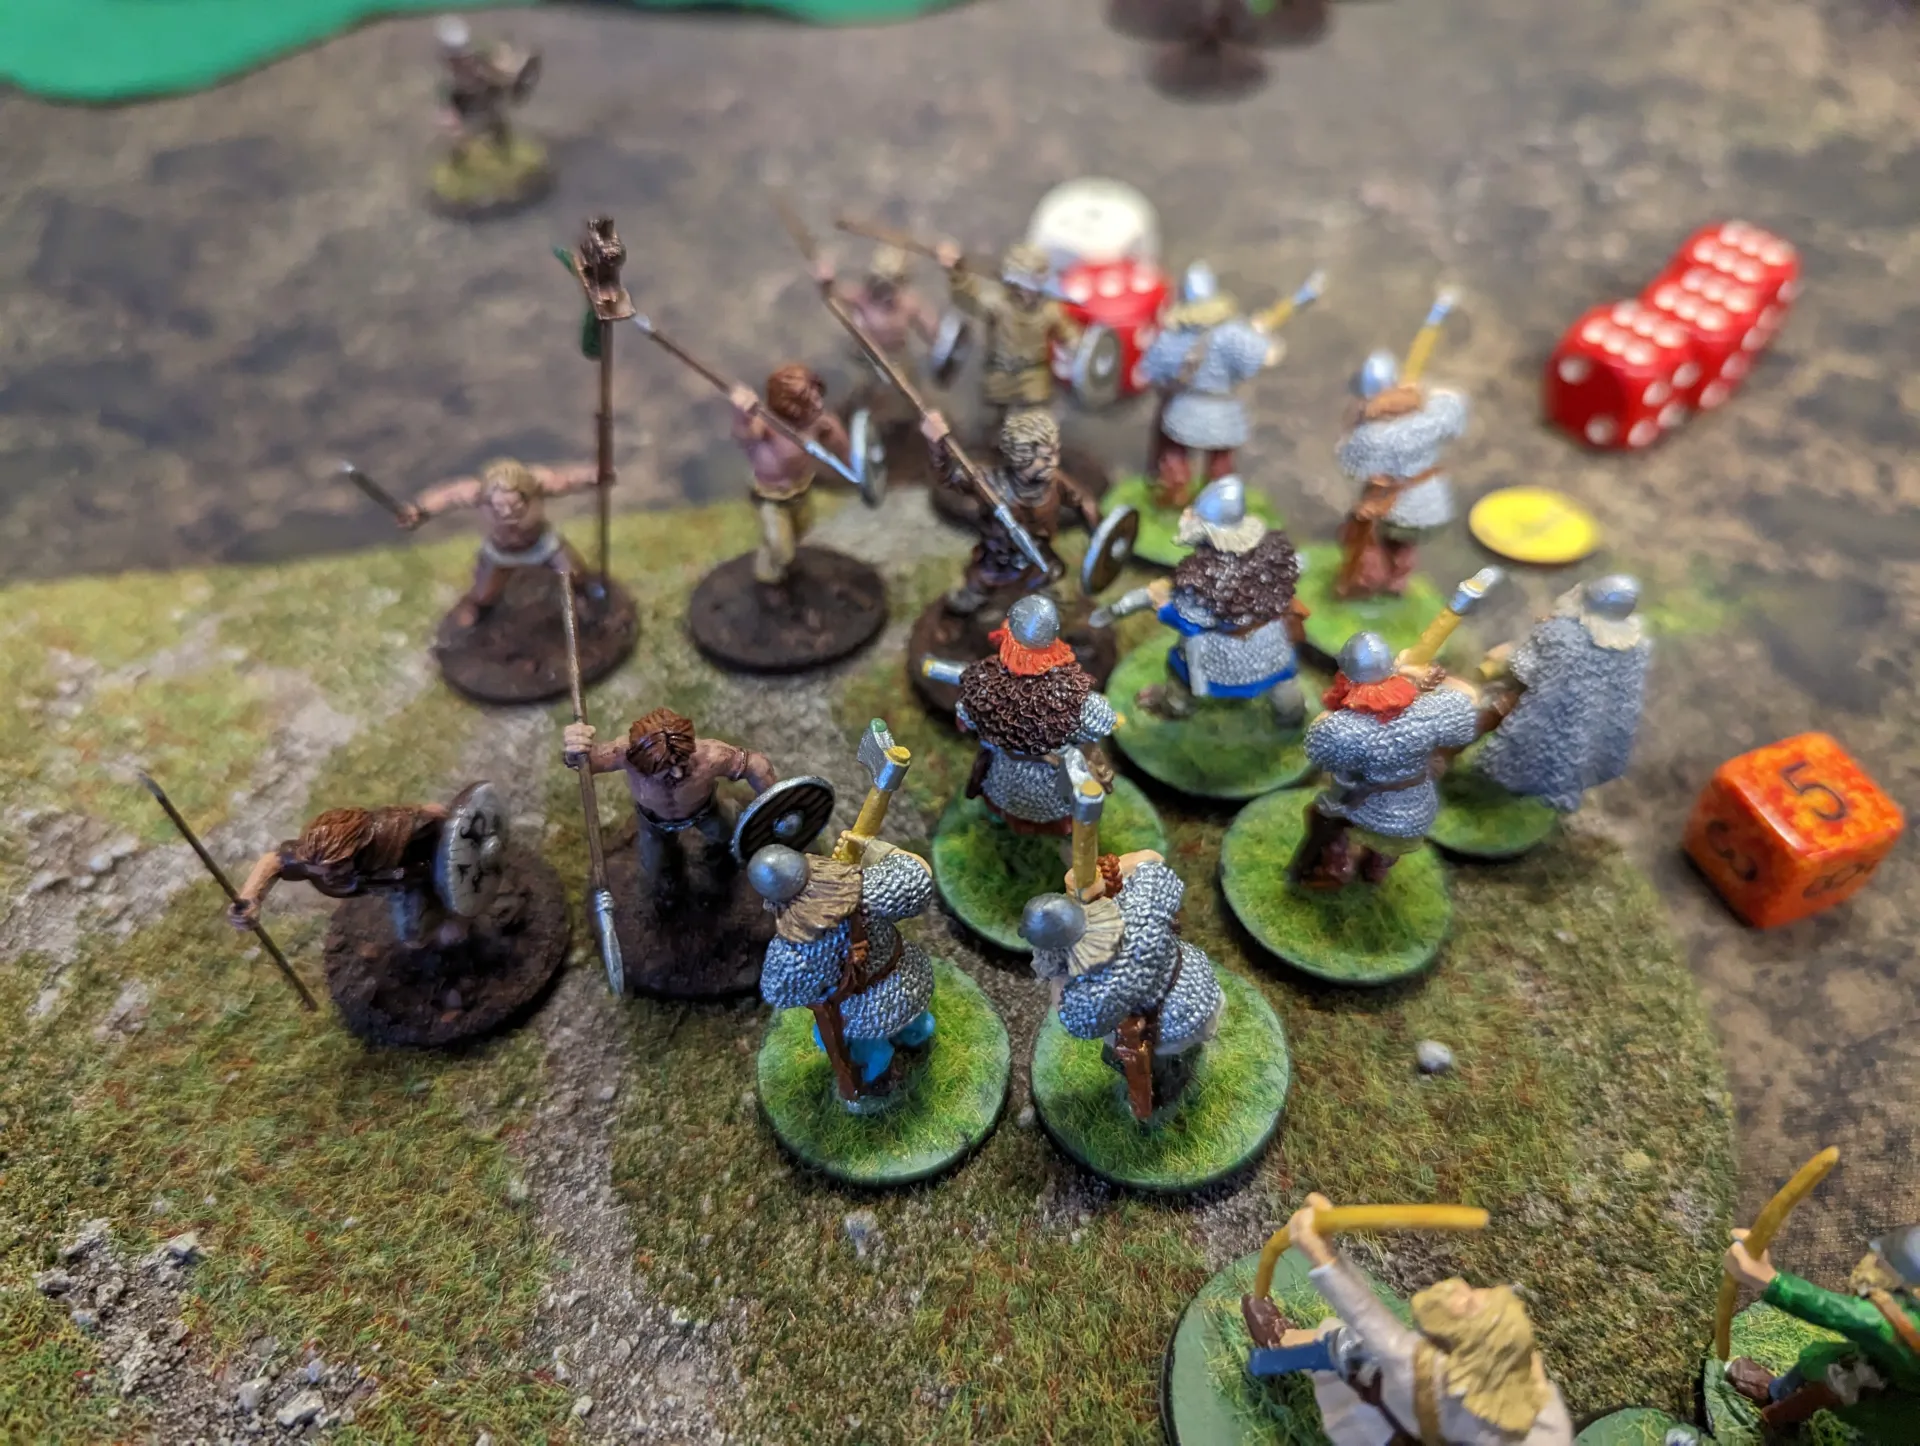
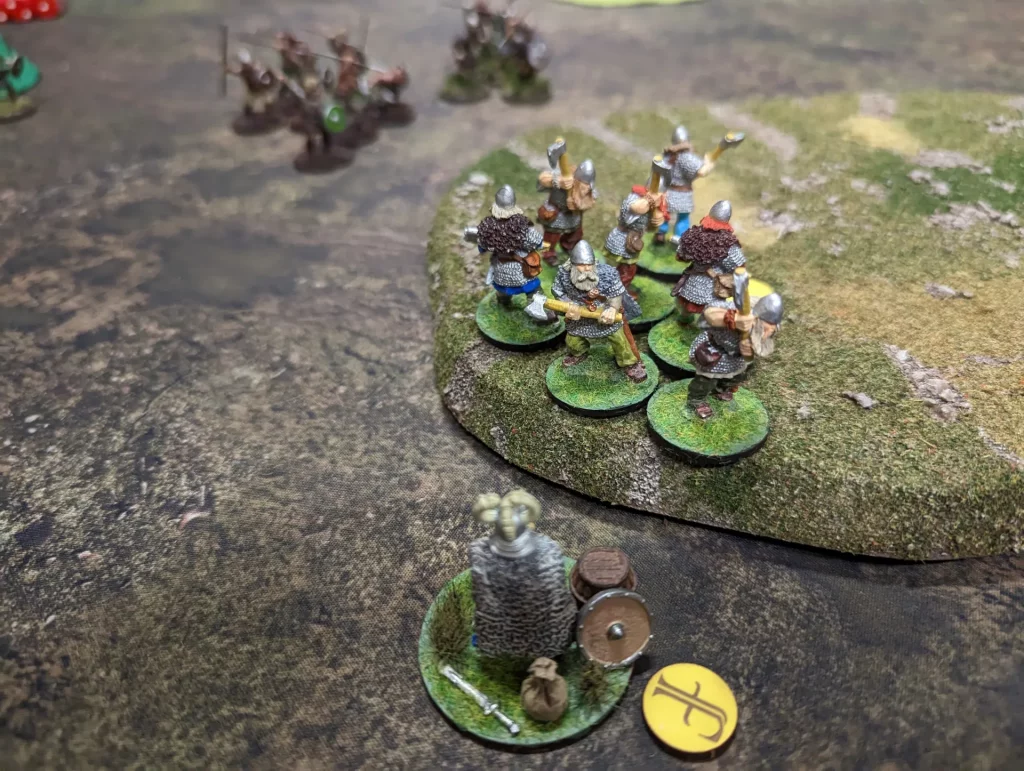
It was now turn four, and the Irish wanted the Vikings to get weakened, so handed over to the Anglo Danes. It was their chance to turn the tide of battle and take out the Viking warlord. The Hirdman charged Harald, but were driven back, but it left him with two fatigue. Again, I think we made a mistake here because the Hirdman had a war banner so should only have had 6 attack dice rather than 8. But it didn’t make that much of a difference to the results.
In the East, the Anglo Danes continued to shoot at my warriors on the hill, this time causing two casualties. I lost my war banner bearer, and one other, but we held firm.
Then it was the Vikings to go. I was sorely tempted to take Valhalla and charge down off the hill to try and drive off their warriors. But I’d get more points by keeping to the objectives and staying on the hill. I retreated back to the southern edge of the hill instead.
My Warlord moved off the central hill, using Njord to recover fatigue for my units, and then my Varangian guard moved back to the centre hill. I ended the fourth turn with another three points.
Finally, it was back to the Irish. At this point we decided we would play out only four turns, and that there wasn’t really anything the Irish could do to radically change things. They could have moved two units up onto the centre hill, which would have given them dominance even without needing to fight. It would only give them a total of 2 points though.
So we called it a game. Victory went to the Vikings, who had ten points. The Irish had six and the Anglo Danes unfortunately got zero.
I think the scenario worked reasonably well, but it would have worked better with four players. The Vikings were well suited to this heavily aggressive type of scenario, and made some lucky decisions. I hadn’t expected to be able to keep control of the Eastern hill for long, expecting the Anglo Danes to either claim it initially, or take it back from me pretty quickly. I only had a single unit of warriors, and a weak one at that. The war banner meant they could move quickly and take fatigue, but also meant they were down one figure when it came to fighting.
The less experienced Anglo Dane player wasn’t as aggressive as I’d expected, which meant that I was able to keep that hill for the entire game with one of my weaker units. As I have found, Saga is very much about being able to make use of your battle boards abilities, and you really need to be able to use tactics based on them. The Anglo Danes seem to be almost the opposite of the Vikings. Where the Vikings can recover their own fatigues, the Danes can inflict fatigues on the enemy. In theory, they could have made it harder for everyone else to move and fight, and then taken advantage of that in their own attacks – especially against the Irish who are weak in melee.
With Cnut the Great as a warlord, the Anglo Danes can even switch between using the Vikings or Anglo Danes battle boards each turn. That seems complicated, but also quite powerful.
I’d concentrated my forces in the West and centre, which made it harder for the Irish to claim territory there. The Irish aren’t a strong melee force, but they are good at movement. They were able to hold the Northern hill, but were only able to grab the Western hill for one turn.
I think the Anglo Danes could have taken the Northern hill if they’d been more willing to take risk earlier on. Then again, the Vikings have some good fatigue cancelling abilities. I’ve never really made use of these in earlier games, and I think it made a big difference.
The fourth player would have brought Jomsvikings, which I was hoping that I wouldn’t be anywhere near. Like the standard Vikings, they are very good at melee. Whether they could have moved as quickly as the Vikings though I don’t know. With four players, it definitely would have balanced things out though, with everyone having two immediate neighbours to fight over objectives with.
Possible changes if we were to do this again:
- Allow each player to move or put down an extra terrain piece.
- Include survival points in the point totals. In this case I might increase the objective points, because I like the objectives to be the main way to gain points.
- Four turns is about all we have time for at the club’s evening game. If we ever do a longer event, then six turns would be a more interesting duration.
I did consider bringing my Anglo Saxons with Aethalstan as a warlord. That would allow heavy use of mounted troops, which would make them much more manoeuvrable than they’d otherwise be. That would allow them to take objectives quickly, but I don’t know whether they’d be able to keep them.
Personally, I thought it was a good game. But then, I don’t often win so maybe that coloured my judgement. It would be good to try the scenario again, with maybe some of the above modifications. There were also two other Saga games being played at the club that night (one Age of Vikings, the other Age of Crusades, so the game seems to be quite popular at the moment.