The Sacred Mole
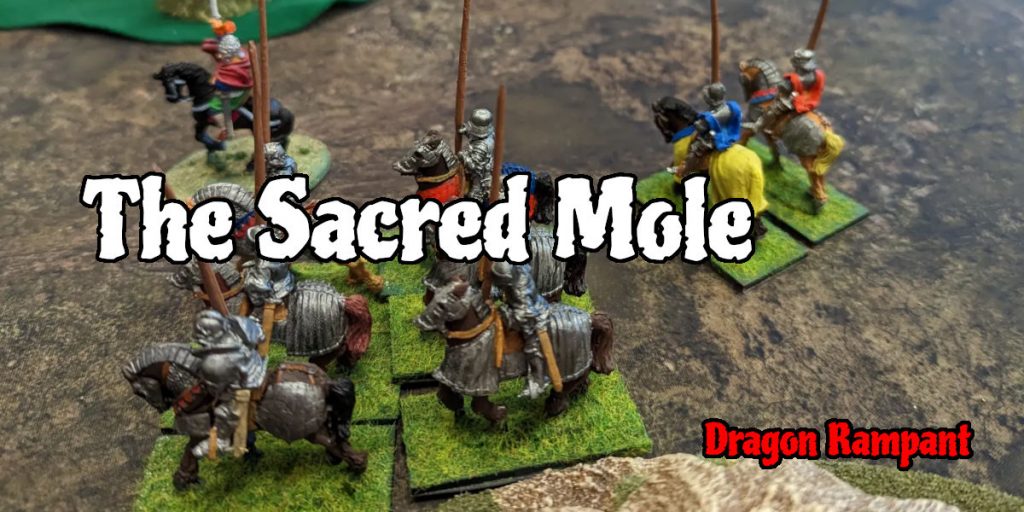
We had our expected game of Dragon Rampant on Friday at Farnborough Wargames club, with four players in a 2v2 game. We played one of the standard scenarios in the book – the Sacred Mole of Ukkert. The aim of the game was for the attacker to take the stolen mole from the edge of the mountains in one corner of the table, and to take it off the table at the far corner.
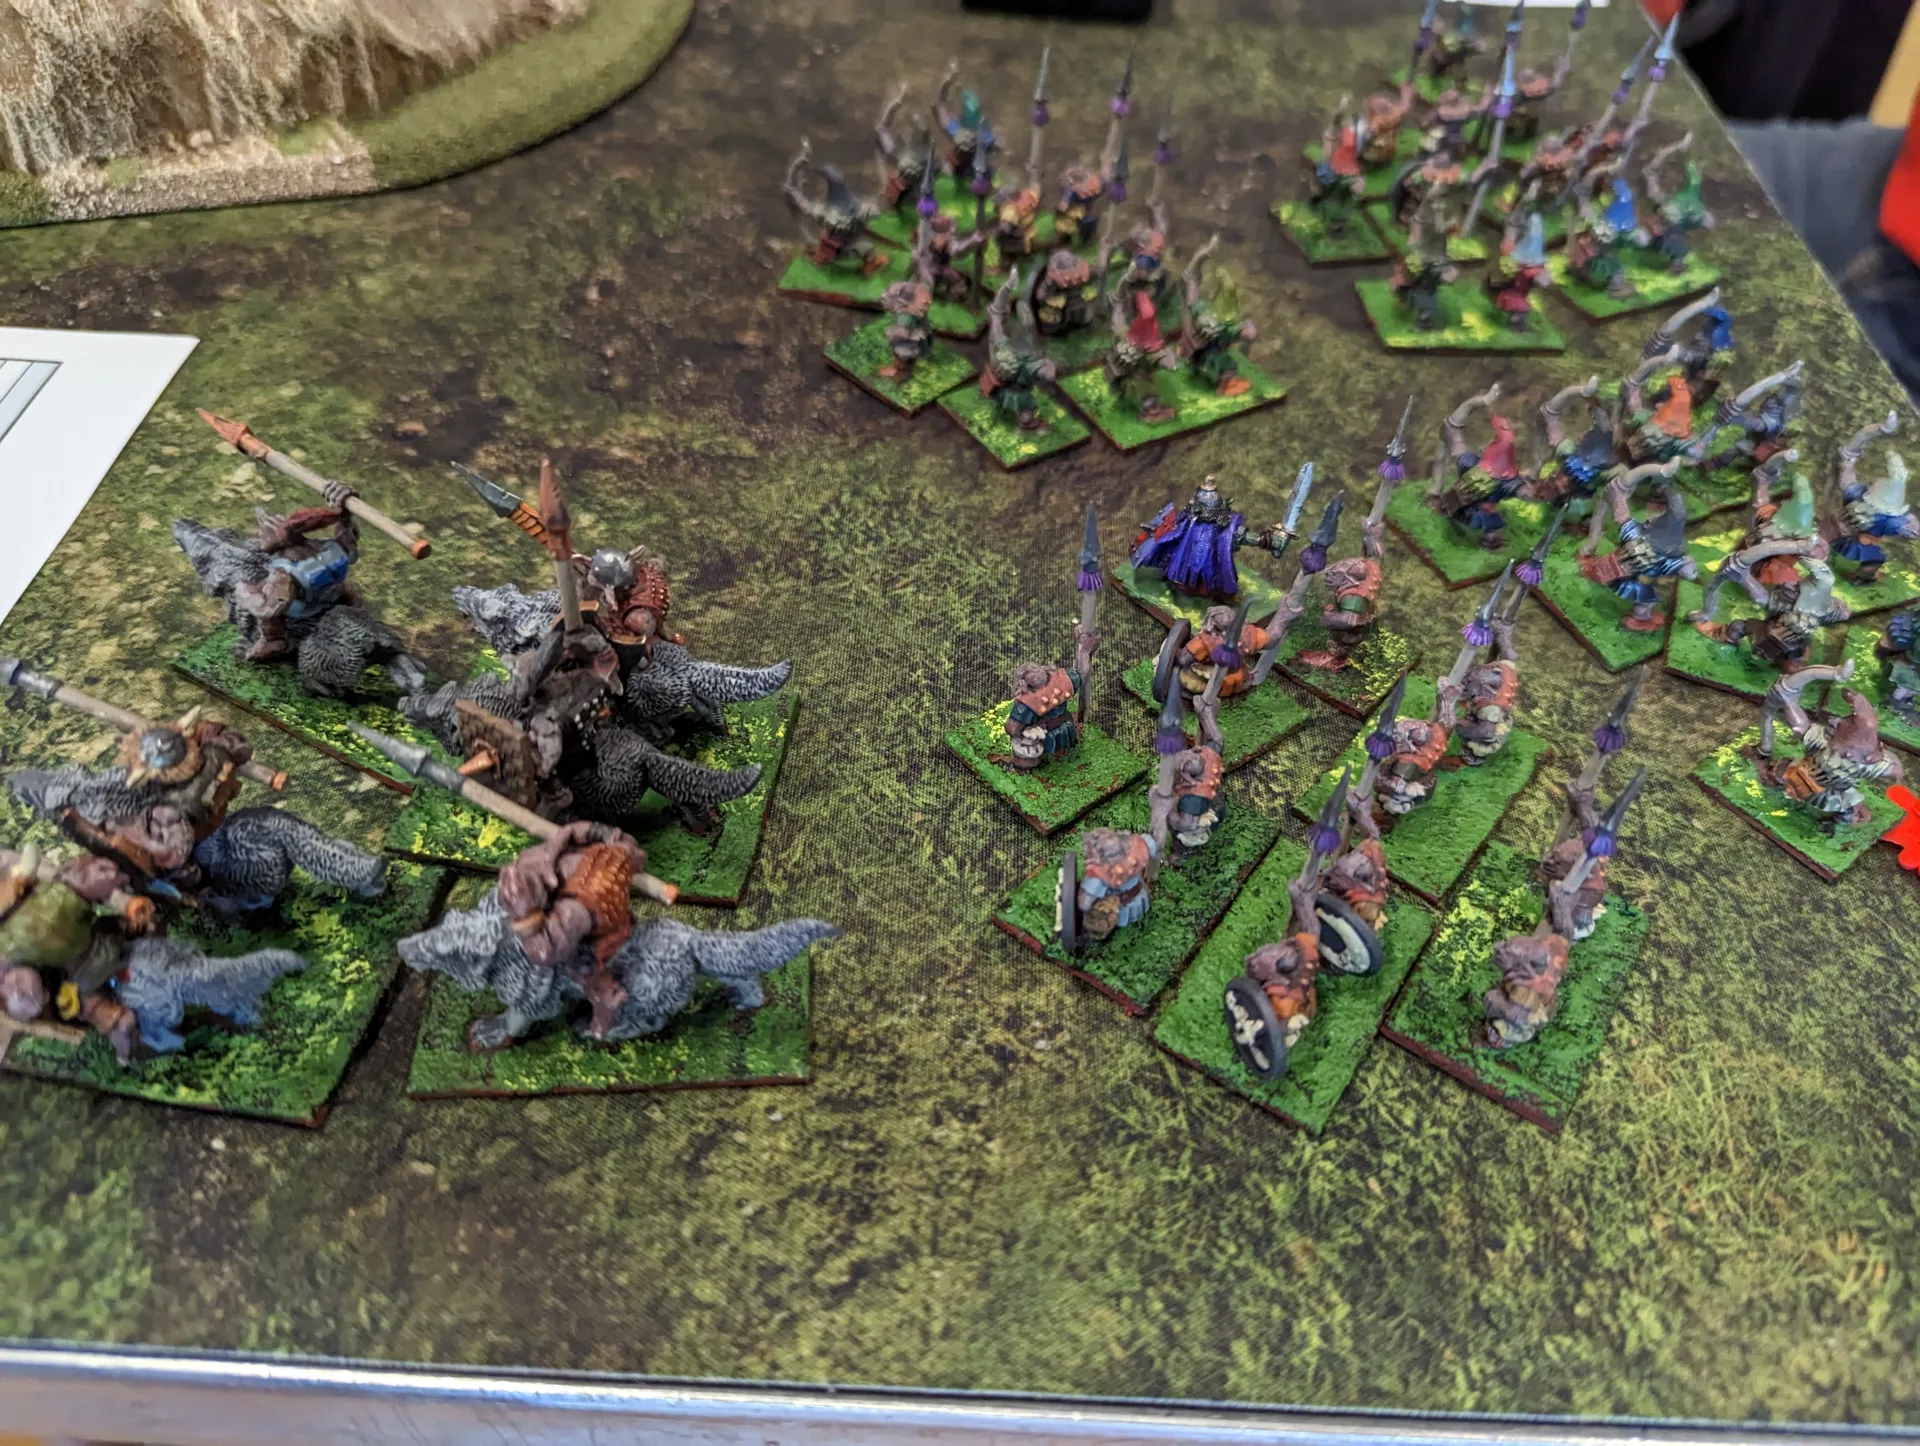
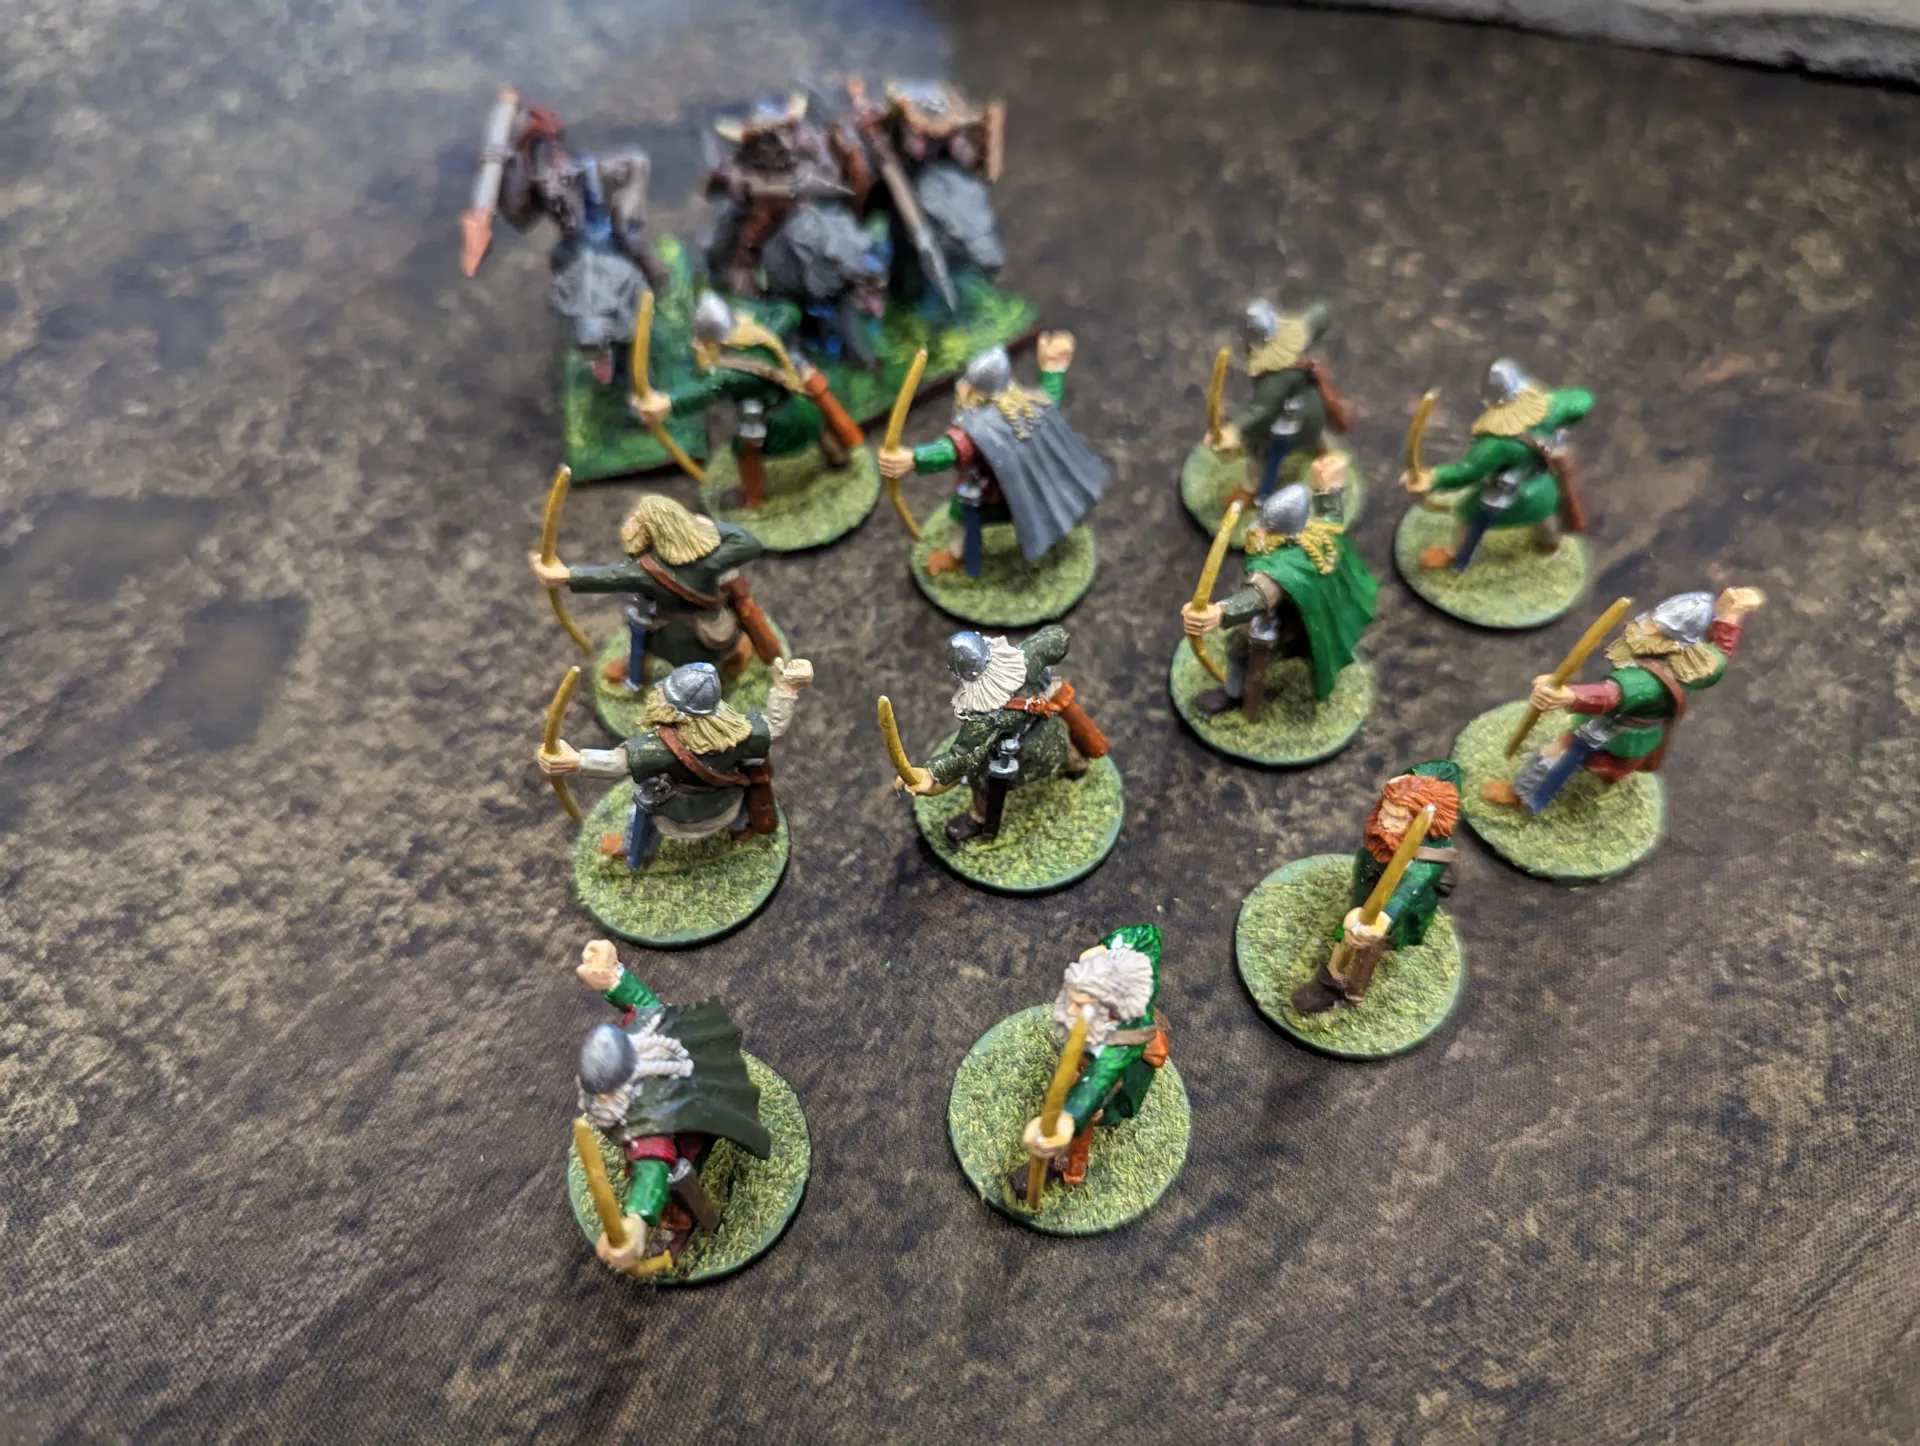
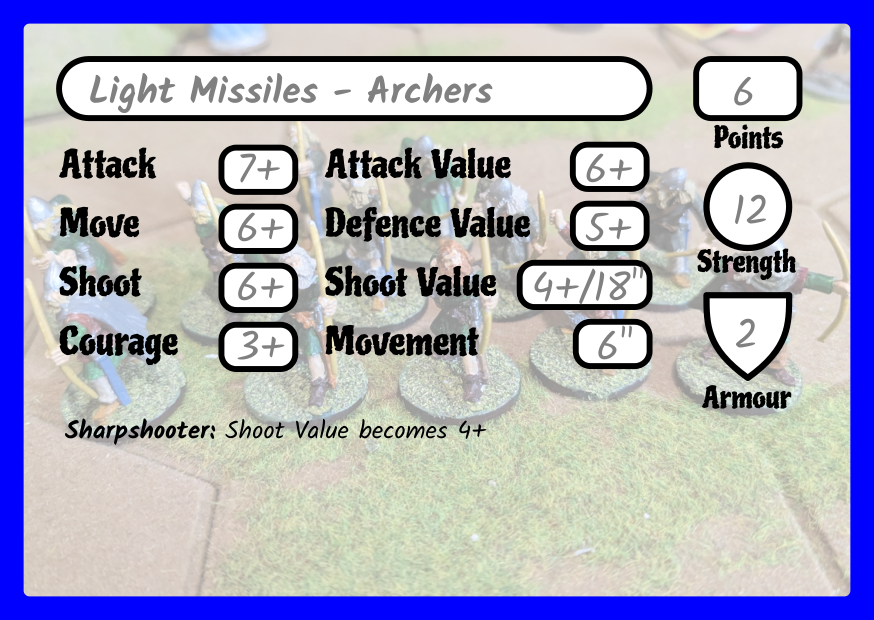
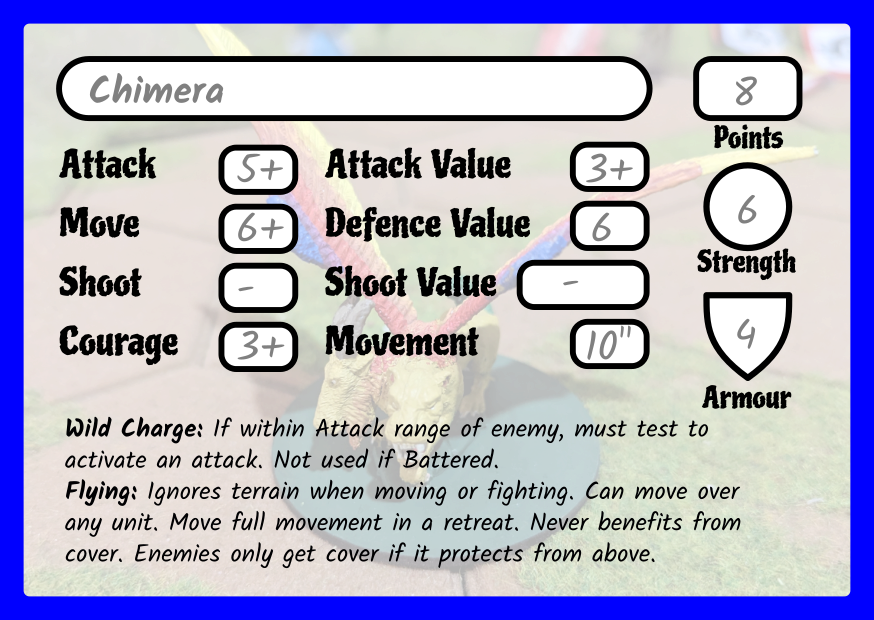
Two of us had a ‘Men of the West’ type of army – mostly human mounted knights and some archers and slingers. We also had a Treant, which was a Great War Beast, and a Chimera, which was a flying version of the same. We were up against a strange alliance of goblins and dwarves, who were objecting to the sacred symbol of their mountain home being taken by non-mountain dwellers. Or something like that.
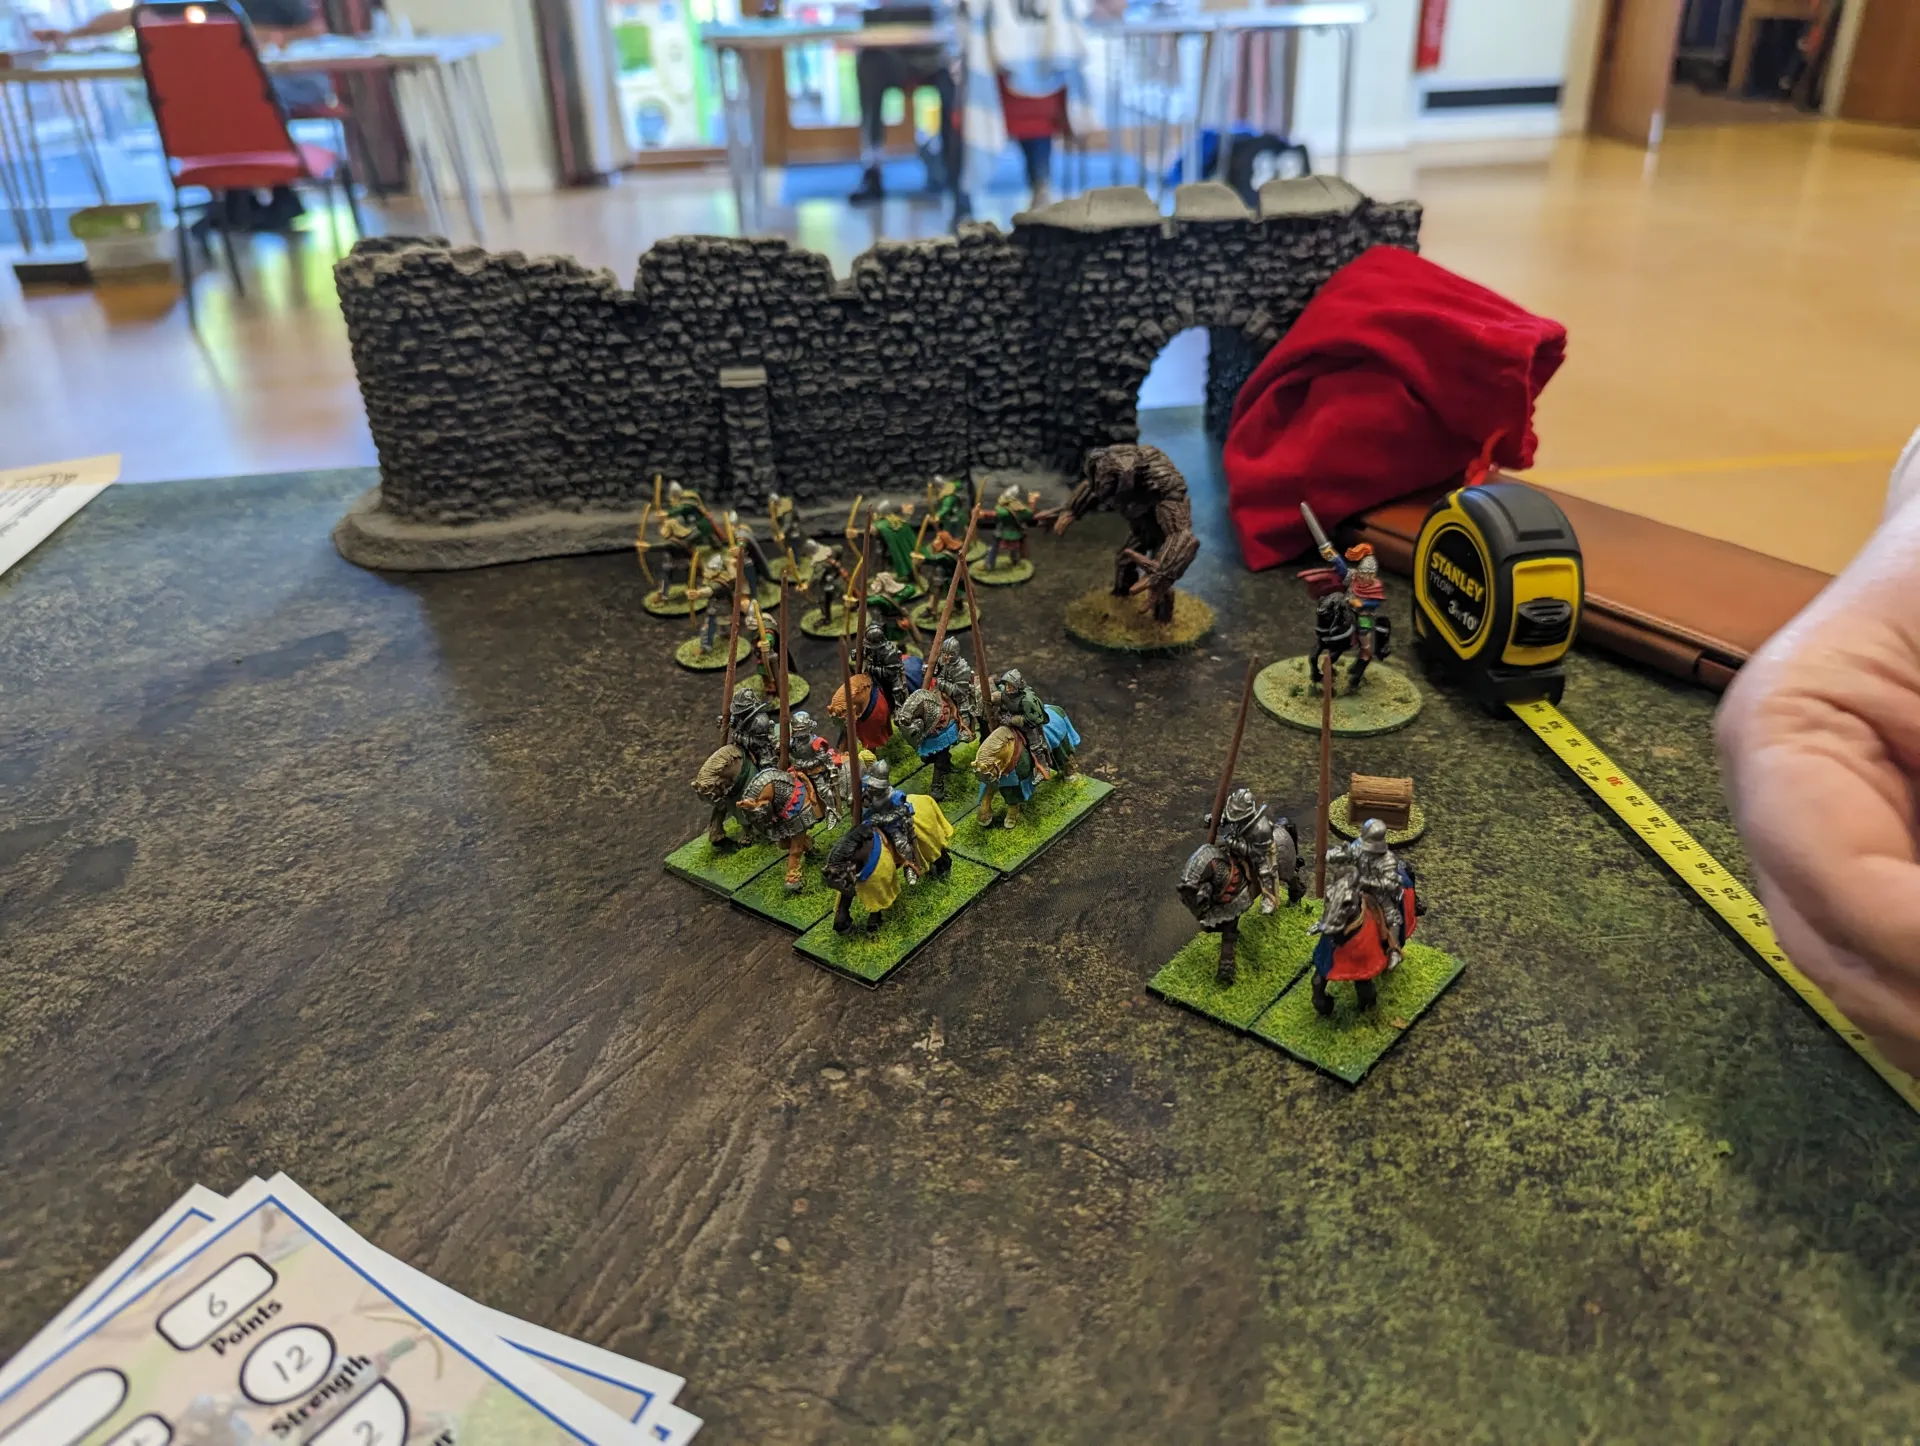
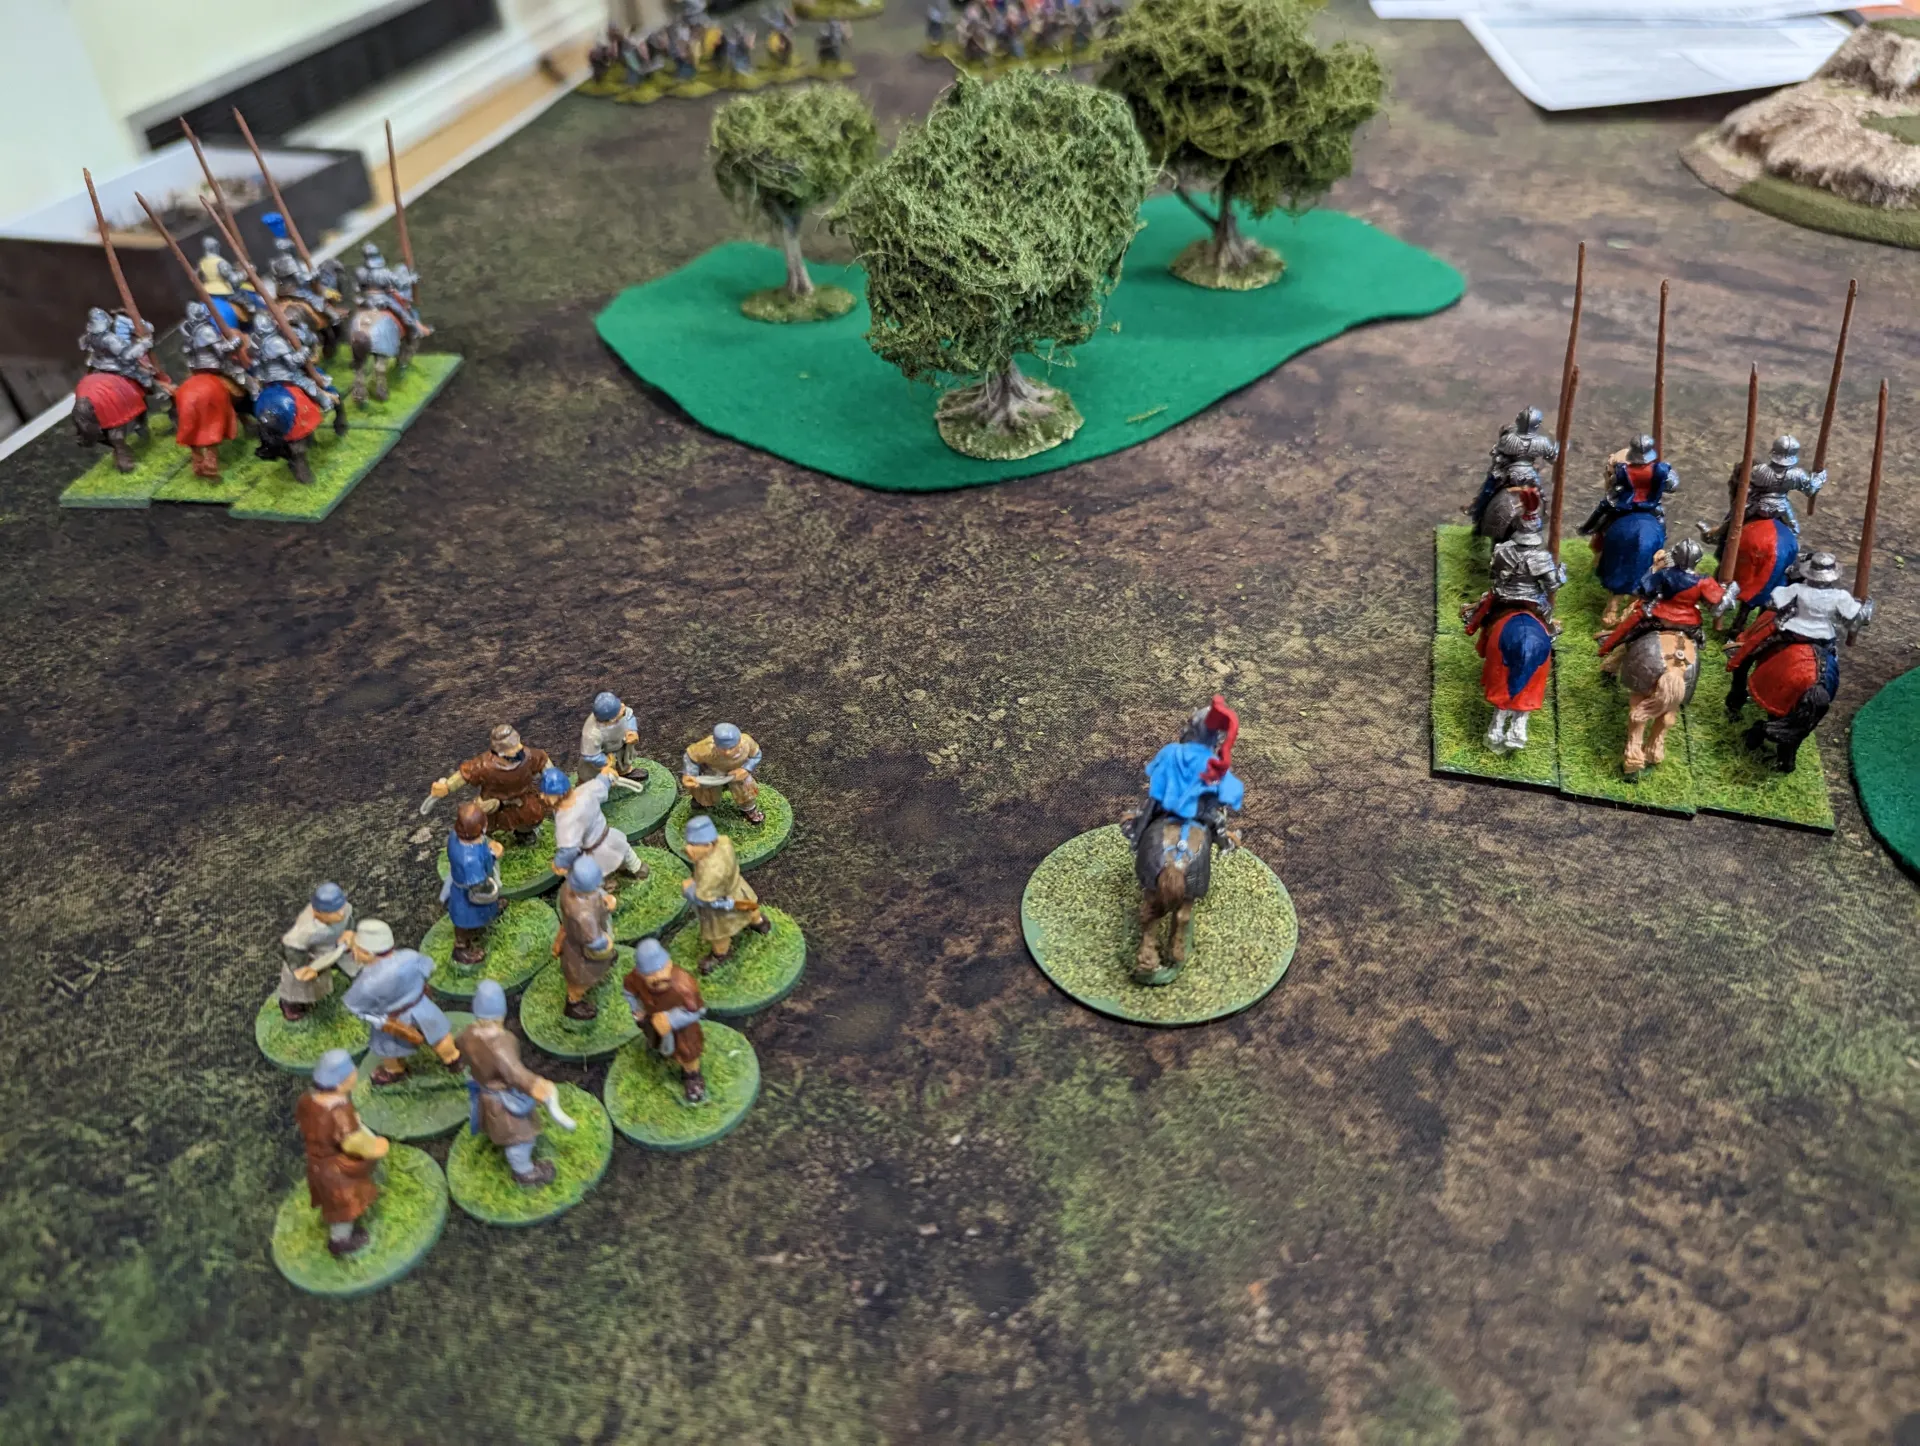
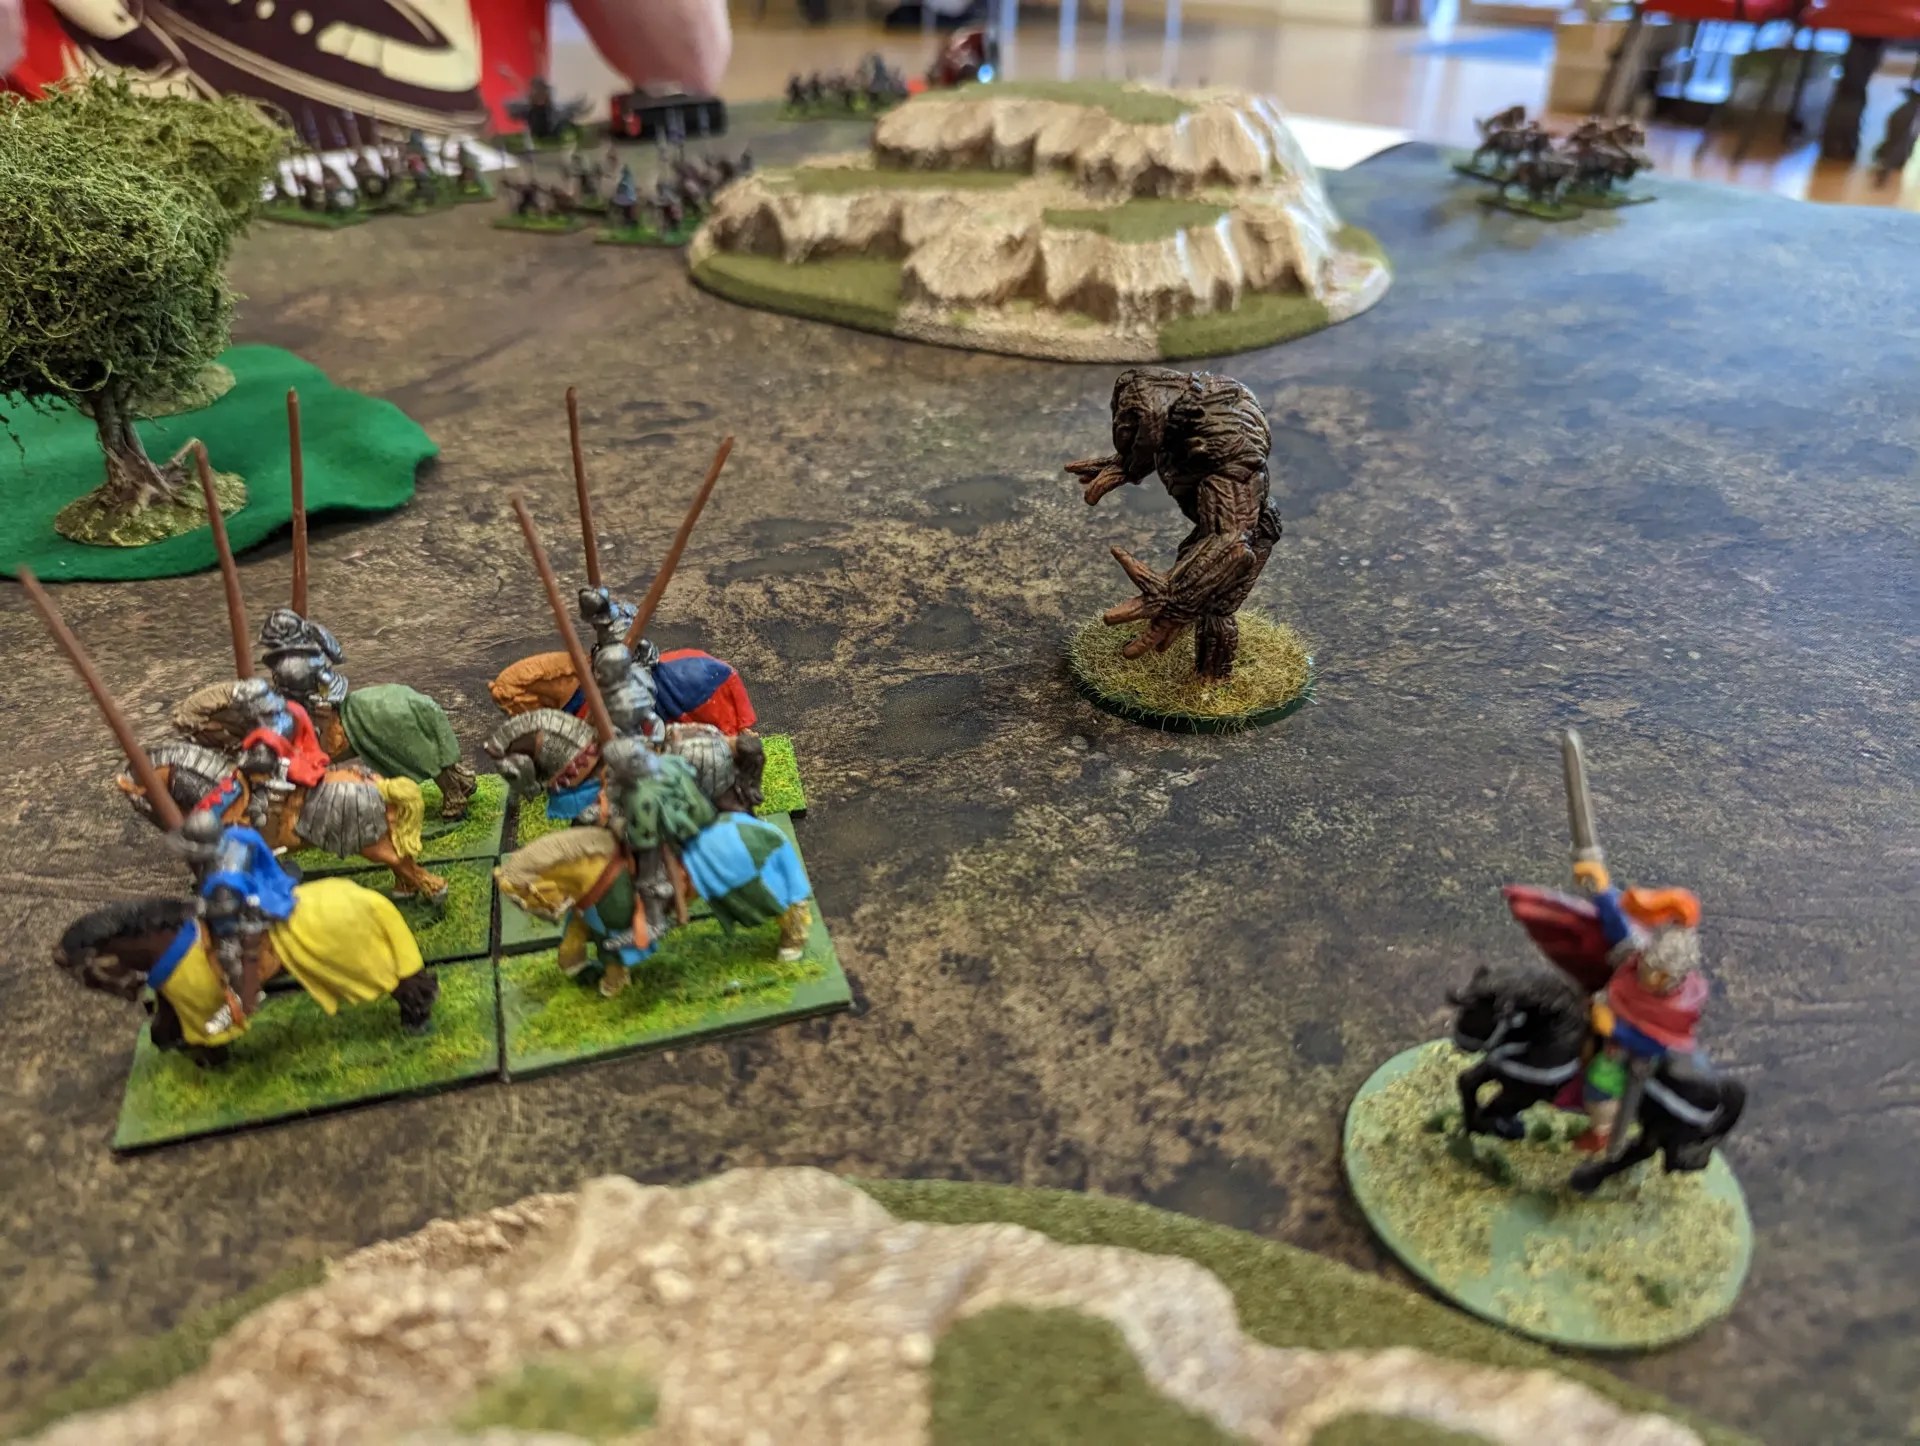
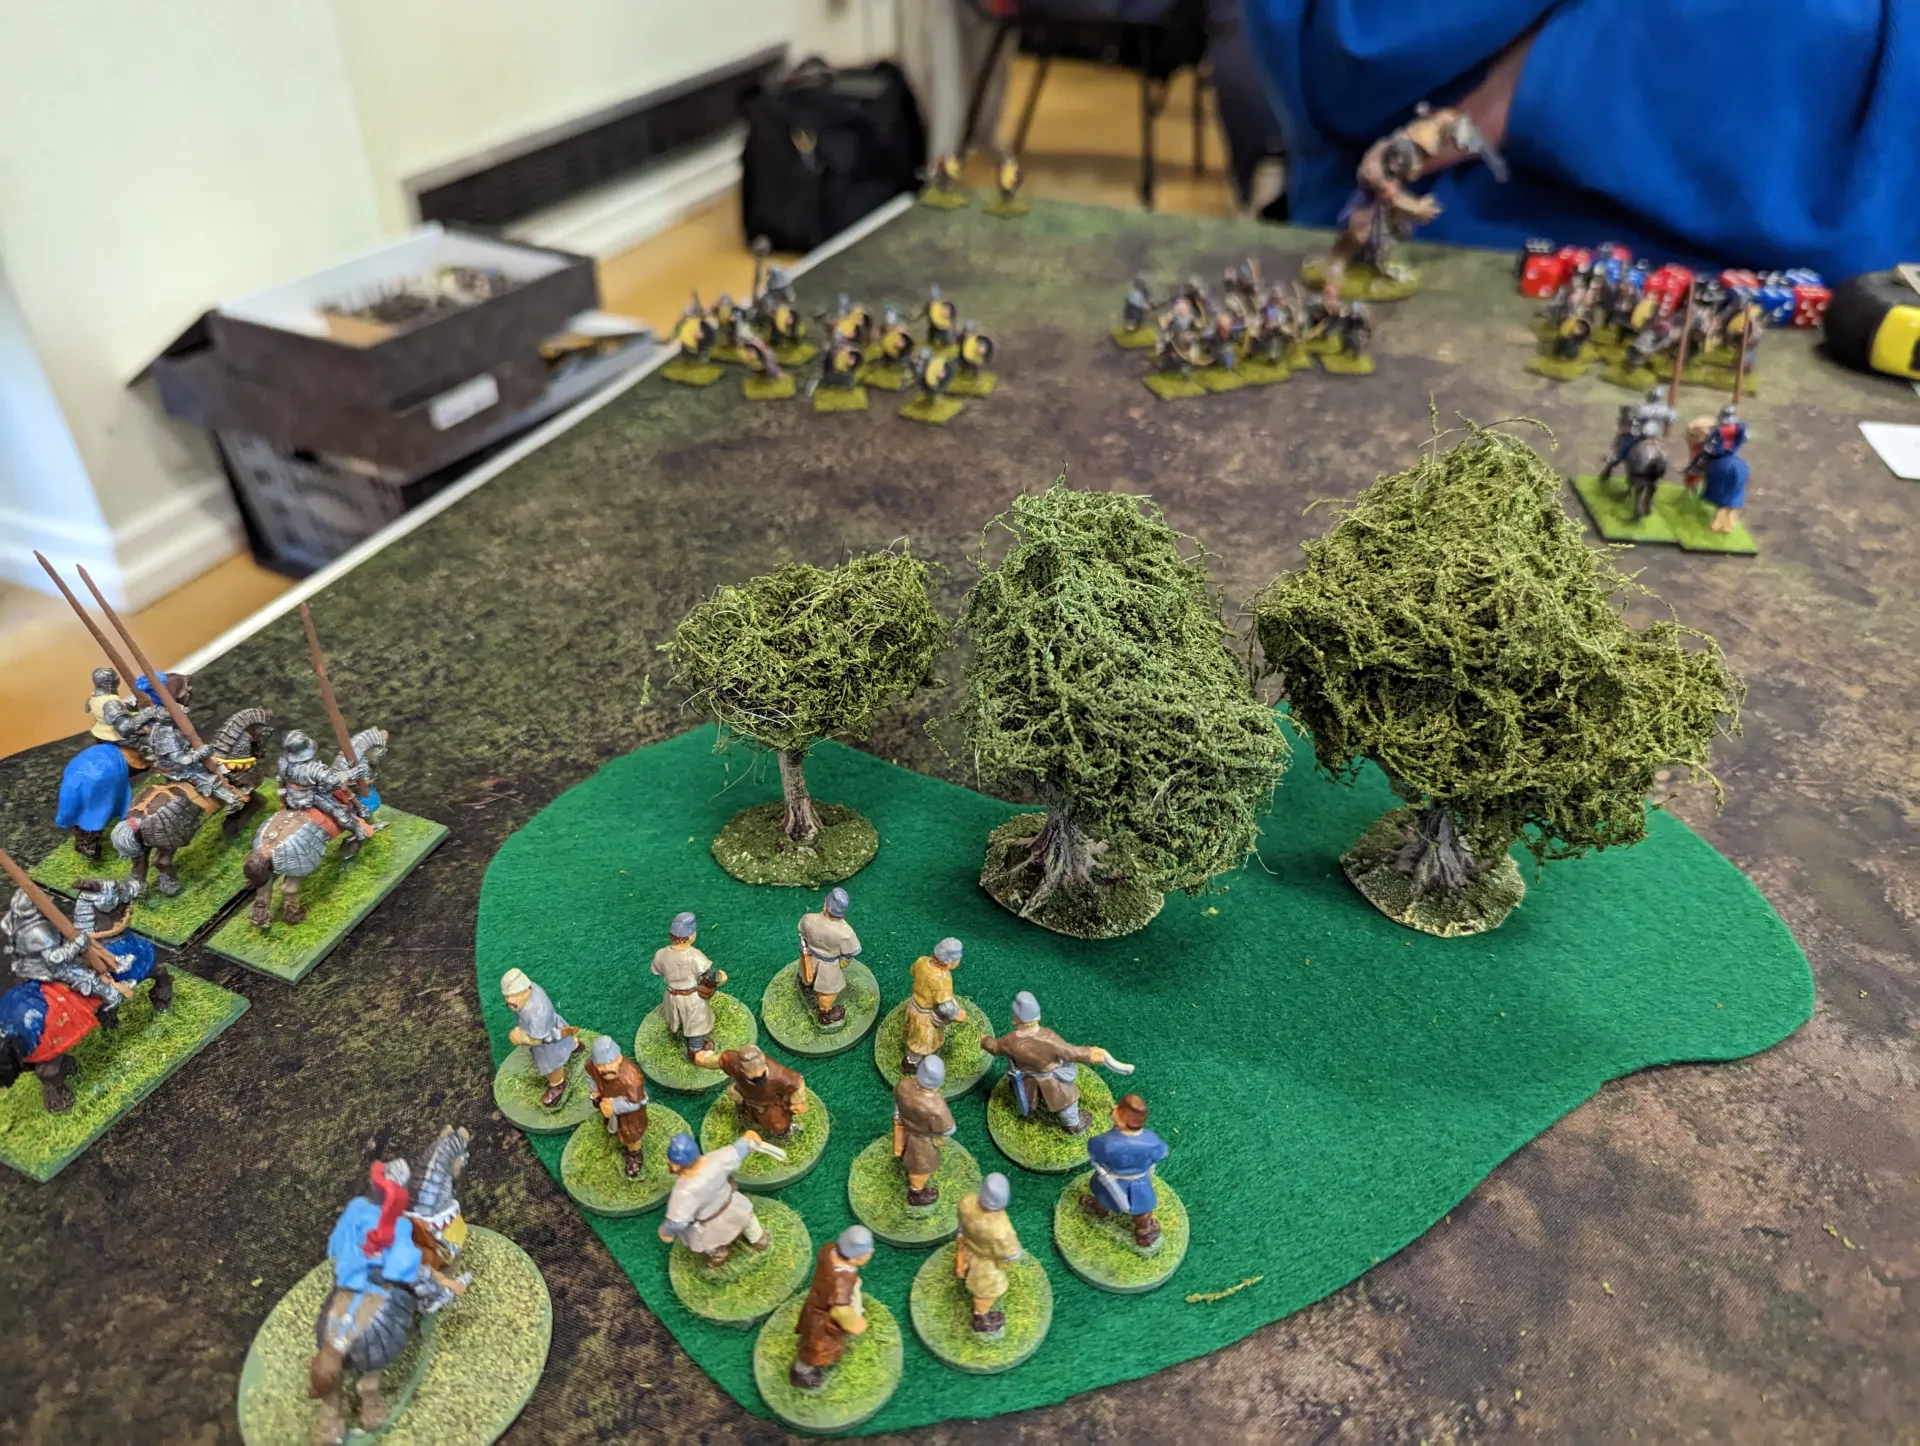
There was quite a bit of terrain on the table, with a mix of hills and woods. This would give the mounted knights something to worry about, but also block line of sight for archers. It would probably advantage the Chimera which was the only flying creature.
We rolled randomly to see who would be the attacker, and that turned out to be us with our human knights. One army of knights deployed near to the exit from the mountain, and the dwarves deployed in the far corner.
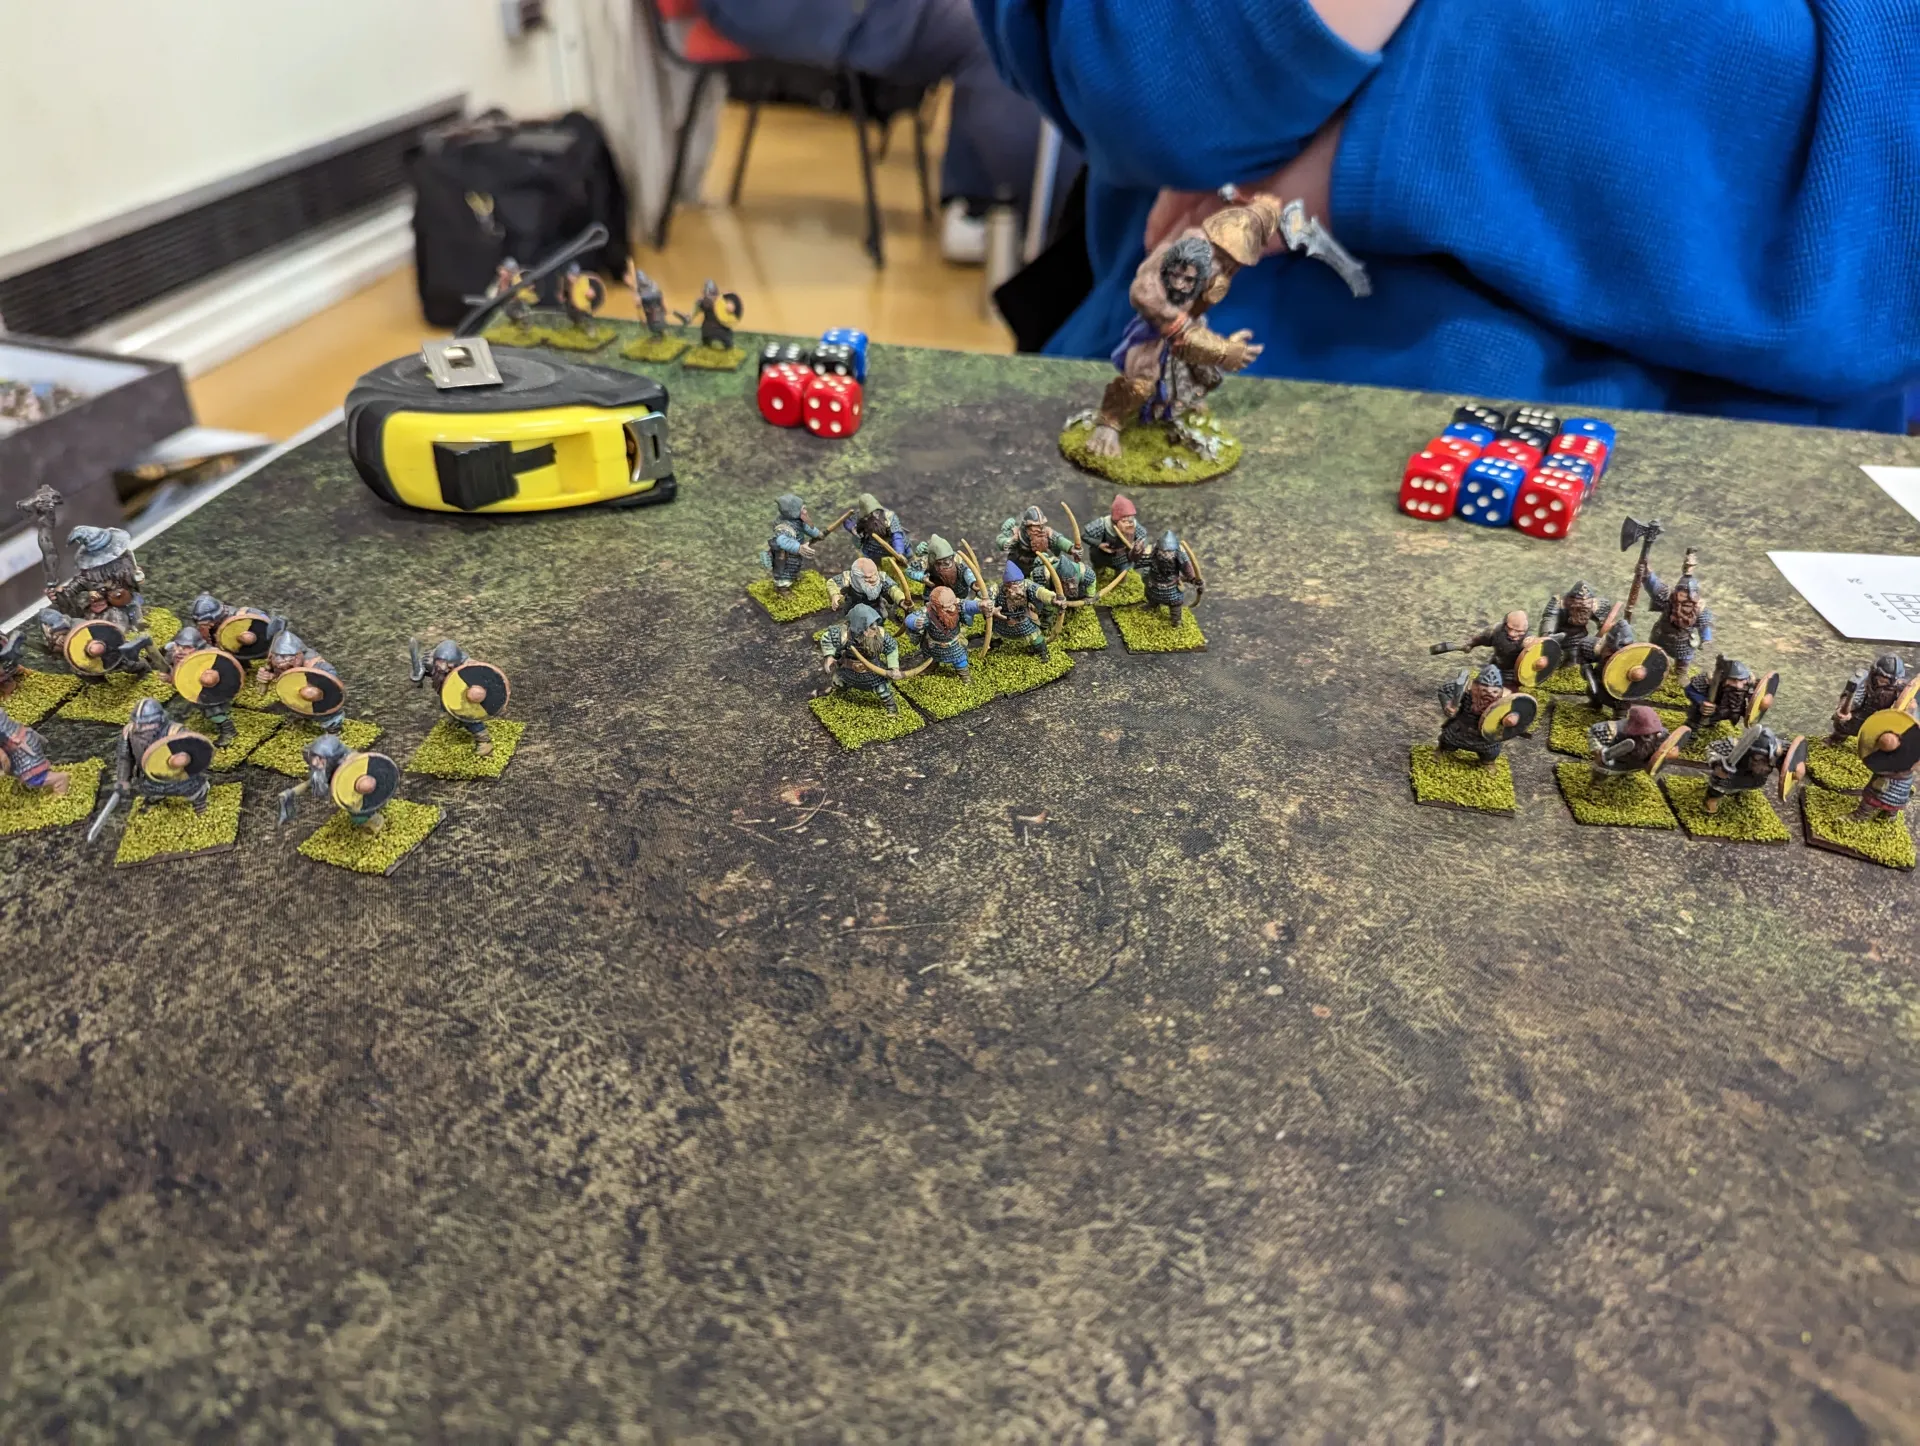
My army of knights deployed on the opposite corner along the long edge of the table to the mountain, and the goblins deployed along the short edge.

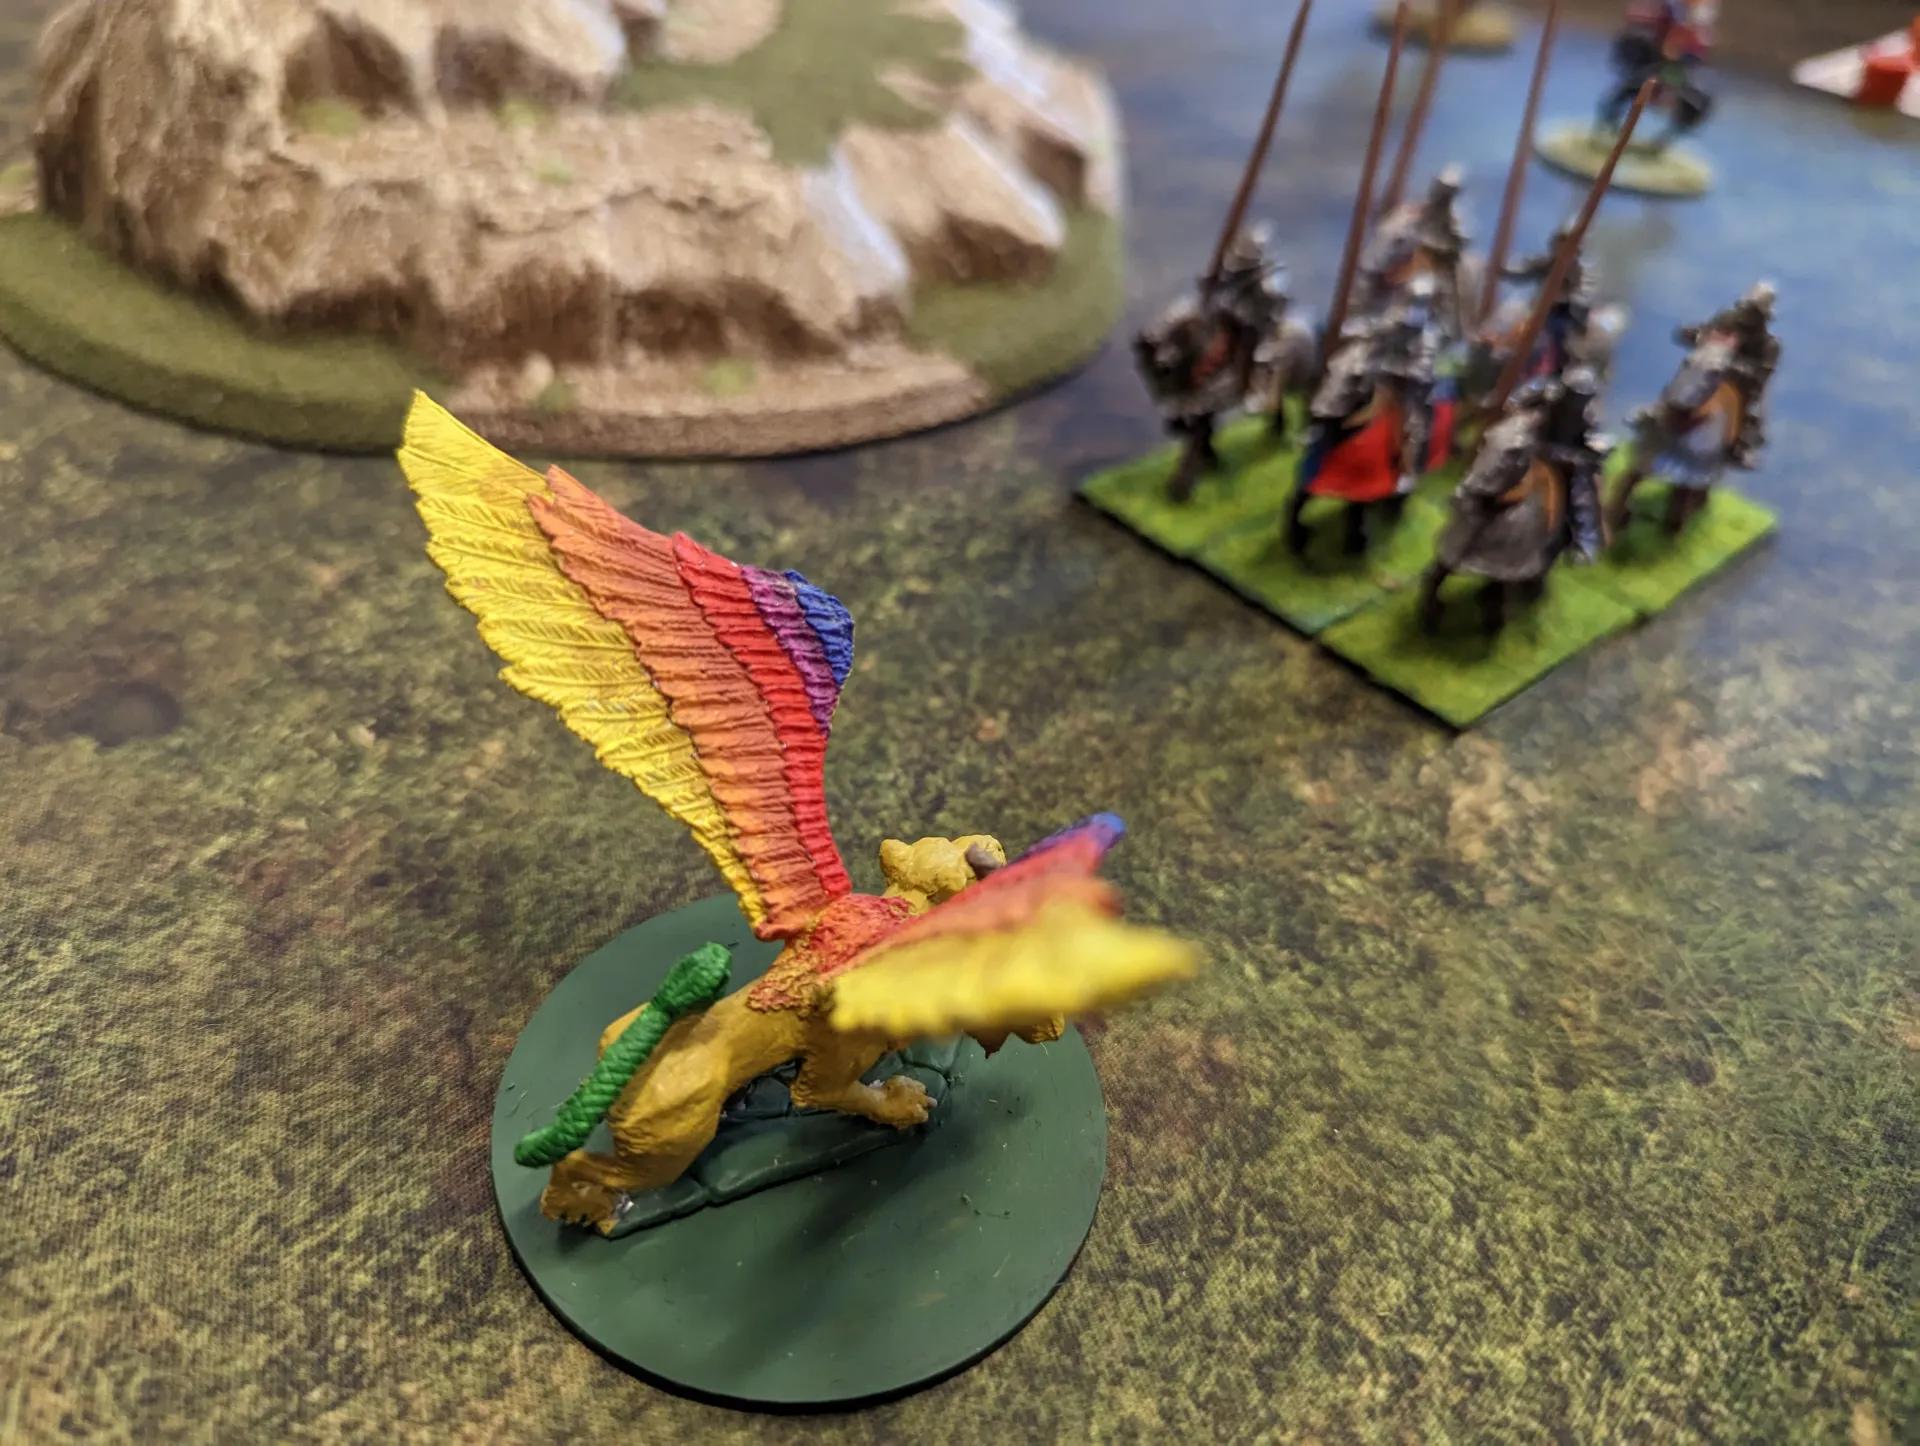
One of my concerns with the activation system was that when you fail to activate a unit, that ends your go. For our first turn, we actually managed to activate all our units. My initial plan was to try and clear the dwarves out of the far corner with my knights, and for my Chimera to fly over to the other set of knights and grab the McGuffin. I was hoping that having a flyer carry the McGuffin would give us an advantage.
My initial plan was to move my knights forward around the woods. My leader was a single model unit – so actually counted as a unit of 6 figures, even though there was only one of him. The main problem with my knights were their lances – looking down from above they’re actually invisible, and I managed to stick my hand into them several times. A few also broke off. Super glue isn’t as super as it should be.
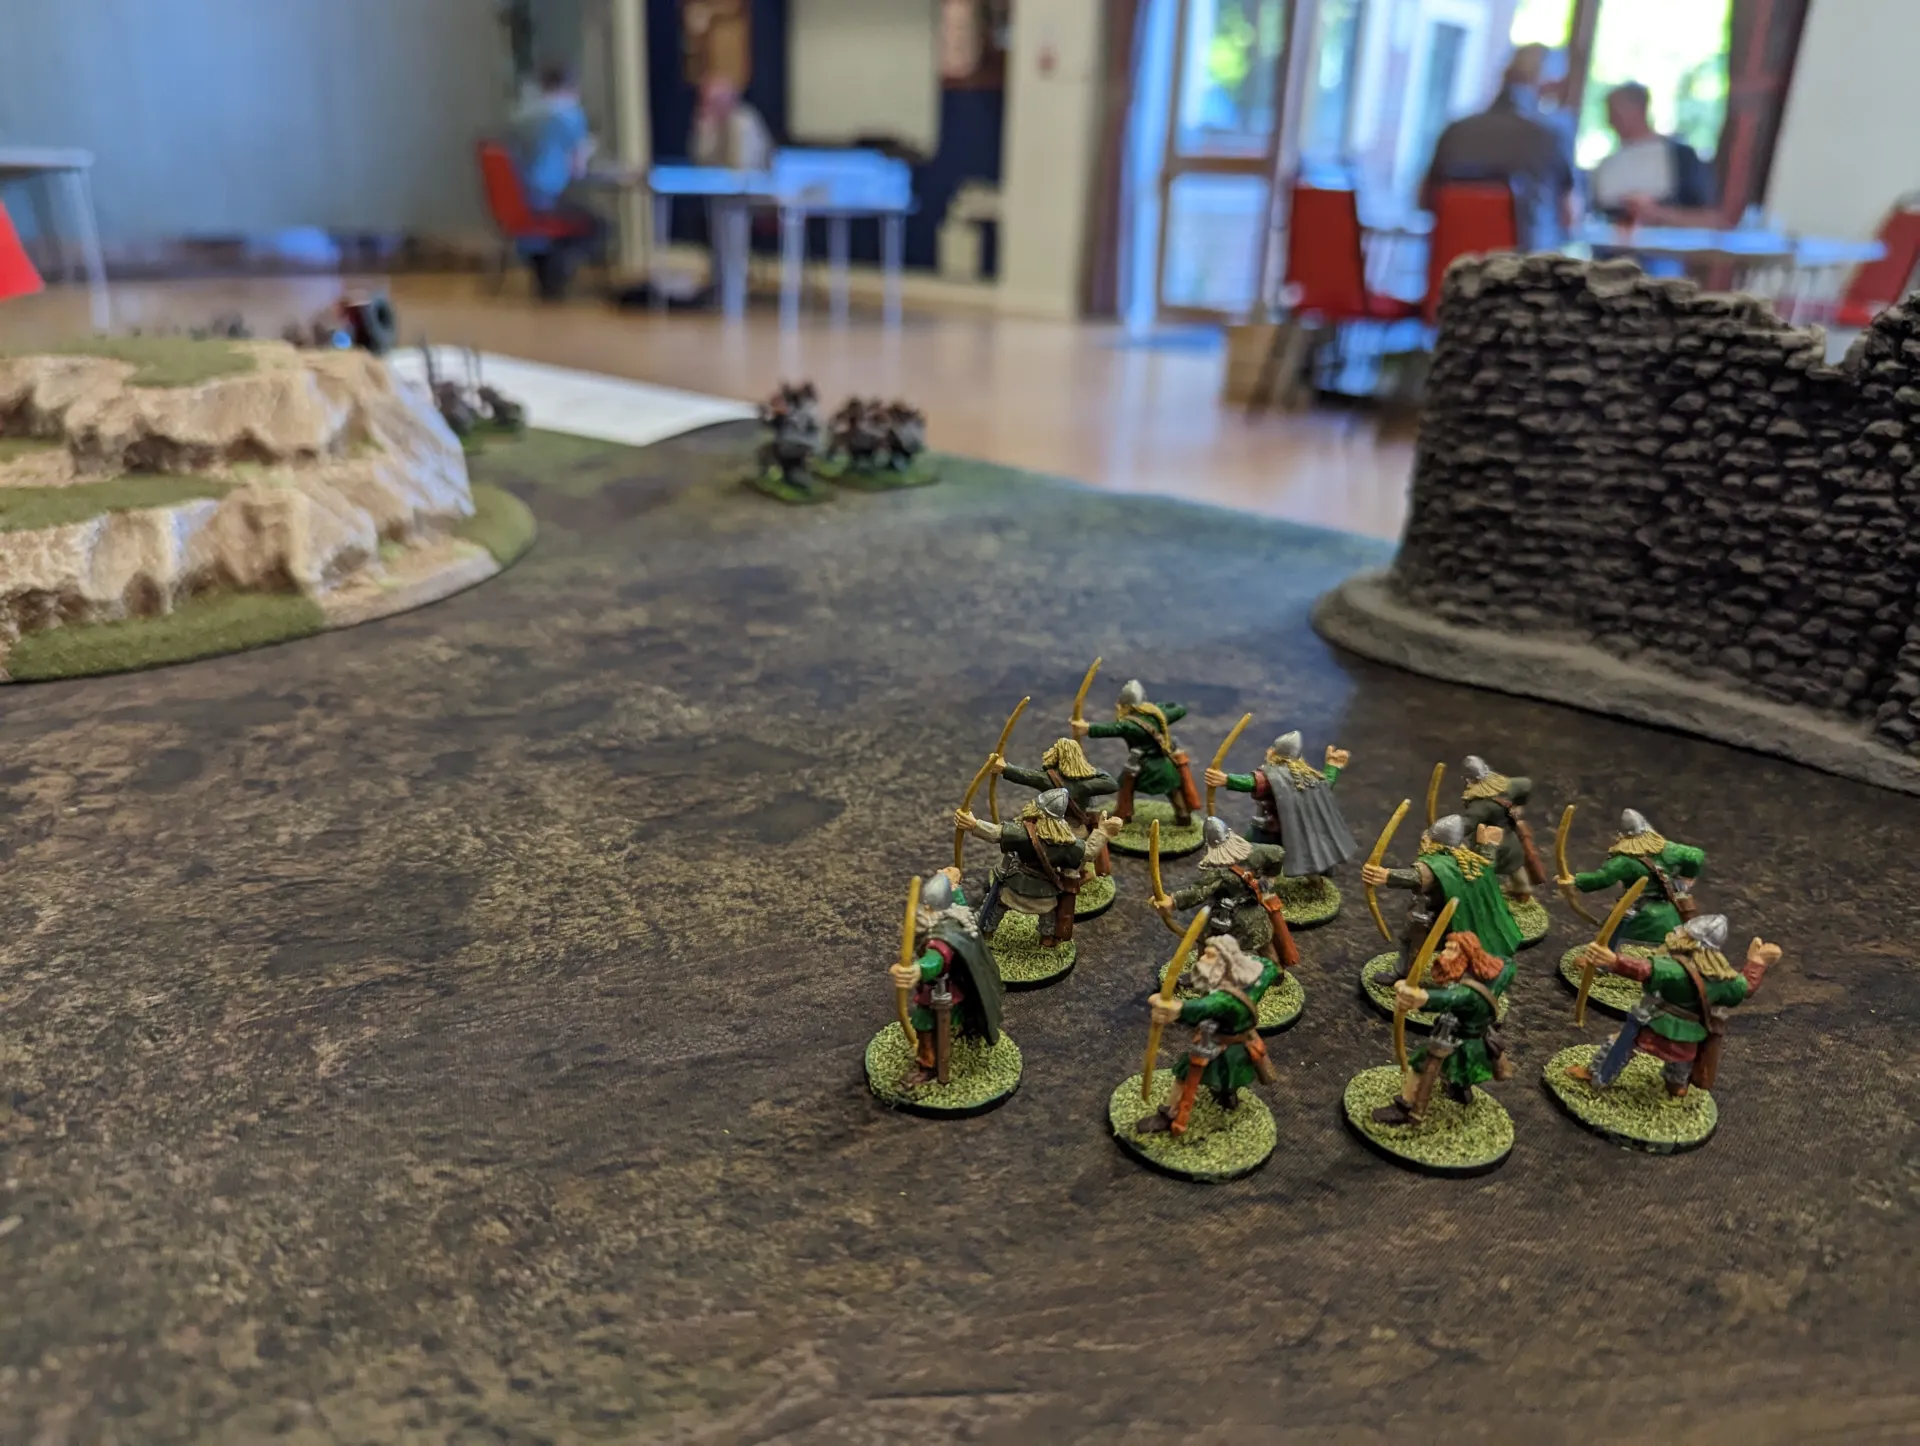
I wanted to get my slingers into the woods, so they could shoot from cover, and hopefully knock out the dwarven infantry with my knights. My slingers failed to activate a couple of times though, and weren’t moving very quickly.
The knights from the second army tried to hand over the mole to my chimera, but they failed to activate so both had to sit around for another turn.
Turns flowed quite quickly. Sometimes we didn’t get to do anything, but the game was very fast. The two sides did their activations in parallel as well (so the two armies of knights went together, then the dwarves and goblins went together). Saga tends to be a lot slower, because there are far more decisions to make, and a lot more thinking.
The goblin wolf riders meanwhile were closing in on the human archers, who had done much in the way of movement. The knights were charging across the table, but were also soon to be met by the goblins coming in from their side.
Combat is quite simple. A unit rolls either 12D6 or 6D6 if it is under half strength. They get a hit for every die that meets the required value for the unit. Each unit has an Attack value (they are the aggressor), and a Defence value (they are in defence). Some units are better in defence than in attack. There is also a Shoot value for missile combat.
Units also have an Armour value. Divide hits by Armour (round down) to see how many figures are killed. If any figures are lost, then a morale check is needed, otherwise you retreat.
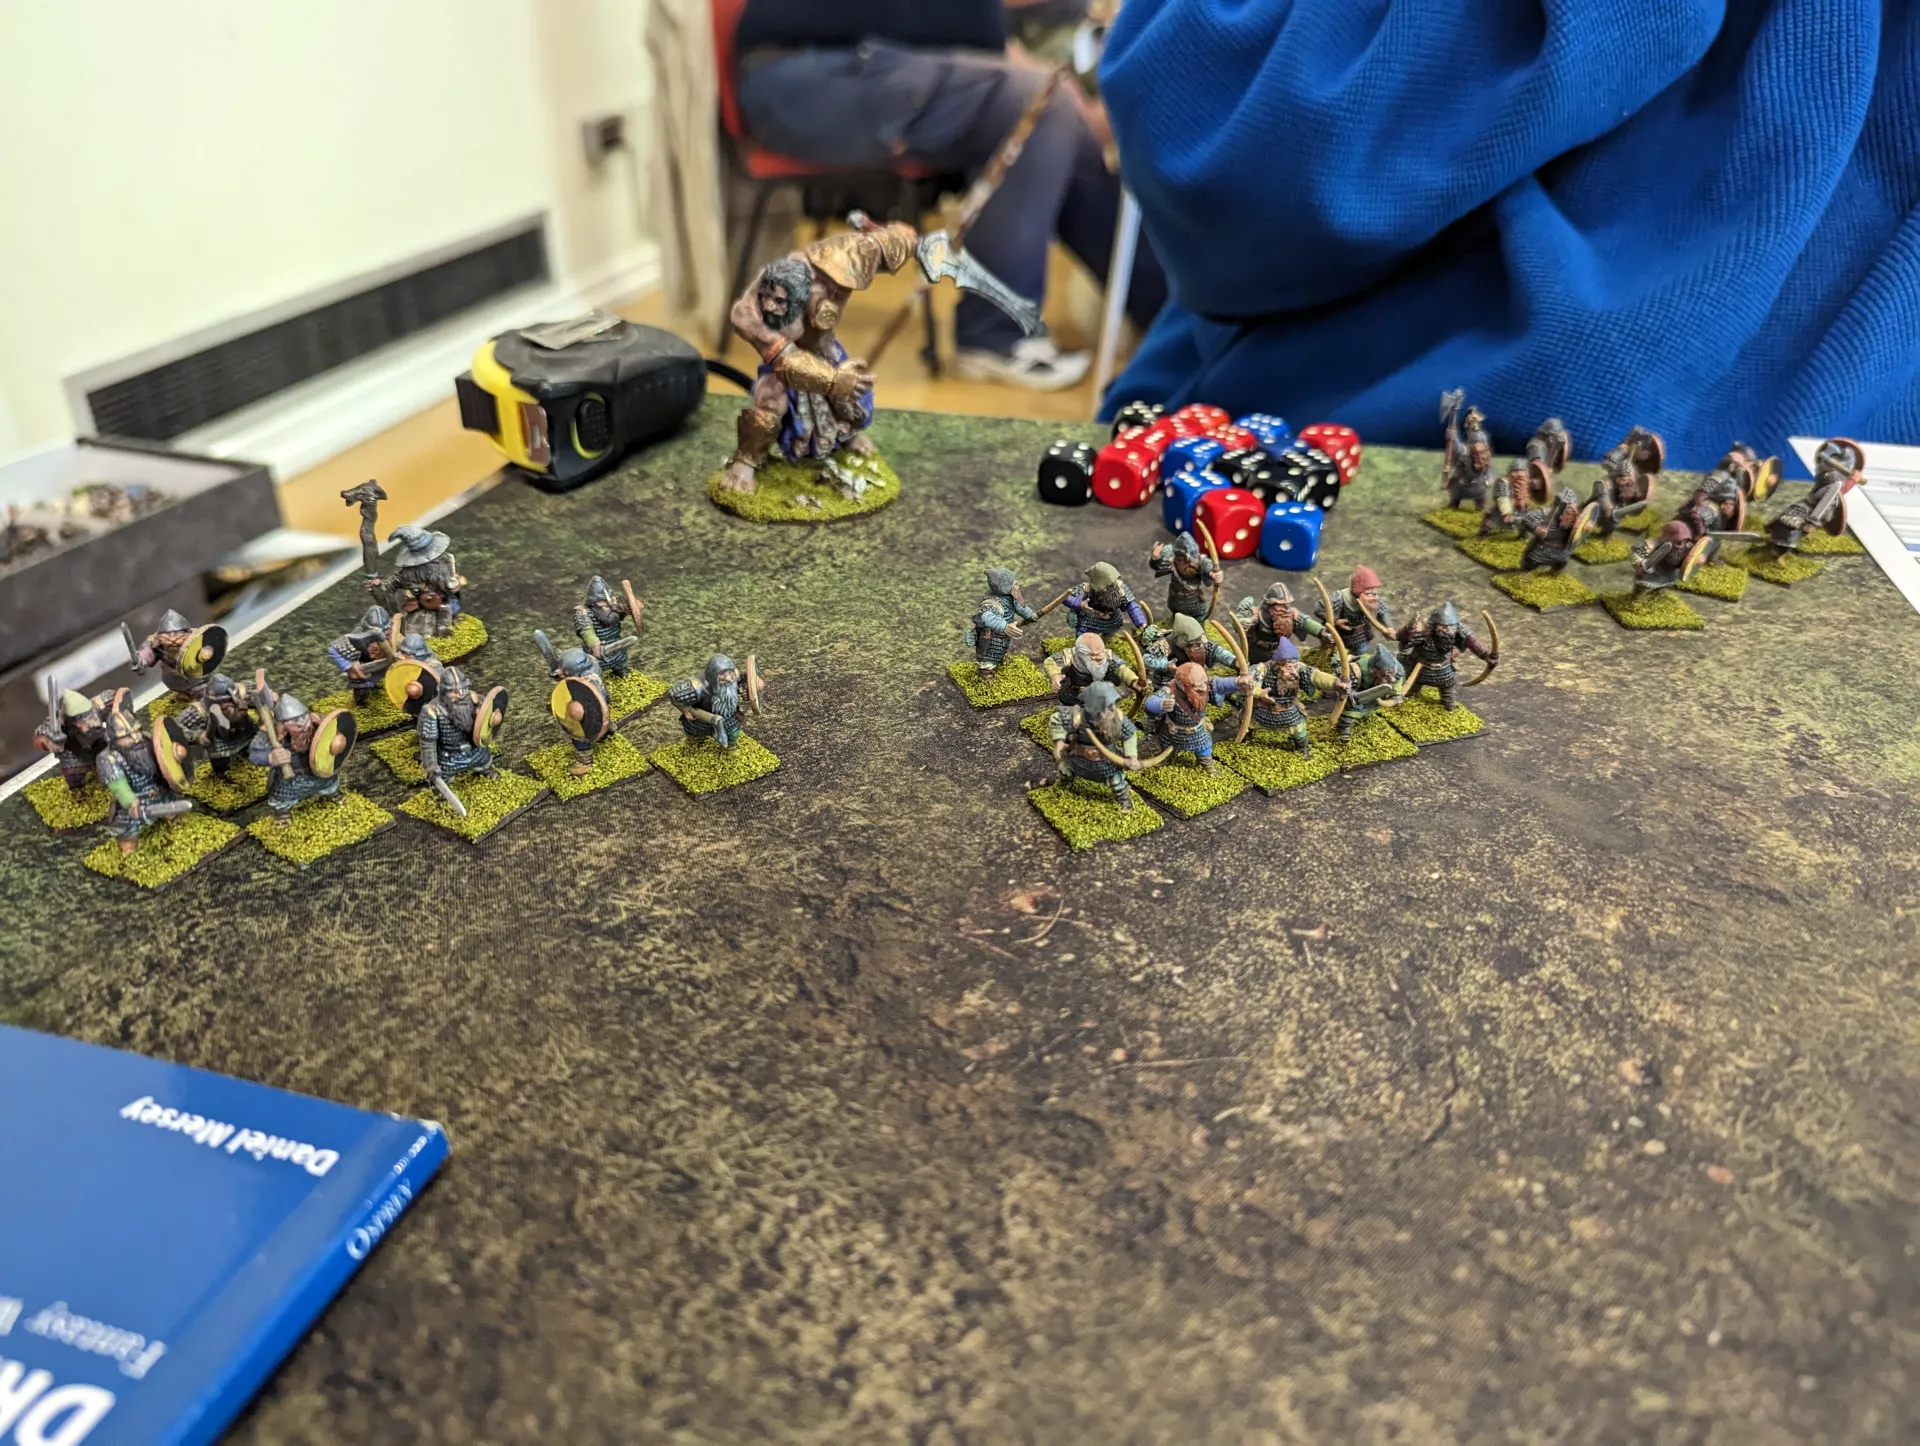
What I assumed would be at least a balanced fight between my knights and the dwarves turned out to be anything but. The dwarven unit at the table edge had a wizard with them. It turns out that their bolt spell does serious damage, which drove back my knights on the left flank.
On my right flank, my knights were mostly wiped out by a mix of archers and infantry. They didn’t rout, but there were soon only two left out of six. From Saga, I’m sort of used to small units being better than large units, but in Rampant this appeared not to be the case.
My attempts to charge the wizardly dwarves failed over the next few turns, as every time I approached I got pushed back by magical attacks.
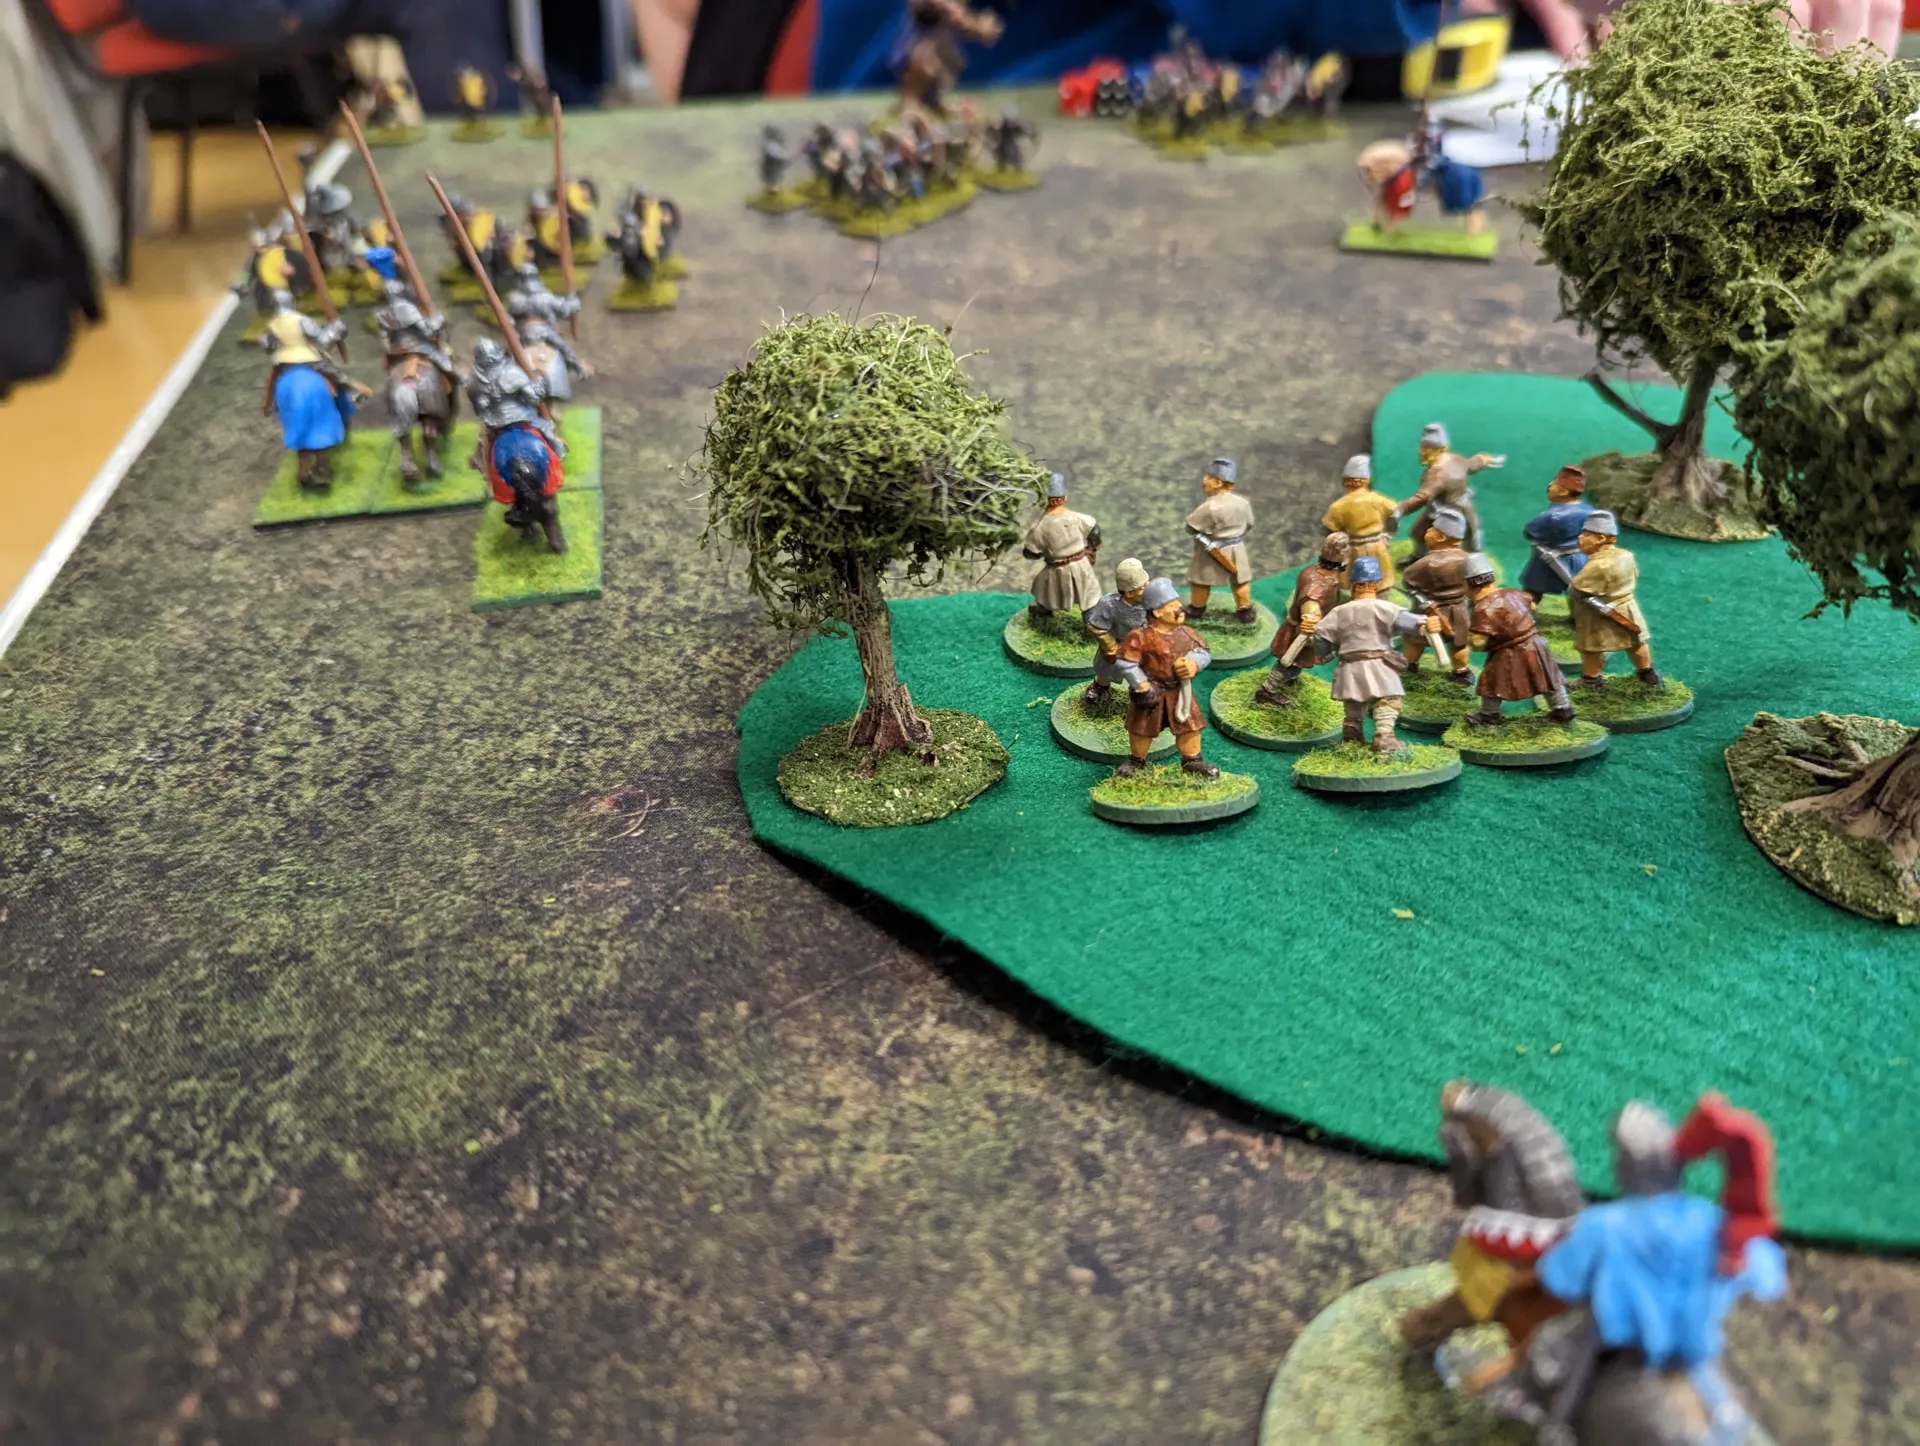
My slingers did eventually get into position, but they were almost immediately forced back themselves.
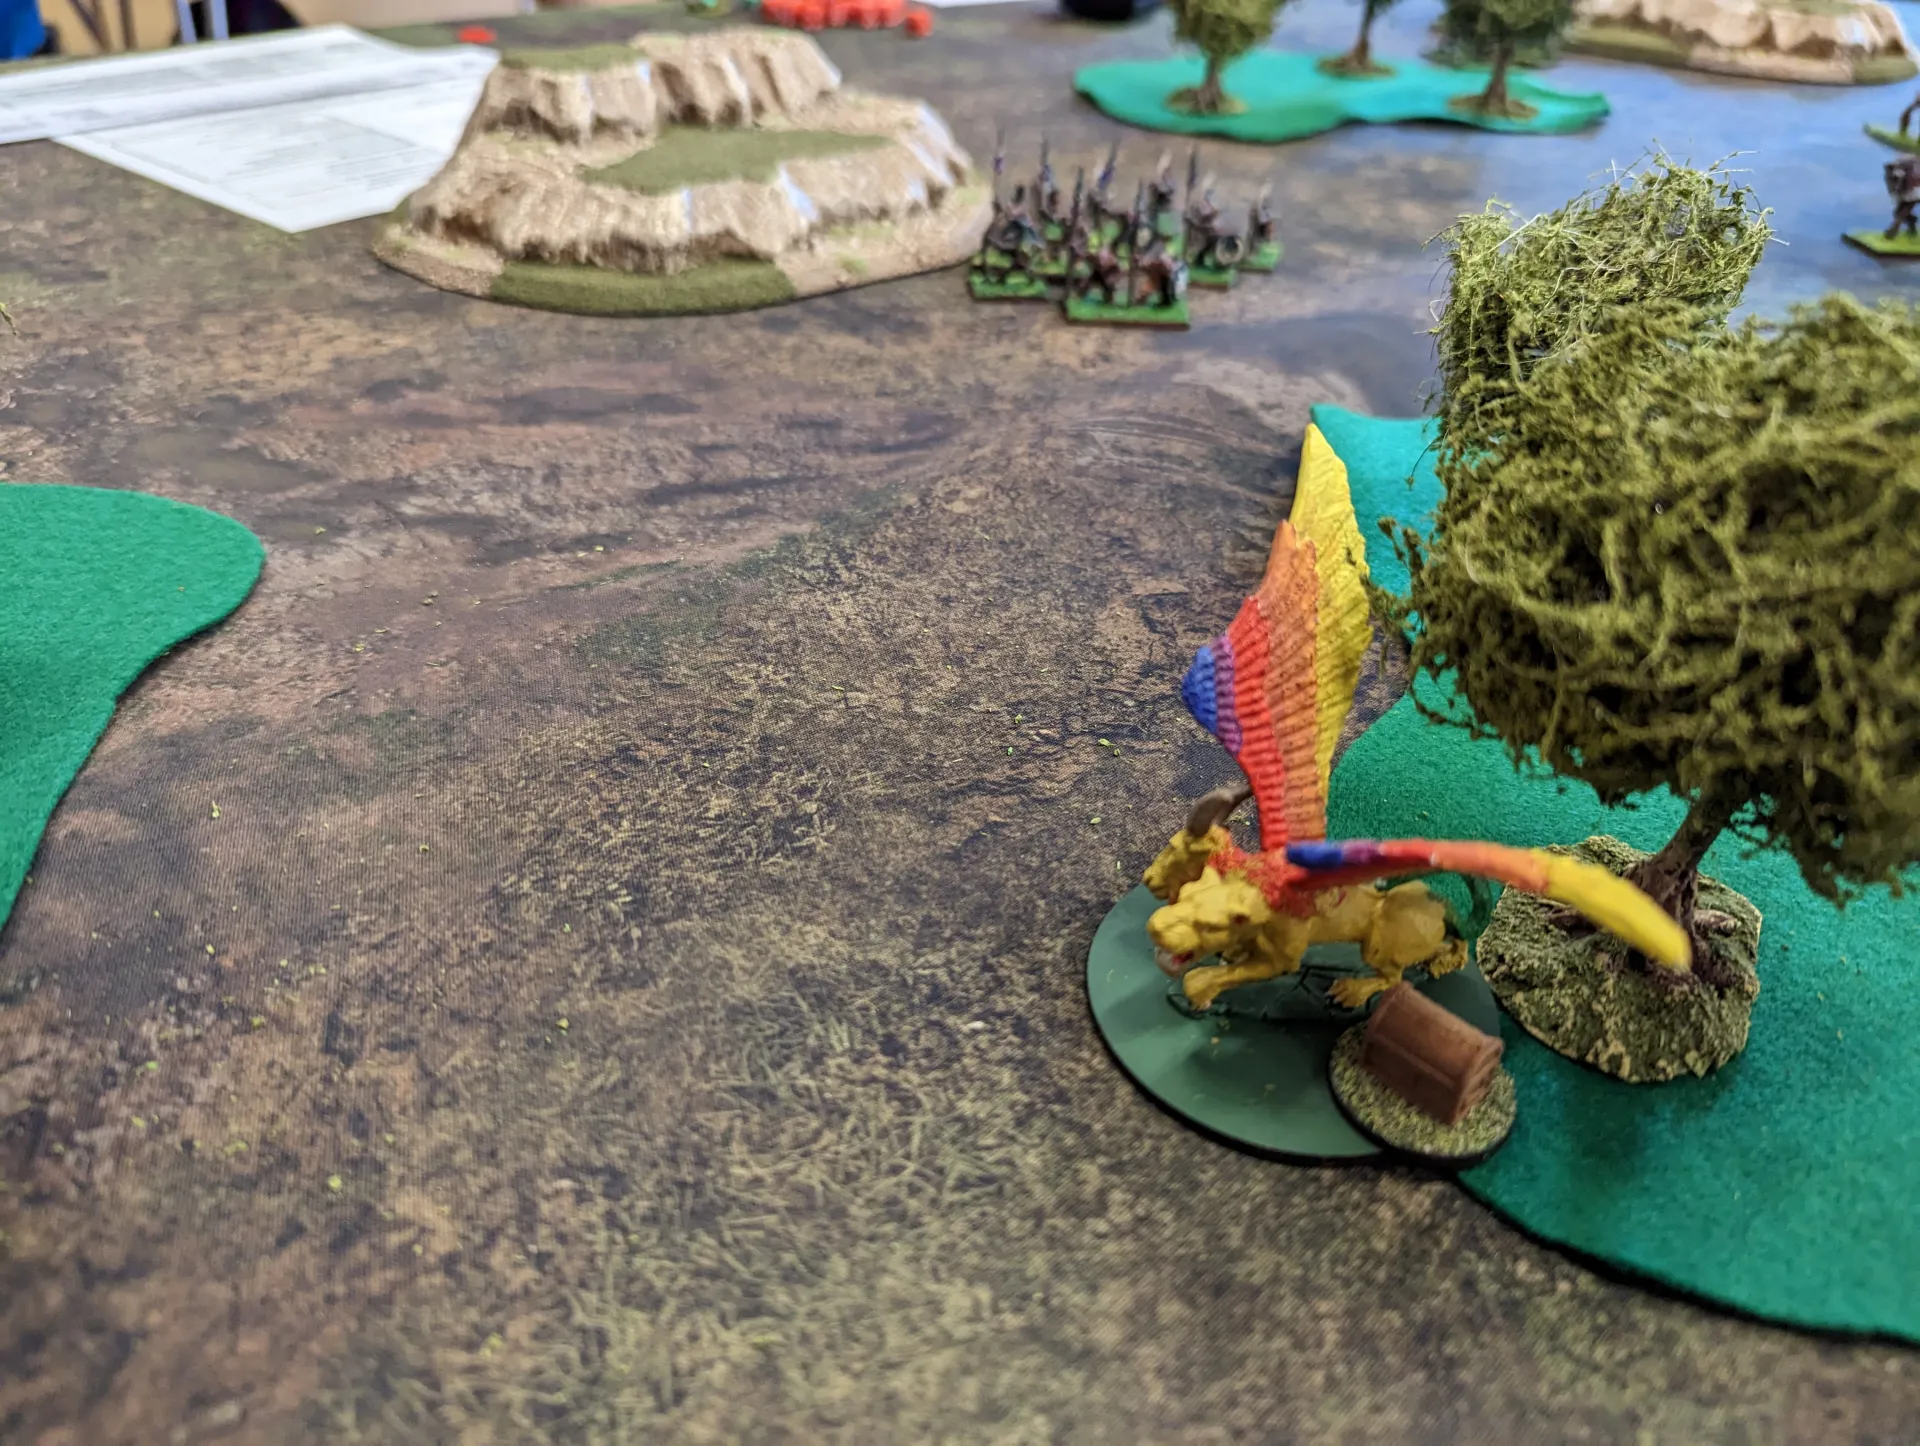
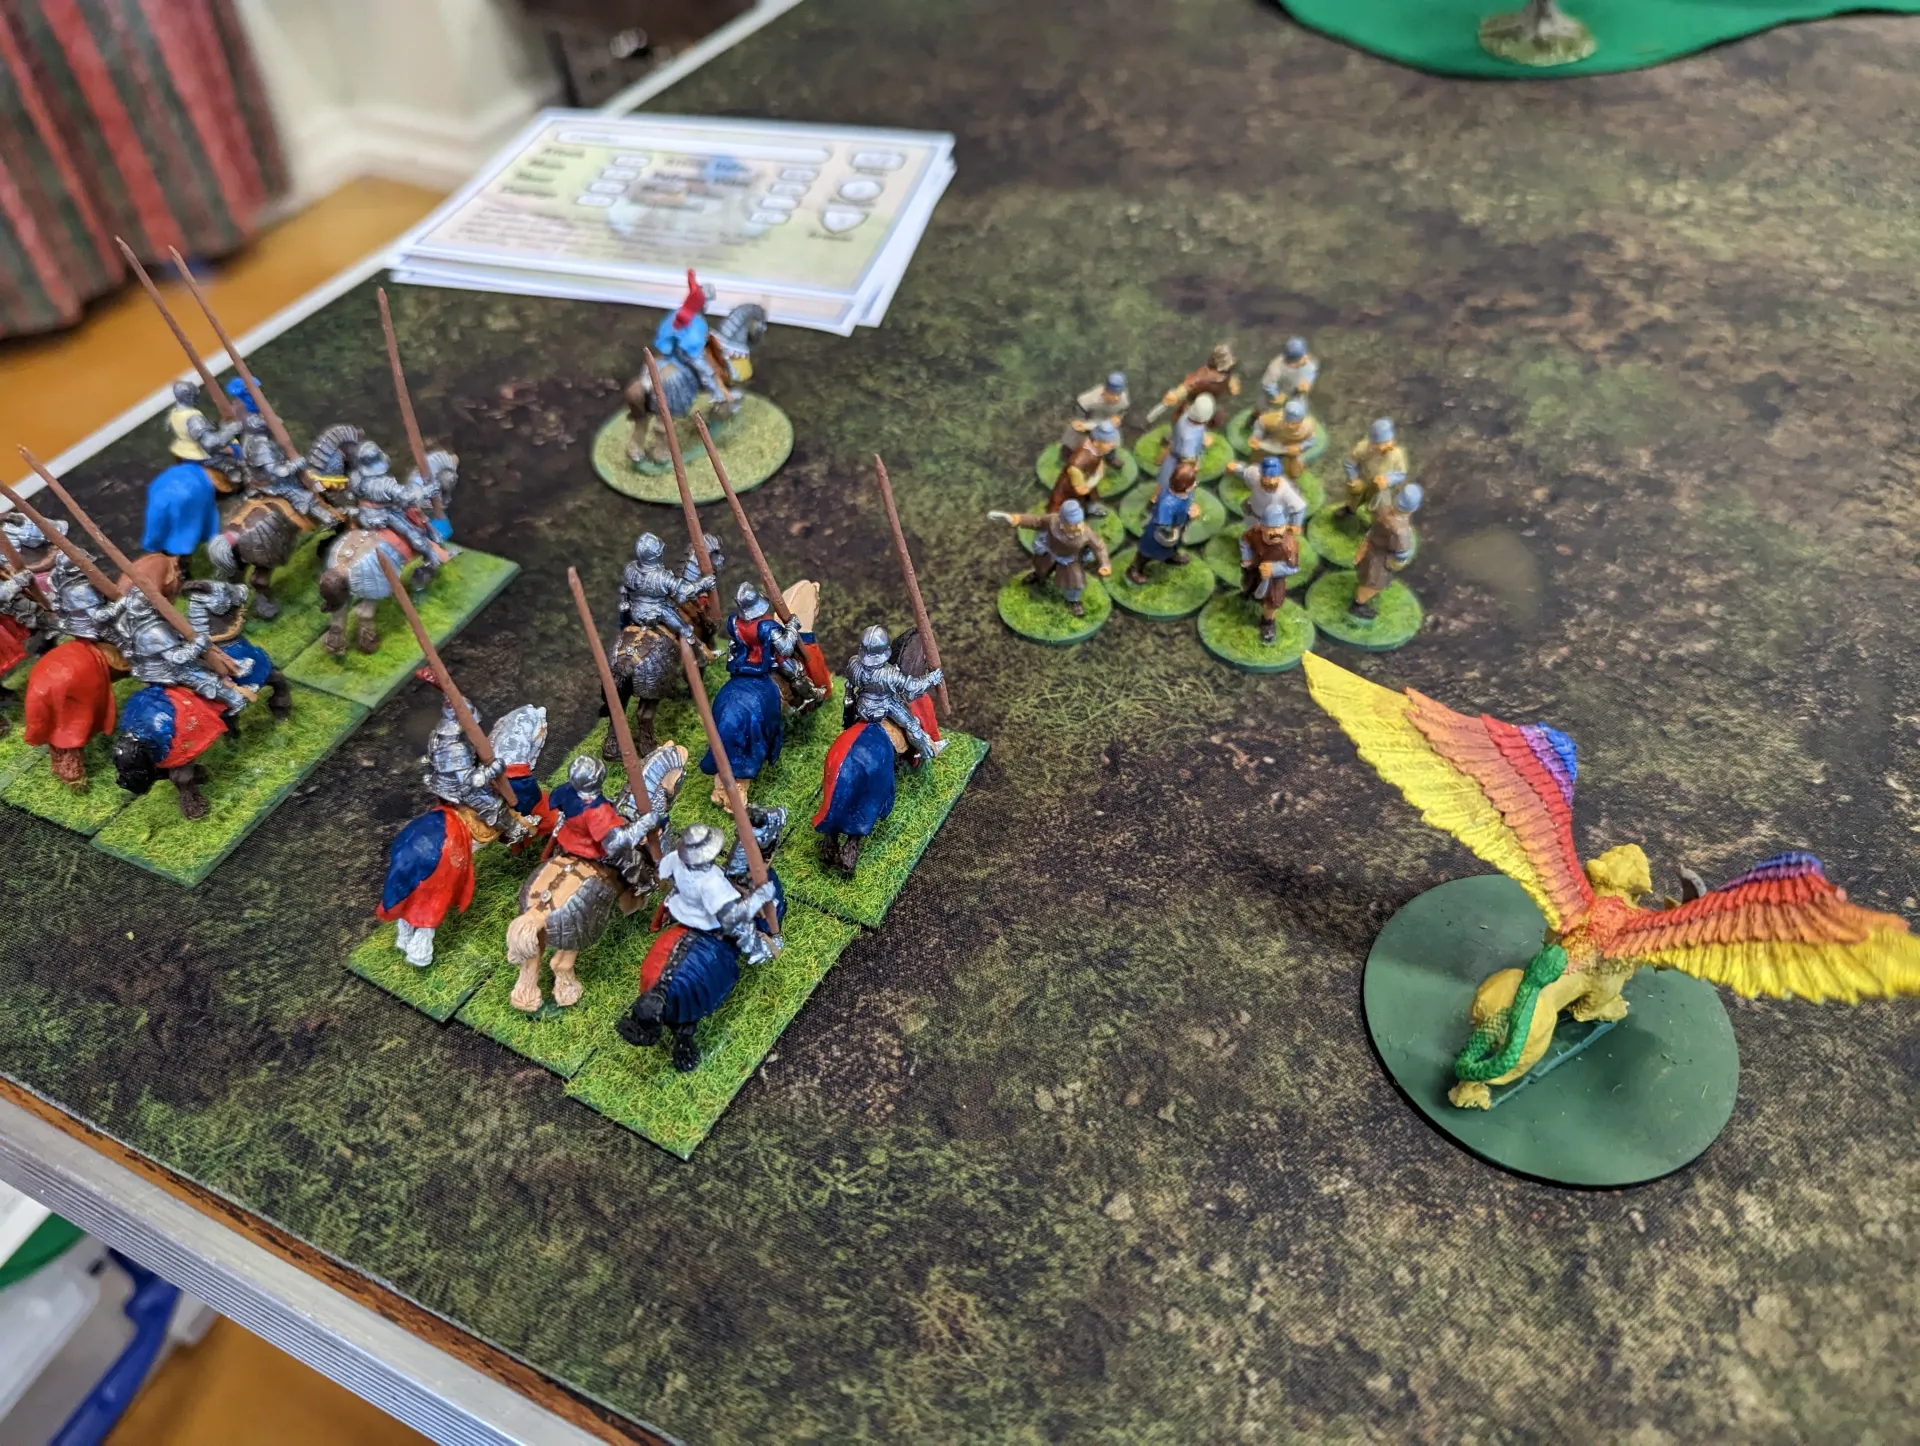
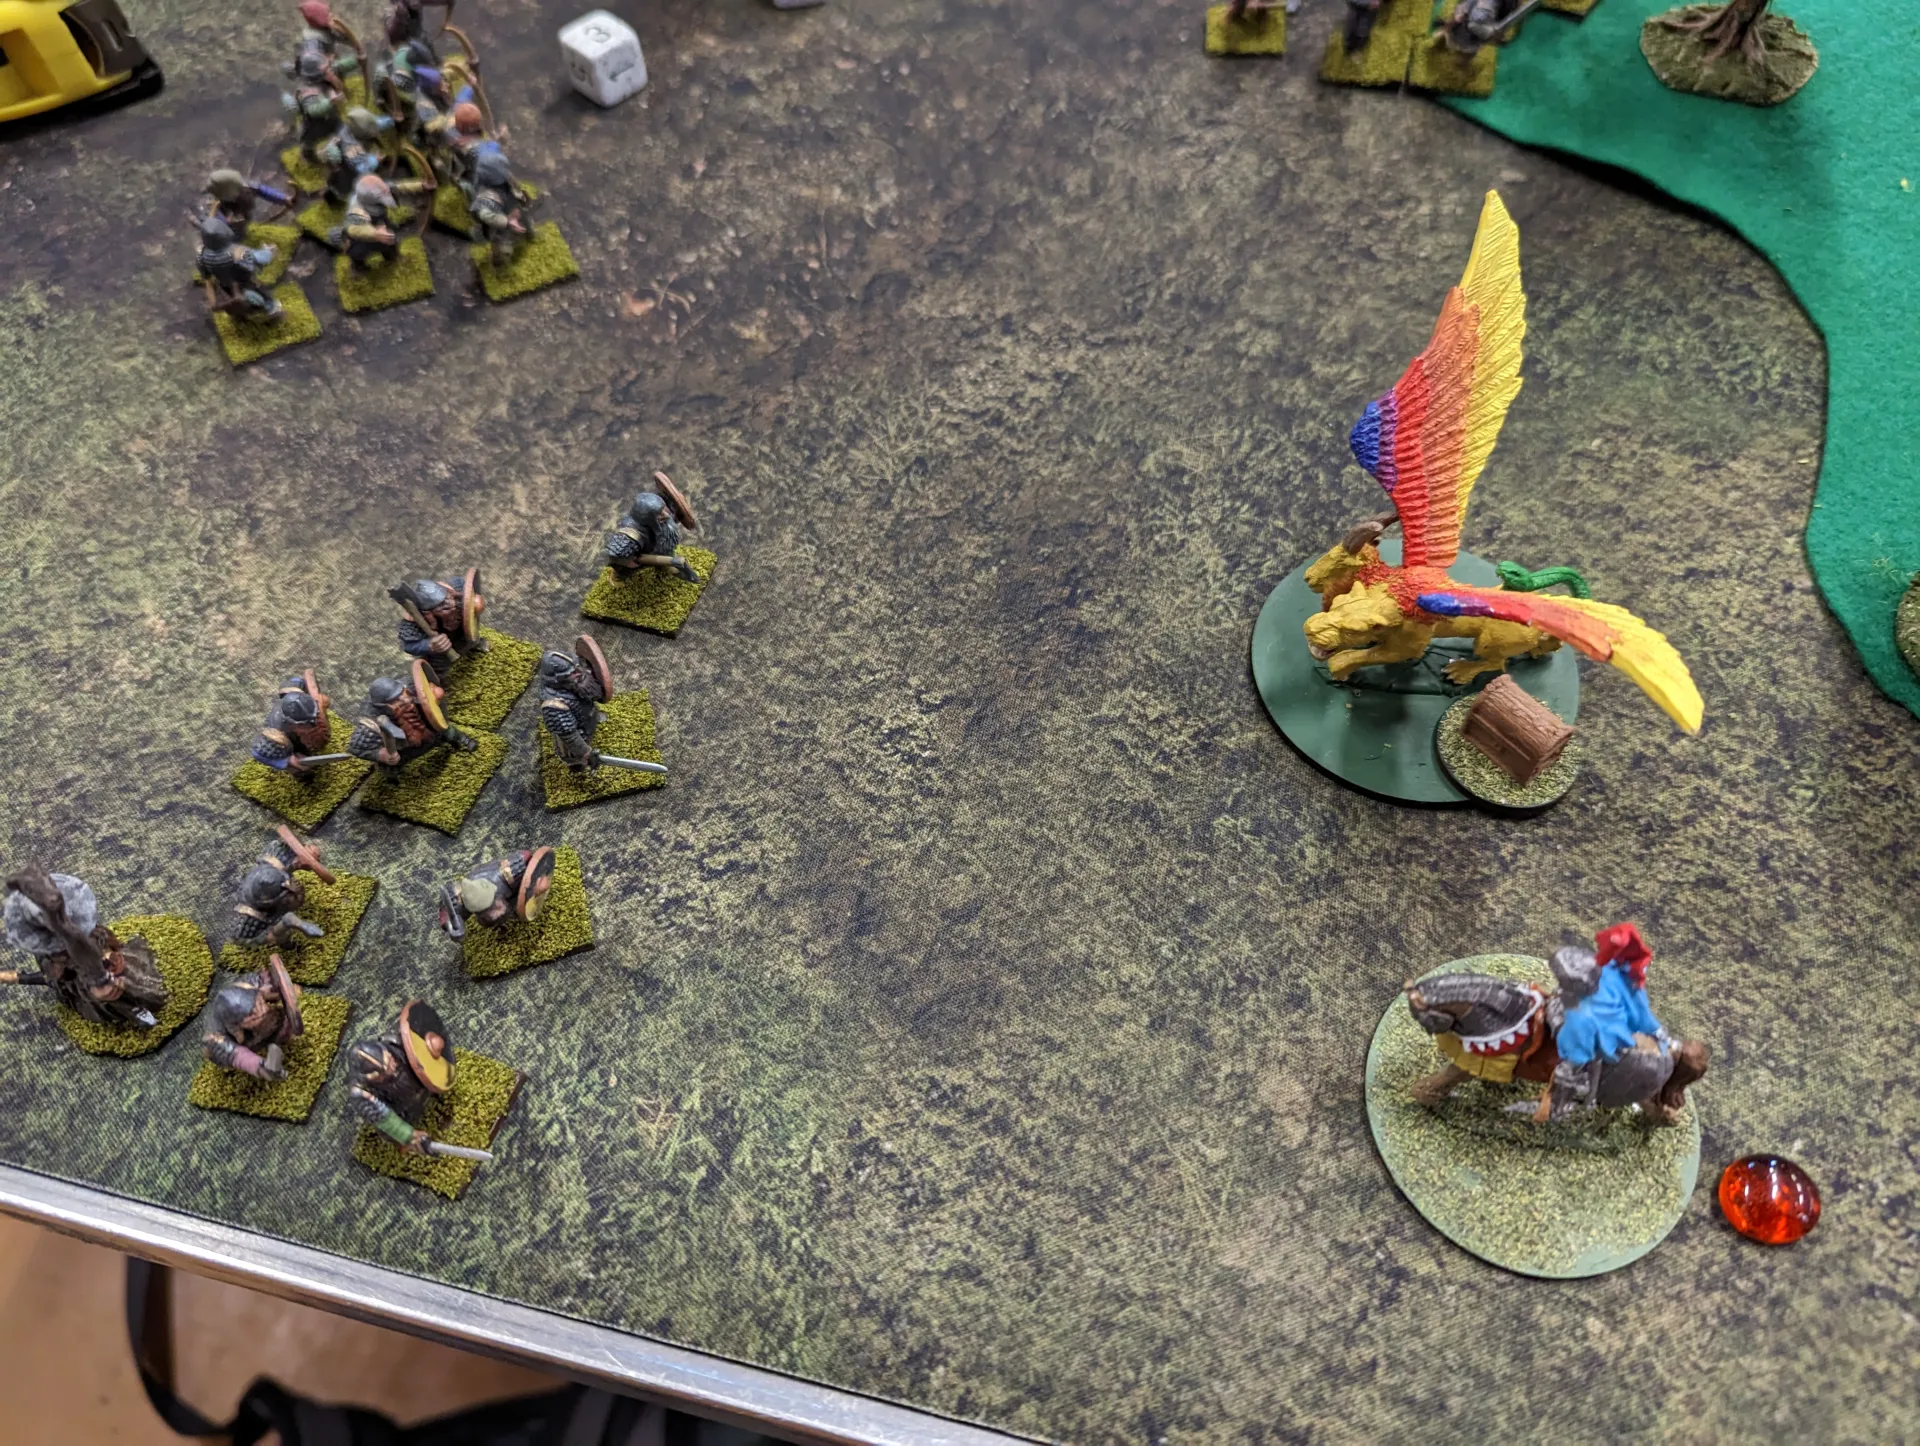
Meanwhile, the Chimera was waiting for a clear run at the corner of the table. It’s decision was made for it as a group of goblins started bearing down on it. In terms of number of men, we were definitely loosing. The east end of the table had been lost completely, with the goblins driving through and pushing the knights forward.
On the other flank, the dwarves were still holding firm. Attempts at breaking through their defensive wll had come to nothing, and losses on my side had been considerable.
With the mountain alliance closing in, there weren’t many options left. I had my leader and the chimera still alive, and a few knights from my second force holding out in the middle of the table.
My only hope was a somewhat risky attempt to fly over the dwarves and carry the mole off the table corner. With only a 10″ move, I would have to land in front of the wizard, then hop over them, then rush for the corner. That meant at least two turns being shot at by magical bolts and archers.
Unlike in Saga, you can’t activate a single unit multiple times in exchange for fatigue.
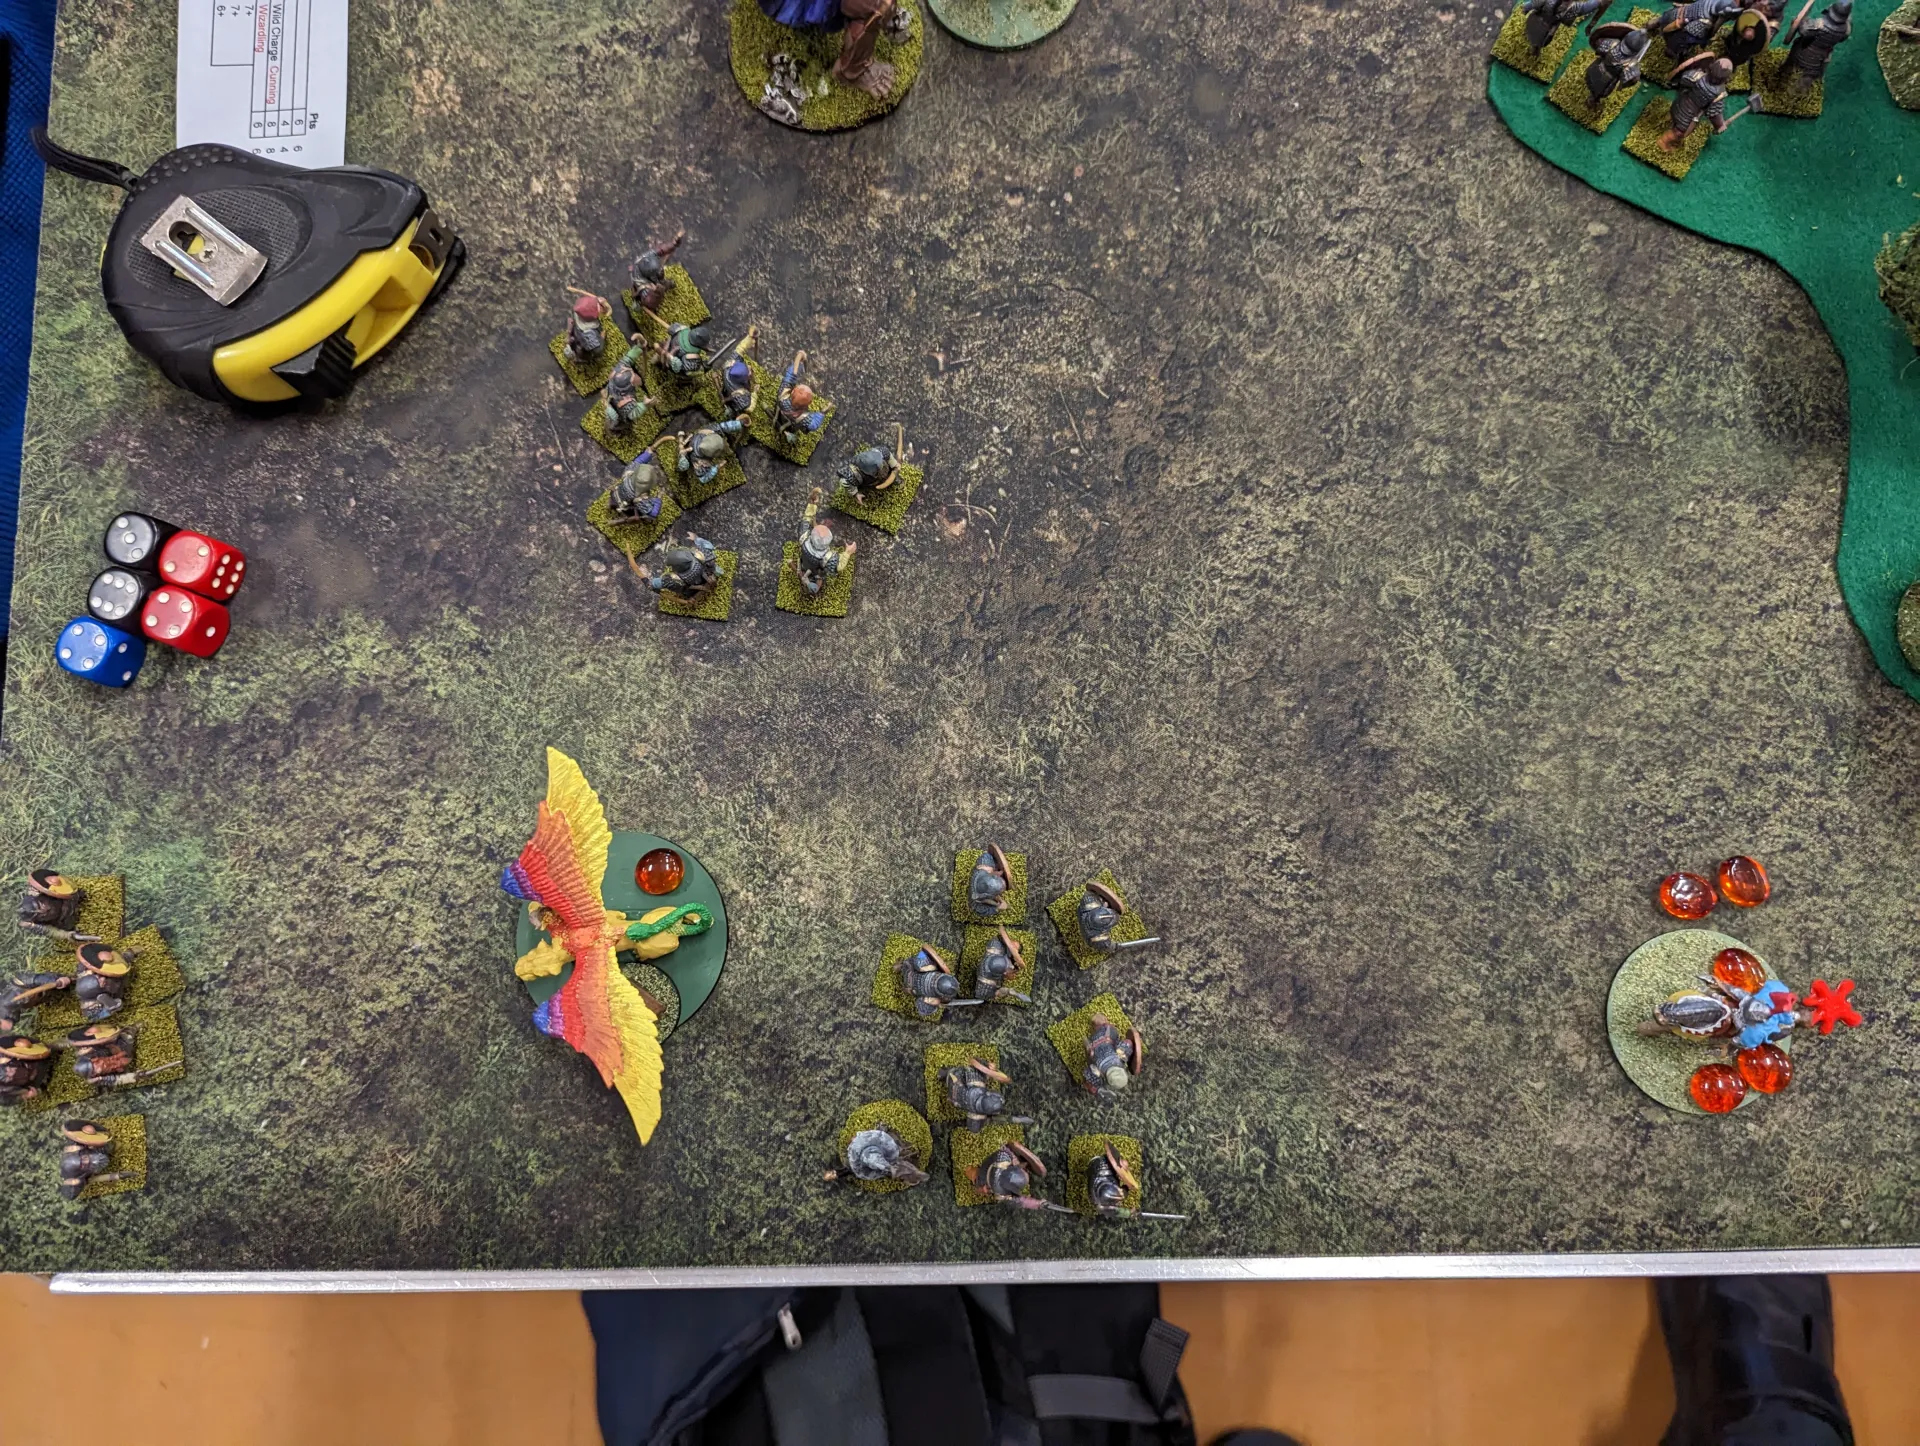
With a final action, the Chimera was over the first rank of troops, and on the following turn survived enough damage to make it to the corner. We had won, though at the cost of almost our entire army. It felt like a bit of a false victory, and without a flying unit I’m not certain how we would have managed.
For what I had assumed were going to be pretty heavy attack units, my mounted knights achieved almost nothing. They were driven back almost every time, and suffered heavy losses against the dwarven infantry. Being forced to retreat when under missile attack also made offensive actions much harder than they are in Saga. In Saga you can take losses from missile fire, but you aren’t forced to retreat. I’m not sure at the moment what the right tactic is for attacking a defensive line in Dragon Rampant.
In terms of speed, the game was fast. We started at 1800, and were completely packed away before 2100. This was for a double size game with four players. This is quicker than a two player game of Saga.
However, the tactical options are far more simplistic. There aren’t special abilities to be concerned with (not in the same way as those available on a Battleboard), and there are fewer options for using multiple units together in an attack. In Saga, if you get the right dice in the Orders Phase, you can plan out what multiple units are going to do during the Activation phase. In Dragon Rampant, you don’t know which units are going to be able to act until after the other units have acted, so there’s less thinking about how to use them together. Or at least there was for me.
You can definitely do bigger battles with more figures using Dragon Rampant, and there’s something to be said for that. But if I had to choose, I think I prefer the tactical complexity of Saga. That’s not to say that I don’t want to give it another go at some point.
The big concern I had, concerning the activations, didn’t cause that much of a problem. But then, I’d built an army to try and avoid it. I had considered an undead army, with many units of cheap zombies. My feeling still is that such an army wouldn’t work that well, because of the high chance of one of the early units failing to activate meaning none of the rest of the army activates.
Magic seemed to be quite powerful, but then maybe the dwarves were getting some good rolls.
The biggest bonus of it was how fast it was. Maybe a bit too fast because we finished early. We could have done a couple of games that evening, but I prefer to do one longer game that multiple small games. My feeling once one battle is completed is that I then want to take a break – not dive into another game.
One thing I did to try and make things go smoother, was print out some stat cards for each of my units. I created these in Inkscape, and printed each one out onto an A6 card. A stack of them didn’t take up too much room on the table, it meant we didn’t have to keep referring to the book, and I found them more readable than a single plain text print out of a table of stats.

I do need to play some more games of it though, and also try out the Xenos version of the game to see how that plays. I also need to take more superglue to the lances on my knights to try and make them stick.