An Old Feud
After a quick flick through the Book of Battles, and selecting a scenario that looked interesting, this turned out to possibly be one of the best Saga: Age of Vikings games that we’ve had. There was a lot of engagement between the two war bands, with back and forth in terms of who was closest to winning. Every turn of the game felt that it was of critical importance to the outcome.
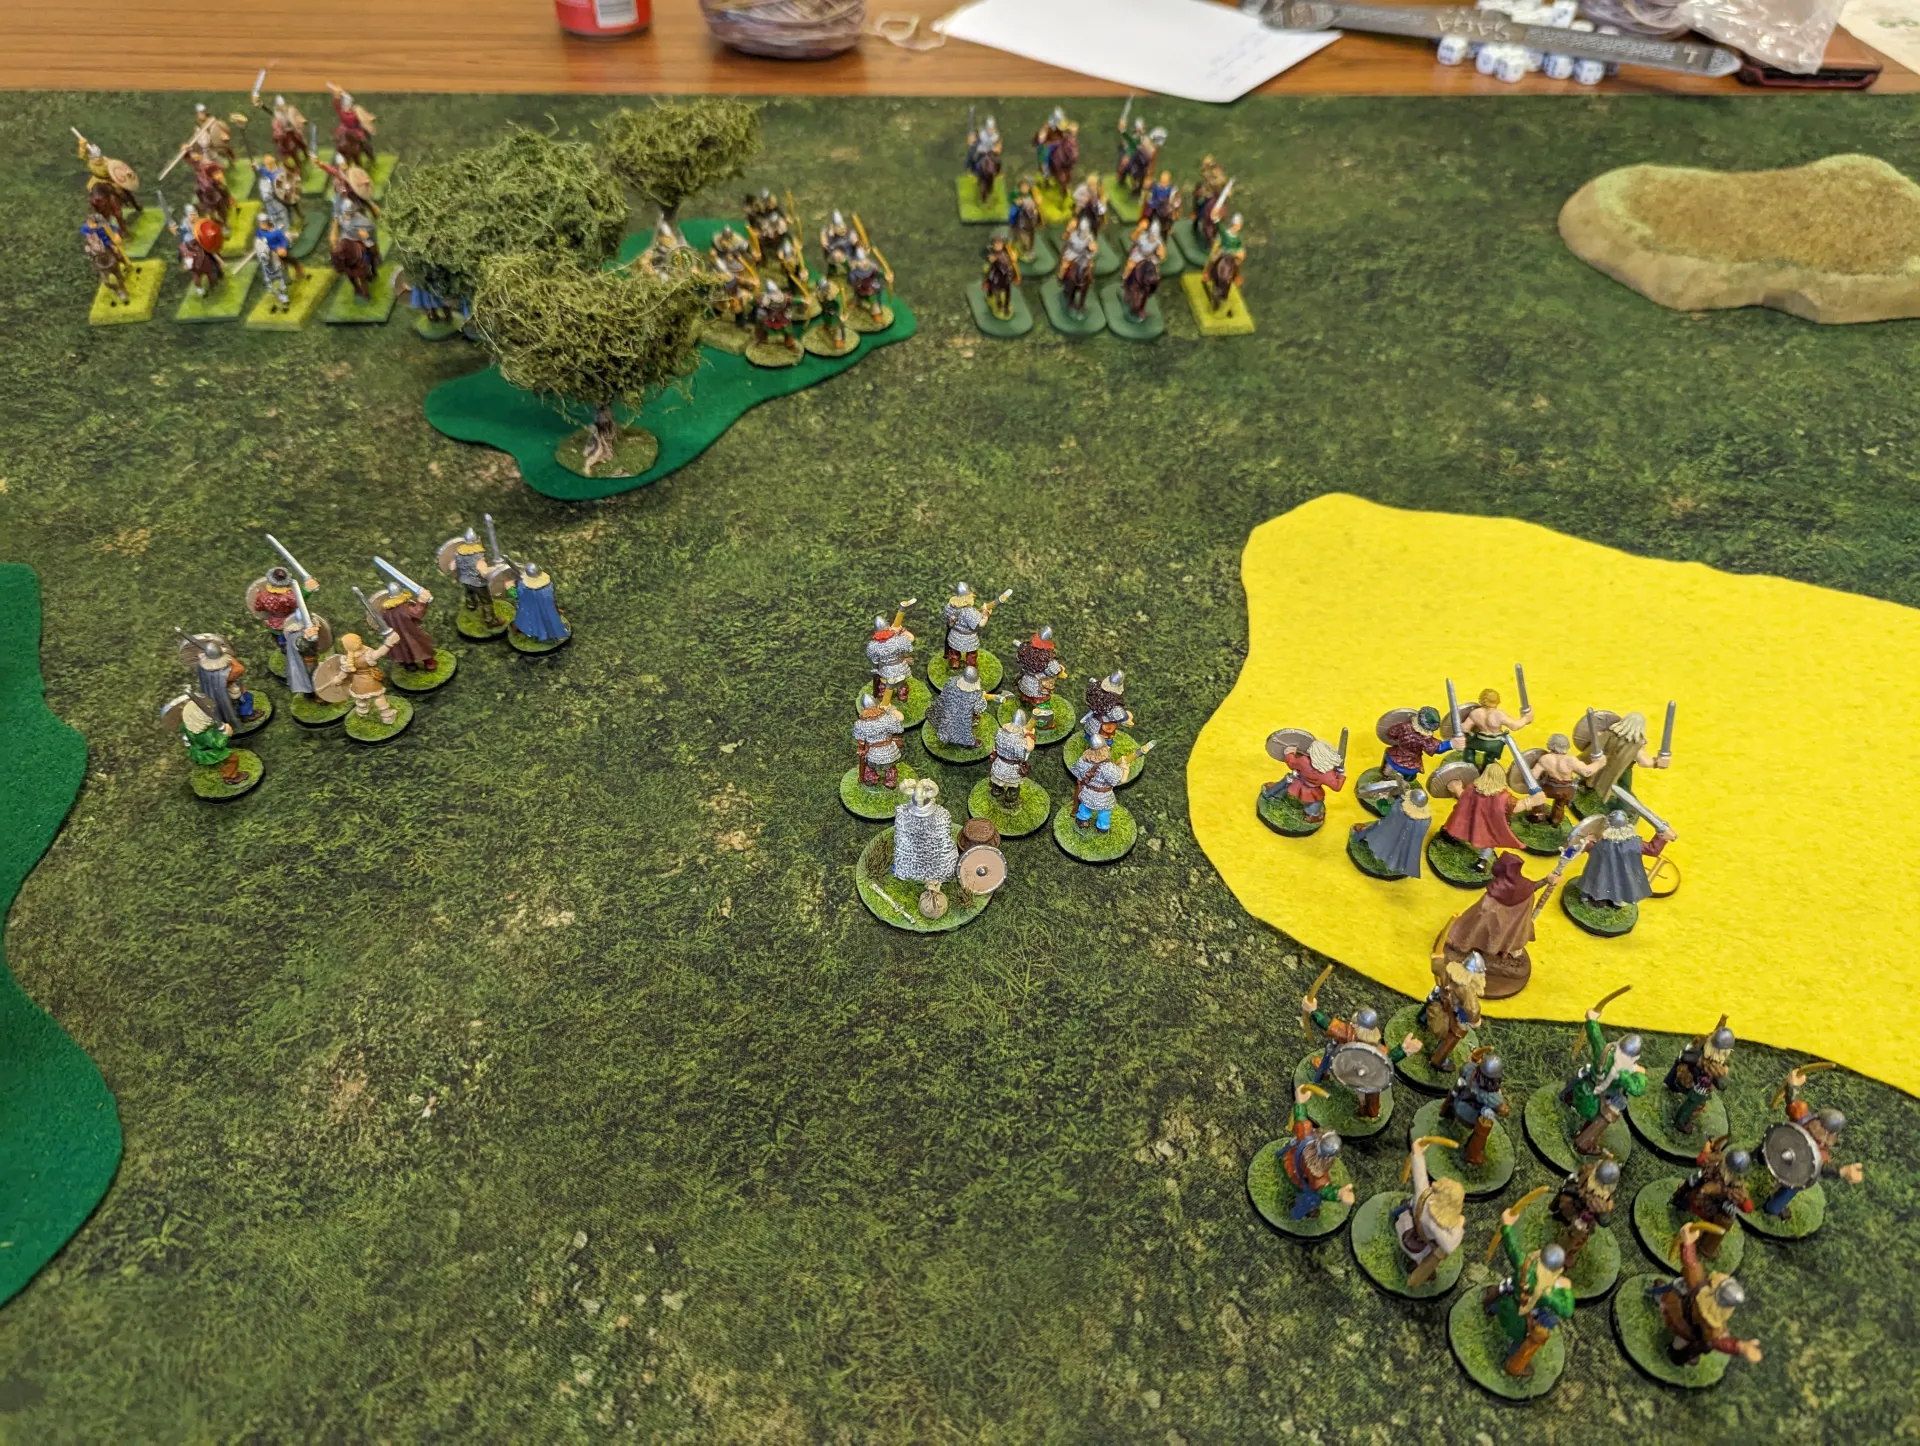
The scenario we chose was Old Feud, and pitted the Anglo-Saxons, led by Athelstan, against the Vikings led by Harald Hardrada. Both armies were six points, plus we each got a special hero figure which would be the objective for the game. If one hero died, that side would lose automatically.
I chose the Councillor, who gave me an extra Saga die, and also had We Obey. They weren’t much of a fighter though. The Saxons chose the Soldier, who had We Obey and Determination, but didn’t grant Saga dice. Since I was going up against cavalry, I wanted a lot of terrain on the table.
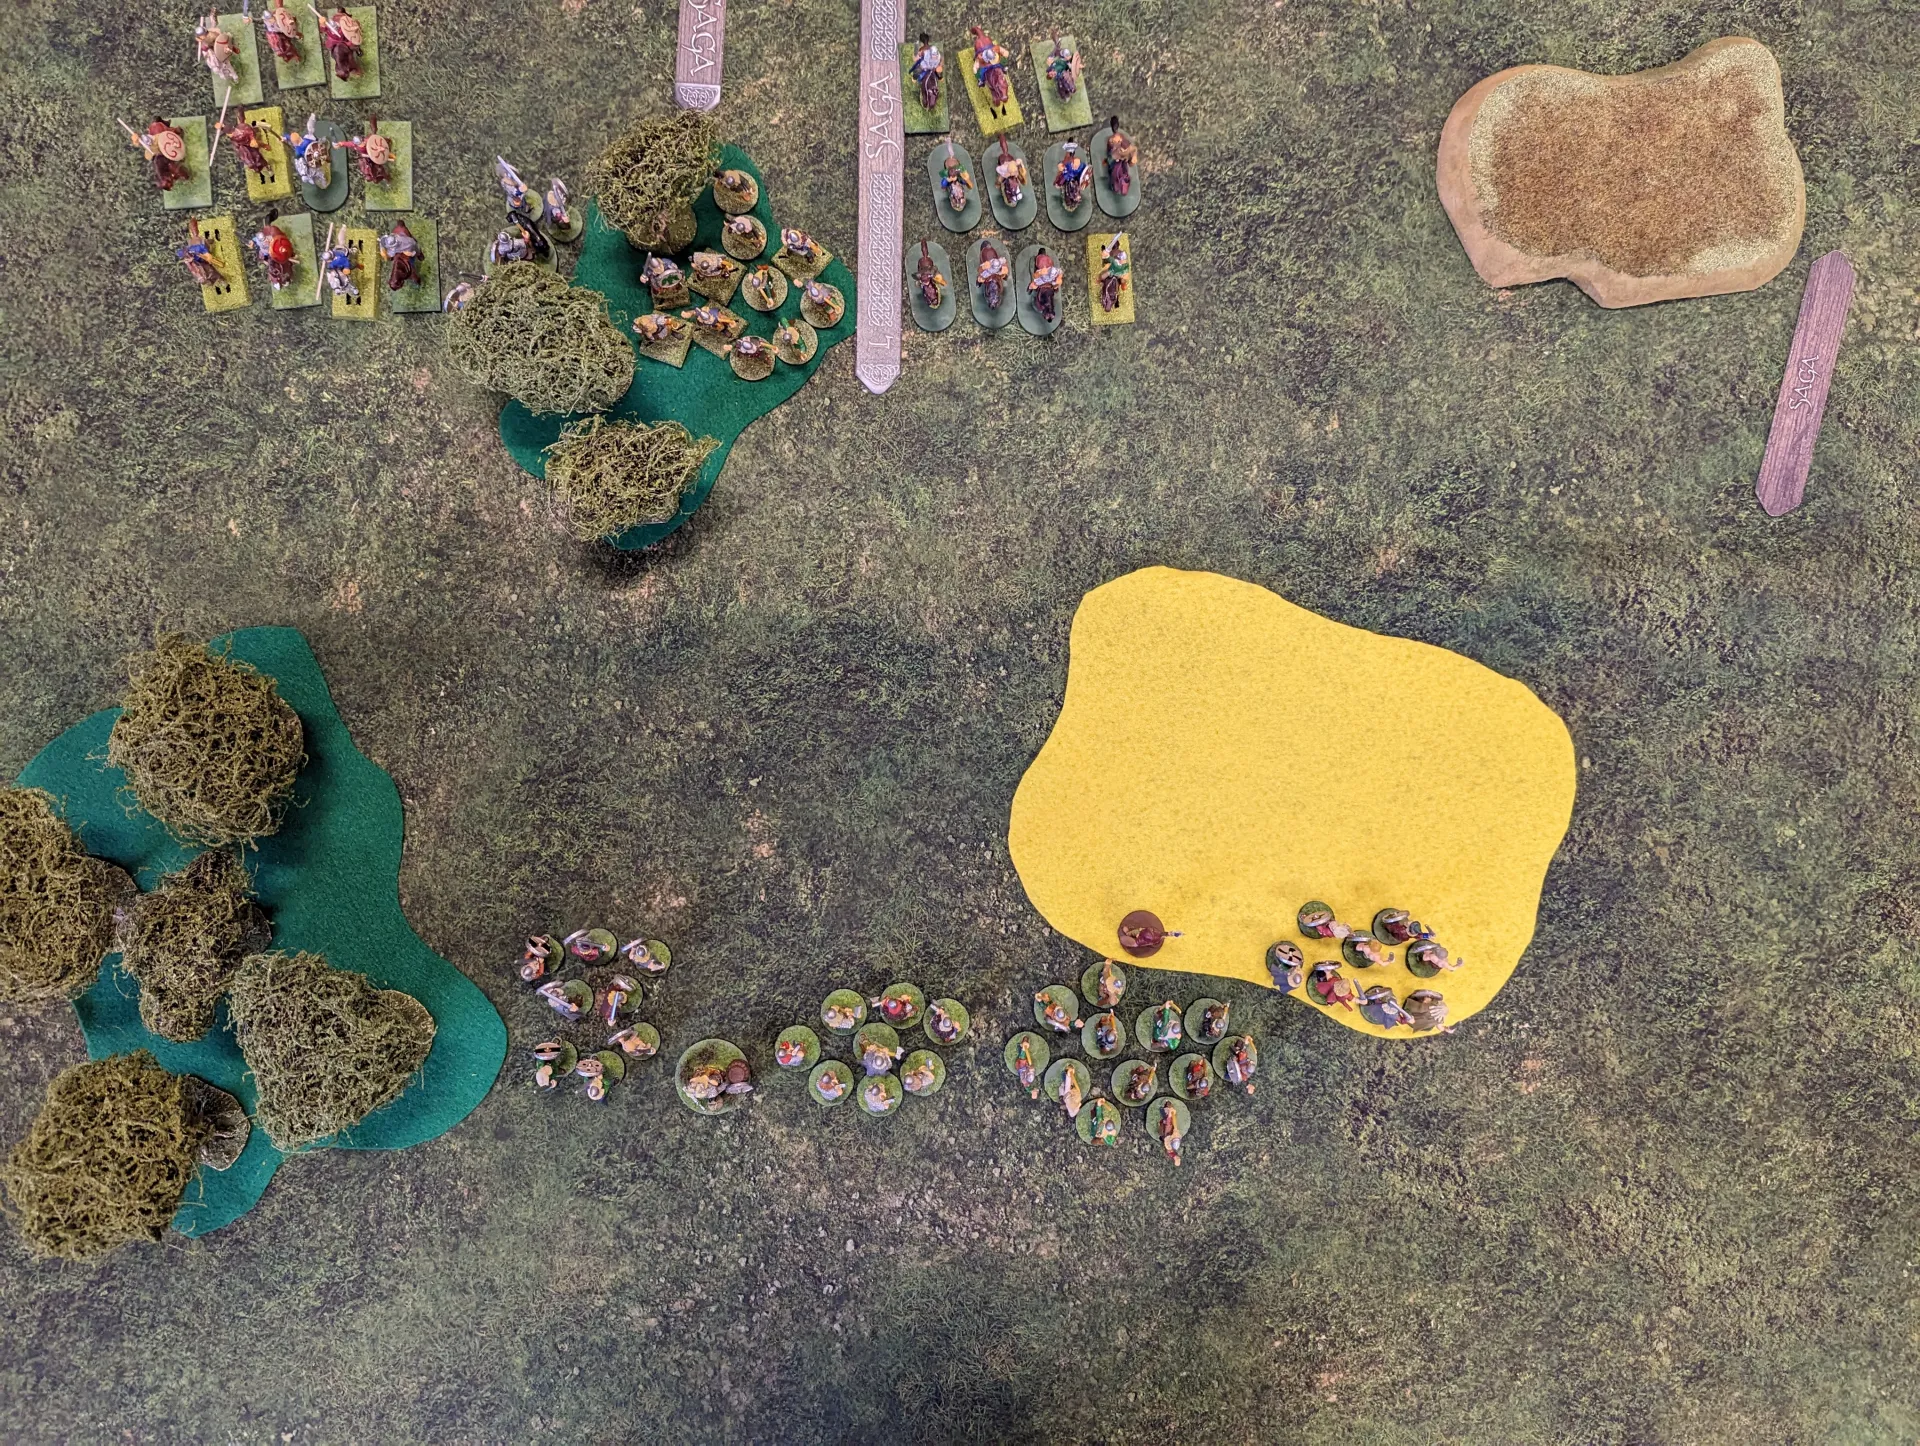
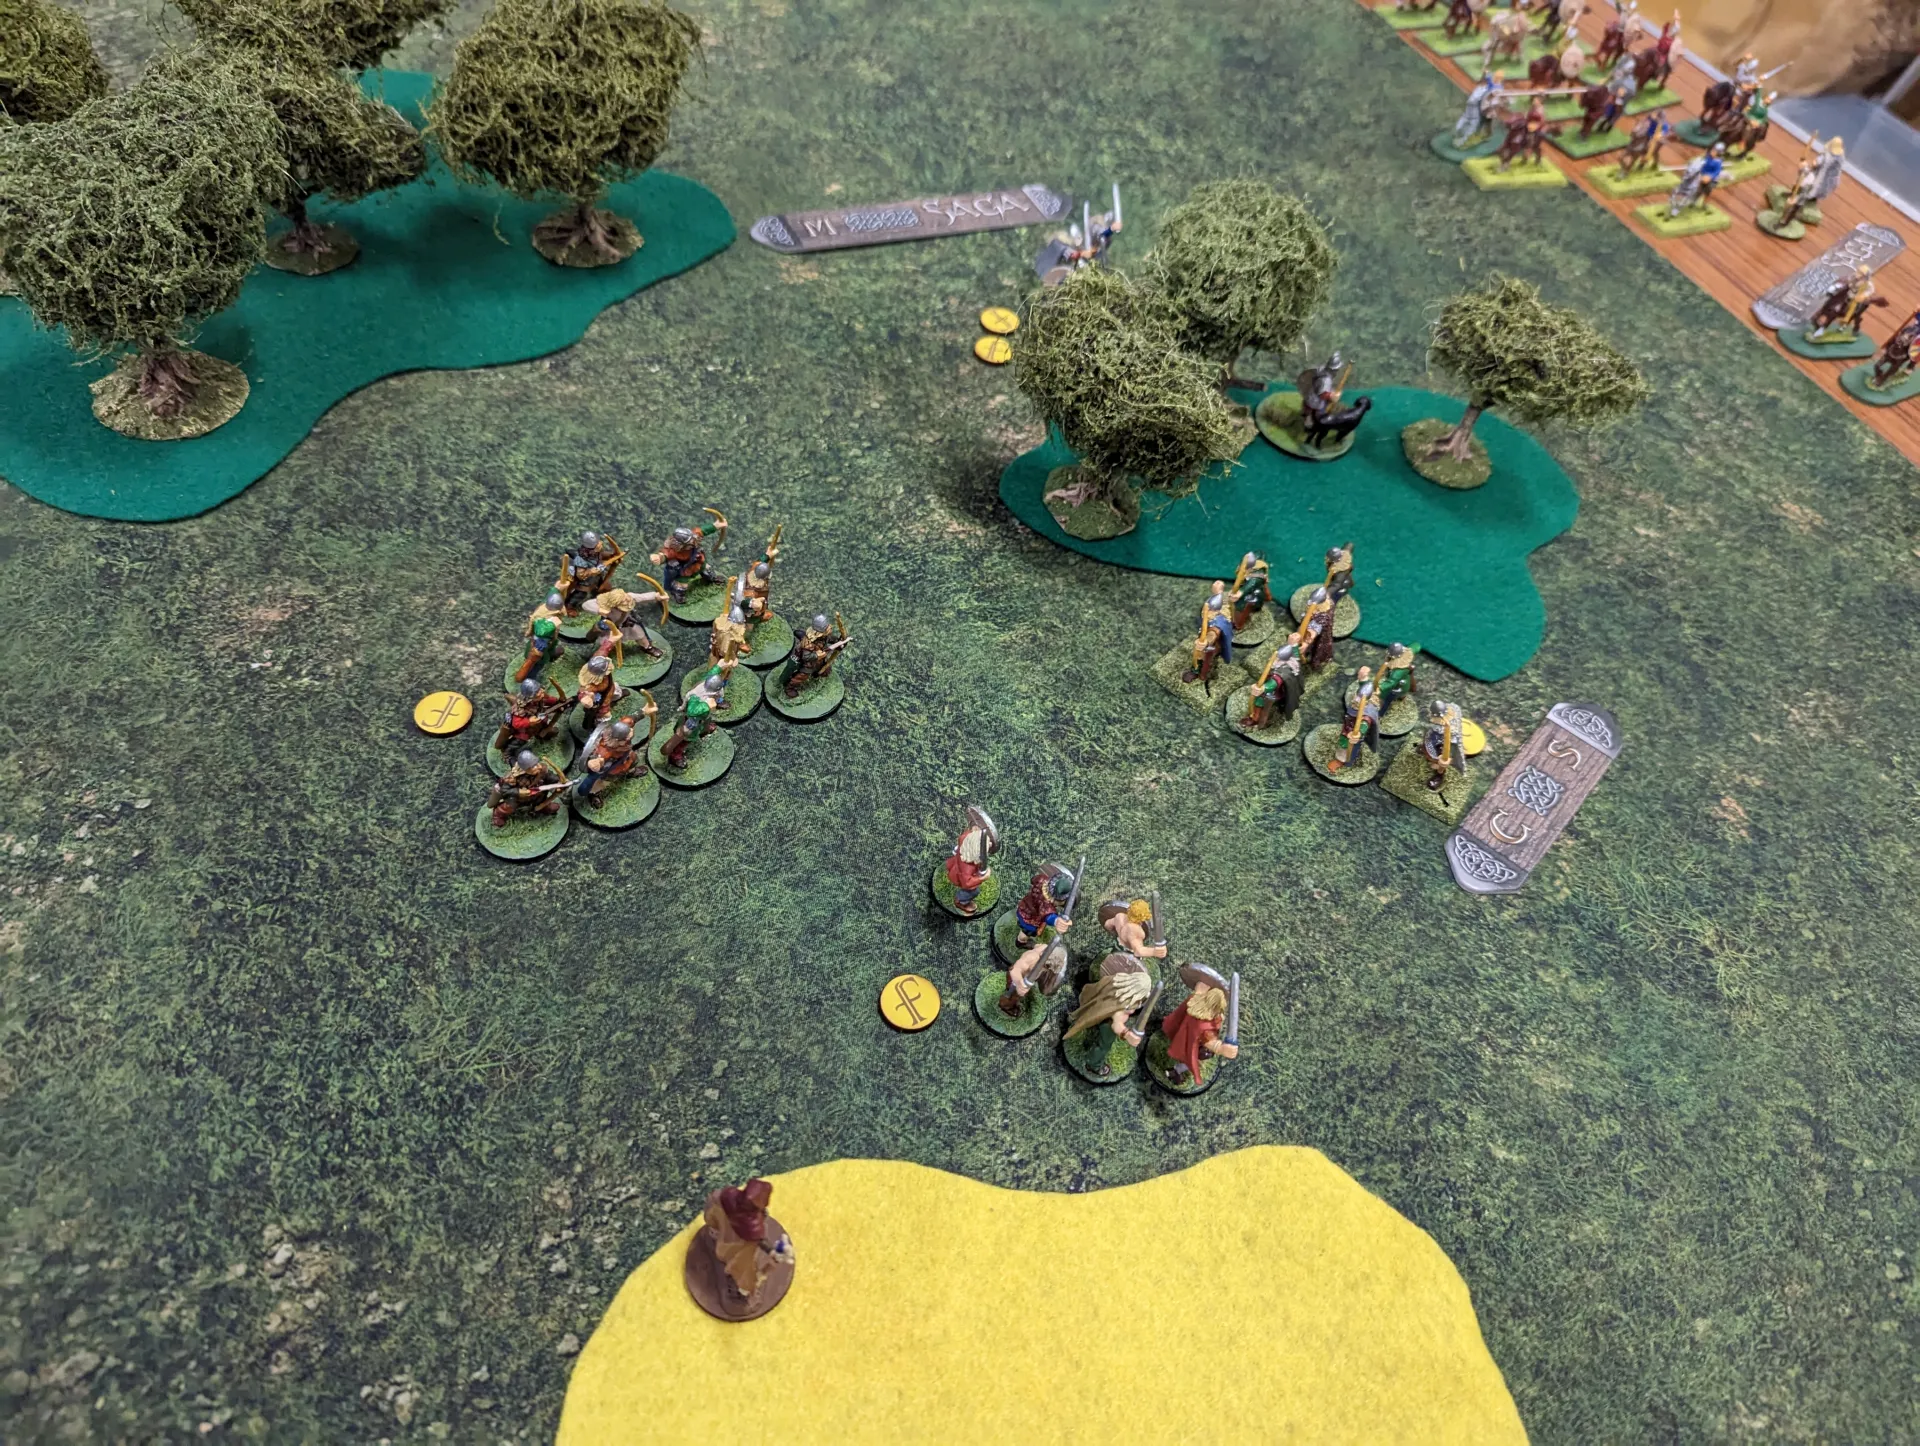
We got a large field in the middle, which would allow me to use my archers but hinder the cavalry. There were a couple of woods as well, which the Saxons ended up making better use of. The Vikings deployed in a line around the middle, with their Councillor in a field, whilst the Saxons based themselves around a wooded area.
The Vikings started by moving to protect their Councillor, and trying to block the way for the Saxon cavalry. For this, they had a unit of warriors guarding the left flank between the two woods, and their hearthguard (a unit of 8 Varangian guard) between the woods and the fields.
I completely forgot to use manoeuvre, which would have allowed me to do something more useful with my archers. I did managed to get Odin selected on my battle board though.
The Saxons opened up by shooting at my Varangian guard, but I used Odin on them which caused them to become exhausted. Their shooting did nothing, and they were out of it for the next turn or two.
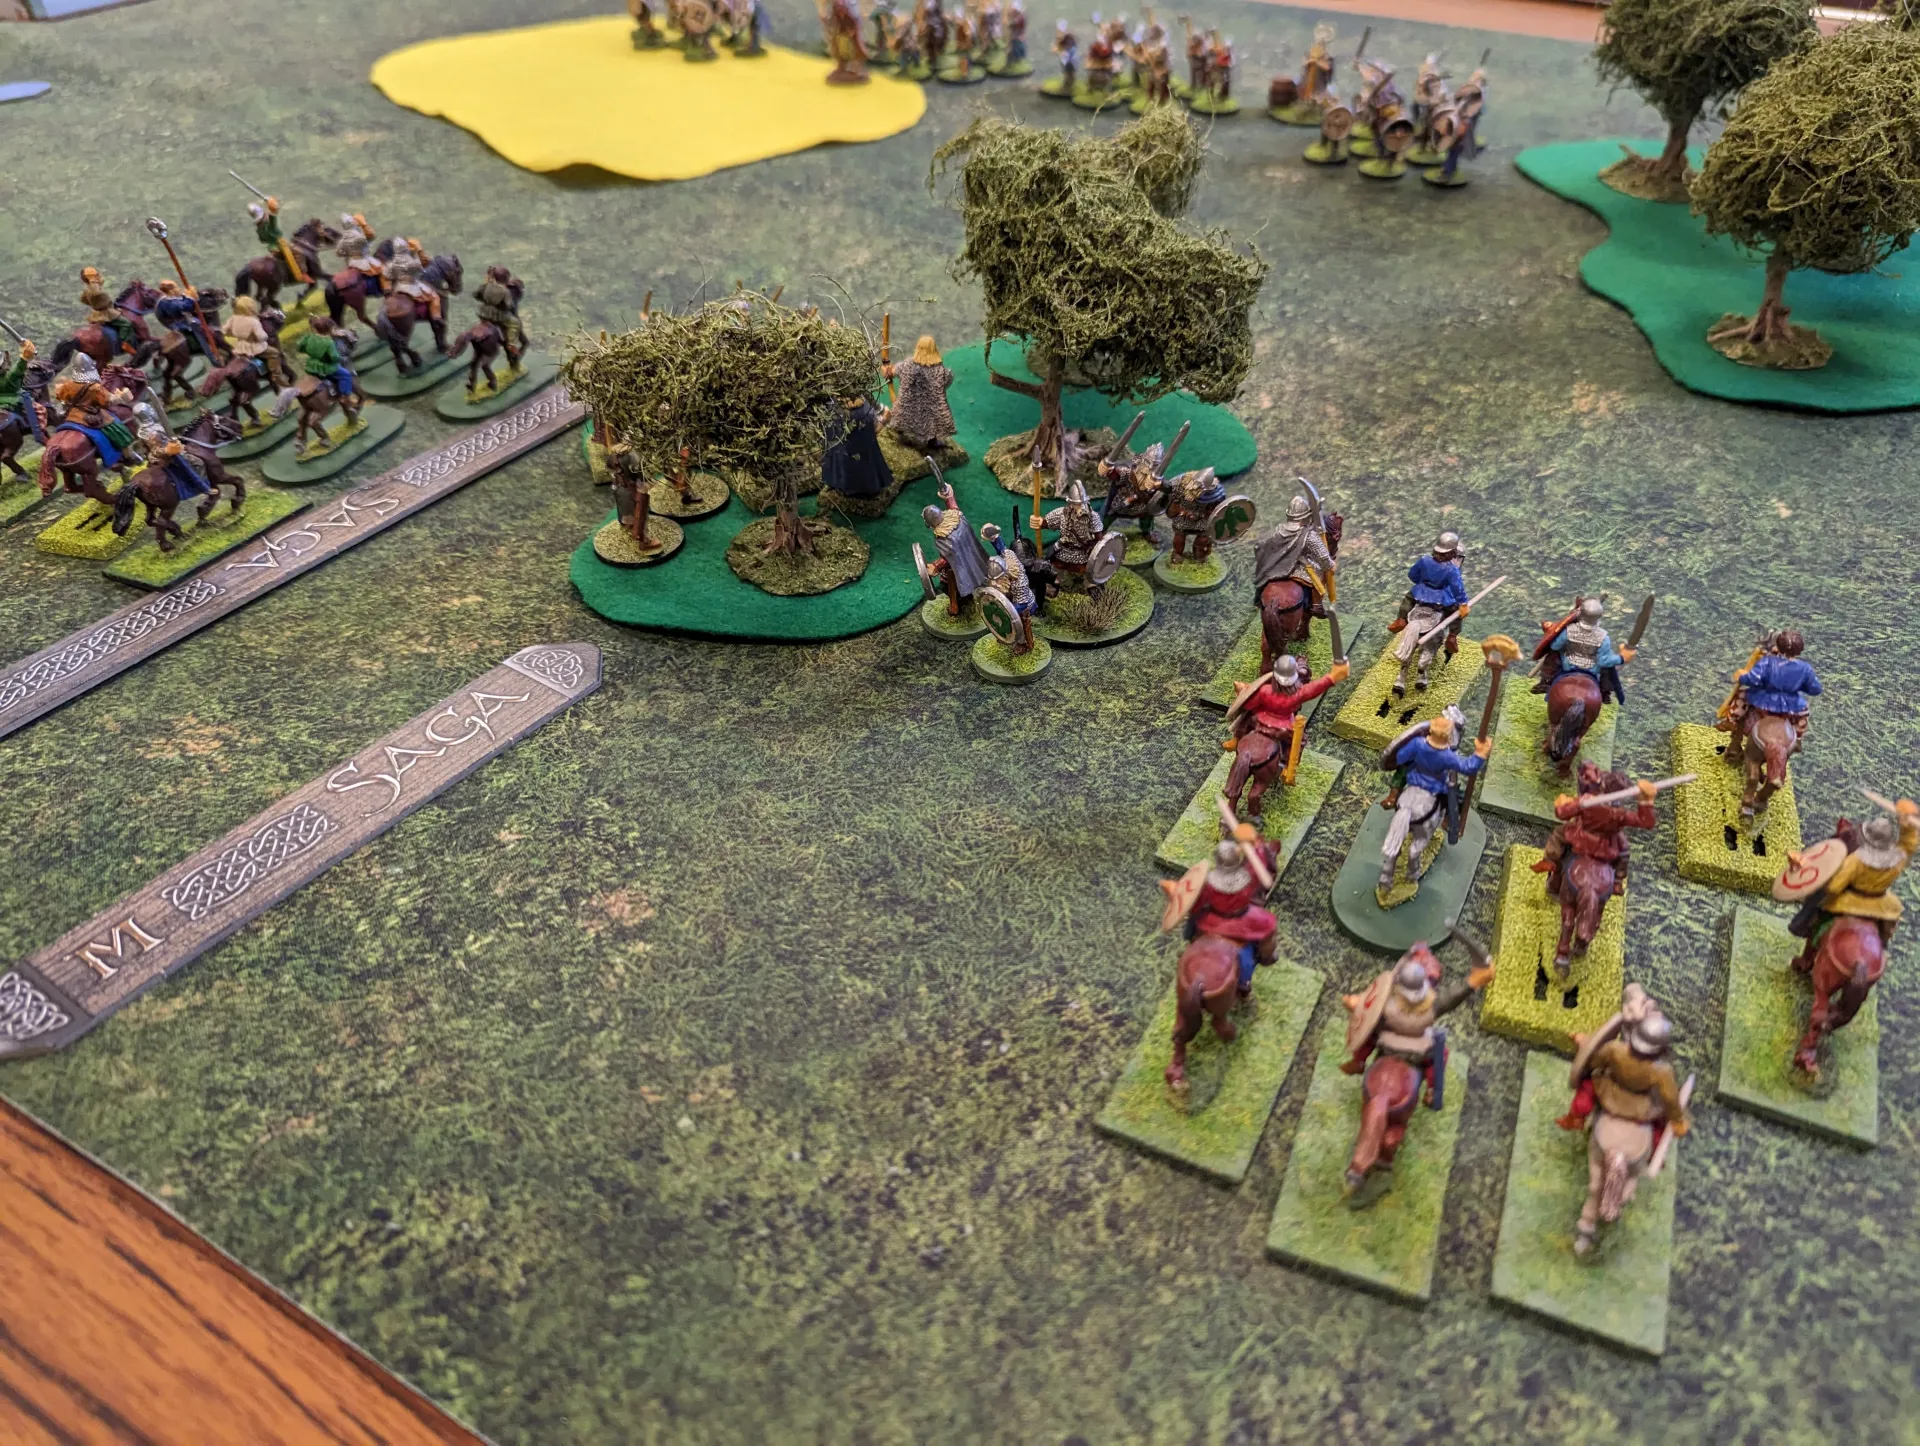
Then the cavalry came in. On the left flank, my warriors stood their ground, but were almost entirely wiped out. Only one viking warrior was left standing. In exchange, only two Saxons were killed.
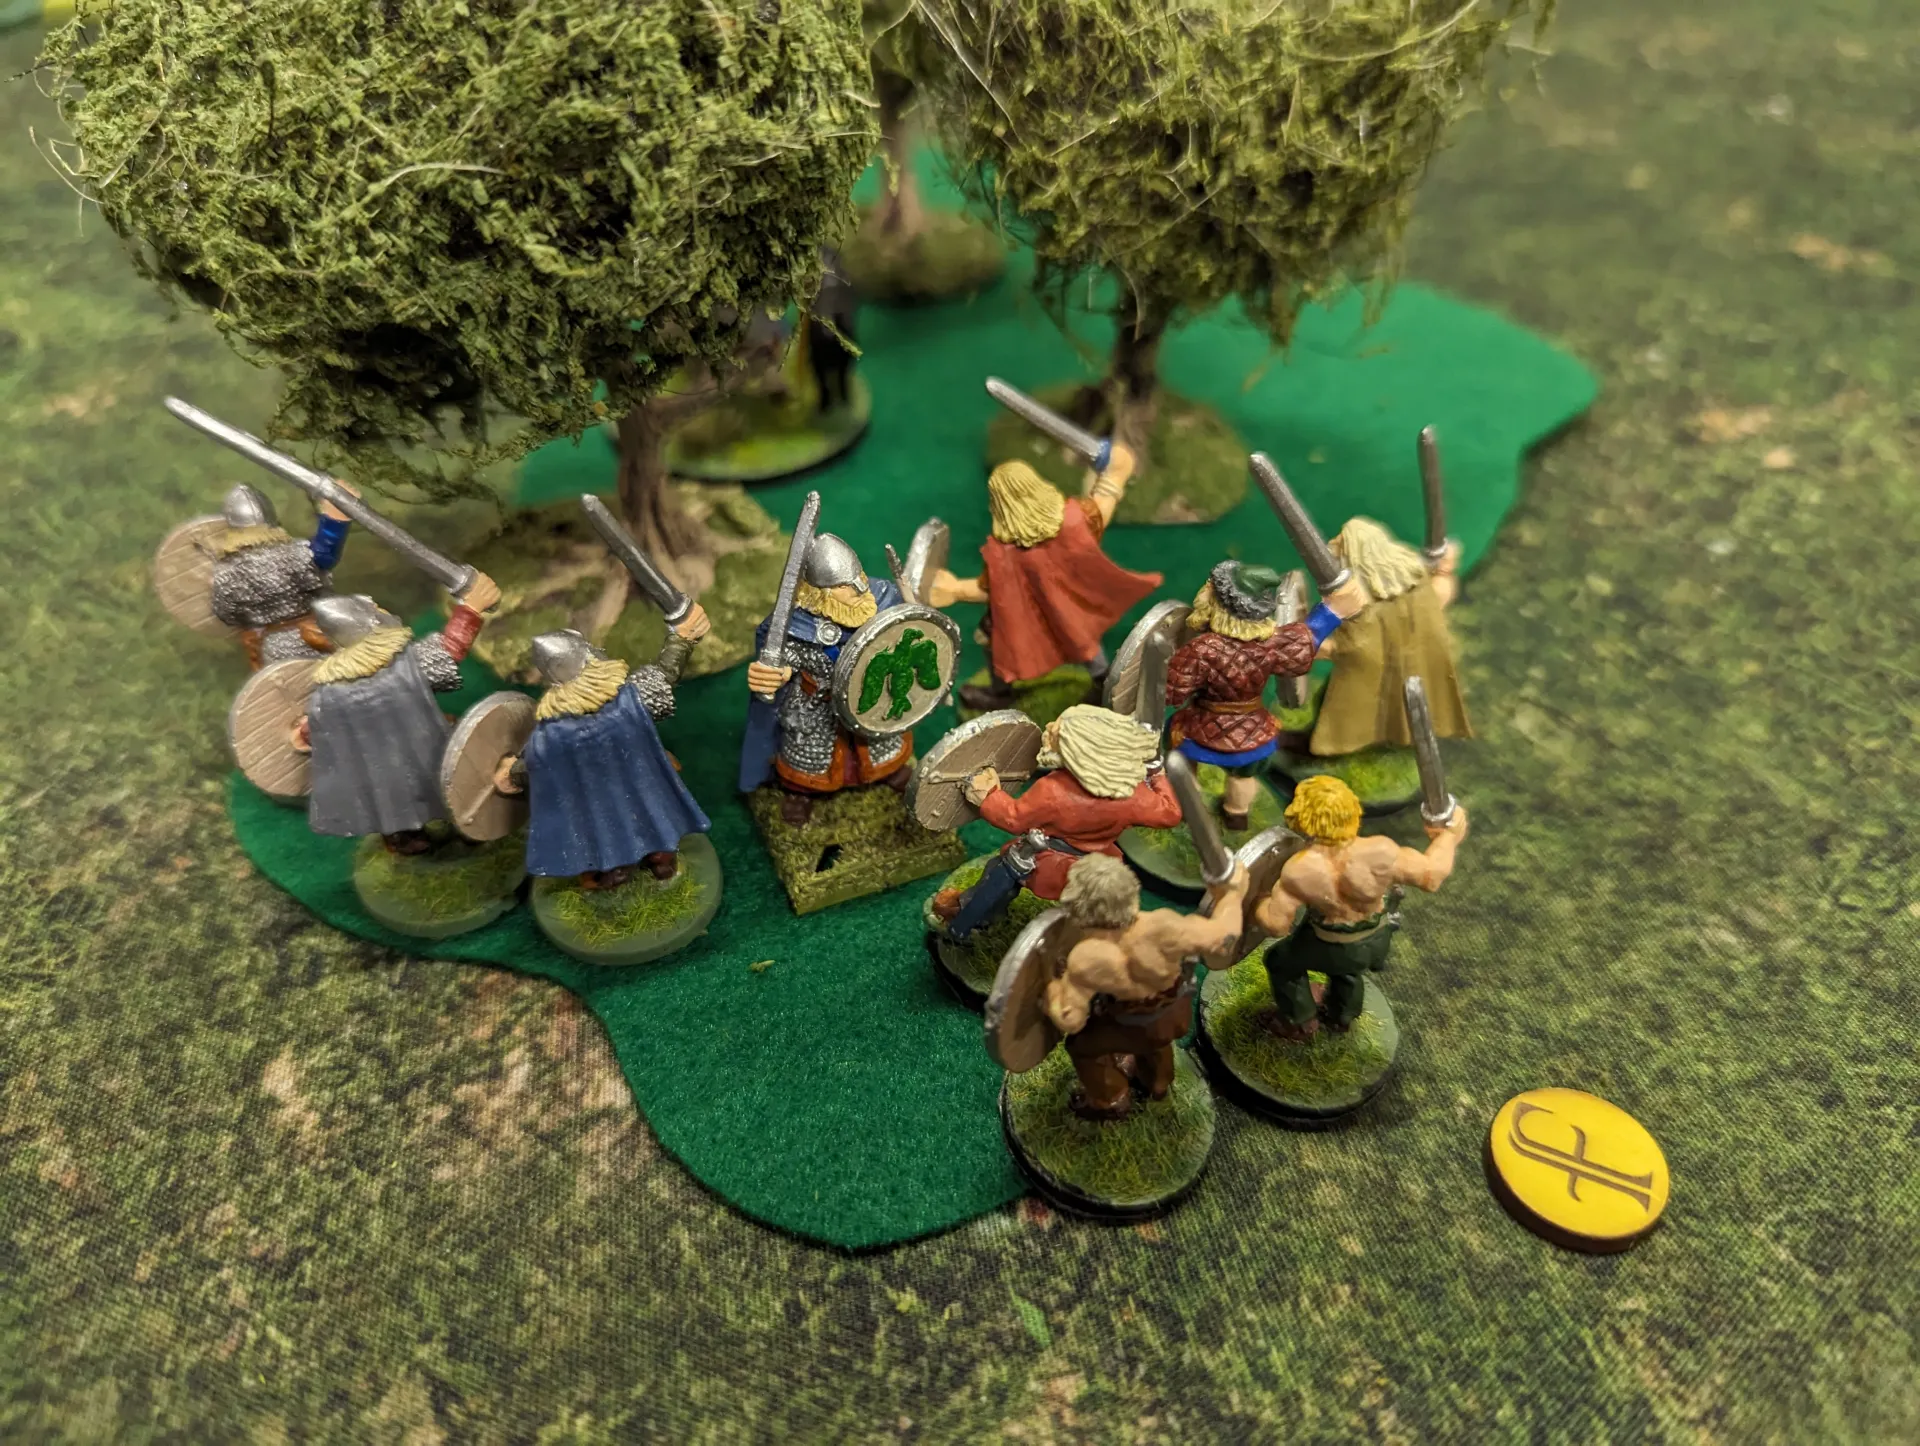
Down the middle came another oversized unit of Saxon horse, but my Varangian’s did a lot better. Three died (I made some really good armour saves), but the Saxons paid for that by losing their entire unit of 10 warriors plus a hero.
The Saxons at this point were not feeling that the fates were on their side, but my loss of almost half my warriors wasn’t wonderful.
Filled with optimism, my Varangian tried to charge the remaining unit of horse at the start of turn two. Things didn’t go as well, and though most of the Saxons were killed, my one and only unit of hearthguard was wiped out. I was now limited in my tactical options.
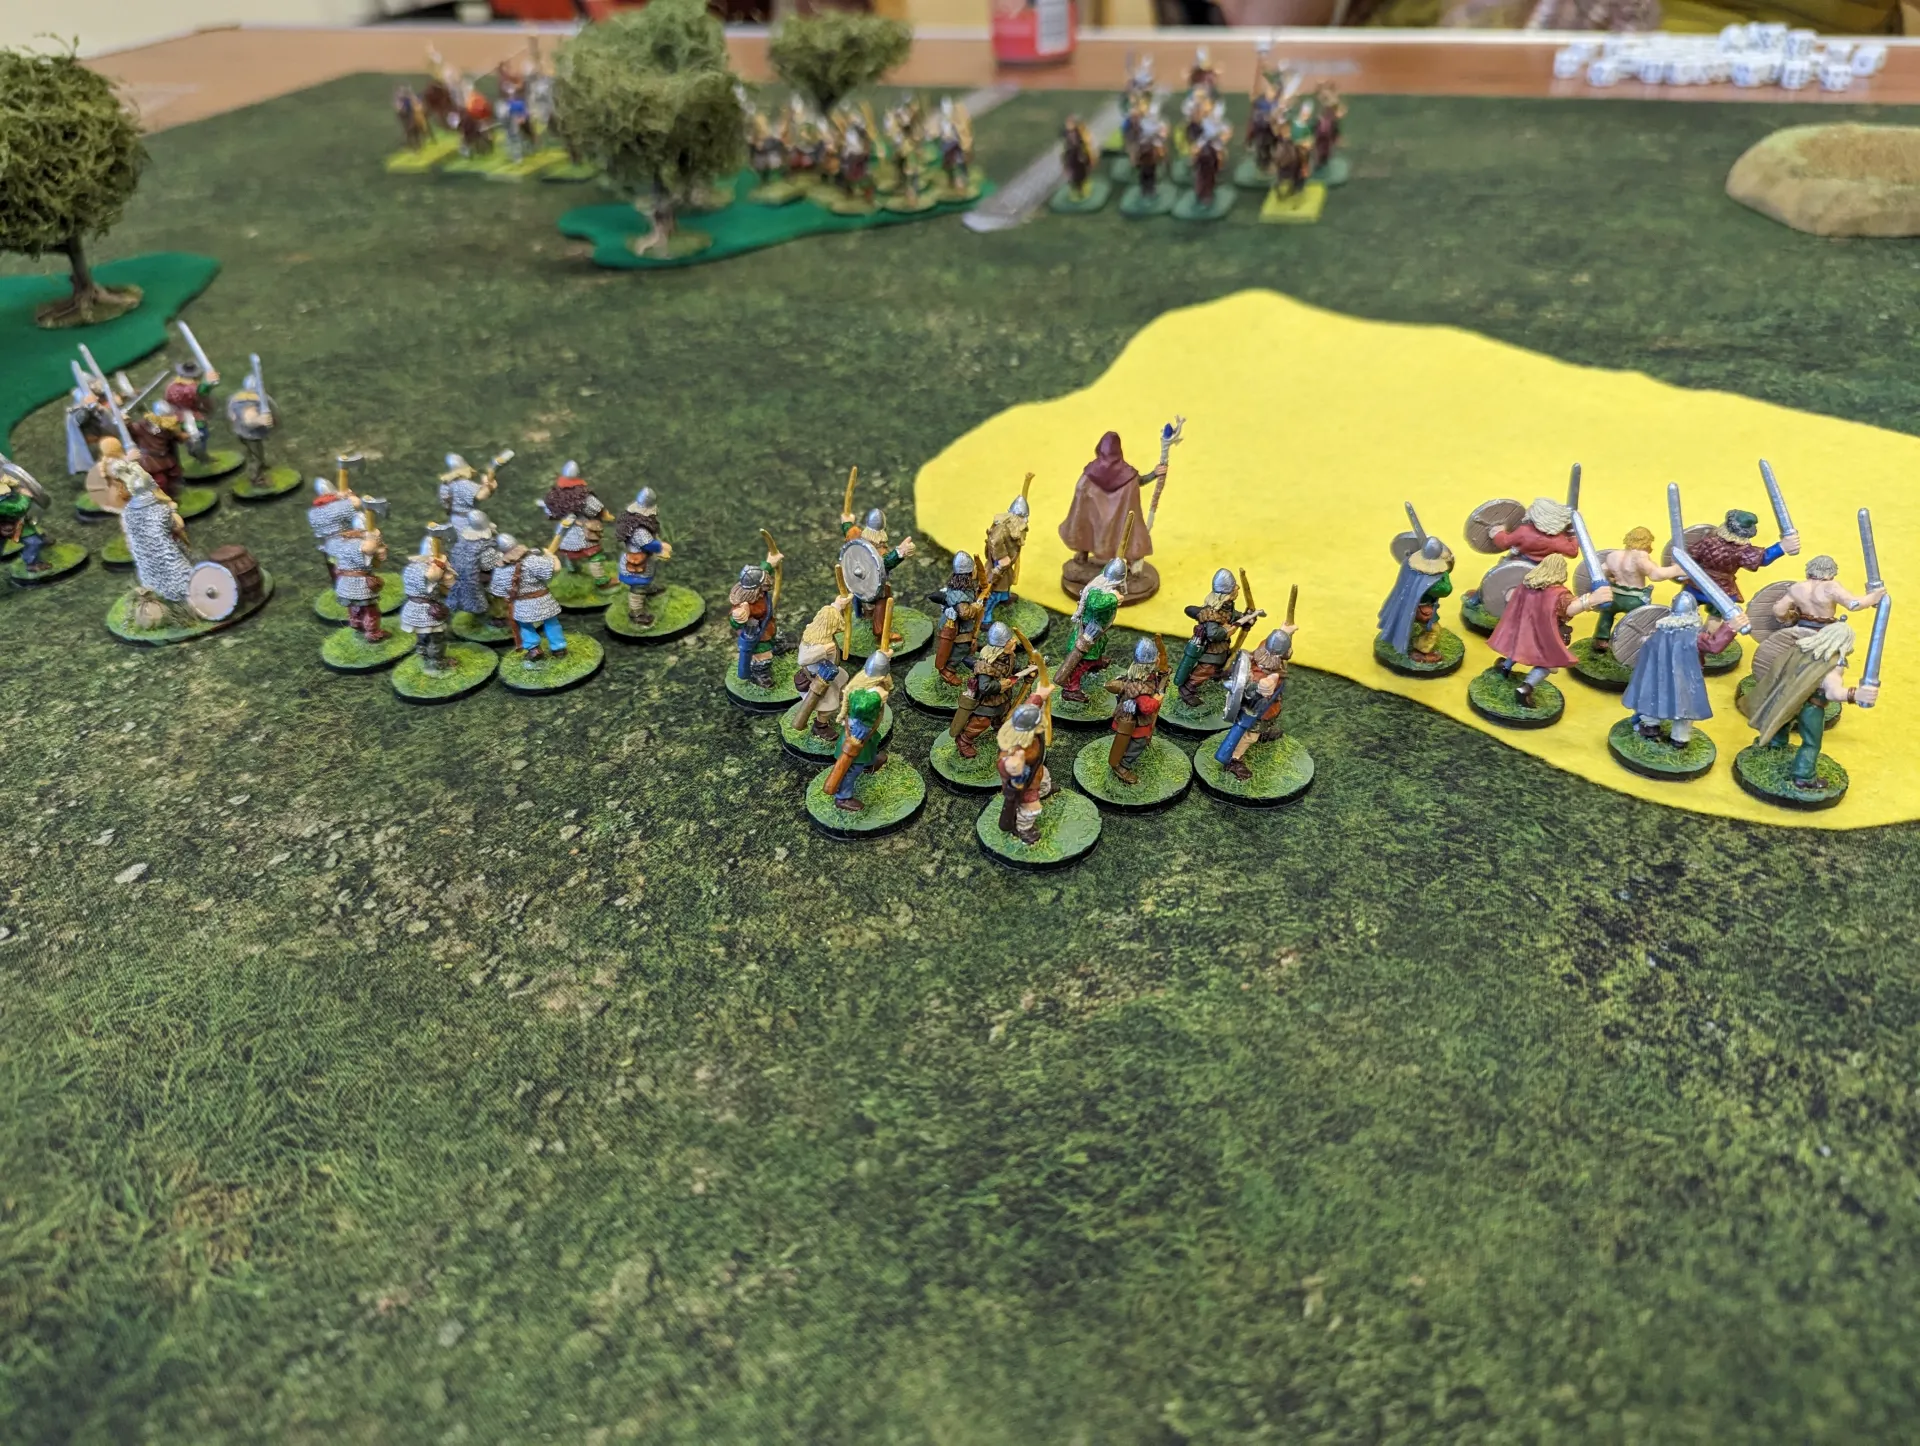
Since he no longer had protection, Harald Hardradre moved back to the woods to try and get cover. I didn’t want him caught by archers without any bodyguards around.
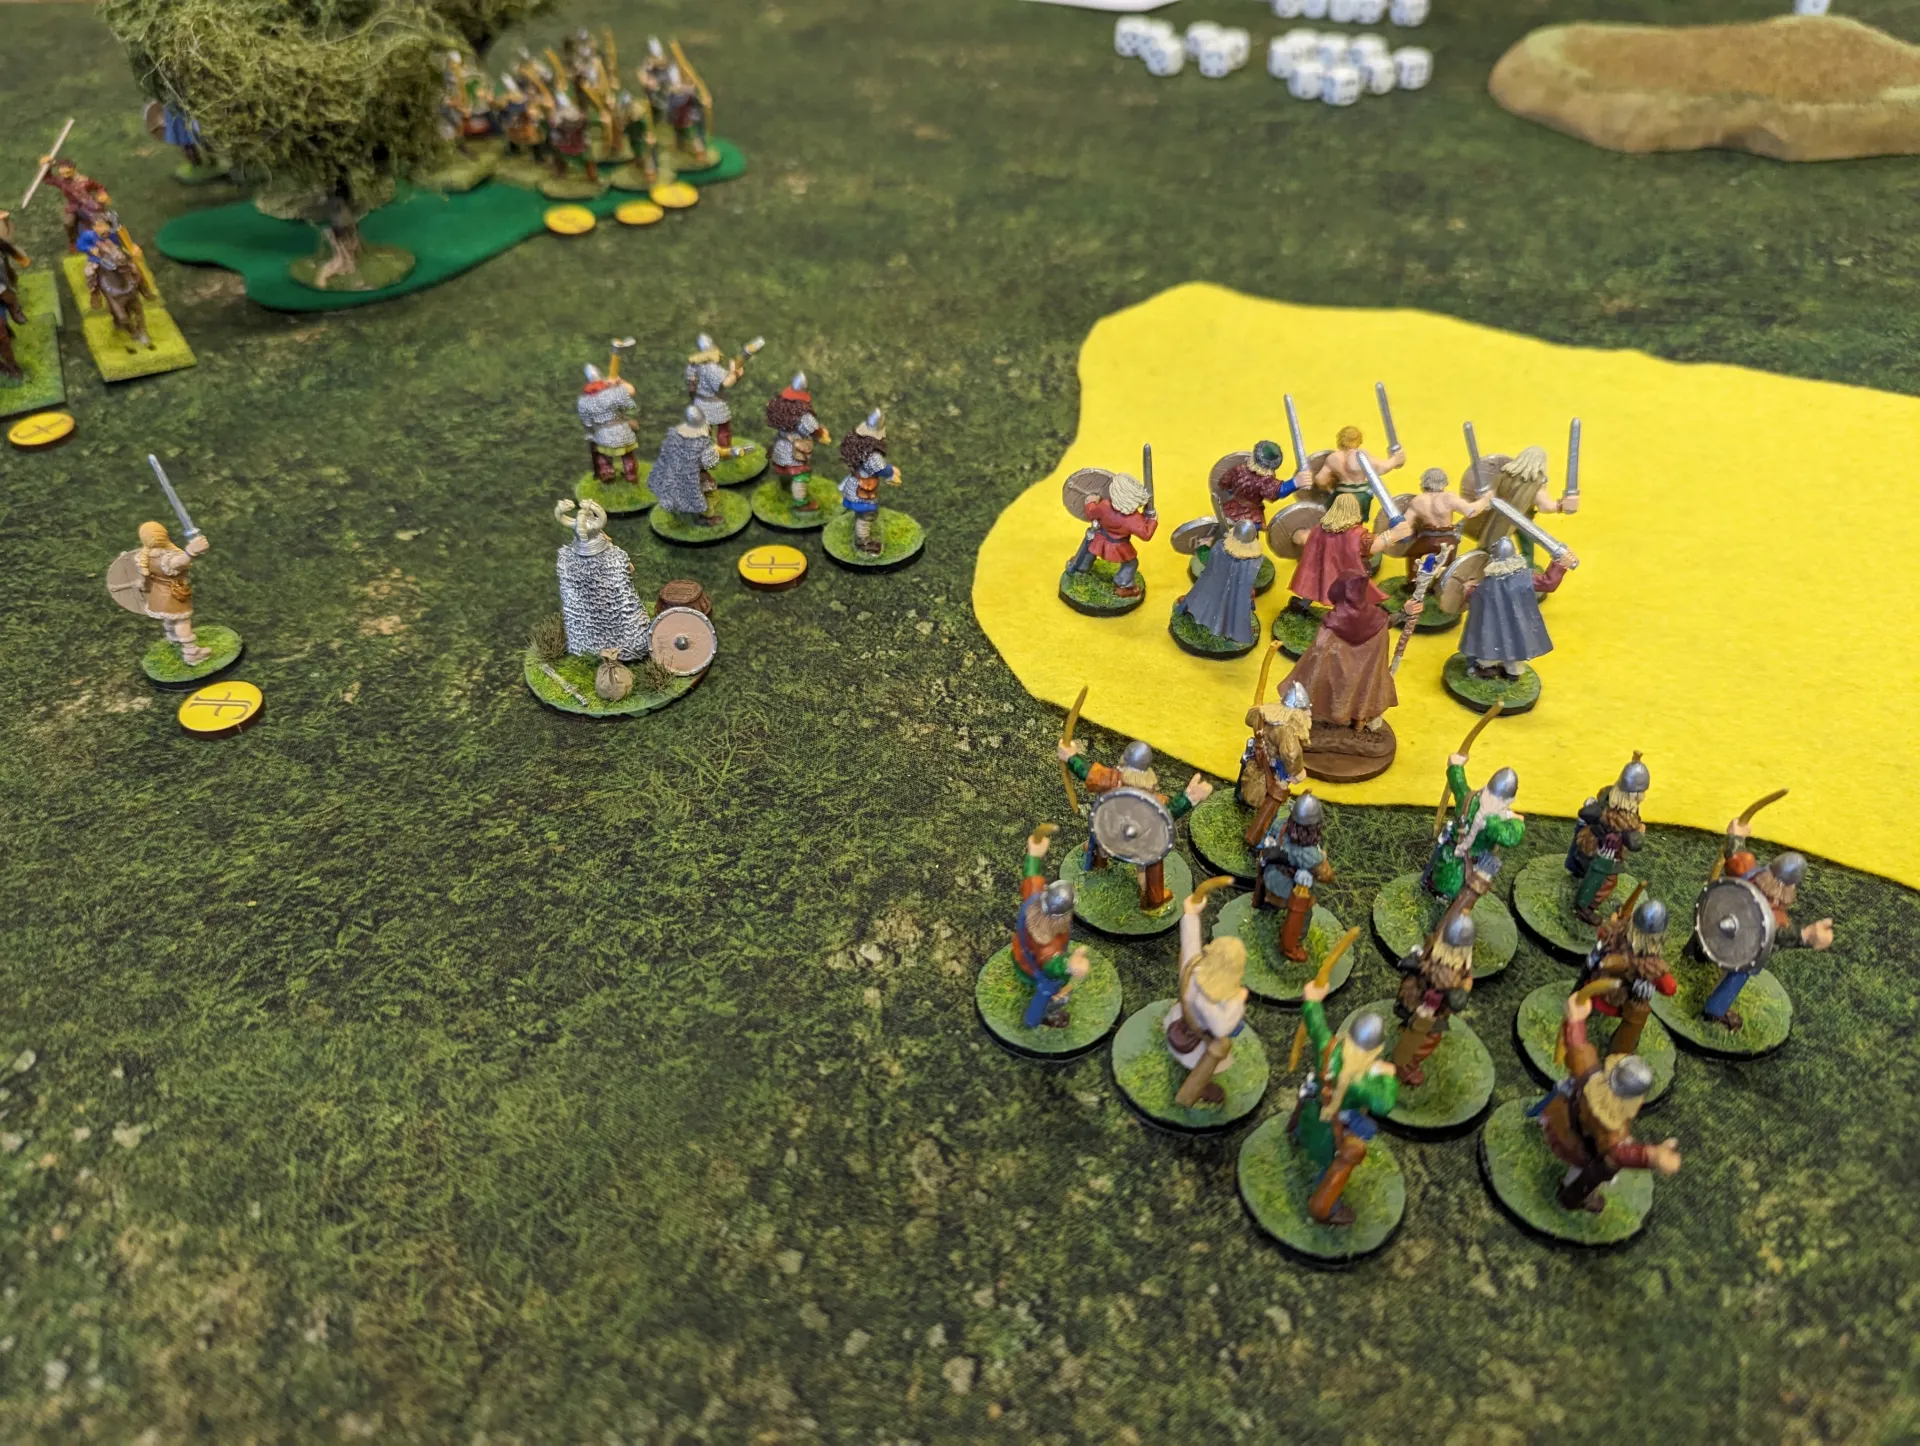
This turned out to be a big mistake, since Saxon hearthguard moved around and charged at him. He took down one, but he took four hits which killed him. By this point the Saxon archers had also found time to rest, so they would be able to start doing something next turn.
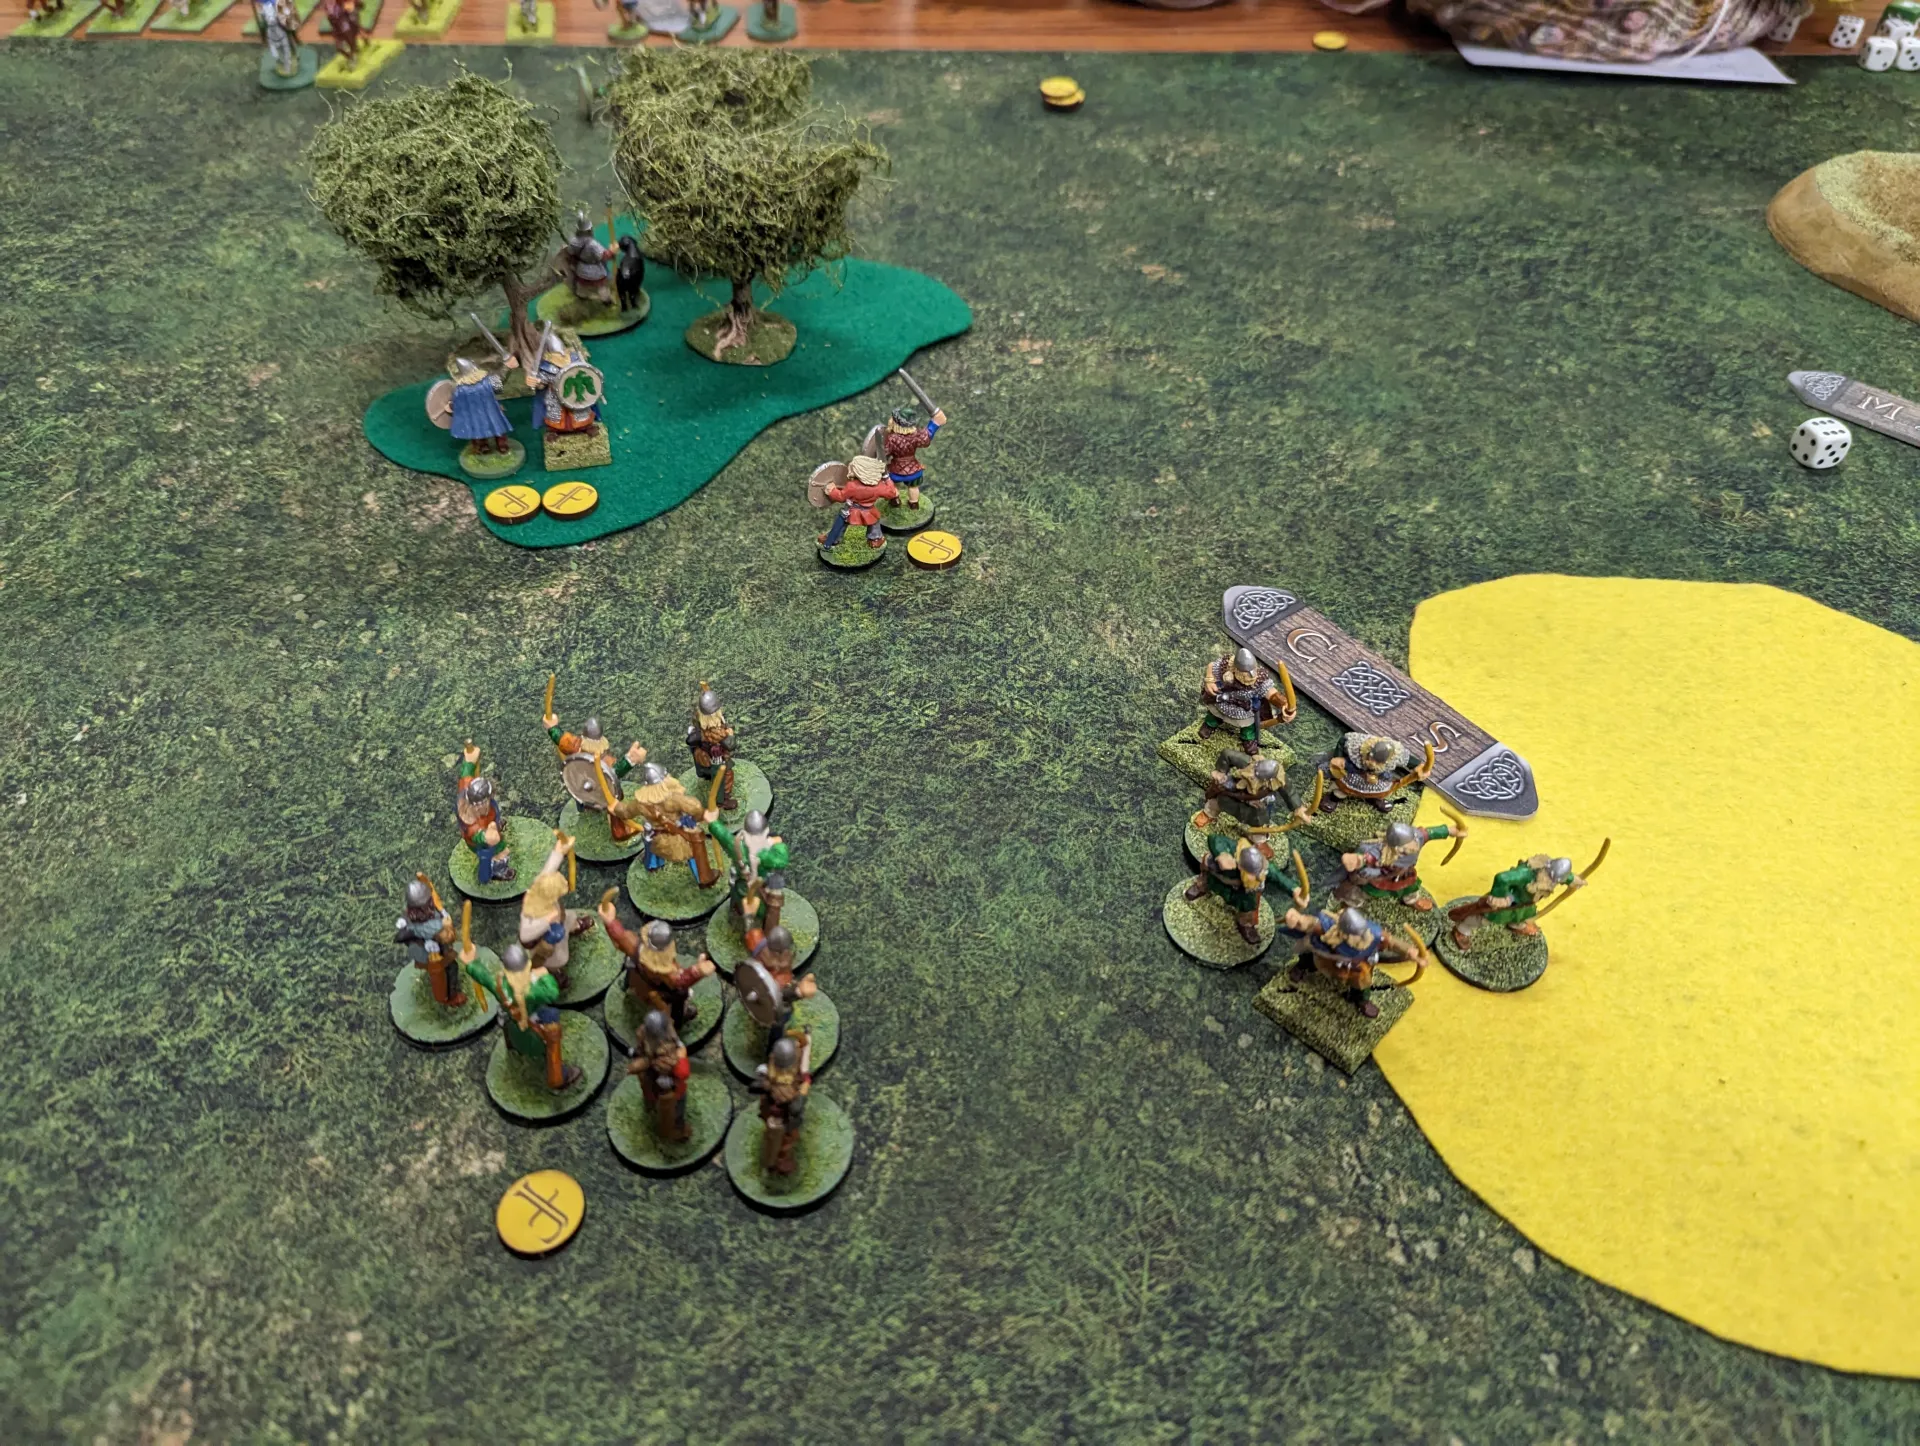
Down to three saga dice, I used two shooting activations at the Saxon Hearthguard. They saved all the hits. I moved by remaining warriors out of the field, and moved my councillor back as well to keep out of archer range.
The saxon archers moved out of the woods, but didn’t attack yet.
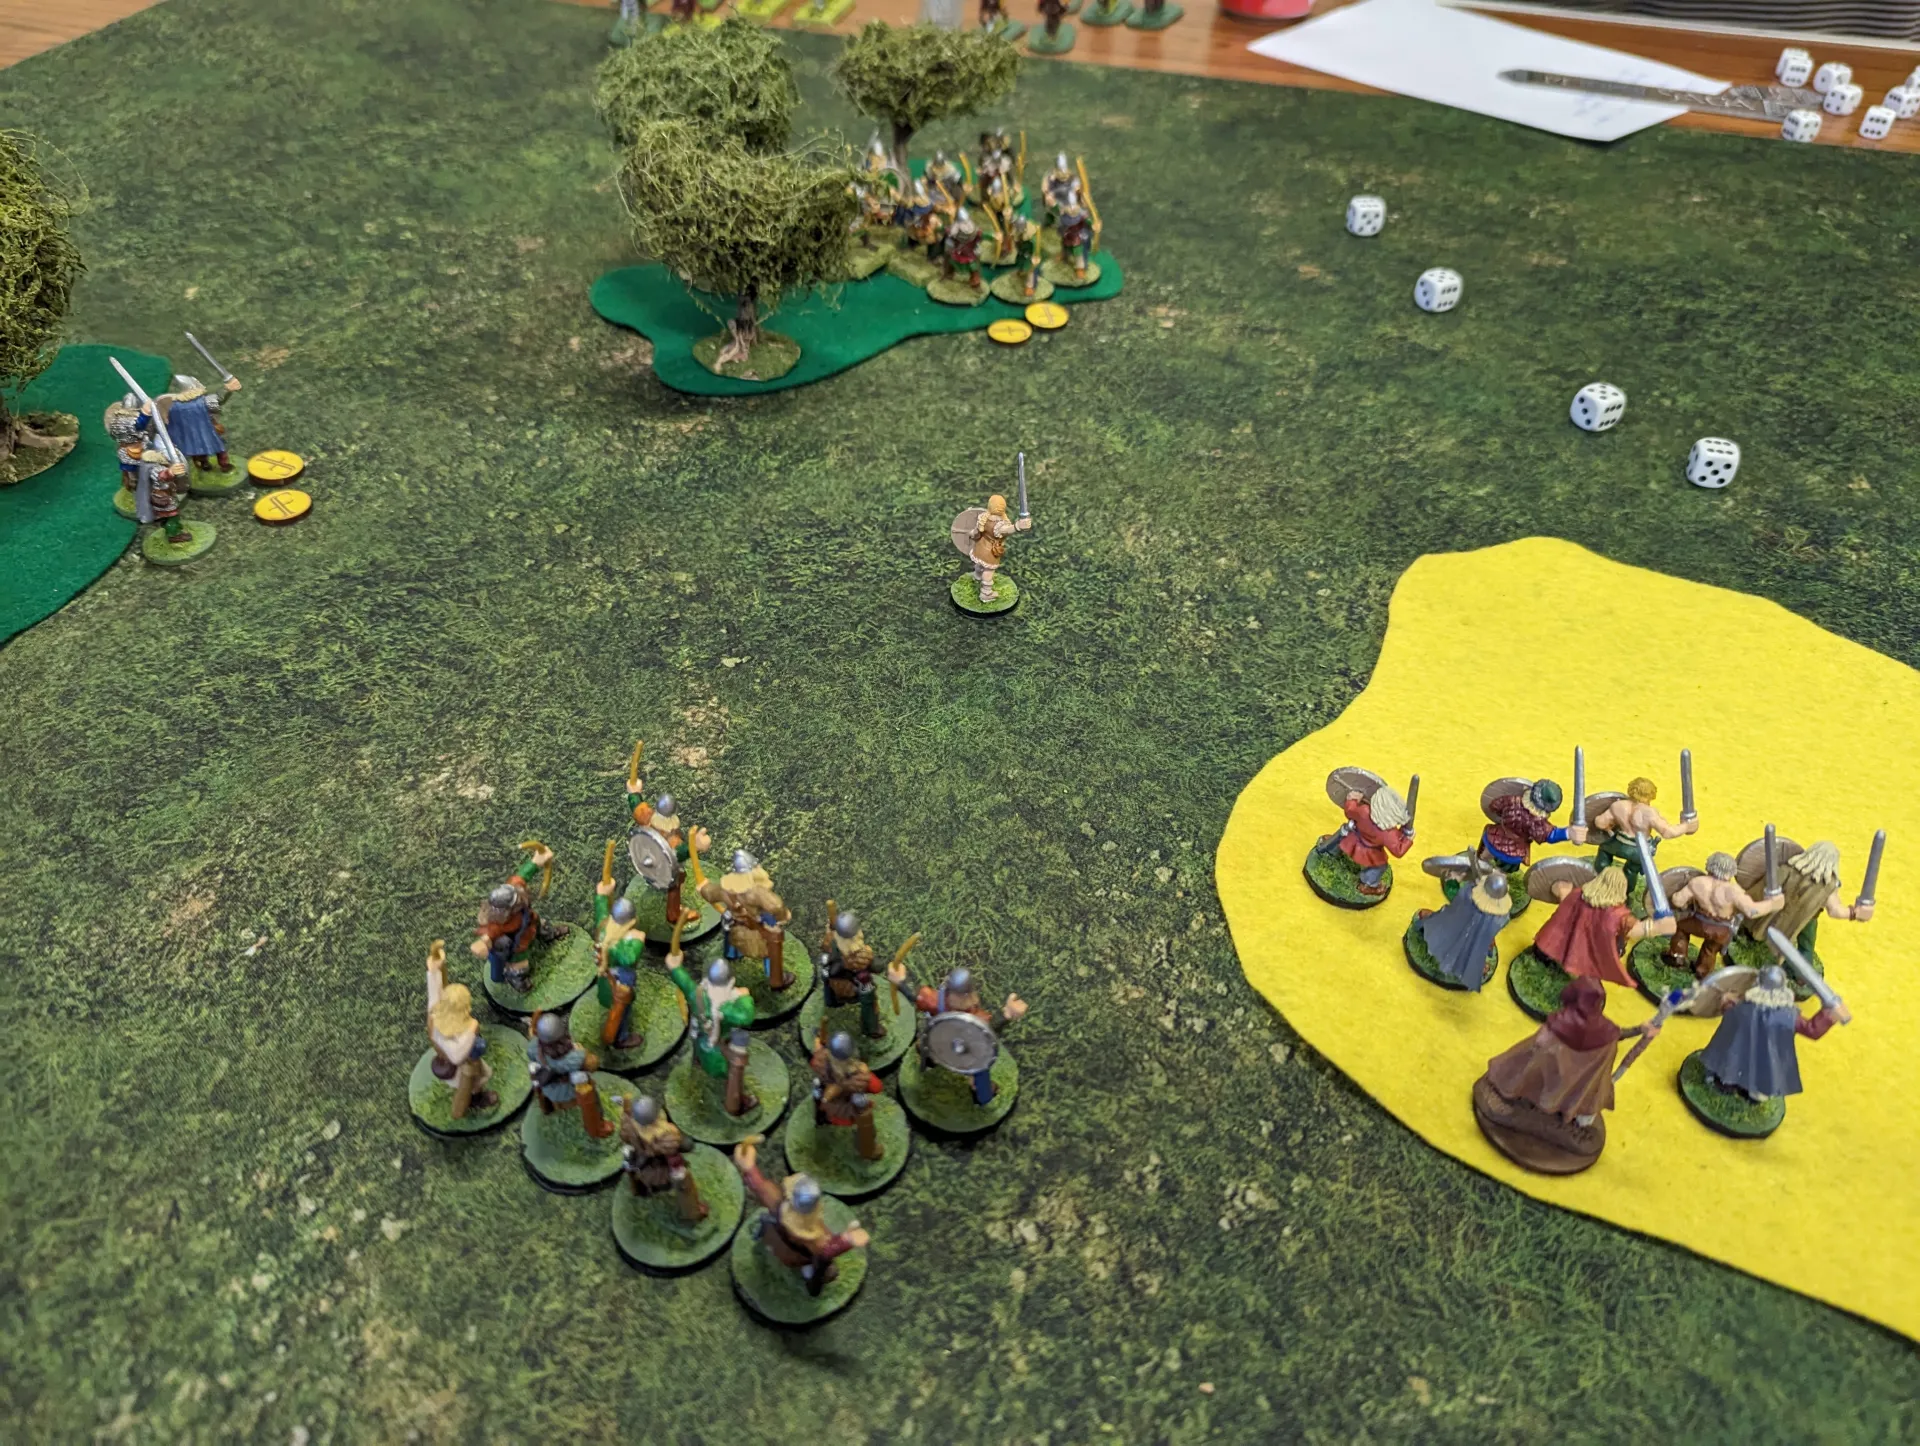
In turn four, my warriors charged the Saxon archers. These were warriors, not levee archers, so it was a relatively even fight. Well, it should have been. I forgot to use Frigg to remove my fatigue before the combat, but the Saxons didn’t forget to use Crash of Shields, which reduced my attack dice significantly. My warriors were forced back with light casaulties.
On the Saxon’s turn, the hearthguard tried to move but I cancelled their movement since they had two fatigues. Instead the saxon soldier hid in the wounds, and the Hearthguard moved in to protect him. The archers tried shooting at my councillor, but he saved all the hits.
There was a 1 in 6 chance of the game ending after turn four, but we rolled to continue.
The Saxon soldier was now in the nearby woods, so on turn 5 I used the Councillor’s We Obey to get my warriors into close enough range that they could charge him. I used every bonus I could to max out my dice.
I even used Valhalla to sacrifice a figure even though it only gave me +1 attack dice (since you can’t do more than double your initial attack dice). I got five hits, in exchange for four against me. The soldier used resilience on one, then sacrificed two hearthguards. I lost two men, and was driven back out of the woods.
I couldn’t do much at this point, and had no Saga dice to activate my archers or my Councillor, who had to stay hiding in the field.
It was the Saxon turn, and their archer warriors charged my councillor. They got nine hits against me, and I saved all but three of them – which I was then able to take on resilience leaving him exhausted.

The saxons were forced back, but there was nothing to stop them charging a second time, and he went down.
There was a 3 in 6 chance of ending after turn 5, but things still continued. I was down to a single saga die now, and the only option I had was to charge the Saxon soldier with my few remaining warriors. It wasn’t enough, and he survived.
At the end of turn six the game ended, with the Saxon hero still alive and the Viking hero dead. So victory went to the Saxons, but it had been a close battle.
It was a good game, and one of the closest that we’ve played. Things went back and forth a couple of times, and a slight change of the dice could have made a big difference.
1 Response