Lots of Guns
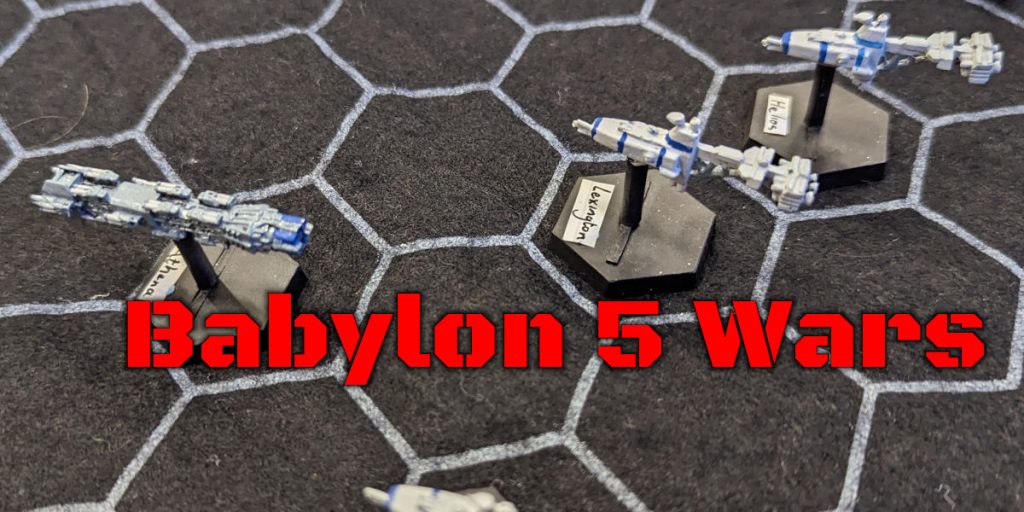
Sticking with a starship themed wargaming, it was time for another game of Babylon 5 Wars. This time it was the year 2246, and a small fleet of Earth Alliance ships were fleeing for a jump gate after being ambushed by the Minbari. A group of Minbari ships stood in their way though.
The Minbari fleet consisted of a Sharlin War cruiser and two Tinashi War Frigates. The Earth Alliance had a single Nova class dreadnaught, and three Hyperion class heavy cruisers. The Minbari had a slight advantage in points, but the plan wasn’t a direct confrontation.
The EA had to get to the jump gate at the far end of the table, the Minbari had to stop them. If the EA could destroy a Minbari ship or two along the way, they would be happy, but that wasn’t going to be their objective.
As I’ve mentioned before, B5 Wars is a game with a lot of crunch, and this time we needed to explain the rules to someone who had never played it before. There is a lot to cover – multiple different types of weapons, electronic warfare, movement, hit locations and power allocation. We decided not to include fighters, in order to keep things ‘simple’.
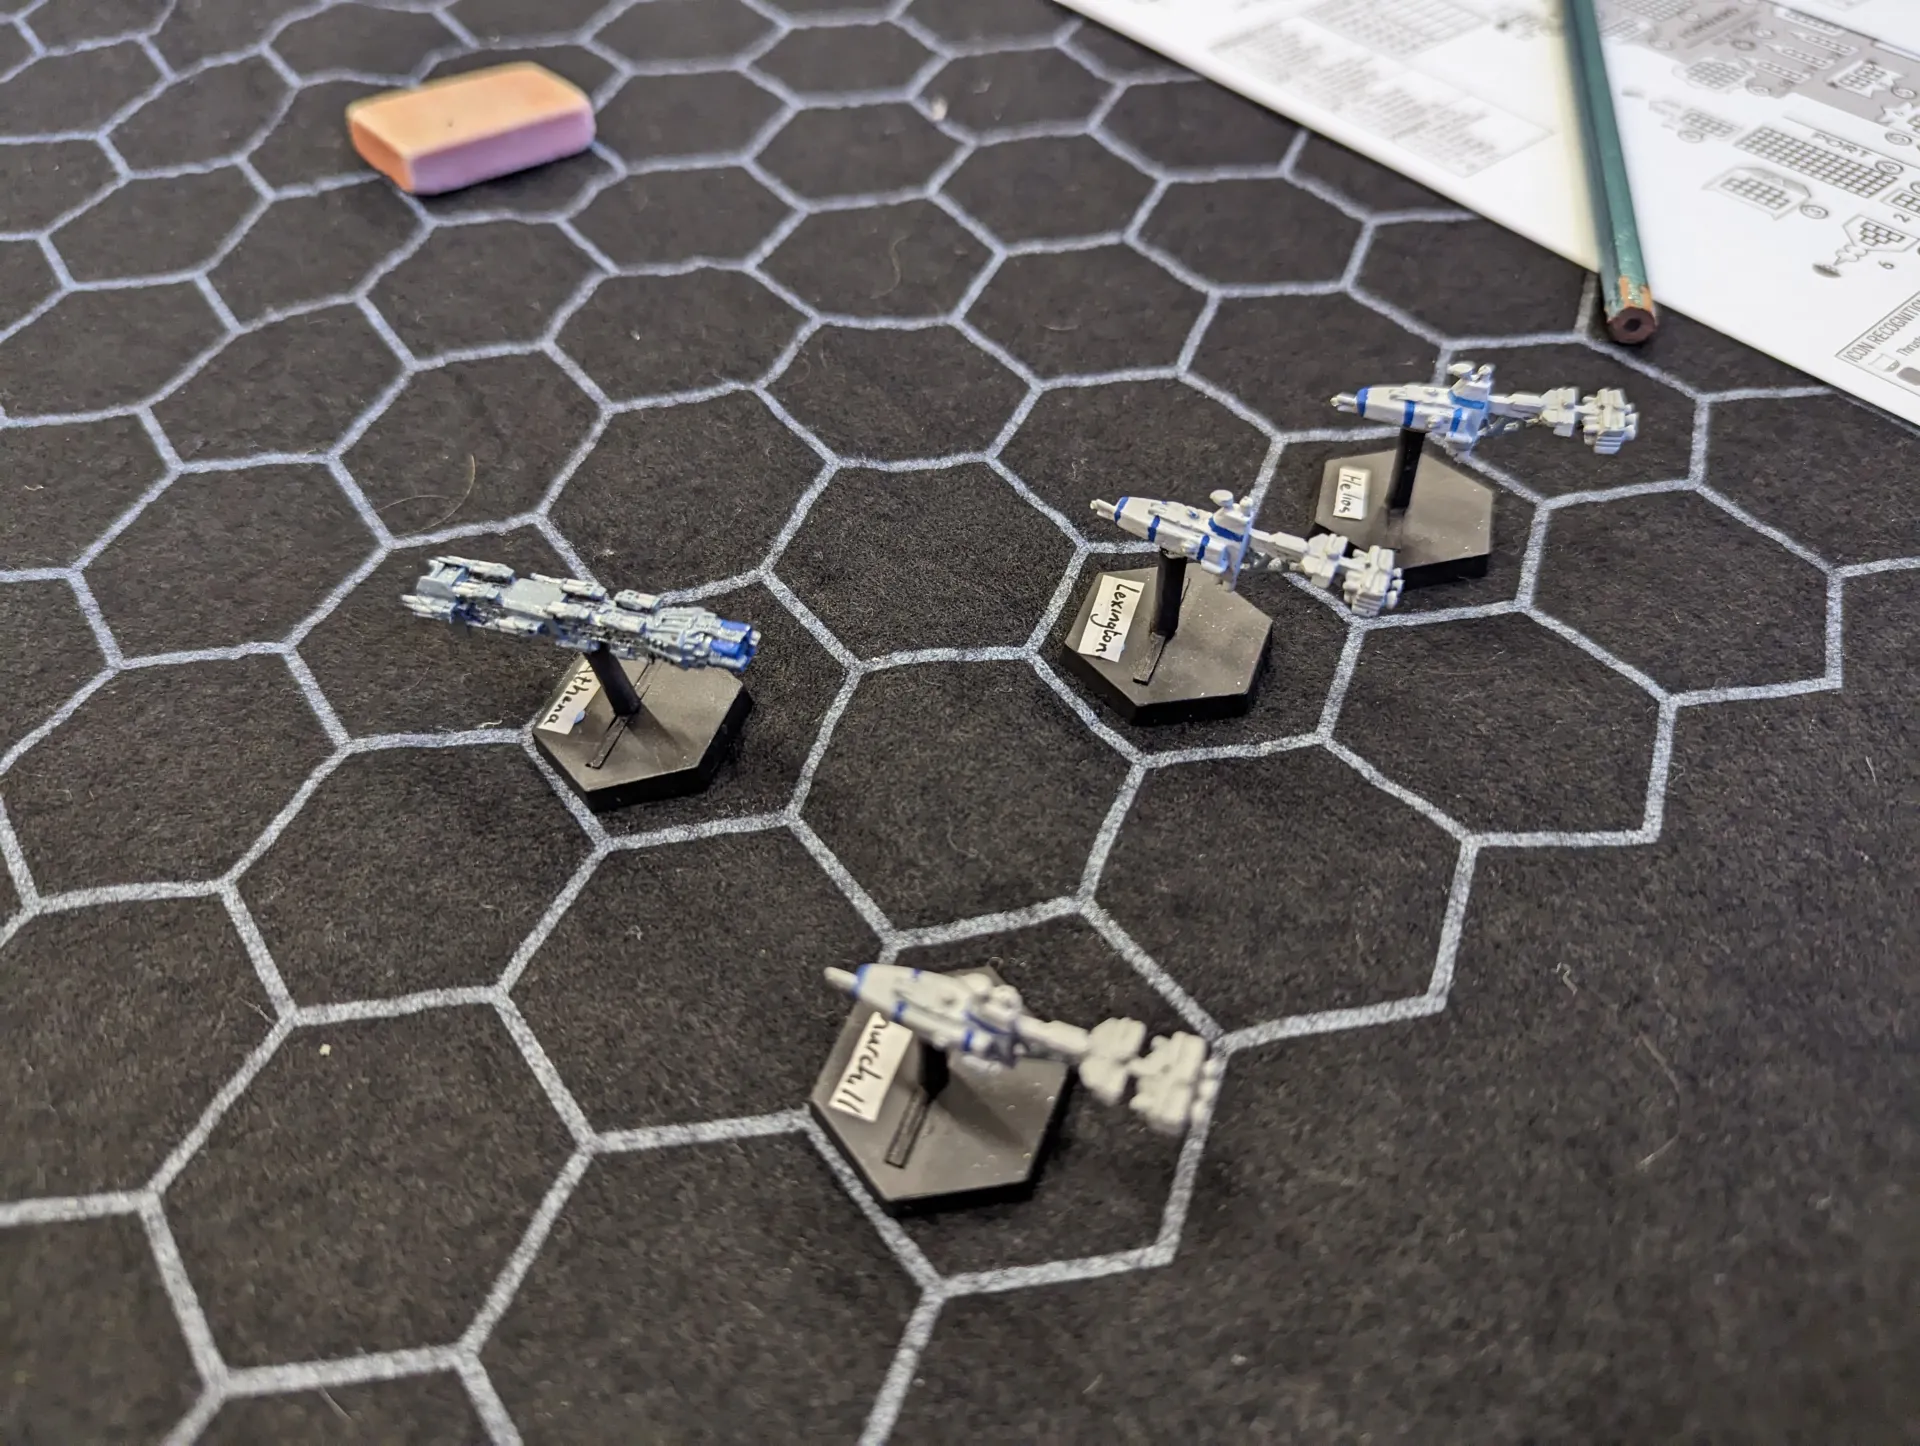
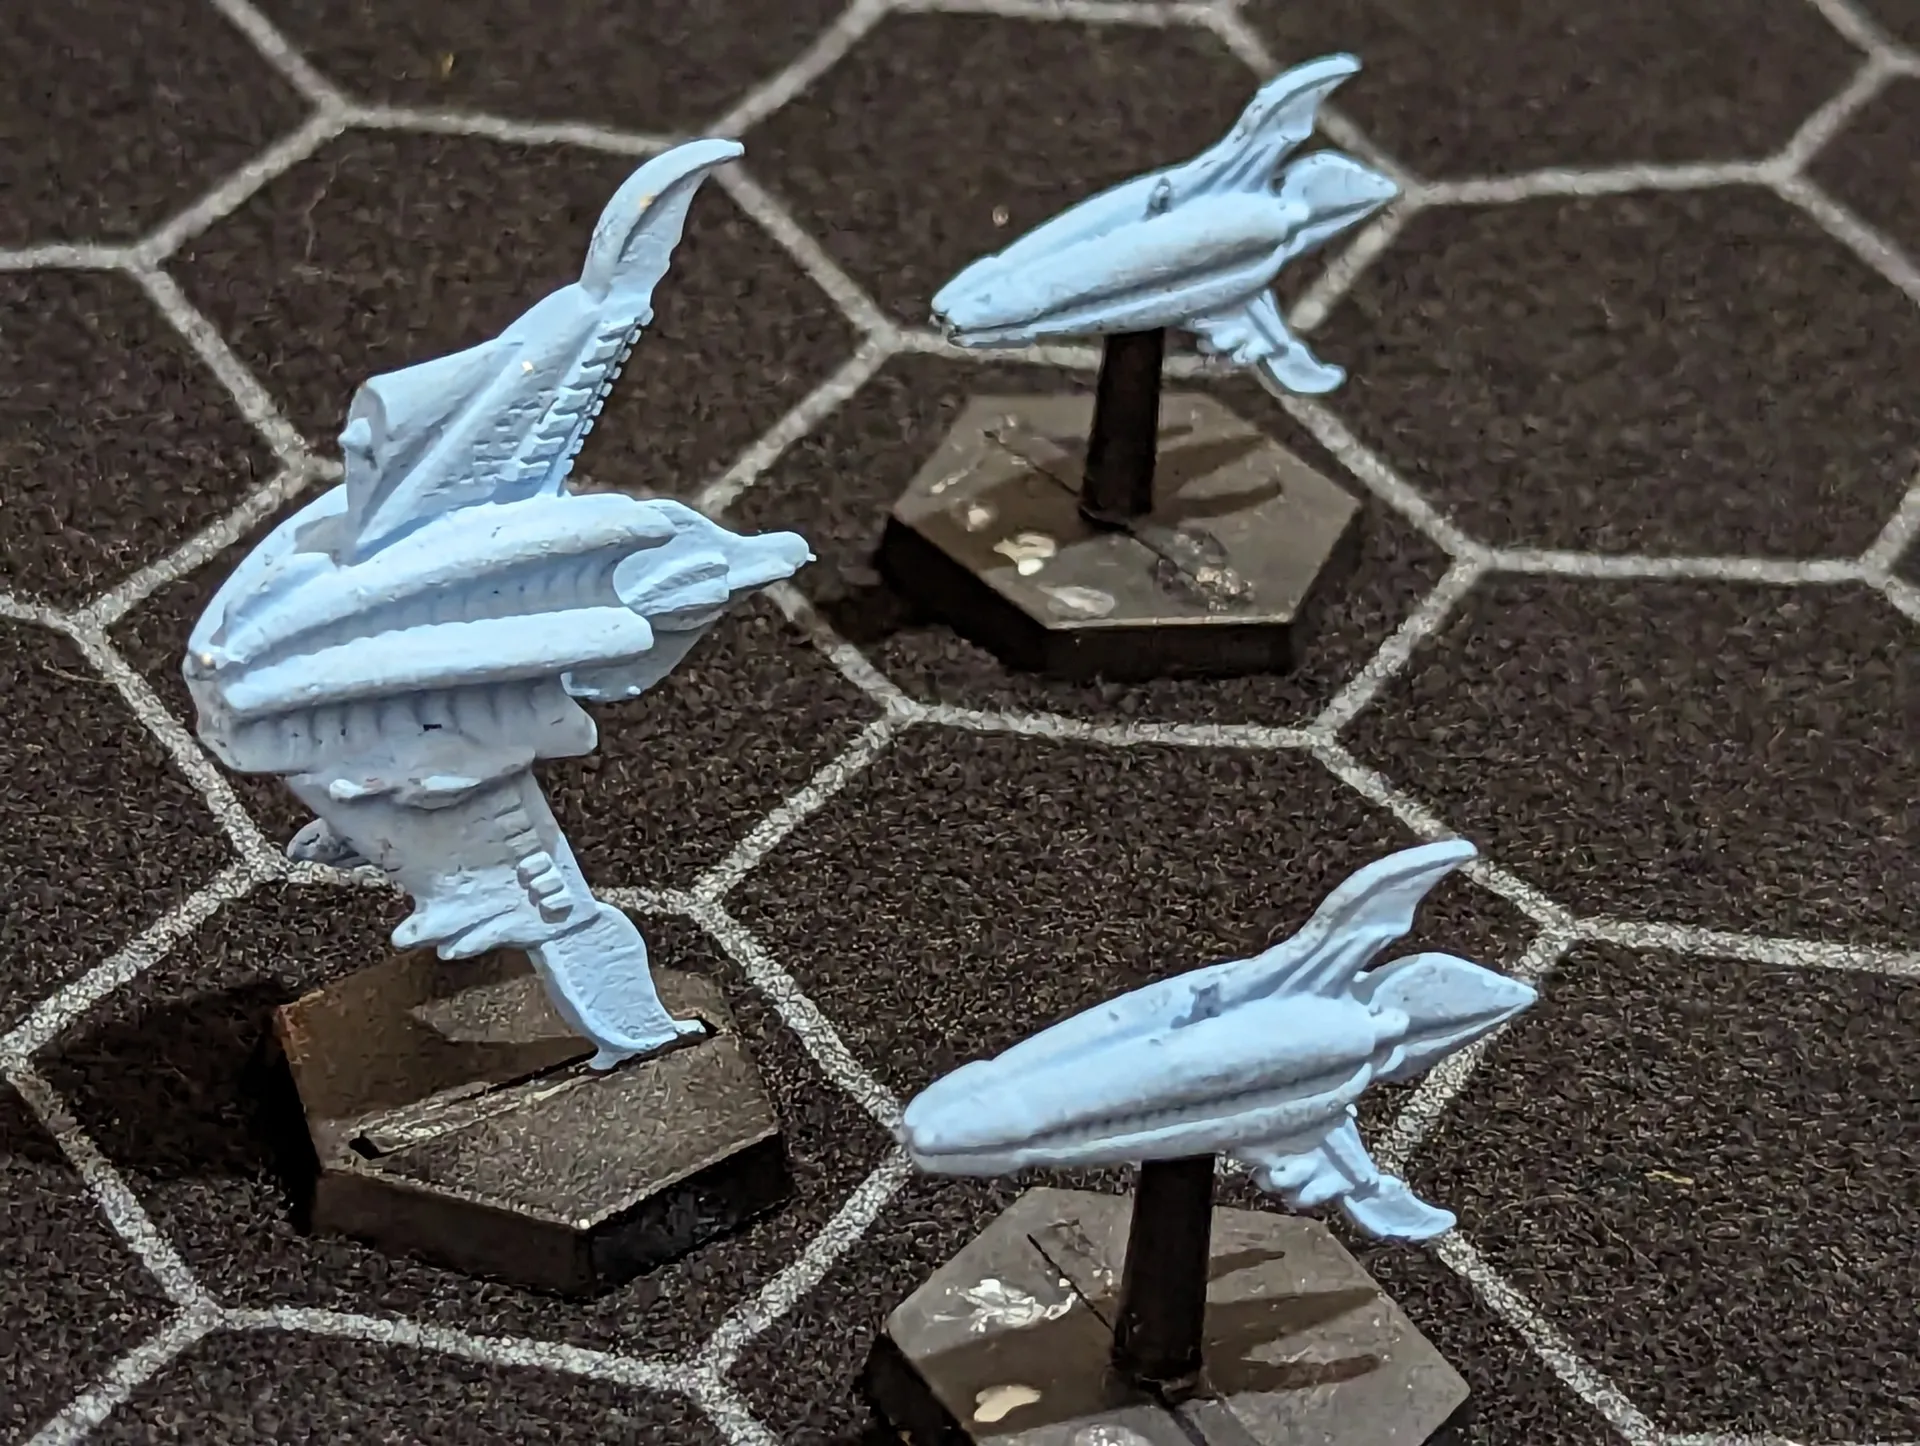
For this game, I also decided to use my ‘Fleet Action’ miniatures rather than my larger ‘B5 Wars’ miniatures. I have a larger variety of ships in the Fleet Action scale (especially when it comes to Earth and Minbari), plus they are less liable to break in transit.
The most complicated part of the rules that needed explaining was movement. B5 Wars tries to simulate newtonian movement, but tries to simplify it down to hex based movement, with some special cases for pivoting and turning. Personally, I think this makes it a lot more complicated than just using straight vectored movement.
Ships can only move along 60° hex facings. To turn, they need to pay a thrust cost which goes up with speed. There is also a delay between each turn, which goes up with speed. Since a lot of the tactics revolve around bringing weapons into arc so you can hit targets, it can be very complicated to get movement right.
The first round of combat was easy for the Earth Alliance. We were at a range of about 40 hexes. Due to the Minbari’s stealth technology, EA ships can’t get a target lock on them so all range penalties are doubled. At this range, there’s no point trying to shoot, so the EA ships all switched their Electronic Warfare to be fully defensive. They accelerated up the table towards the jump gate.
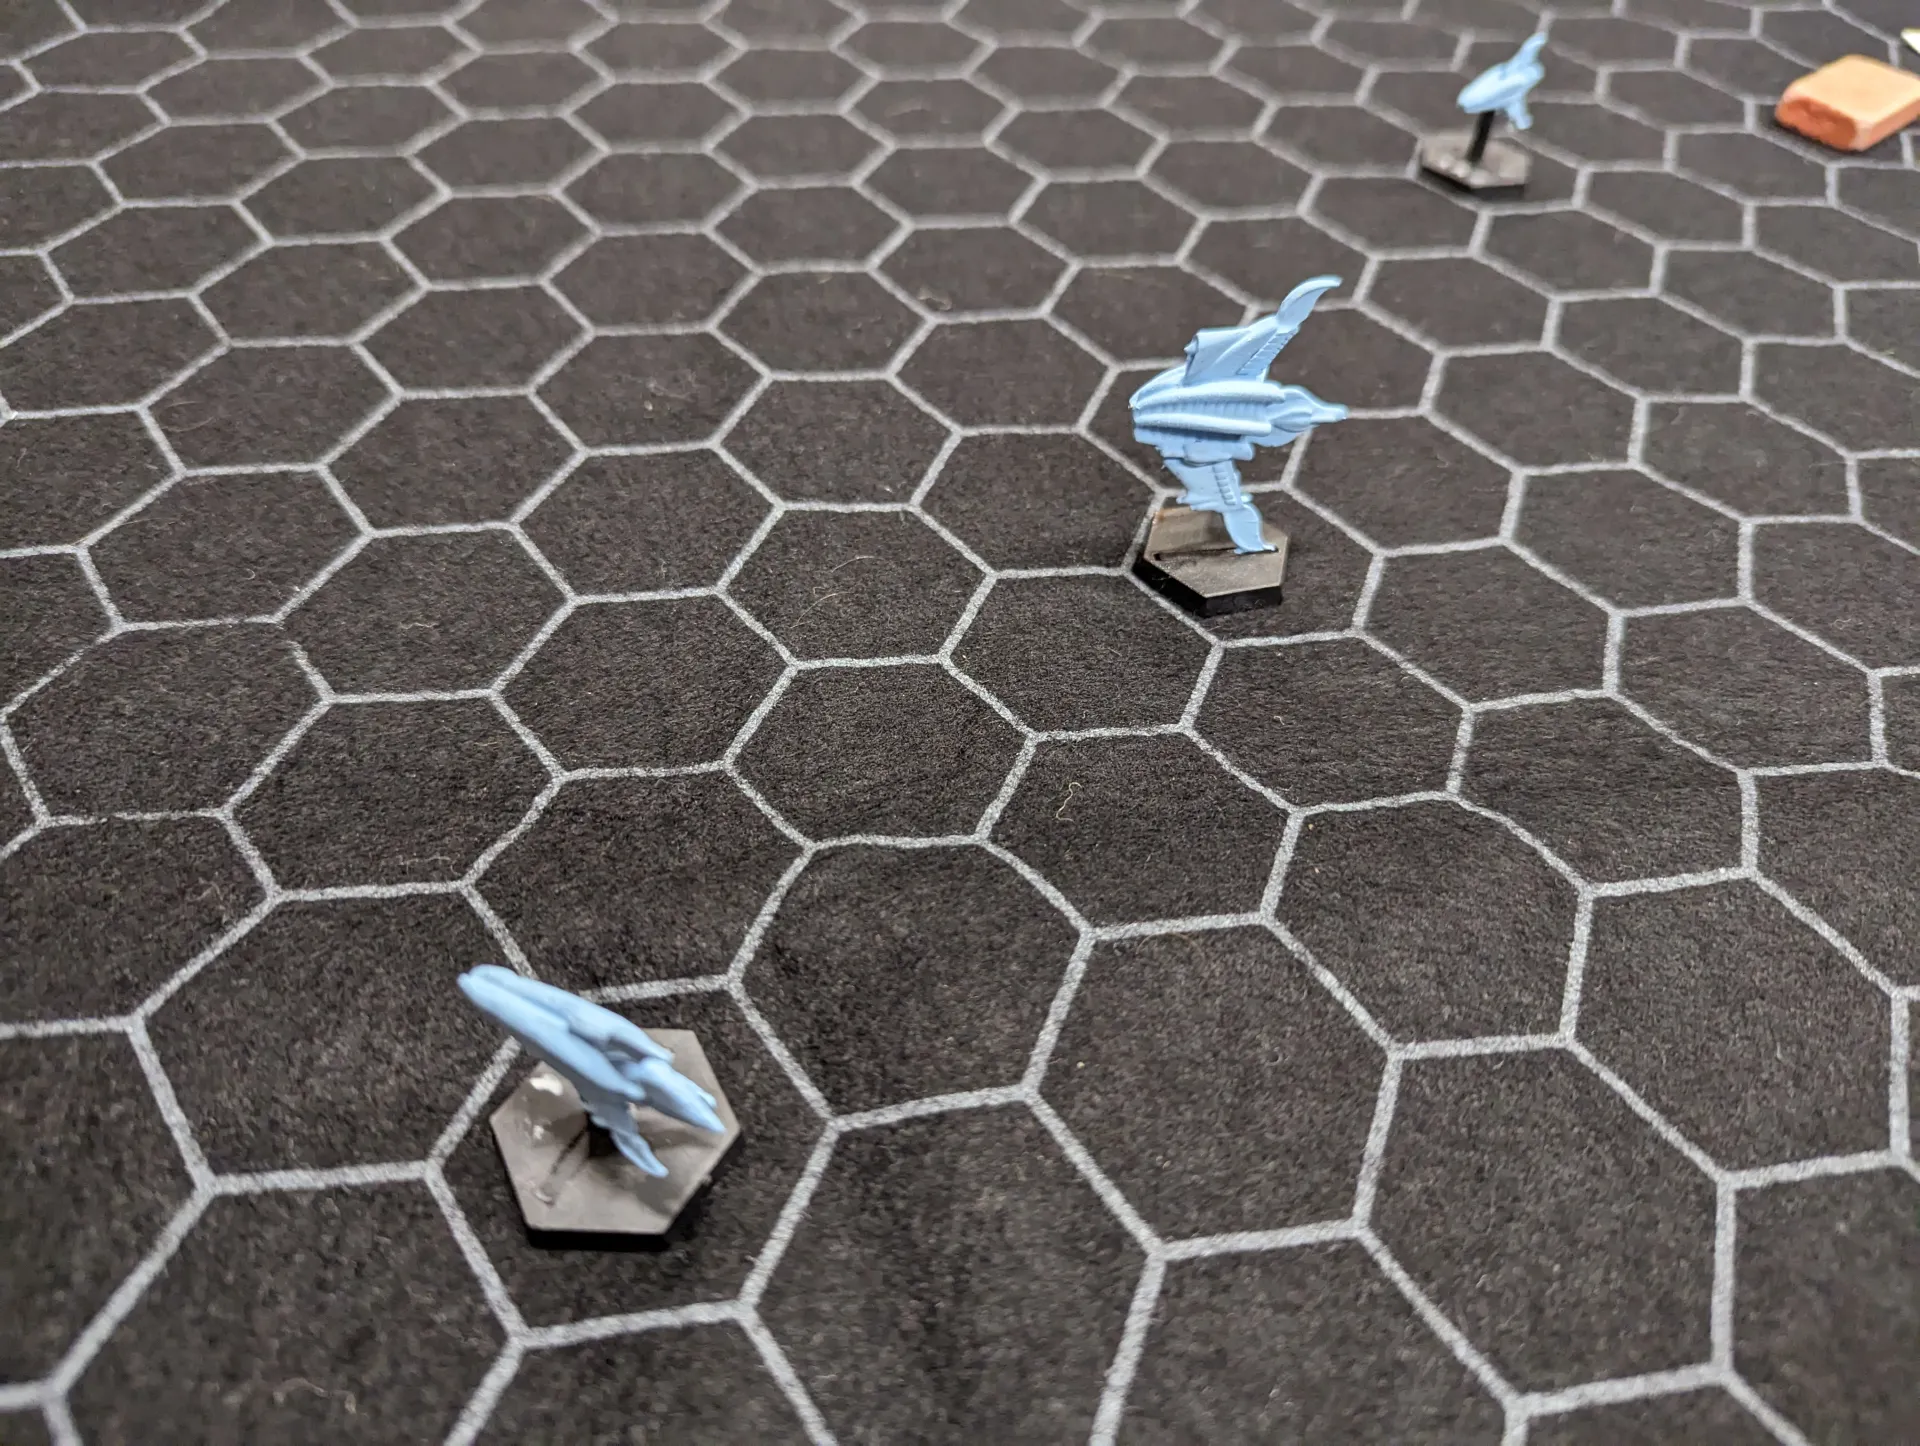
The Minbari also started to close, and decided to try shooting. They chance of hitting was low – but the Sharlin got a hit with its neutron laser, raking across the side of the Hyperion cruiser Lexington. This took out one of the Lexington’s pulse cannons. A Tinashi frigate also opened fire – rolling a 1 to hit (low is good), and damaged the Helios.
Round two started well for the EA, with the ships rolling high on initiative. The Helios decided to try and target the 2nd Tinashi frigate, whilst the Minbari concentrated most of their electronic warfare on the Athena Nova class dreadnaught, except for the 2nd frigate which was going for the Helios.
The Helios got a hit, damaging the Neutron laser on the front of the Tinashi. The returning fire took out multiple weapons and most of the front structure from the front of the Helios. There wasn’t much left, but it was still flying and had functioning side mounted weapons.
One beam weapon managed to hit the Athena, doing moderate damage but nothing serious.
Round three would end up being complicated. Last round, the EA had got good initiative rolls – this round we did even better. This meant that the Minbari had to move first, so the EA ships pretty much got to line themselves up just as they wanted.

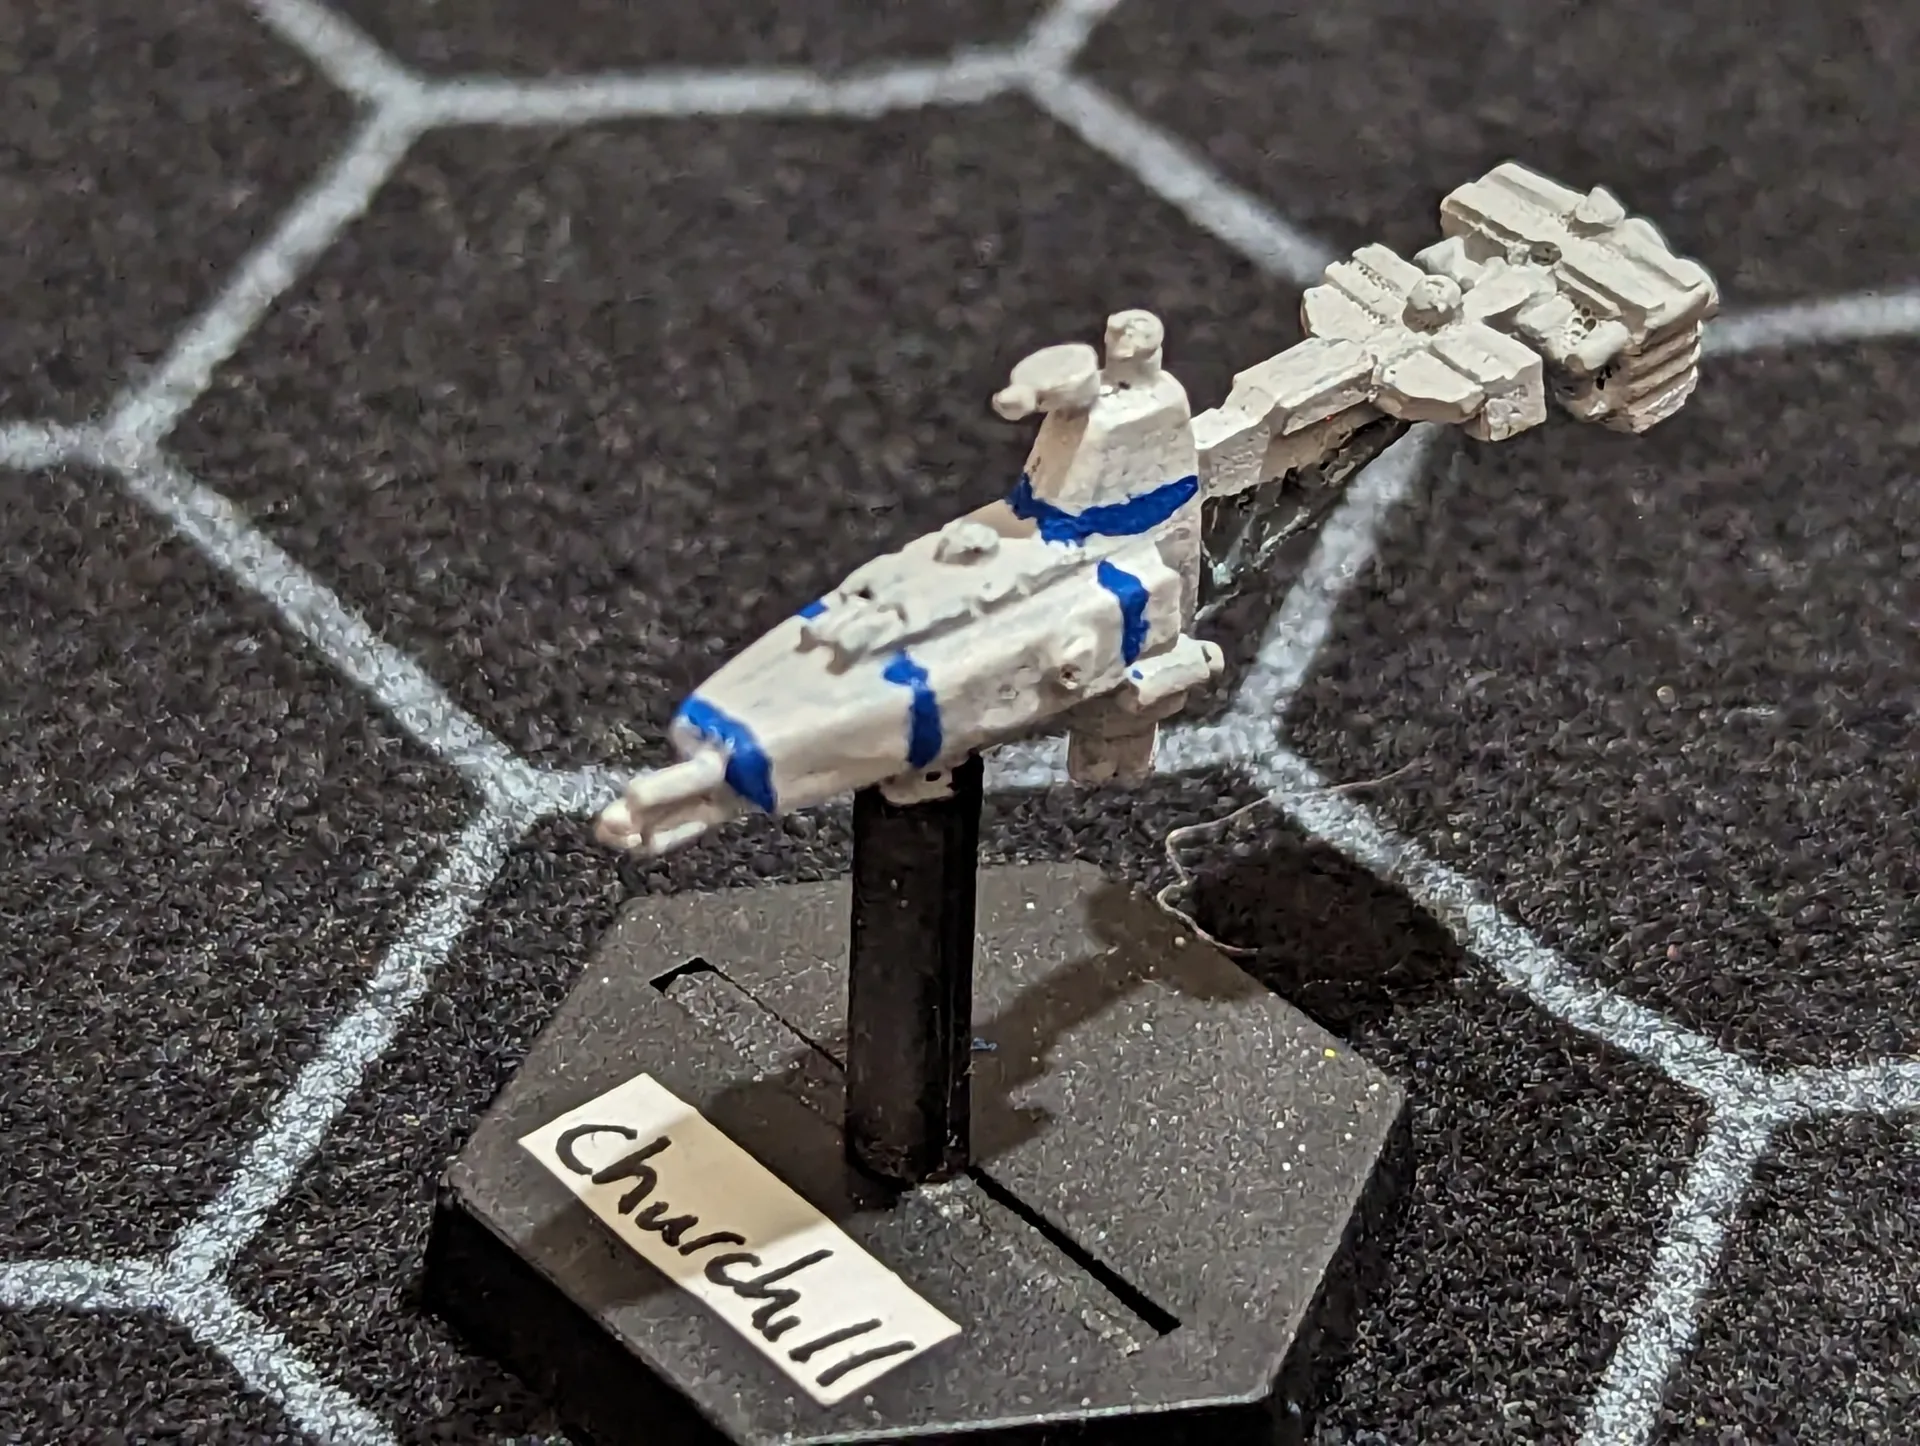
I managed to get three ships pointing at the 2nd Tinashi frigate – the Athena, Lexington and Helios. Meanwhile, the Churchill was trying to race up the side of the table to avoid any conflict and open the jump gate.
The Lexington opened up first with a medium pulse laser. It got six hits on Tinashi number two, which was a lucky roll, and did a bit of damage. Next up was the Athena.

For those who know the B5 television series, the Nova dreadnaught makes a couple of appearances, and is only notable in that it seems to consist of a basic frame with a lot of guns mounted on it. An awful lot of guns.
Since I’d managed to point the Athena directly along a hex line at the Tinashi, I had fourteen medium laser cannons targeting it. Six of them hit, and that was enough to make the Tinashi fall part in a spectacularly exothermic way.
Since shooting is simultaneous, it got to shoot at the Helios before dying, leaving that ship in an even more crippled state. Front structure was completely gone, sensors and engines damaged, particle beams gone and port thrusters handing on by a thread.
Then it was the Athena’s turn to take the punishment. By the time that the other Tinashi and the Sharlin had finished with her, most of front and port structure were gone, most port weapons destroyed and even the starboard side was looking somewhat the worse for wear.
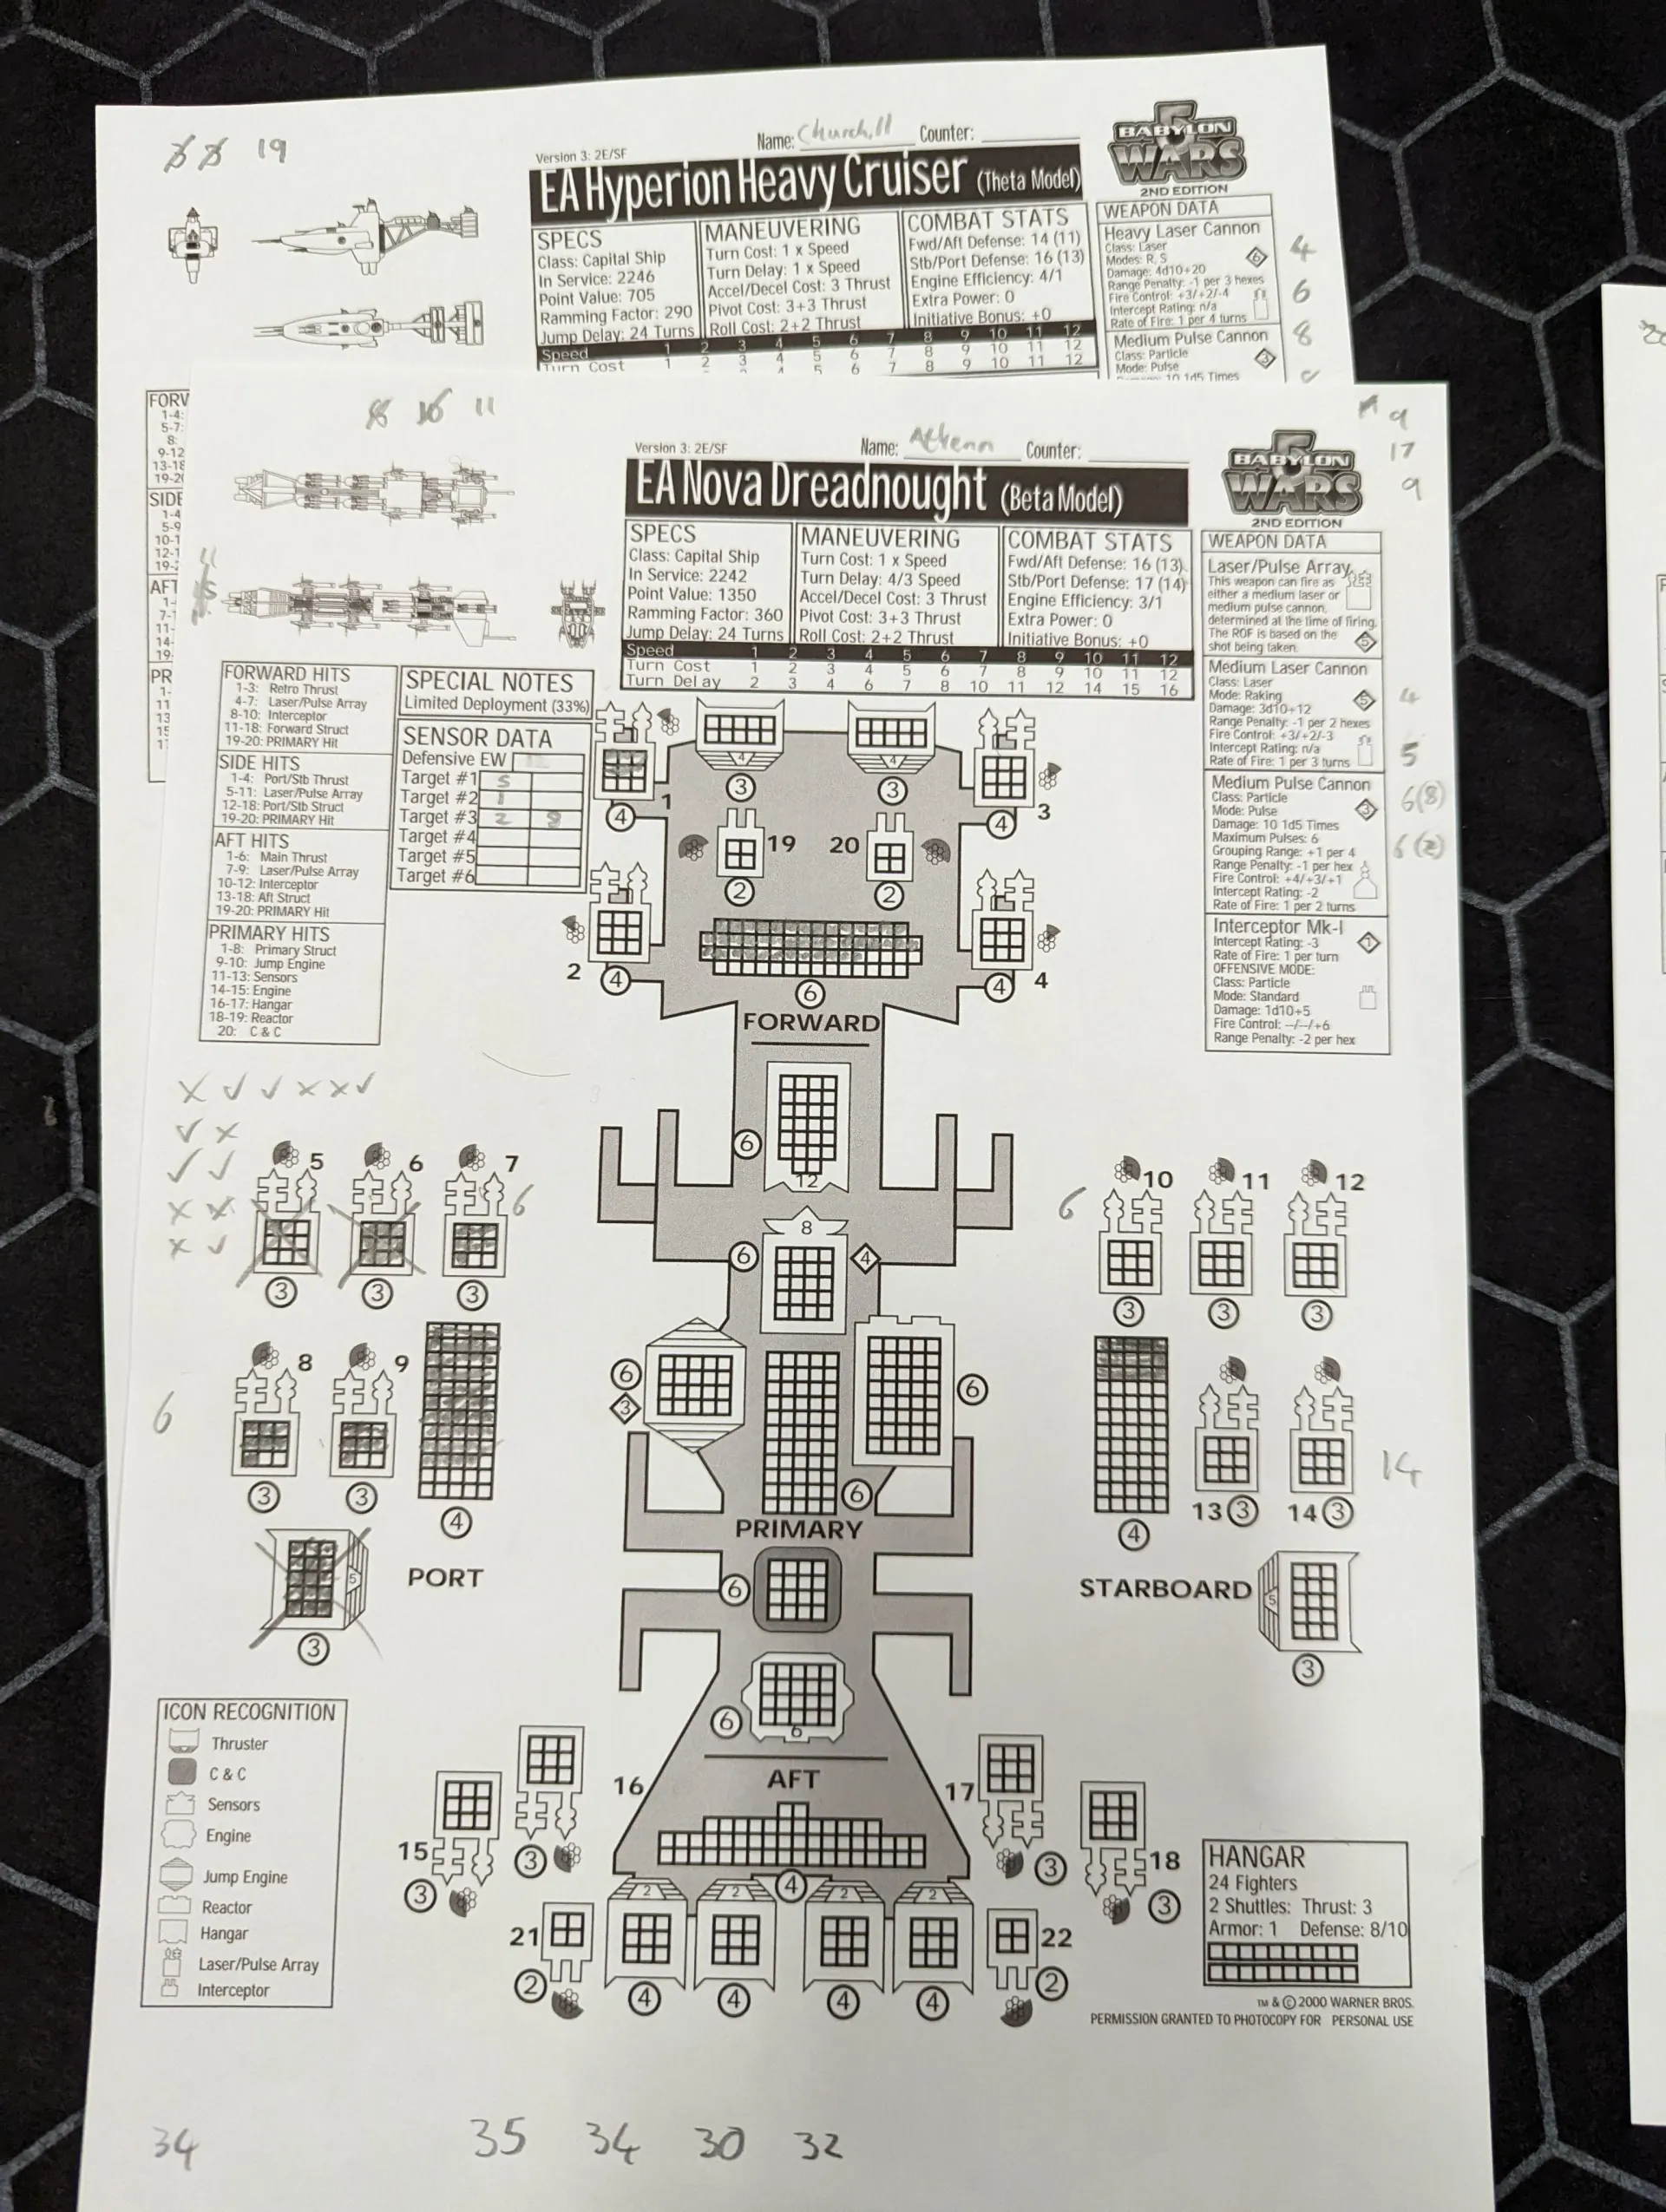
This round took a considerable amount of time to play through. Every weapon needs to roll to hit (which involves calculating ranges, electronic warfare bonuses and direction of shot), damage and then hit location. Lasers do raking damage, potentially hitting several hit locations, so there could be three or four hit location rolls for each weapon.
Fourteen rolls to hit, and six to damage, took some time. Then there were the neutron lasers from the Sharlin.
After this round of combat, it would take three rounds before the Athena was ready to fire its weapons again.
One Minbari ship was destroyed, but the other two were completely untouched. They also had short range weapons which could fire every round, so the next two rounds of combat would probably see the EA losing one or two ships.
It was getting late at this point, so we decided to call it. The EA had inflicted more damage than I’d expected, but there weren’t as close to their objective as I’d liked. Taking out the Tinashi had been a distraction, but the opportunity had occurred to get three ships in close range of it, so I’d taken it. Personally, I think the EA could expect to pay for that in the next couple of rounds. The Churchill would probably make it out, but I would expect to lose the other two ships.
In conclusion, the Nova is a pretty powerful ship when it can get close, but I wouldn’t want to go head to head with a Sharlin War Cruiser with one. The B5 Wars movement system is overly complicated, ironically because it’s tried to avoid the complexity of a proper vector movement system.
I would be tempted to try porting the Full Thrust vectored movement system to this game. It would be both more realistic and also simpler to use. Everything else could stay the same – just get rid of the hexes and turn cost/turn delay. Turning could be replaced with the Pivot rules. For ranges, replace hexes with a suitable distance unit (inches or centimetres). Placement of missiles would need a solution, but that shouldn’t be too difficult.
The rest of the game would still be very crunchy, but I don’t have a problem with that. If I want a more streamlined game, there are other ones out there to choose (e.g., Full Thrust, or maybe the Fleet Action version of B5 Wars). The crunchiness of the rules, and complexity of the combat system, is very much part of B5 Wars. I like it in moderation, but understand why some people don’t.