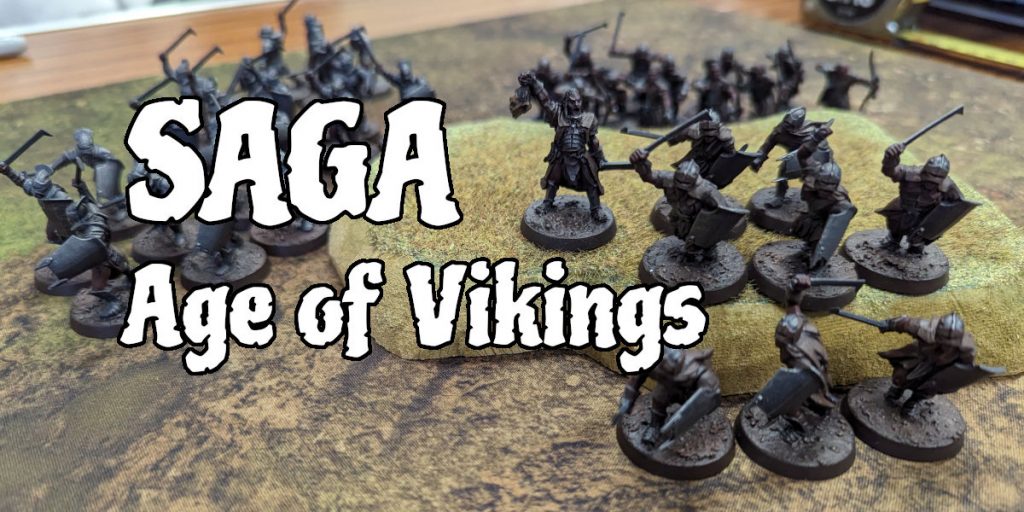
Savages
For wargaming this week I was back to Saga: Age of Vikings. It was my first outing with my newly designed Anglo-Saxon army. Previously my Anglo-Saxons had made heavy use of horse, using Athelstan as their Warlord. However, I hadn’t spotted that they were limited to one unit of horse warriors (the limitation isn’t mentioned on the army list table, but down in a paragraph on the other page).
So I’ve now gone for a completely different design with all infantry. Two units of Hearthguard infantry, one unit of levee archers, and the rest levee infantry. My plan was to make use of the Call to Arms ability to give levees the aggression of warriors in melee.
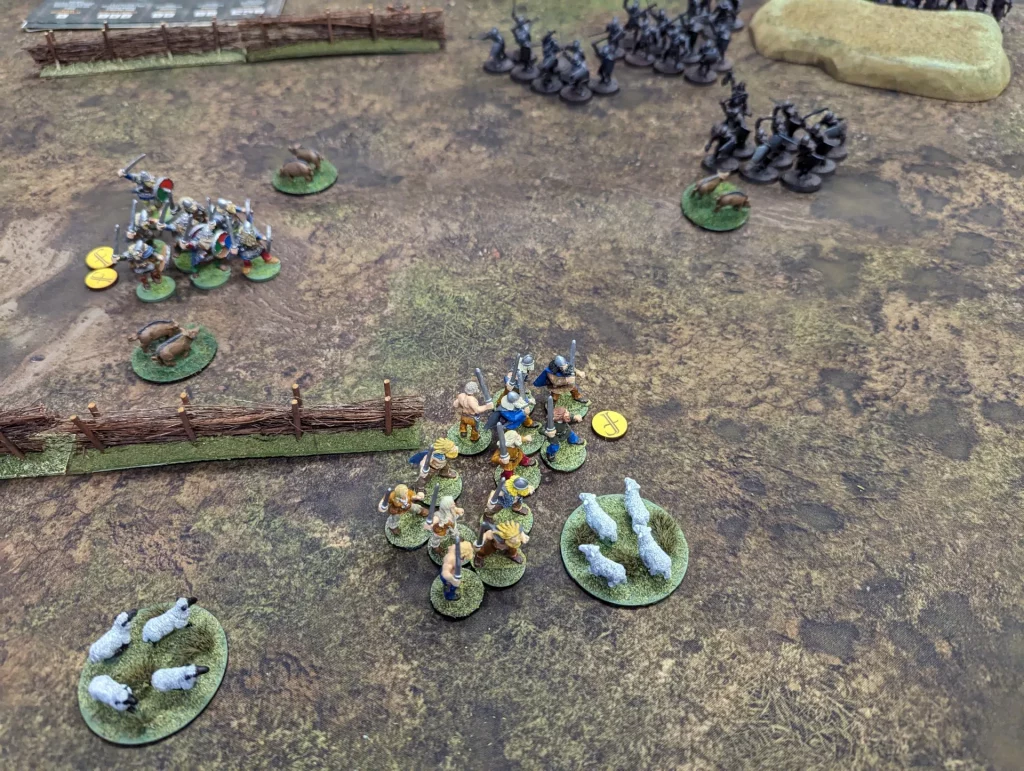
I was up against a war band of ‘Vikings’. Actually, the figures I was facing were Orcs, but they were using the Viking faction battle board.
We went for the ‘Catch Them All!’ scenario, where we need to grab livestock and bring it back home. There were six livestock bases on the table, so grabbing four would be guaranteed victory. Previously when I’ve played this I’ve done badly, since I’ve tended to favour attacking over winning the game.
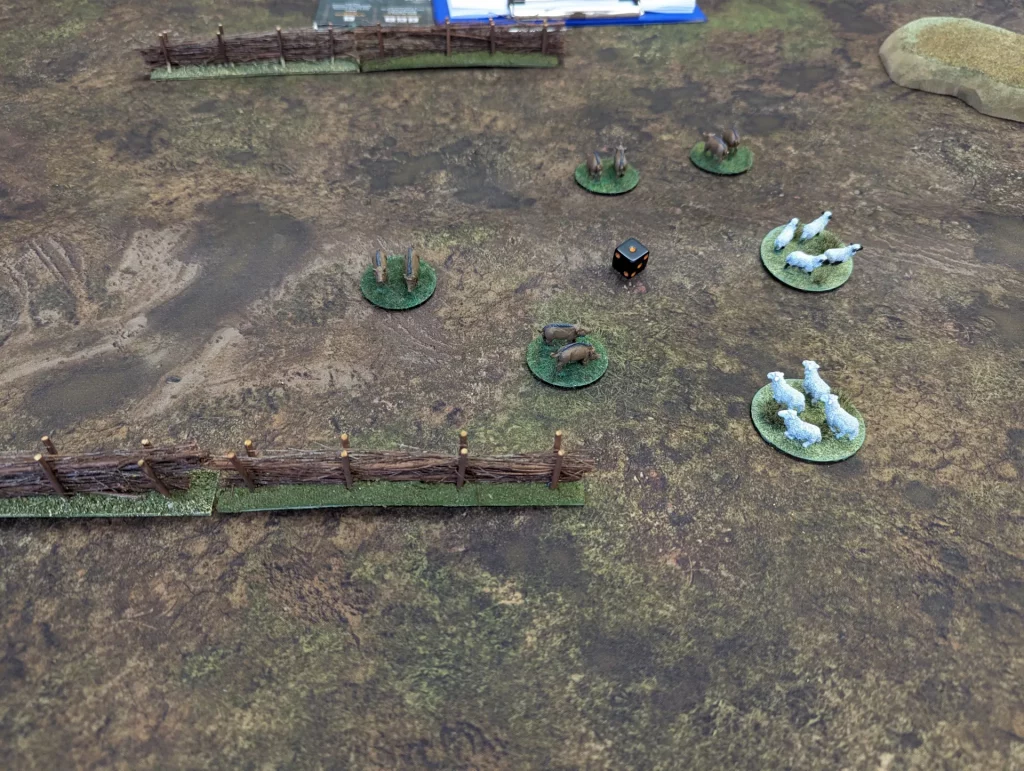
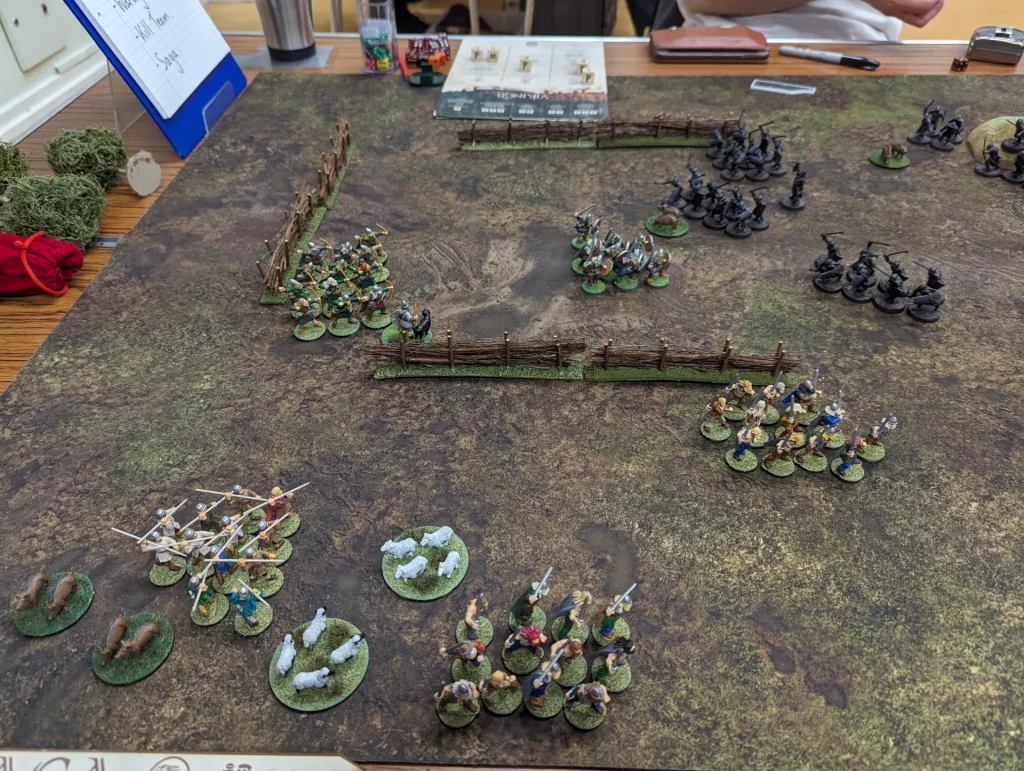
The battlefield was quite open, since we’d both opted for little terrain. This time I had some fences available (I bought them a long time ago, but rarely get to use them), and we used a lot of that to try and make difficult for each other.
We both started stuck in opposite corners, with only half our war band deployed. In turn one, we needed to bring the rest of the units on as a free move action. One decision I had to make was whether to field my hearthguards as two units or one unit. In the end I opted to have a single unit of 8 hearthguards. This would give me a single very powerful unit, which would be easier to use with the Anglo-Saxon battle board abilities.

The Vikings went first, and they moved forward, bringing the rest of their army onto the table. Since we were so far from each other, using manouevre to get free movements allowed all units to move.
My Anglo-Saxons went next, and I activated some units multiple times, opting to take fatigue where possible. My aim was to try and control as much livestock as possible, as quickly as possible. Unison, which can move two units without fatigue, was really useful.

It was then that we remembered that we should be moving livestock which wasn’t under control, so we did two livestock moves at this point. This was probably where I won the game. We diced to see which of us got to move the livestock, and I won almost every time, bringing the livestock across the table towards me. Since I’d taken the risk of taking fatigue, but the Vikings hadn’t, it also meant I was further across the table and in a good position to take advantage of the situation.

Turn two, and the Vikings continued their steady progression forward. Again, they were cautious about taking on fatigue so didn’t move very far forward.
For the Anglo-Saxons, I made a mistake and didn’t make use of Valiant Hearts which increases the effective size of my units. This means when I used Truce to remove fatigue from all my units with ten or more figures, my Hearthguards weren’t included. This was slightly annoying, which meant by the end of this movement I had two fatigues on my Hearthguards. By this point though, I also had saga dice sitting on my Closed Ranks and Crash of Shields abilities.
My plan at this point was to use my Hearthguard to ‘grab’ some livestock and send them back towards my levees, who would then get them back home. My Hearthguard were at risk of being attacked, but I probably still had a turn or two before they would be. By the end of turn two, I had control over five bases of livestock. I only needed four for a win.
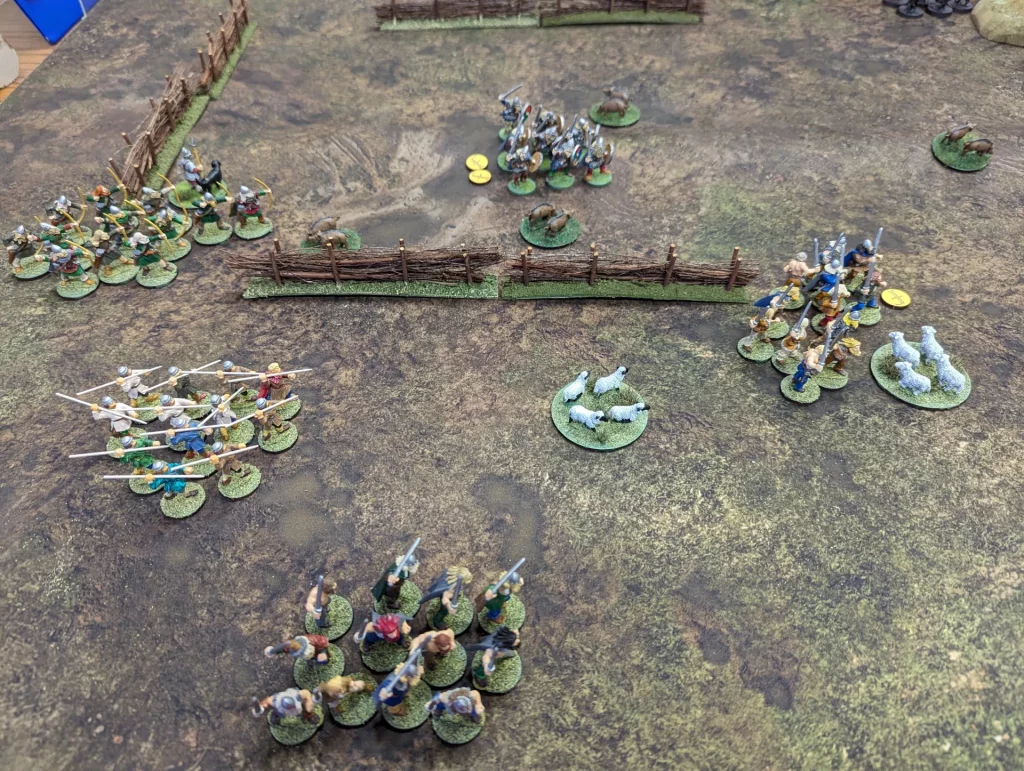
By turn three, the Vikings managed to grab one of the units of pigs. However, they were still being very cautious. They could grab a second, and my plan was to let them have it because fighting over it wouldn’t gain me anything.
It wasn’t until turn five that we had some combat. I wasn’t actively avoiding combat, but I had no reason to initiate it. My levees on the eastern flank had been expecting an attack for a while, but with the Vikings still holding back, I decided to start pulling them back to better control the animals.
My Hearthguards weren’t going to fight the Vikings over the second pig, but were holding fast to prevent the Vikings from moving past and taking what I now considered mine.
With two groups of pigs, and both groups of sheep well under my control, there was nothing that the VIkings could do at this point to win. They had one group of pigs, and we were both sharing control of the other, but I was going to let them keep it.
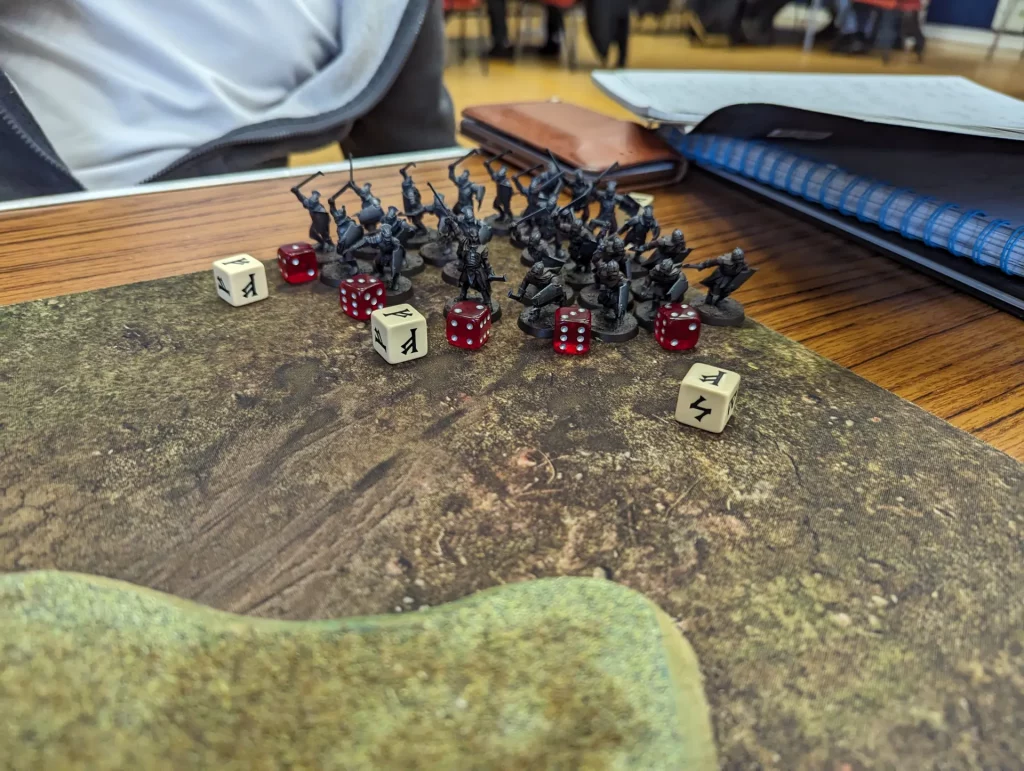
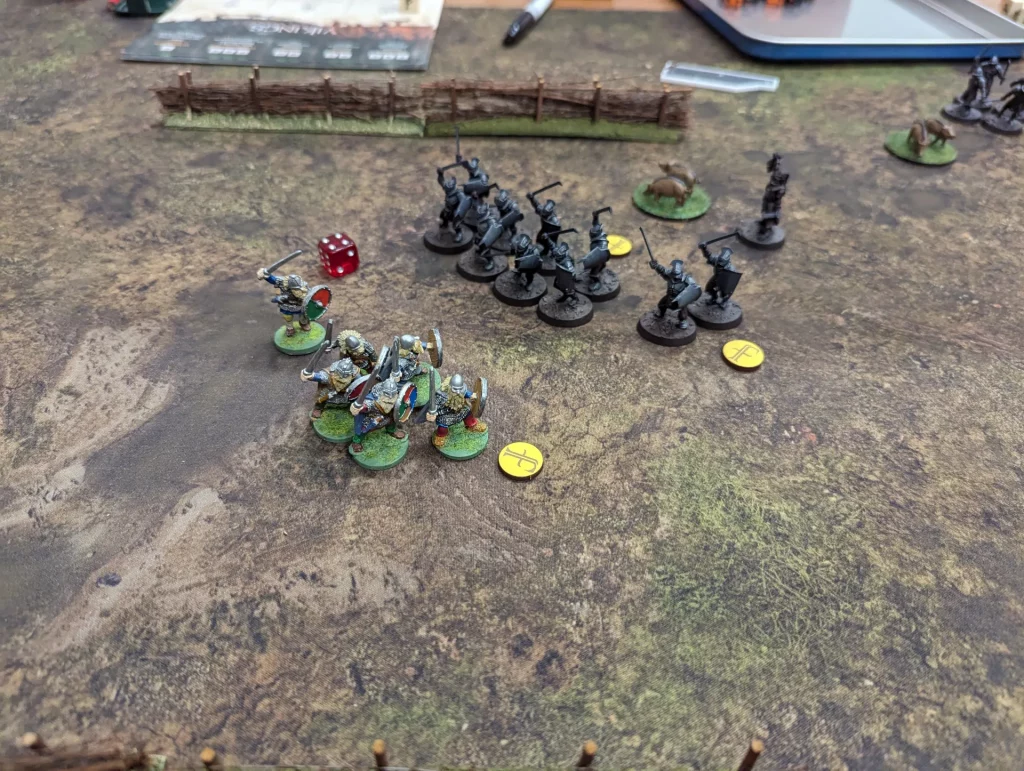
The other group of Viking warriors then charged my Hearthguard for the first melee of the game. 8 warriors against 8 hearthguard – it wasn’t going to be pretty. I started with 16 attack dice and an armour of 5, against 8 attack dice and an armour of 4. The Viking player had forgotten that my unit were Hearthguards, not warriors.
I had Valiant Hearts active, so my Hearthguards counted as a unit of 12. This meant Closed Ranks gave me a bonus 3 attack dice, then I used Crash of Shields to reduce the Vikings attack dice by 6 down to 2. They also used Frigg to gain a further 3, and Thor to gain two hits on each roll of 6.
In the end, I rolled 14 hits, and got 8 kills, wiping out the unit. They got 1 hit which my Hearthguard saved, so I still had a full unit.
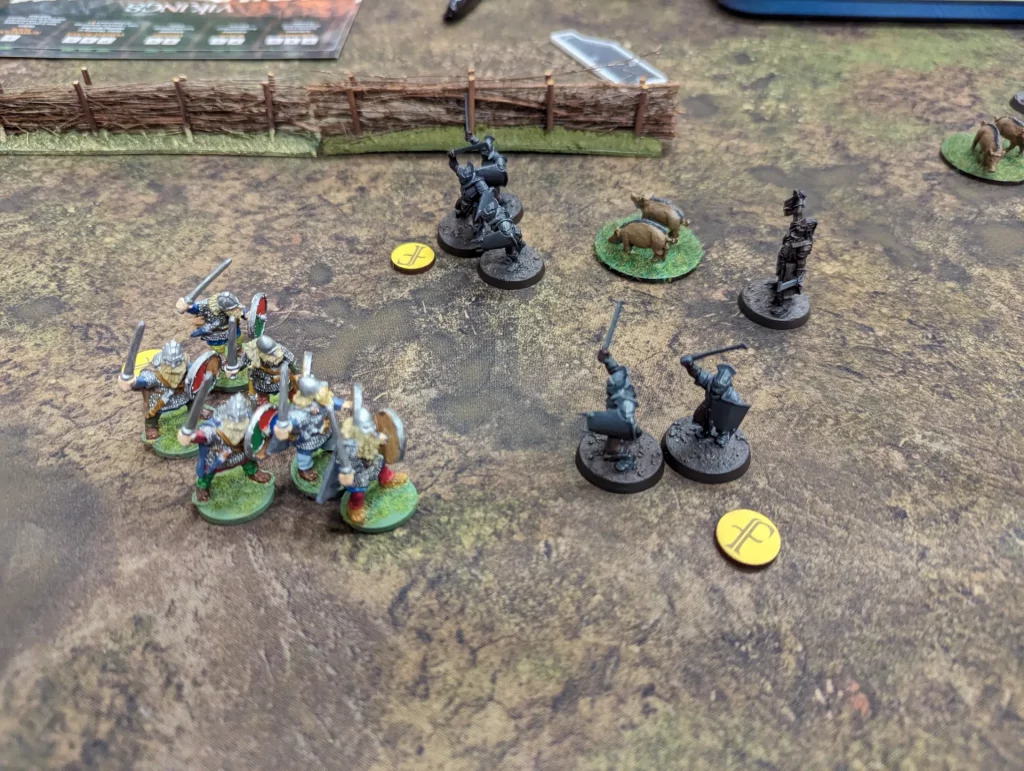
The second unit of Viking warriors moved ‘their’ pigs out of the way, then charged in. I didn’t have my bonuses this time, but I had one fatigue to their two. It was 16 dice against 8 dice this time. The Vikings fared better, getting 2 kills to my 6. The Vikings were forced back.
For the Anglo-Saxon phase of turn five, I got all four livestock bases off my edge of the table before worrying about the middle of the table. The last action of the game was the Anglo-Saxon’s turn to charge in against the last remaining full unit of Viking warriors. I killed five of them for no losses on the Anglo-Saxon side.
It had been a stunning one sided victory for the Anglo-Saxons, both in terms of winning points and combat. We called it at that point, since there wasn’t much else the Orcs could do. They would also be down three saga dice (two warrior units had less than 4 figures), so would be very limited in actions in future turns.
The Anglo-Saxons had been very lucky at the start of the game in the original movement of the livestock. However, the Vikings had also been over cautious in their movement. They could have burned through fatigue to get some extra movement, and then removed it with their battle board abilities (they have three different ways of removing fatigue, as well as resting). There was a risk they wouldn’t get the right saga dice to pick these options, but with the huge gap between the two armies at the start, it was a very low level of risk
Admittedly, this is how I’ve played the Vikings initially, since I do tend to be over cautious. I’ve done a lot better with them when playing them a lot more aggressively. My hearthguards were a really tough nut to crack. I think I may have used Valhalla against them, especially since the Vikings did have the option of invoking Ragnarok.
Ultimately, I think luck and experience gave the Anglo-Saxons the edge in this battle.