Ambush
The scenario for this week’s game of Saga: Age of Vikings was Ambush! This involves a baggage train trying to make it across the table, with two factions trying to attack and loot it. We had Vikings and Anglo-Saxons fighting it out, and the end result was relatively close. Though, to be honest, I’d probably give the win to the baggage train.
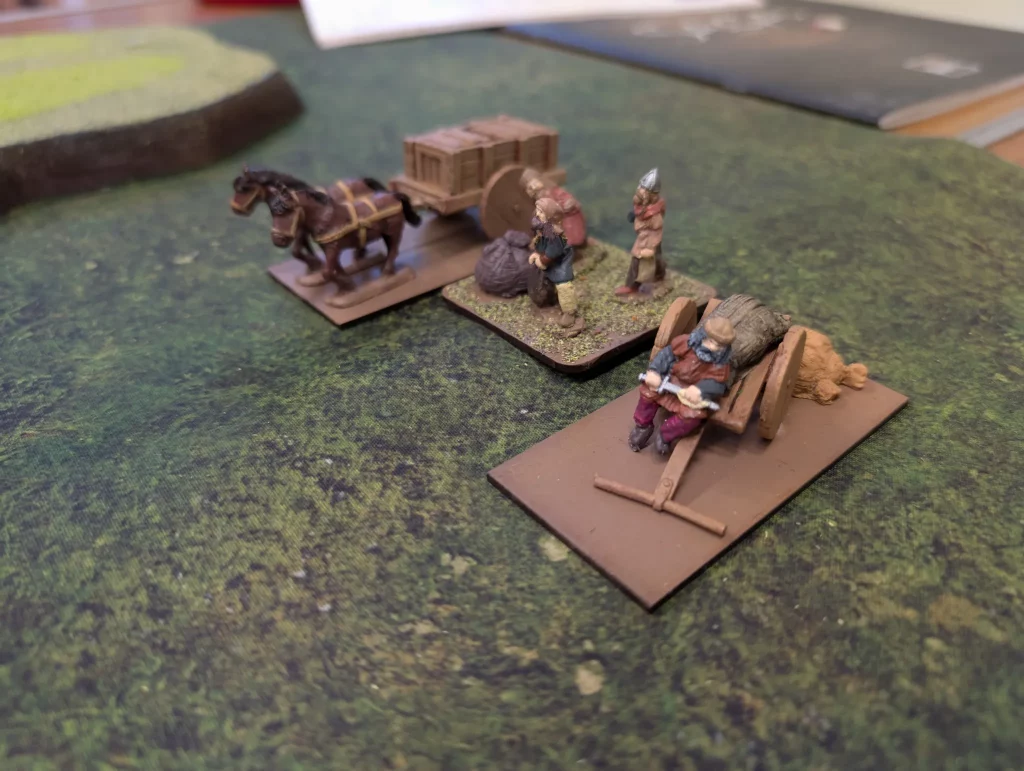
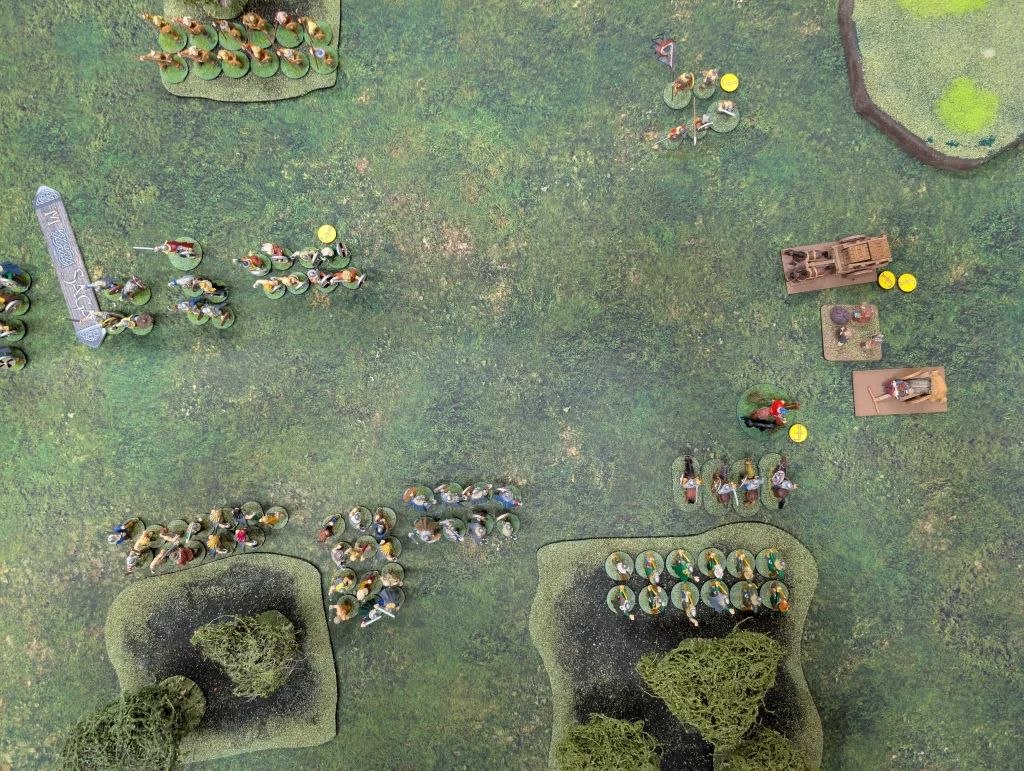
The baggage (consisting of three ‘figures’ – two wagons and a bunch of traders) got to move randomly at the start of each player’s turn. It always moved in a straight line down the middle of the table though, plus had the option of removing fatigues. This meant that the middle of the table had to be clear of terrain, which also meant it was clear for open battle.
I took the Anglo-Saxons, with my new army build which consisted of three units of Levee (one archers, two infantry), a double sized unit of Hearthguards, and a unit of mounted Hearthguard unit alongside a mounted Warlord. So no warriors.
The vikings had a more distributed mix, with a single Levee unit with javelins, two units of hearthguard, two units of warriors and a unit of Shield Maiden mercenaries. All were infantry.
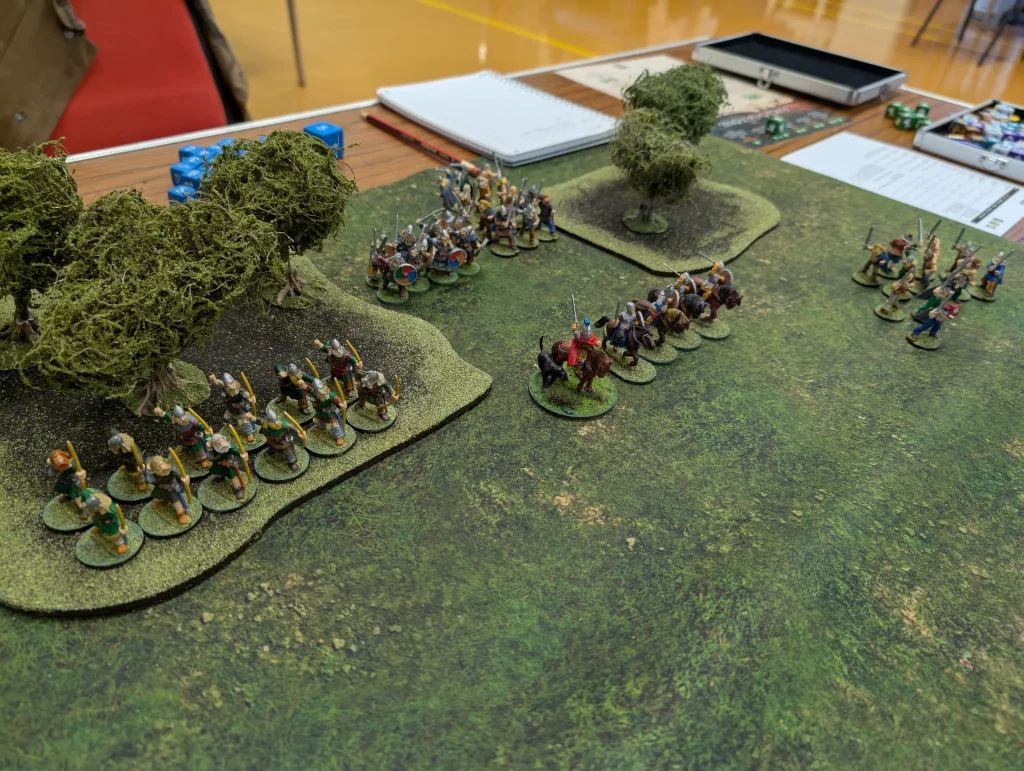
The Anglo-Saxons went first, coming onto their side of the board and moving forward as best they could using abilities such as Unison. I wasn’t expecting combat in turn 1, so left the battle board mostly empty at the end of the turn.
The Vikings seemed to think about trying to attack, but didn’t. They came onto the board, stuck some dice on Odin (which stayed there until the end of the game I think. It would exhaust my unit if I tried to shoot, but I never once got to shoot at the Vikings), moved quickly and used Njord to remove their fatigue. They moved out along the far short edge of the table, putting most of their units within range of one of my levee units.
Turn two, I used Valiant Hearts to increase my effective unit size, but failed to get any Helmets, so wasn’t able to take Call to Arms (which would give my levee the aggression of warriors). This meant my Levee were vulnerable, so I pulled them back.
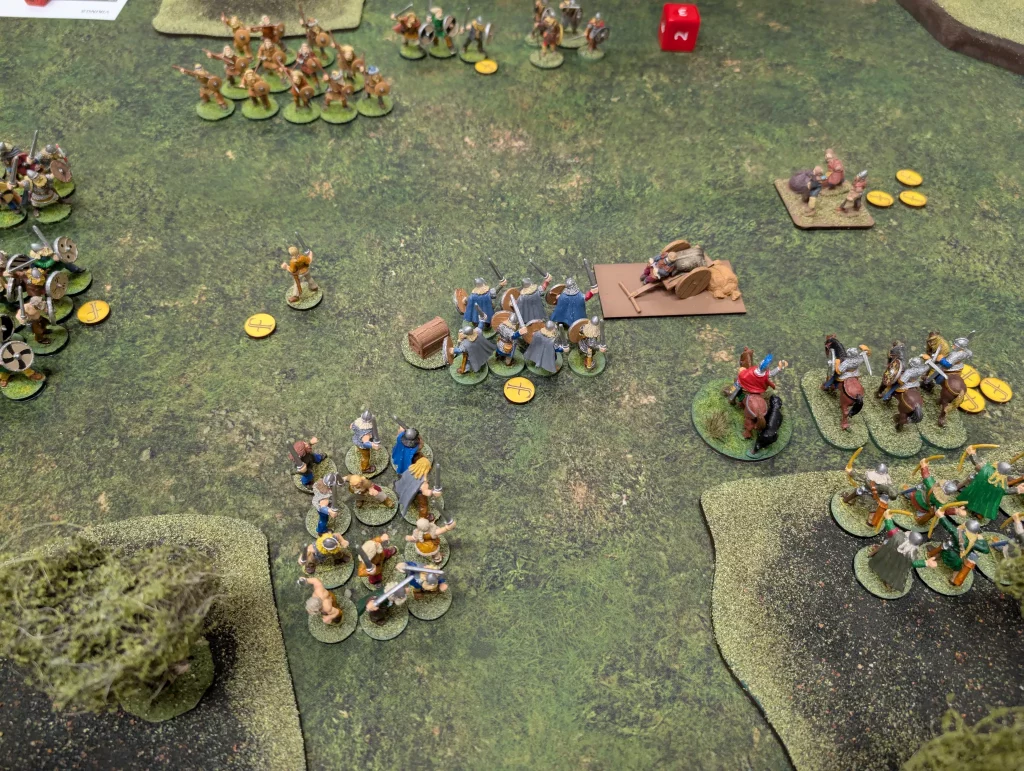
I shot at the baggage with my archers which did nothing (it has an armour of 6 v shooting). So my warlord charged one of the wagons (8 attack dice, v 3 attack dice of the wagon). I did 2 hits, causing 2 fatigue on the wagon (it has resilience), but bounced off.
I then used “We Obey” to get my mounted hearthguard to… well that had been the plan. I’d already moved my Warlord so the Heartguard were now out of range so I couldn’t command them to move. Stupidity on my part. I was able to use manoeuvre to move the hearthguard up so that my Warlord wasn’t all alone.
On the vikings activation, the baggage moved up, running into my Warlord and giving him fatigue. The Vikings themselves moved forward, with the Shield Maidens attacking the other wagon. They not only bounced off, but also took a casualty.
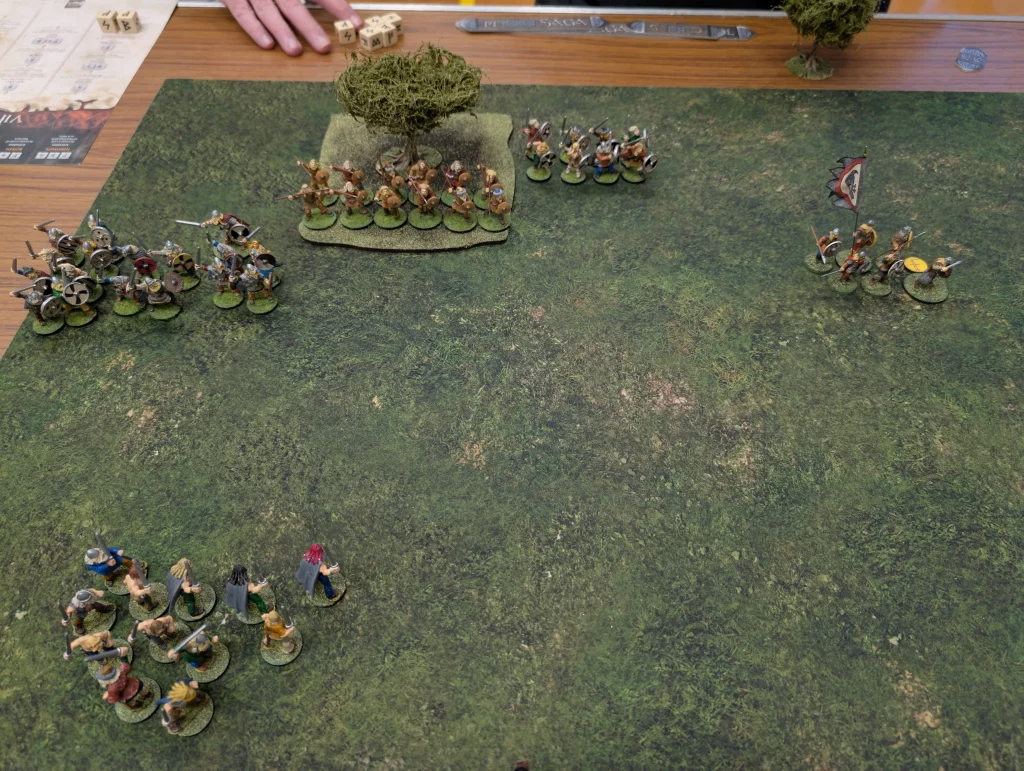
Turn three, and I get a Helmet to spend on Call to Arms. I surprise the Vikings by charging one of their hearthguard units with my levee. Along with Closed Ranks and Crash of Shields, I get 17 attack dice against the Hearthguard and they only have 3. They get one hit against me, which I save, and they are wiped out.

This leaves the way open to their Warlord – an opportunity too good to miss. They still have a second hearthguard unit to use as bodyguards, but I figure it’s worth it for the amusement factor.
This wasn’t as one sided as the previous fight, since I’d exhausted my battle board abilities and the Vikings still had theirs in place. It was 12 attack dice from the levees, versus 15 from the warlord. He was exhausted, and nine levees were slain, the rest being forced back. Possibly it would have been better to go after the Hearthguards to do permanent casualties rather than just let the Viking Warlord cancel hits with fatigues. But this was more amusing. Levees don’t often charge warlords.
Over to the Vikings, who used Njord to remove their fatigues which also removed one of mine. The unit of Viking bondi attacked my levees, killing two of them without taking hits themselves.
The Shield Maidens tried to take on the wagon again, but take a loss and only inflict fatigues. The wagons are turning out to be pretty tough. However, another bondi unit is sent in and finally take the wagon, grabbing the loot from it (and granting themselves +6 points).

Meanwhile, there are three units plus a warlord facing off against a single levee warrior. The viking warlord runs off behind his hearthguards to hide.
Turn four, and the Anglo-Saxons try to take on one of the remaining wagons. My mounted hearthguard charge it and bounce off.
My unit of eight hearthguard then go after the Viking bondi with the loot. They kill one Anglo-Saxon, we kill four Vikings and grab the loot for ourselves as they flee.
I then try to send my mounted hearthguard against the baggage again, and bounce off again.
At the start of the Viking’s turn, the wagons remove all their fatigues. Their javelin levees move forward and chuck javelins at my Hearthguard, but do no harm. The single Anglo-Saxon woman who represents what is left of the unit of levee is killed by Viking hearthguards, and the bondi charge my other unit of standard levee.
I don’t have Call to Arms, but I have Crash of Shields which drops their attack dice somewhat drastically. We both lose two figures, so the Vikings bounce back.
Finally, the Shield Maidens try to take the loot back and charge my large unit of Hearthguard. They do well, killing four of them, but are wiped out themselves.
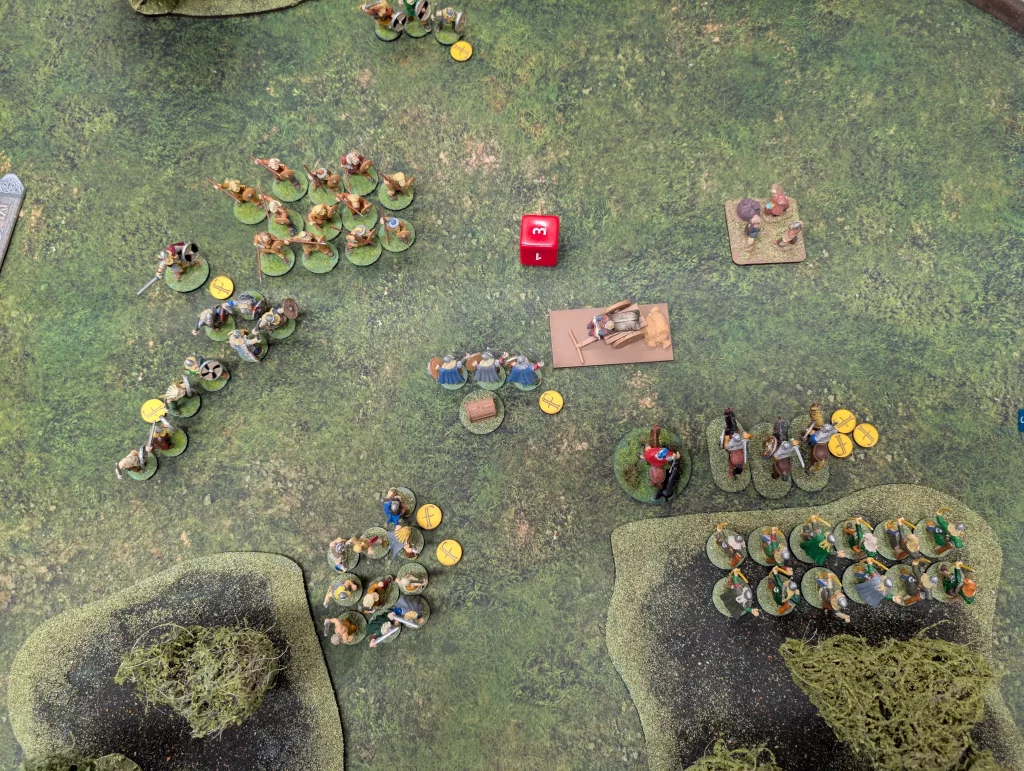
It is the start of turn 5, which is the final turn. At this point the Vikings concede the game. Their reasoning is that I’ll just pull my troops back and win on points (survival plus any loot). I might be able to get another loot (the base of three traders would be easy to charge for both my Hearthguard and Warlord), and hard for the Vikings to counter attack). I’m not sure things are so clear cut, but I’m happy to accept a victory.
This is the second time that I’ve played a levee heavy version of the Anglo-Saxons, and the first time I think that I’ve really been able to make use of Call to Arms. My archers did little all battle, mostly because my other troops or the wagons were in the way. Possibly, making all the levees archers would be better. Then they get a shooting ability, but still get an aggression of 1 in melee if Call to Arms is enabled.
There were only a couple of turns during the game when I was able to activate it, but it’s quite a powerful ability.
This was a much closer game than last week’s, which made it more fun. I think Saga can be quite difficult to get the hang of at first, since you need to know how each faction is played. The Romans and Anglo-Saxons are quite similar in some respects, in that they both take advantage of quantity over quality.