Brethren at the Well
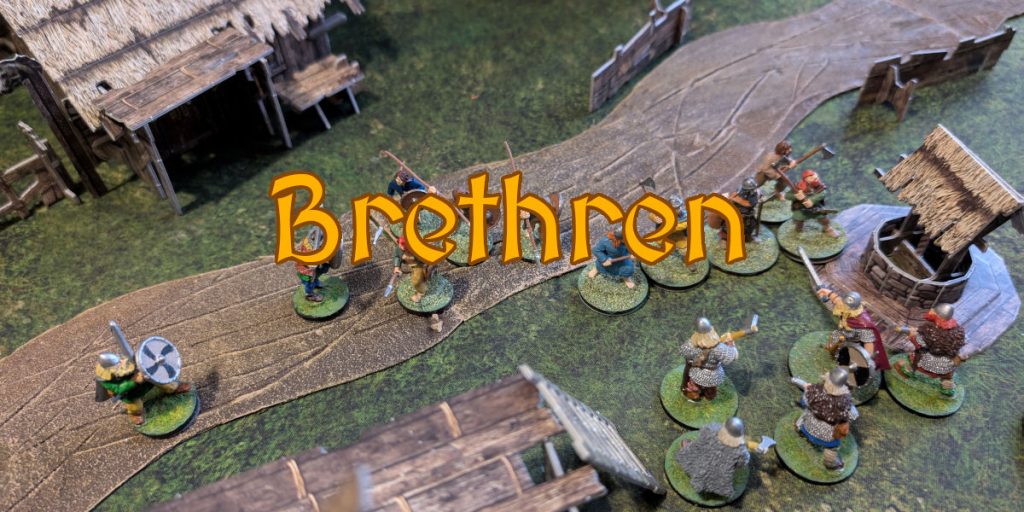
Yesterday I had a first solo game of Brethren, in order to try and figure out what rules I understood, and which I didn’t. It turned out that I didn’t understand a lot of the rules, so posted some questions to the Brethren forums, where I got a very quick response from the game’s author.
Today, I had another game, this time with an opponent. Which led to more questions, but they were less fundamental this time around and we got to the end of the game.
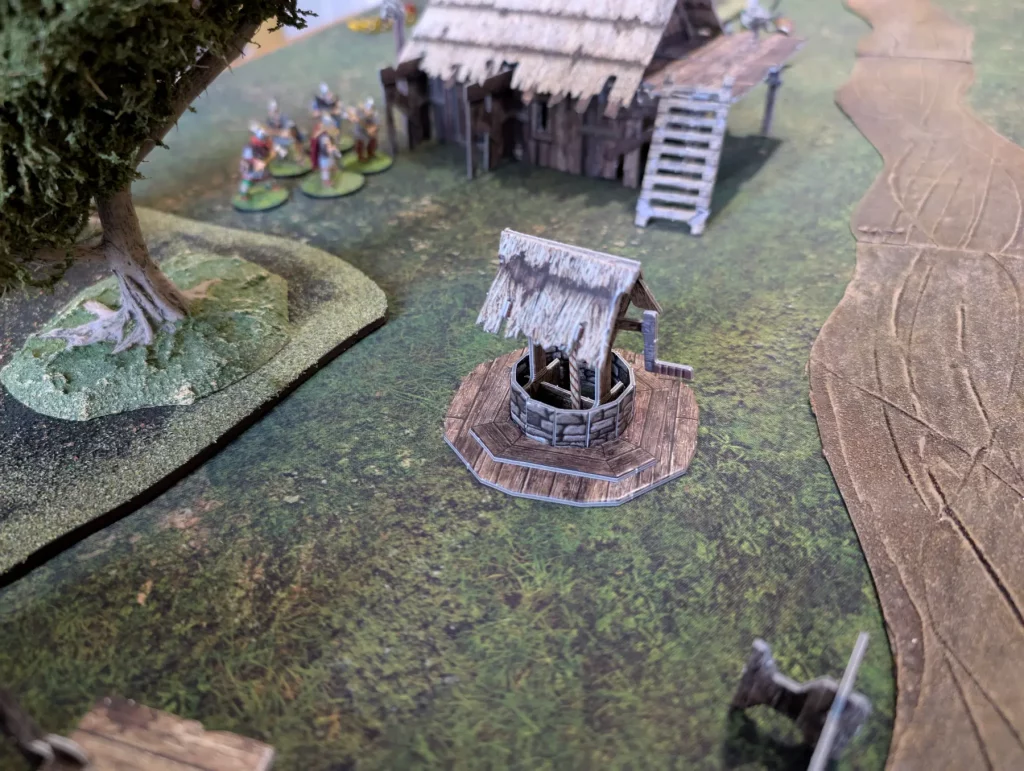
It was much the same terrain as previously, with the addition of a well which was the game’s objective. Whoever had the most figures within 1″ of the well at the end of each turn would gain a point, and we aimed for a simple four turn game.
This time I also put down area terrain for the woods to more clearly mark them out. Brethren actually specifies using the exact placement of trees to specify where a wood is, but trees often have to be moved when figures are moving through wooded areas, so I find it easier to put down an MDF tile which denotes the extent of the wood.
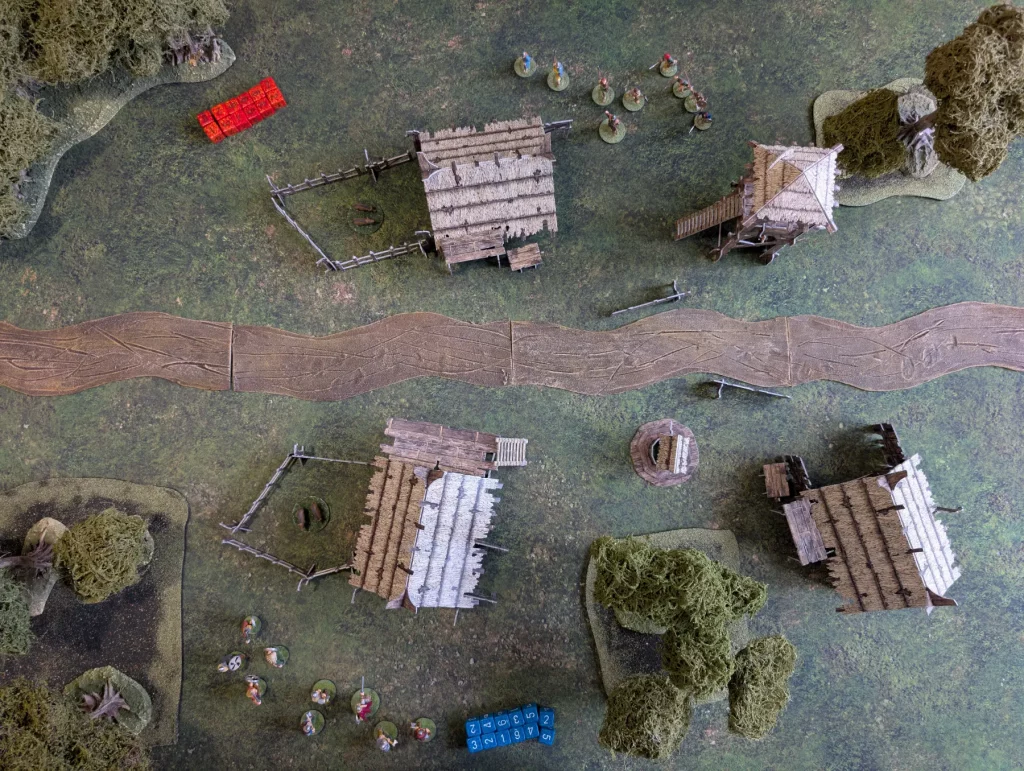
I also placed some ladders and balconies in case anyone wanted to use them for advantage. As it turned out, nobody did.
I had slightly modified army stats this time around:
Vikings
- Hero: Sword + Shield
- Hearthguard: Experienced warriors with Dane axes (x4)
- Warriors: Experienced warriors with swords + shields (x4)
Irish
- Hero: Dane axe
- Hearthguard: Experienced warriors with Dane axes (x4)
- Levee: Inexperienced warriors with swords, javelins + shields (x4)
Note that I’m falling into Saga terminology for types of troops. There being only two non-Hero troop types (experienced and inexperienced) is probably the biggest quibble I currently have with the Brethren rules. This is partly because I have a lot of figures which are lightly armoured but aren’t meant to be levee, and Brethren can’t distinguish those from the heavily armoured non-levee. So by Hearthguard here, I mean the frontline fighters supporting the Hero. Warriors are the other experienced troops who aren’t levee.
Turn 1
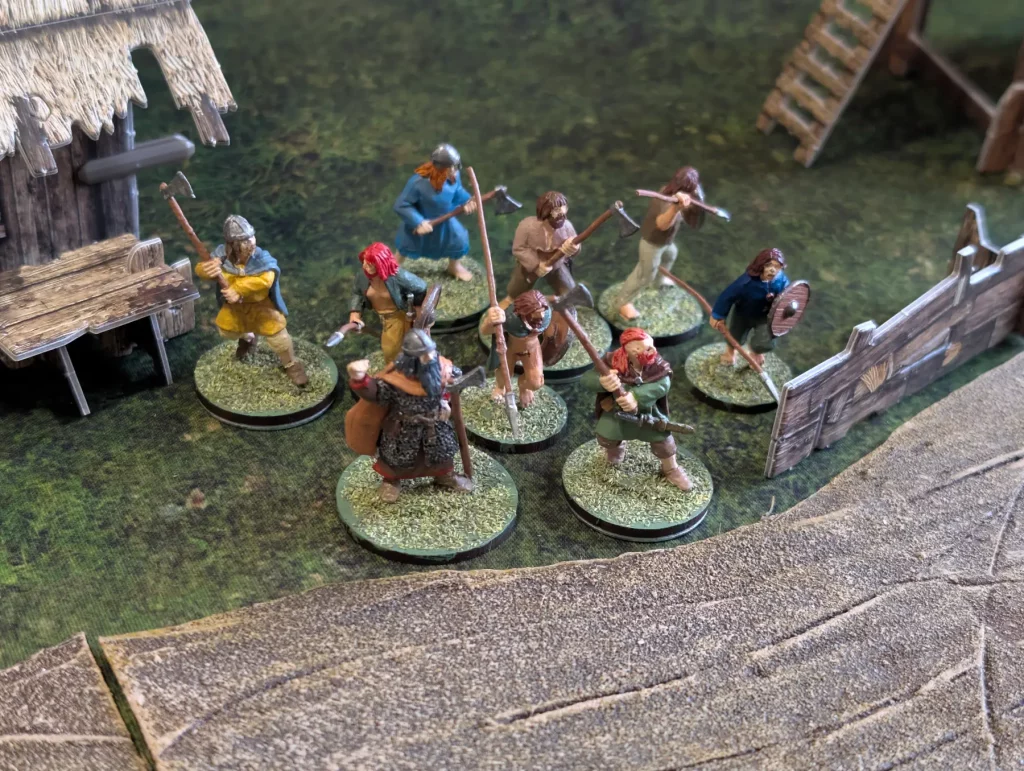
The Irish get the initiative, and their hero does a command action to get everyone to run for the road. They decide to hold off reaching the road. Heroes get three action points, and everyone else gets two action points. A run action (move 6″ + 1D6″) costs two action points. So they simply move up.
Normally figures are moved individually, but because they are following a direct command of the Hero, they all move in a single action.
The Viking Hero takes his hearthguards and also runs up towards the well. Meanwhile, my (Viking) warriors go around the side through the pig sty, to try and outflank the weaker Irish javelin armed troops. The warriors take individual actions rather than following a command from the Hero.
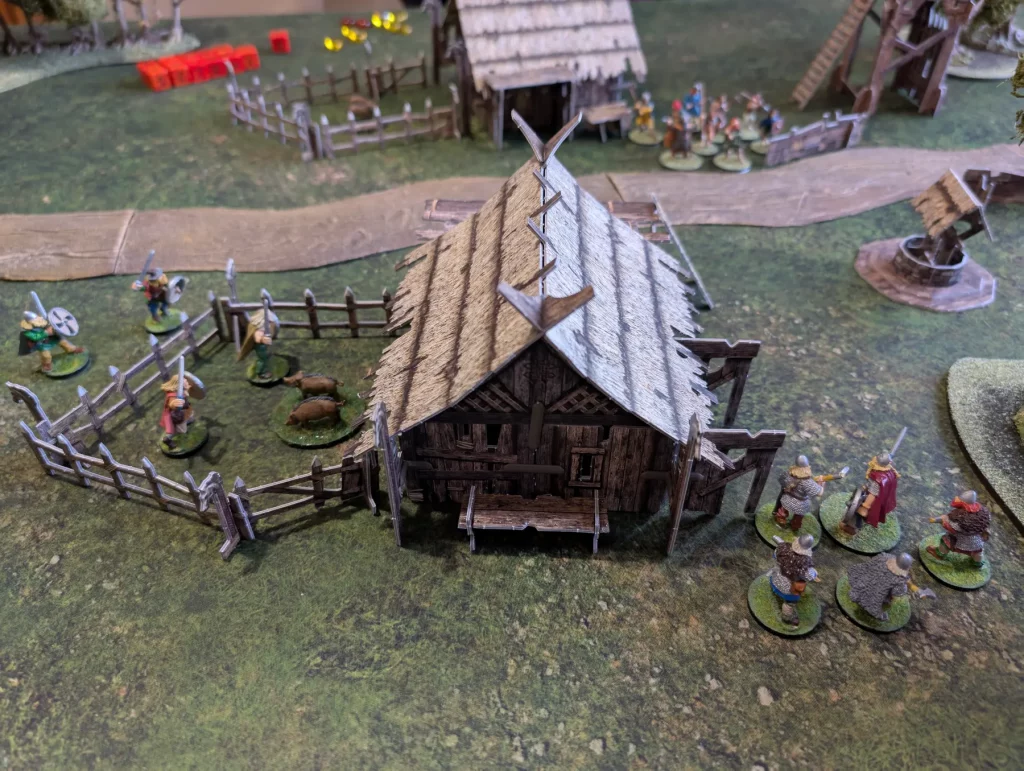
There is no combat this turn, and no morale phase.
Turn 2
The Irish win initiative again, and the Hero runs everyone at the well. Except… things got confused and what I had assumed was another Hero order was actually meant by my opponent to be single actions. So all the Irish moved, when only one of them should have moved. By the time we both realised what had been meant, and what had happened was wrong, it was too late to unpick everything.
So the Vikings charge the Irish at the well, with the two Heroes getting into face to face combat. The Vikings decided to risk a change. With a random charge distance of 6″ + 1D6″, there was a chance that the charge would fail, and the Vikings would be left in disarray. But the Irish had already activated, so wouldn’t be able to take advantage of it. I rolled a 5 on movement, so melee was had.
Meanwhile, the Viking warriors started to move up and charge the Irish levees. This was the point we realised things had been done wrong, and did a little unpicking. The one combat with the Viking and Irish was kept (the Irish was pushed back), and the other three Irish threw their javelins, killing one Viking. The Javelins should have happened during the activation phase, but this was a learning experience.
The combat at the well probably would have been different as well, if the Irish had moved up one by one, making a risky charge more dangerous for the Vikings.
There was a lot of pushing and shoving around the well, but nobody was killed. A morale check was made, but everyone passed.
Turn 3
The Irish won initiative again, throwing javelins and killing a Viking warrior. At this point we started making more specific positioning of figures to try and take advantage of supporting actions, and also blocking attacks. This is where the rules could probably do with some more examples, since there’s lots of opportunity here to try and game the rules as much as possible to get the best advantage.
An individual figure can’t charge (which gives +1 attack dice), but can move into base to base in order to pin down their opponent and prevent them from activating. It also prevents that figure from supporting another figure. At least I think it does.
It also raised the question of whether a supporting figure needs to fall back if the main figure in a fight is defeated and pushed back.
The Irish lost the combat phase this turn, and also failed a morale check, so one of their levees ran away.
Turn 4
The last turn, and it was a general melee. The Irish levee moved in and went into base to base with both the Viking warriors, pinning both of them down. This prevented either from helping their Hero. It was going to mean the death of the levee, but his name would be remembered.
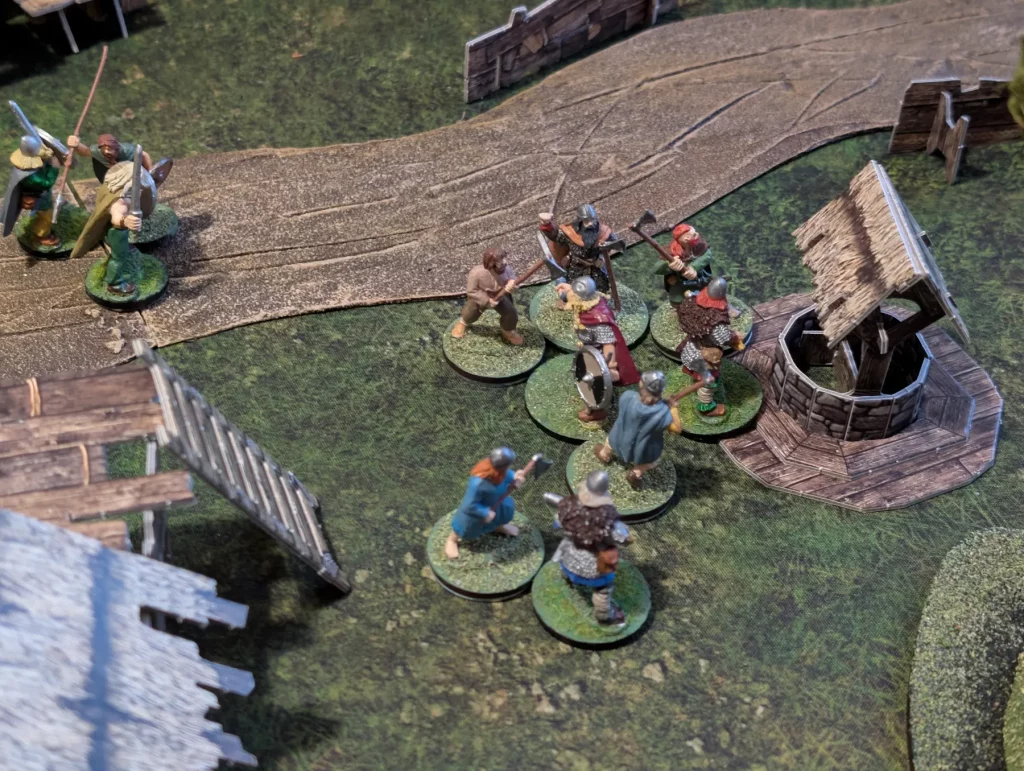
Once again, movement and positioning got messy as we both tried to do the best we could to gain an advantage.
I think the intent of the rules is that if someone is involved in melee, the opponent must try and assign at least one of their figures to fight them. In the above picture, the two axemen on the right next to the well could fight each other, or could support their respective hero figures, since all four figures are in base to base. I think they have to fight each other, and can’t choose to support.
If the Viking at the front of the picture had been in base to base with the Irish axeman attacking the Viking Hero, and was also in base to base with the Irish axeman on the left, could the Vikings decide who was fighting who? The rules aren’t entirely clear, and it can make a big difference.
As it was, the Irish had 13D6 against my 4D6 (at +1) when the two heroes fought. Needless to say, the Viking hero fell back with two wounds. Not enough to kill, but enough for him to decide the well wasn’t that important.
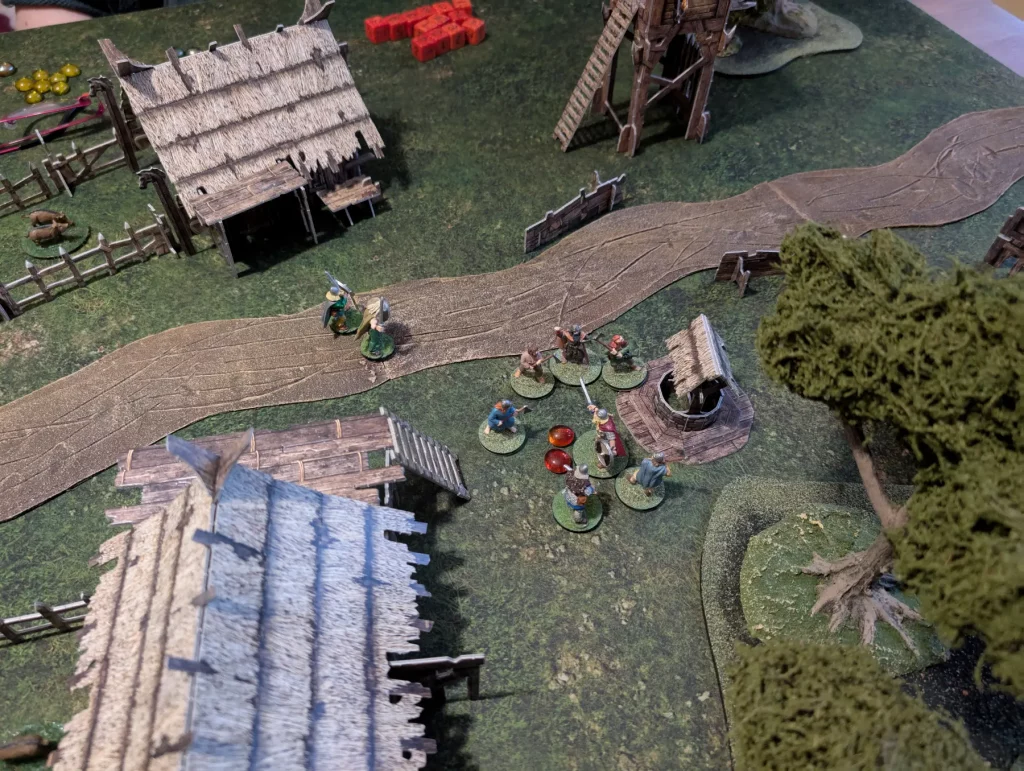
At the end of turn four, the Irish had two points from having had control of the well for two turns. The Vikings had no points, and a badly injured hero.
We didn’t get to make use of the buildings, or the watch tower, but it was a fun game. I have more questions for the forums, but these are less fundamental this time around.
It is quite a quick game (faster than Saga, possibly similar to Lion Rampant, though the figure count is very different so it’s tricky to compare). I think it’s slightly simpler than Middle Earth Strategy Battles, possibly because it lacks the special abilities that characters in that game have.
I do prefer seeing large units of figures on the table, but with the opportunity to have more complicated building terrain, and actually make use of it, this sort of game could have a place in my games over the coming year. I do need to pick up the supplement books (Dark Ages and Ancients) which provide more complete army lists for those periods. Some of us at the local club also want to try some Saga games with more of an urban focus. This was actually the focus of buying the Battlesystems northern settlement, which led to me looking for rule systems which might make better use of it.
I’ve also picked up The Baron’s War, which is a similar (but more complex looking) sort of game (though tied to the ~1216 period of England), so I need to try that at some point as well. This will undoubtedly lead to confusion over which rules apply to which game.