Angry Monks
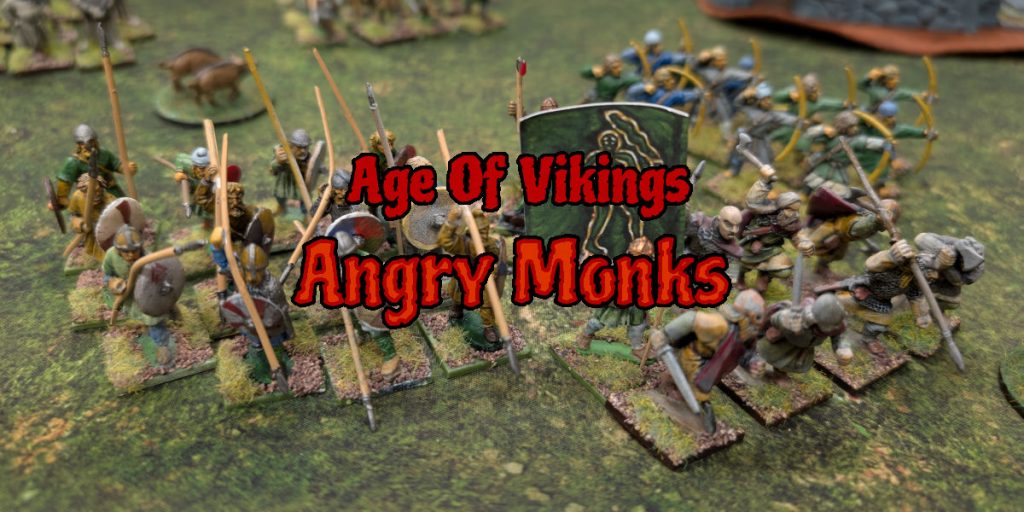
After spending a couple of games playing Saga: Age of Chivalry, we headed back to an earlier century for for an encounter between the Irish and the Anglo-Saxons. Normally I play against the Irish, but this time I got to play them. It may be the first time I’ve played the Irish, though it’s possible I’ve played them once before.
For my Irish warband, I went with:
- Mounted warlord
- Mounted Hearthguard
- Hearthguard with heavy weapons
- Warriors with Javelins x2
- Warhounds
- Gall-Ghaedhil Mercenaries
The Anglo-Saxons
- Warlord
- 2pts of Hearthguards, with warbanner (single unit)
- Levee archers
- Levee x3
- Angry Monk mercenaries
We played the Catch them All! scenario, where we had to try and capture livestock and get it back to our camps. We had 7 turns to grab as many livestock as we could, and it turned out to be a close game with some brief, bloody combat in the middle.
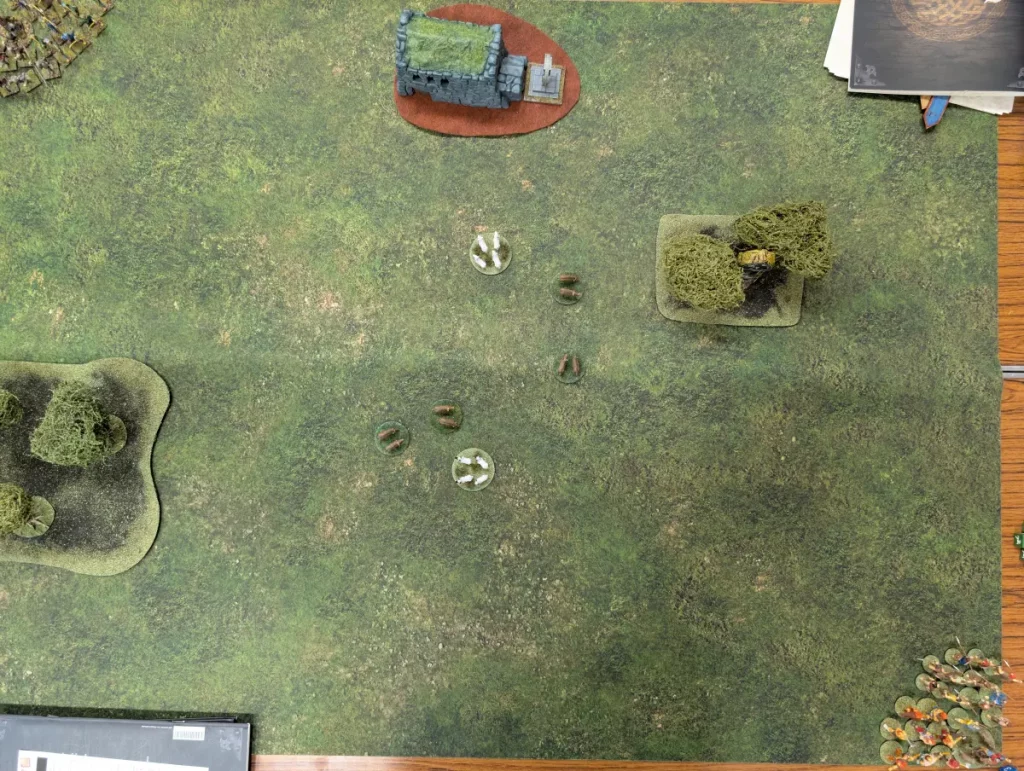
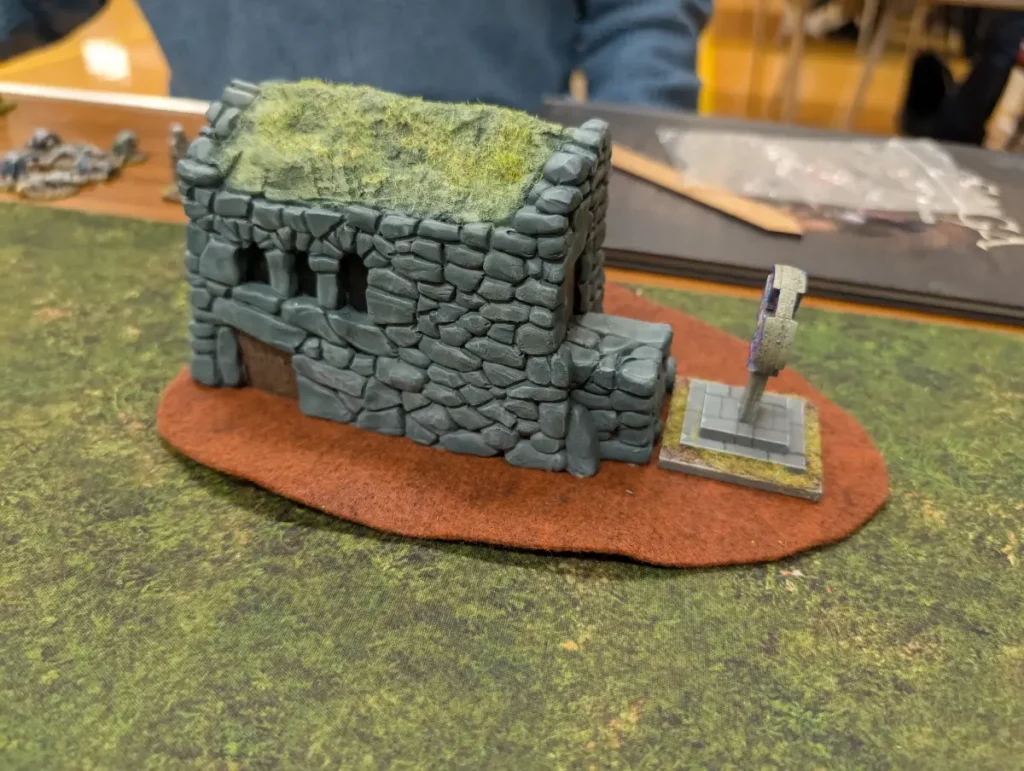
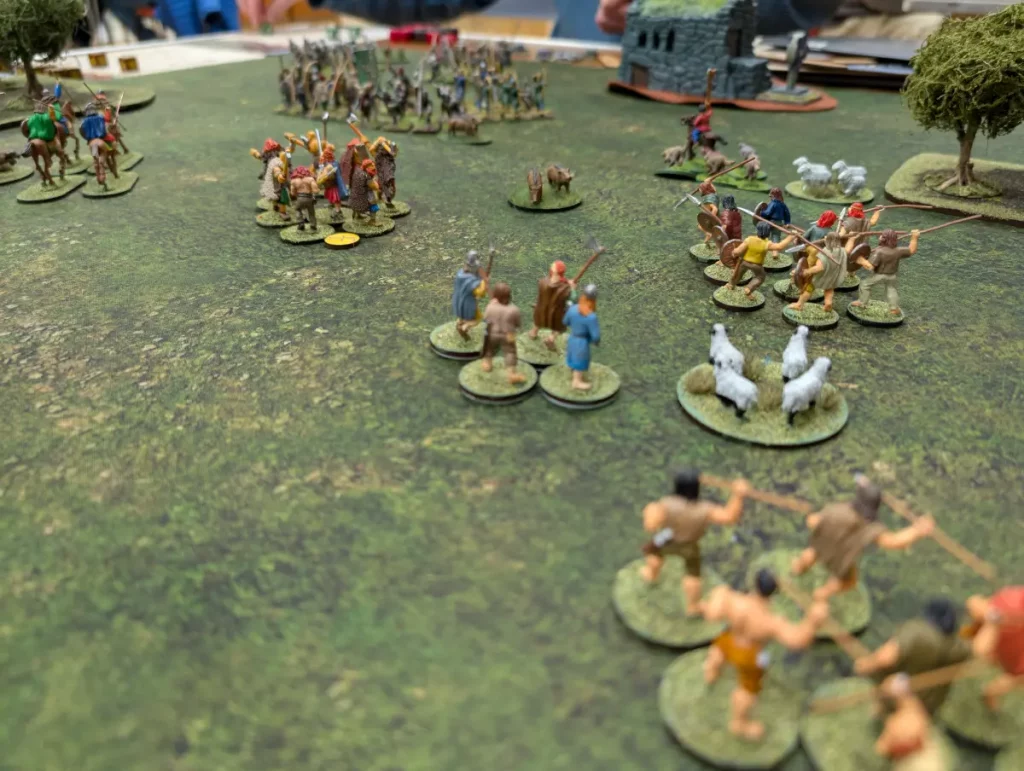
Table setup was brief – the Anglo-Saxons chose to terminate the terrain selection after two items, so I put down a third. We had two woods and a single building (a nice little chapel). Such a bare terrain is difficult for the Irish, and as things turned out I rarely got to make use of my battle board other than for movement activations.
The goal of the scenario was to grab as much livestock as possible and get it back to the respective corners for the warbands. +3 points for getting a base of livestock off the board, +1 point if the livestock is within L of your corner at the end of turn 7. No points for killing or surviving.
Turn 1
Anglo-Saxons. Fitting everyone into M of the corner was difficult, so the Anglo-Saxons just had three saga dice worth of troops on the board. Their first turn was spent coming onto the board and heading up towards where the livestock were milling around. I guess the livestock belonged to the local monks, who were now coming out with some local help to defend their property from the Irish raiders.

Irish. The Irish had the same goal – get out onto the board as quickly as possible. The Gall-Gaedhil moved twice, taking a fatigue. They can activate for free as often as they like, but can only rest if they are exhausted. They also can’t activate after anyone else has activated, so have to go first. Most of the rest of the Irish moved onto the table in this turn, trying to move up quickly.
Except I forgot about one unit of warriors, so they were left off the table.
Turn 2
Anglo-Saxons. They moved forward, and then used Unison to grab some pigs and shuffle them back towards their corner.
Irish. We move some more to try and grab the Livestock. As it turns out, during the random Livestock movement, it is mostly moving away from the Irish and towards the Anglo-Saxons, so I still don’t manage to grab any despite spending fatigue to move twice.
This was a very Viking way for me to play, but having played this scenario before, the trick is to move fast and grab the livestock as quickly as possible. Normally what happens in my experience is that both side will manage to grab two, and then the remaining two get fought over.
Turn 3
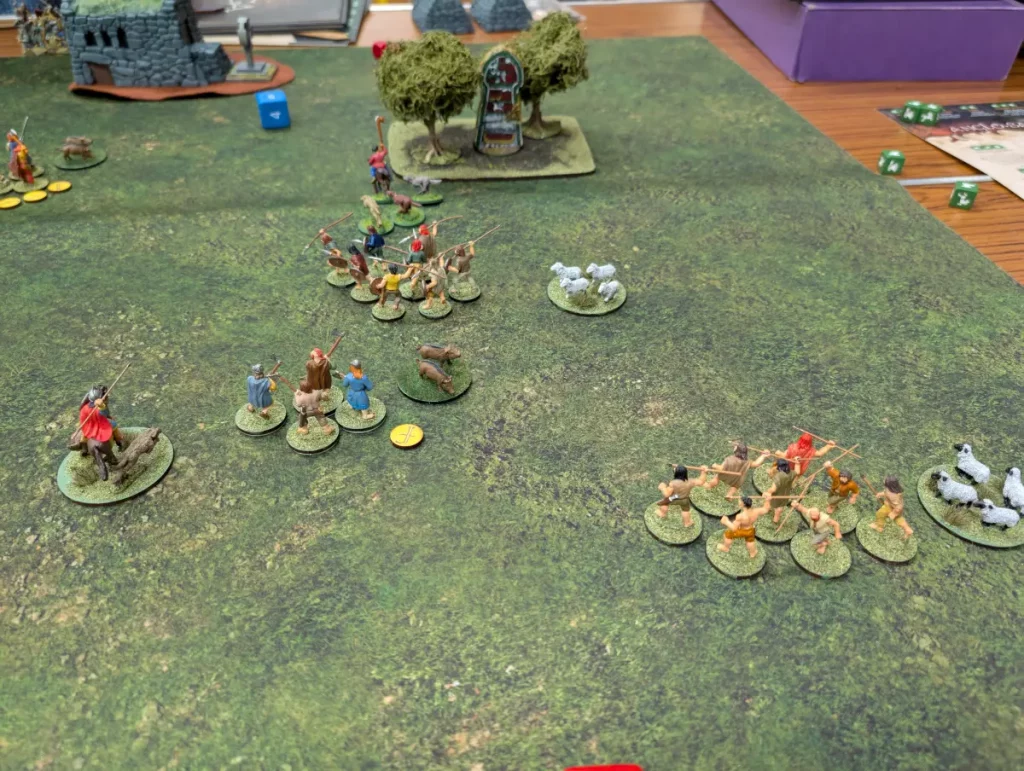
Anglo-Saxons. They use Valiant Hearts to increase their effective unit size, and then use their archers to shoot at my hounds. I’d forgotten how fragile hounds can be against shooting (armour 3), but I only lost one.
Irish: I get to grab some sheep with my warhounds, but don’t correctly place them afterwards to allow me to charge the archers. I also begin to move up my cavalry to threaten the flank of the Anglo-Saxon line. I feel safe from the archers, and have some nice open ground which can be used for a charge if the situation warrants it.
Turn 4
Anglo-Saxons. Many saga games are wrapping up by turn 4, but starting in opposite corners of the table means we are only just starting to engage with each other. Shooting kills three more of my hounds, taking my unit size down to four (not enough to lose a saga die).
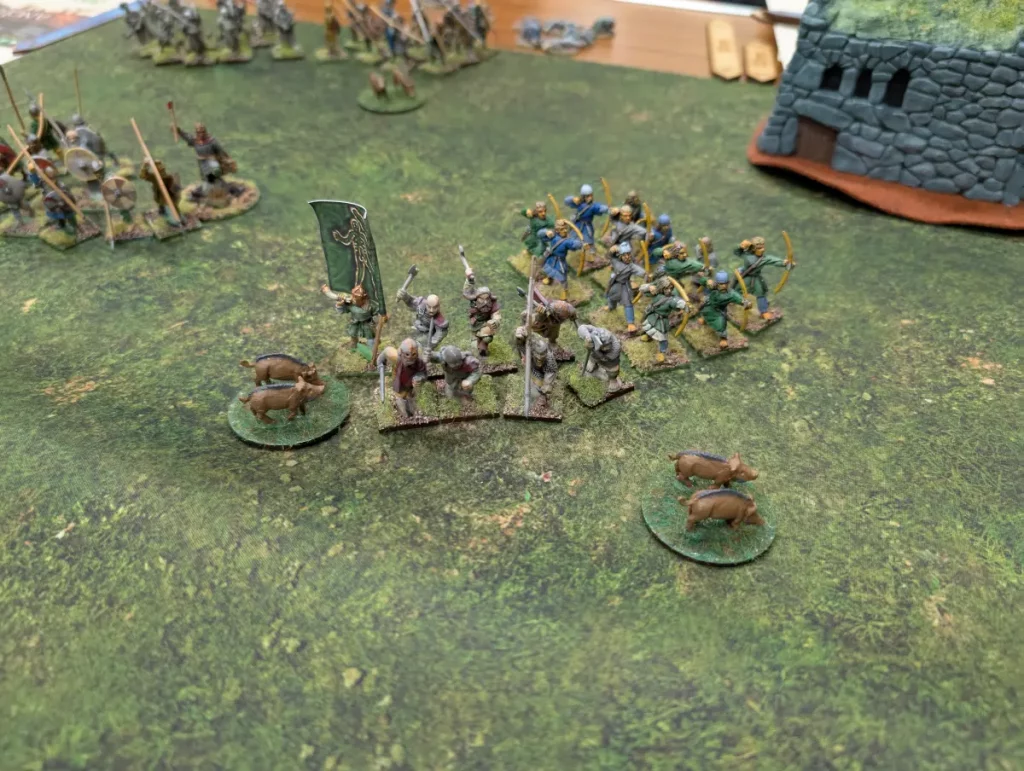
The Angry Monks are moved up, and the Hearthguard move back some pigs.
So far, the Anglo-Saxons have managed to keep well away from any of the terrain, meaning they never come under attack from Sons of Dhana.
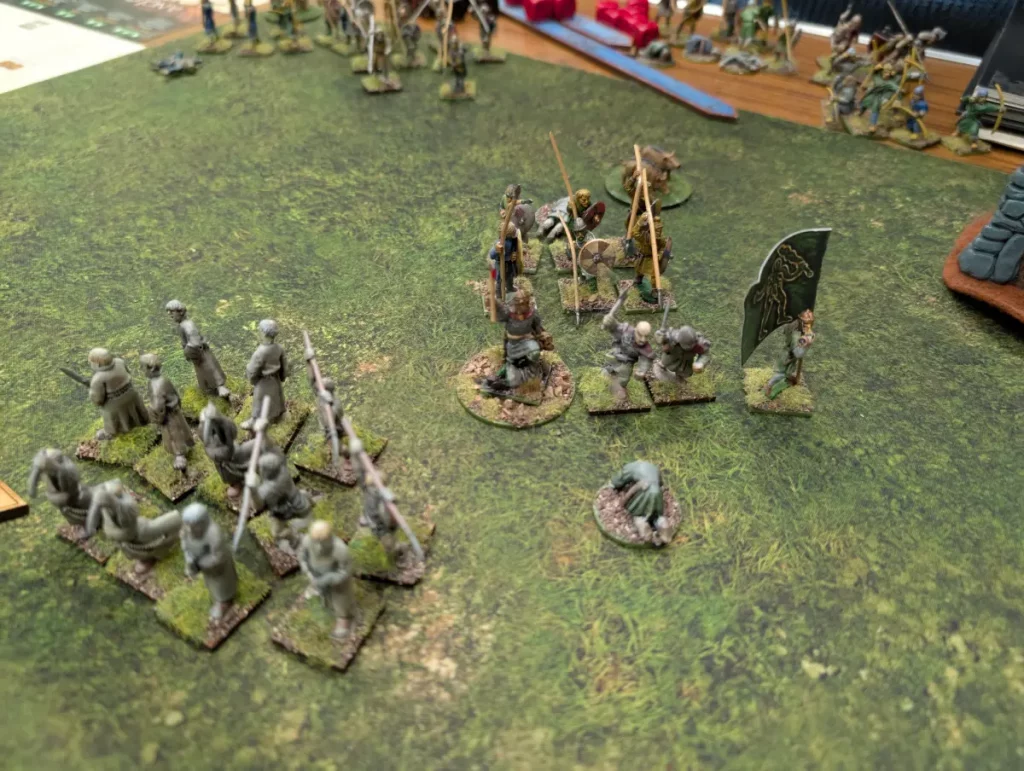
Irish. Finally, I get the Ghal-Ghaedhil in for a charge against the Anglo-Saxon hearthguards. Since they are charging, the Ghal-Ghaedhil have an aggression of 2, giving them 16 attack dice. There are 8 Hearthguard, one of which has a warbanner, giving them 14 dice. They close ranks, reducing their effectiveness. 4 of the hearthguard are killed, and 3 Ghal-Ghaedhil. The Hearthuard are forced back.
Since my fatigue was used in the melee by the Anglo-Saxons to lower my armour and raise theirs, I am refreshed and activate the Ghal-Ghaedhil again, charging the levee archers. 7 of them are killed, but the Ghal-Ghaedhil take a casualty and are left exhausted this time.
The Anglo-Saxon line broken, my mounted Hearthguard charge in and slay another Anglo-Saxon Hearthguard. I take no casualties.

I don’t get points for killing the enemy, only for grabbing livestock. At this point, I have good control over three bases of livestock, whilst the Anglo-Saxons have firm control over two, with a third contested. Technically, my Ghal-Ghaedhil control the pigs, but I don’t expect them to be able to keep control without a lot of luck.
By attacking their front lines, my intent was to try and grab that outstanding livestock. Even if I couldn’t hold onto it, I might slow down the Anglo-Saxons from taking it back to their camp.
Turn 5
Anglo-Saxons. At this point they use Call to Arms, turning their levee into warriors. My Hearthguard cavalry, now fully exposed, is wiped out by a unit of levee. Only 3 levee are slain.
The archers shoot at my Ghal-Ghaedhil, killing another 2. Then more levee charge in and wipe them out. I am now down two units. This gives the Anglo-Saxons control over three bases of livestock.
Irish. We also have three livestock, and begin moving back towards camp. There is open ground though between some of my units and the third livestock base which the Anglo-Saxons have grabbed, but I can’t see a way of easily grabbing it.
Turn 6
Anglo-Saxons. A group of pigs is got back to camp, and the Anglo-Saxons claim +3 points.
Irish. We manage to get two livestock back, with a great deal of fatigue. It gives us +6 points with a third base right on the edge.
Turn 7
Anglo-Saxons. The final turn of the game, and the Anglo-Saxons get their second base back, but only manage to get the third base of livestock close to their corner, giving them a total of 7 points.
Irish. We fully claim the third livestock base, for a total of 9 points.
In the end, it was a victory for the Irish. As is often the case with this scenario, there wasn’t a lot of combat except for a vicious fight in the middle. I was willing to sacrifice some units to try and slow down the Anglo-Saxon’s efforts, but I pulled back the rest of my units as soon as I had enough for a draw.
The almost complete lack of useful terrain meant that there was very little the Irish could do with their battleboard. Most of the dice went onto unit activation or combat bonuses. I had no long range shooting, and my javelin equipped warriors never came within range of the enemy.
The Ghal-Ghaedhil were an interesting unit. Highly aggressive, but I’m not sure how useful they would be in a game where they couldn’t just be used as sacrificial pawns. They’re a bit like Berserkers, but I think better. You just can’t rest them until they are exhausted, and once your opponent realises the implications of that, they can be easy to slow down.
The Angry Monks are an interesting mercenary unit, but they never got used. They didn’t get into the front line, so I had no reason to go for them. Given their abilities (strike them down, and their army gets more powerful), I really wanted to avoid attacking them. If they’d been pushed to the front to control the grabbing of livestock, it could have made for some painful decisions on my part.