Battle for the Chapel

After a somewhat longer gap than we’d been planning on, we finally got back to another game of Brethren. What with Saga: Age of Chivalry coming out, and various other games being played, Brethren had got pushed to the back of the queue.
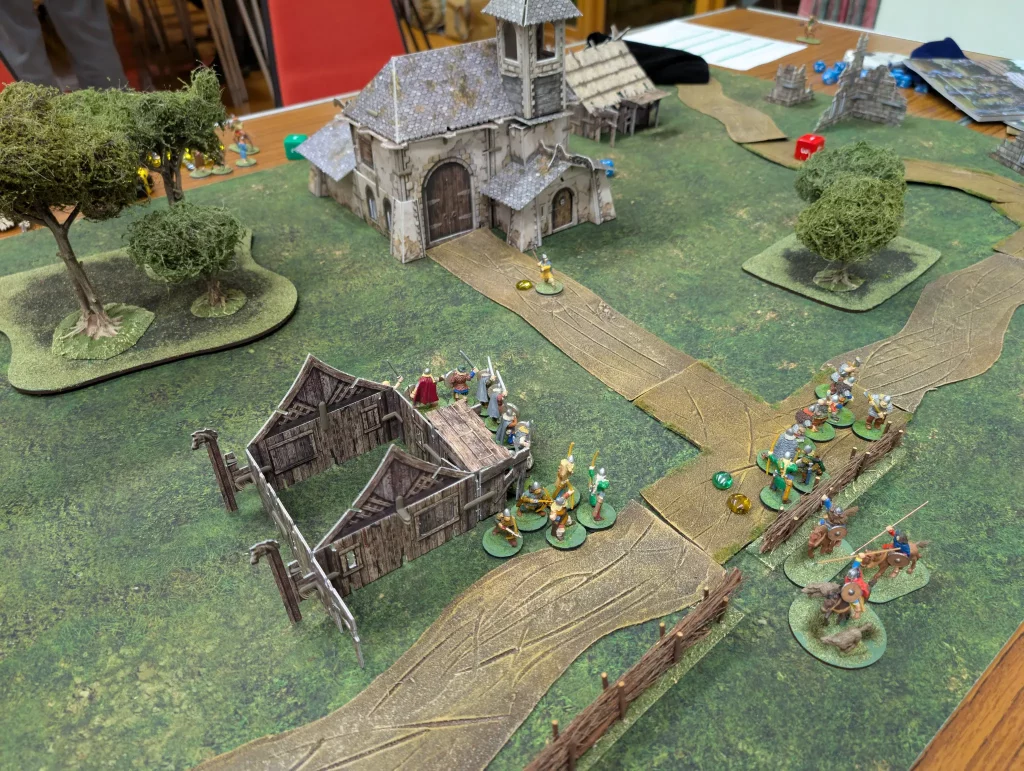
I’d picked up the two army books (Dark Ages and Ancients) since our last game, and so put together a couple of small armies for the Vikings and Irish. Both were just under 500 points, with a small advantage to the Irish. This was about twice as big as our previous games. I’ve also recently got a ‘small’ Chapel from Battlesystems, so wanted to make use of that. The hope was to have a chance to actually use the buildings, and have some fighting inside them.

The two armies consisted of:
- Vikings
- Combat Hero (sword + shield)
- Raiders (dane axe) x6
- Freemen (bows + swords) x8
- Freemen (swords + shields) x8
- Irish
- Combat Hero (spear, shield + horse)
- Nobles (spear, shield + horse) x4
- Nobles (dane axe) x4
- Kern (javelins + swords) x8
I was using my Saga figures, which had varying base sizes. This caused a little problem at one point, since the Vikings on 20mm bases were at a disadvantage to the rest on 25mm bases. Also, my heroes tend to be on larger bases (the Irish warlord is on a 50mm diameter base). However, this wasn’t too much of an issue. I have rebased some of my 20mm bases to 25mm, but it’s a process that takes time. I find that 25mm round bases are much more stable than 20mm for 28mm figures
We had no real goal for the game, other than both sides trying to claim the settlement. It was really a refresher for us to remember how the game worked. Since we played this game down the club, we had several people commenting on not having seen the rules before, and a couple who had, but had never played it. Once I’m comfortable with how the rules work, we may be able to get a few more players interested in trying it out.
However, the getting comfortable with the rules is the big hurdle at the moment. The combat phase is probably the most critical part of the game, and I’m still not clear on how it works. If it’s two or three figures involved, then it’s easy. But we often end up with a big scrap between a dozen figures, often in a very unbalanced melee.
The rules on how you determine which figures fight which figures when there are multiple opponents are not clear. In some cases it can be really important, and each side wants a different arrangement. So which player gets to choose? Combat is all simultaneous, and handled after the movement phase, so the order in which figures moved doesn’t come into it either.
Turn 1
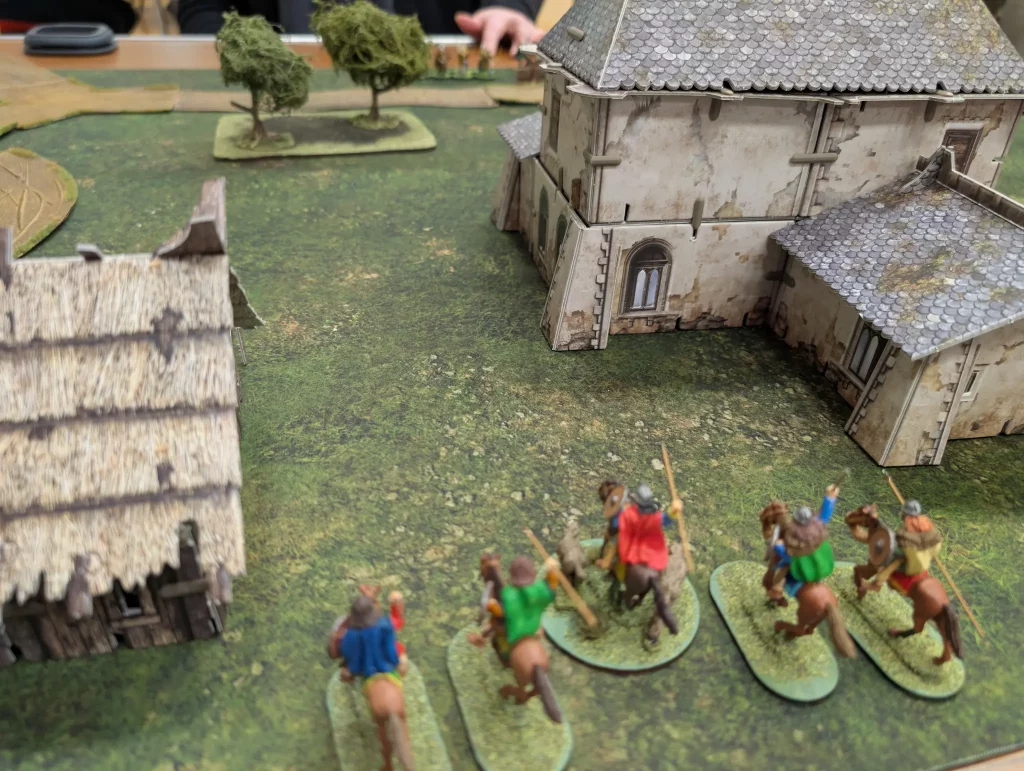
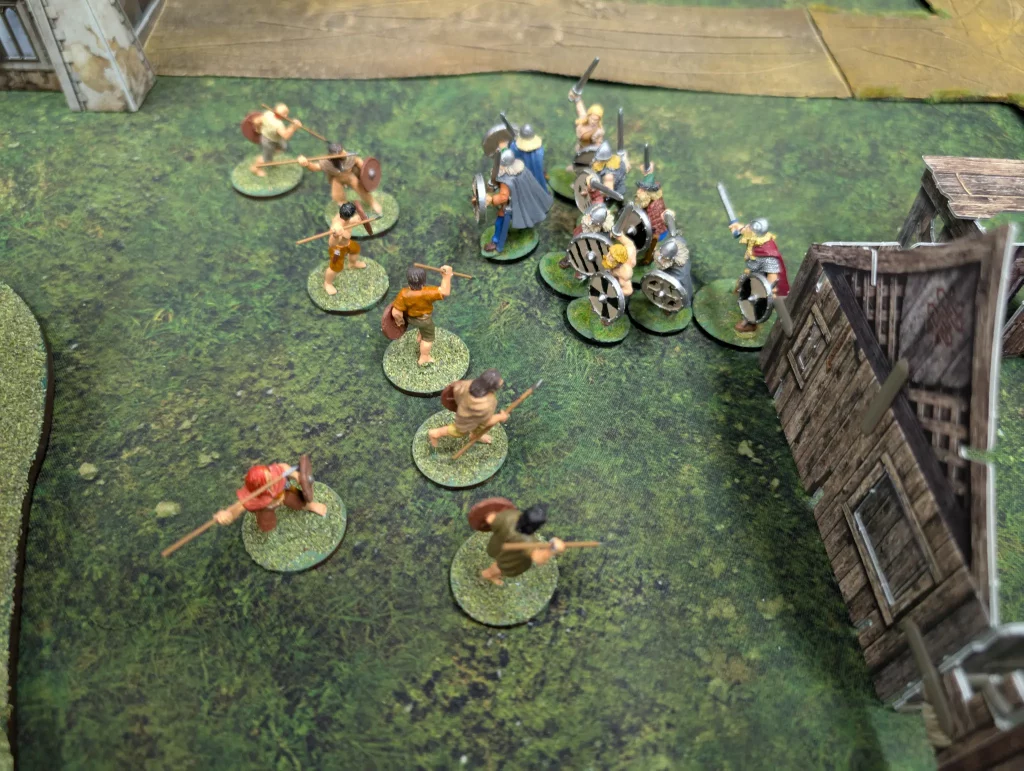
The Irish went first, and I started with moving my cavalry out along side the chapel. At this point I realised that I’d forgotten to bring the tokens that I’d printed out, so had to resort to using coloured gems to mark who had activated that turn, and who was using prepared or aiming actions.
I was worried about the Viking archers, so tried to stay within cover. In hindsight, I probably should have been using double moves to get up quicker though. My javelin equipped kerns moved up through the woods to the right, but with only a 9″ range on their javelins, no targets were within range.
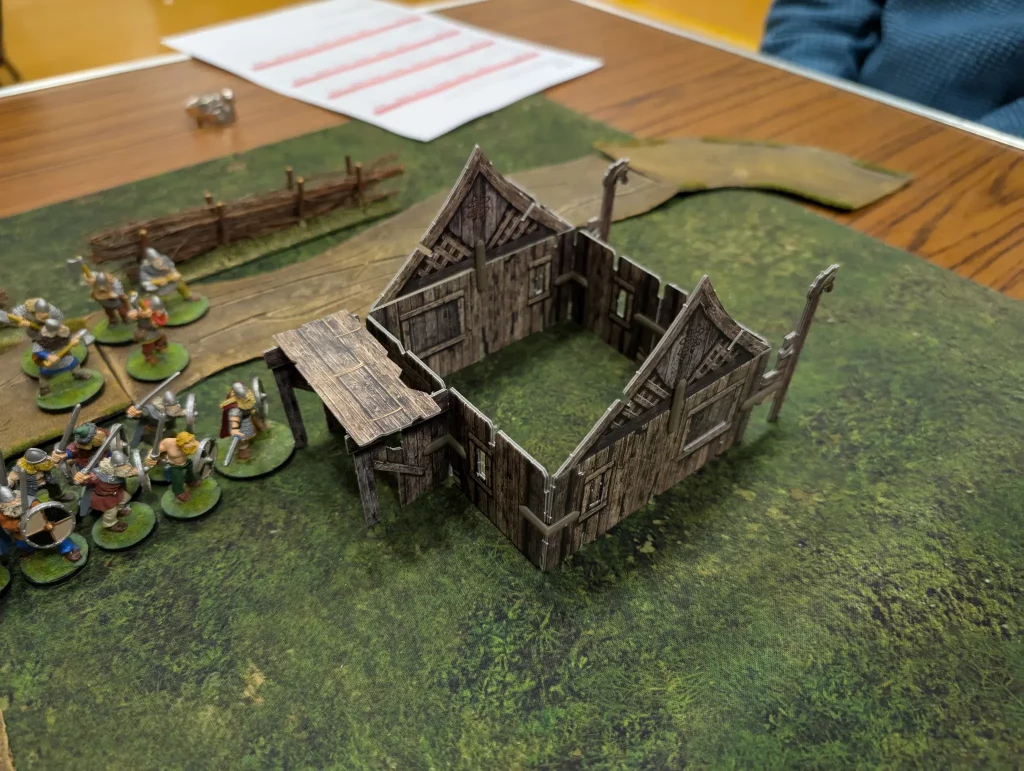
The Vikings mostly tried to keep together in a tight formation, with their archers staying behind a fence.
Turn 2
The Vikings got the initiative, and decided that they wanted to burn down one of the houses. We decided they could try, and would succeed on a roll of 6. They rolled a 6.
My kerns continued to move up through their woods, whilst my cavalry kept behind the other woods. It’s at this point we checked the rules and couldn’t find anything that said that woods block line of sight. You get -1 for firing at targets within a woods, but nothing says you can’t shoot through a wooded area at targets on the other side. This seems odd, so I assume that we’ve missed something.
In this turn I decided to double move my cavalry along the road, to get to the archers as quickly as possible. Moving along a road gives you a small extra boost to movement.
The Viking raiders were also moving around the side of the burning building, presumably to hit my kerns from the side. Note that movement alternates between the two armies, so a Viking moves, then an Irish moves, and then back to Vikings. The exception is when a Hero gives an order, and then all figures within 6″ of them can perform the same action (such as a move or charge) in one go.
Turn 3
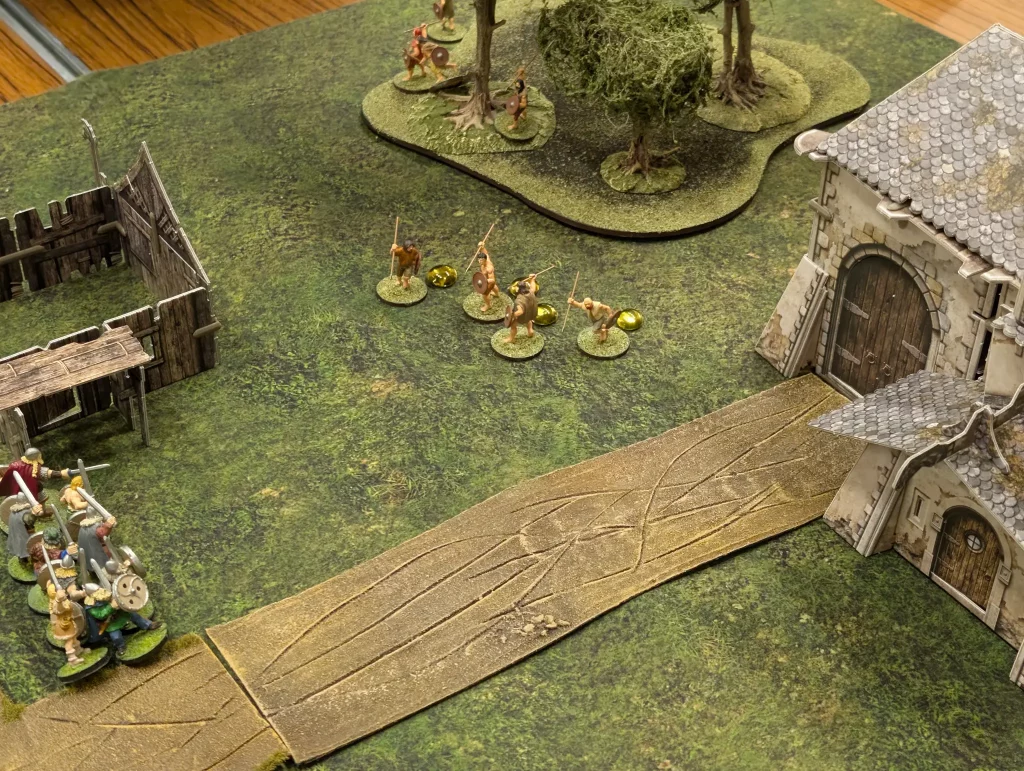
In this turn, the javelin equipped kerns came out of their woods and started hurling their javelins at the Vikings. We got some hits, but no kills. I wanted to try and keep out of charge range. In Brethren, you can’t measure distances before activations, and a charge gives a +1D6″ to movement. This makes it a bit risky to do a charge if you’re not sure whether you can make it or not. If you charge and fail, you also get a penalty if you are counter-attacked.
As my cavalry came along the road, one of them took a few arrows and was slain. Cavalry take two wounds to be killed, so are a bit tougher than infantry.
The Vikings were also recalling their heavy infantry at this point, having previously been sending them around the other side of the (burning) building. With the Vikings all close together, they were going to be a tough nut to crack.
Not liking the look of the Irish kerns, the Viking hero ordered his warriors to charge at them with him. They rolled at 1 for their charge distance, and failed their charge, stopping just short of the Irish.
The Irish really needed to win the initiative at this point. It would give them a small advantage in shooting at the Vikings and running away.
Turn 4
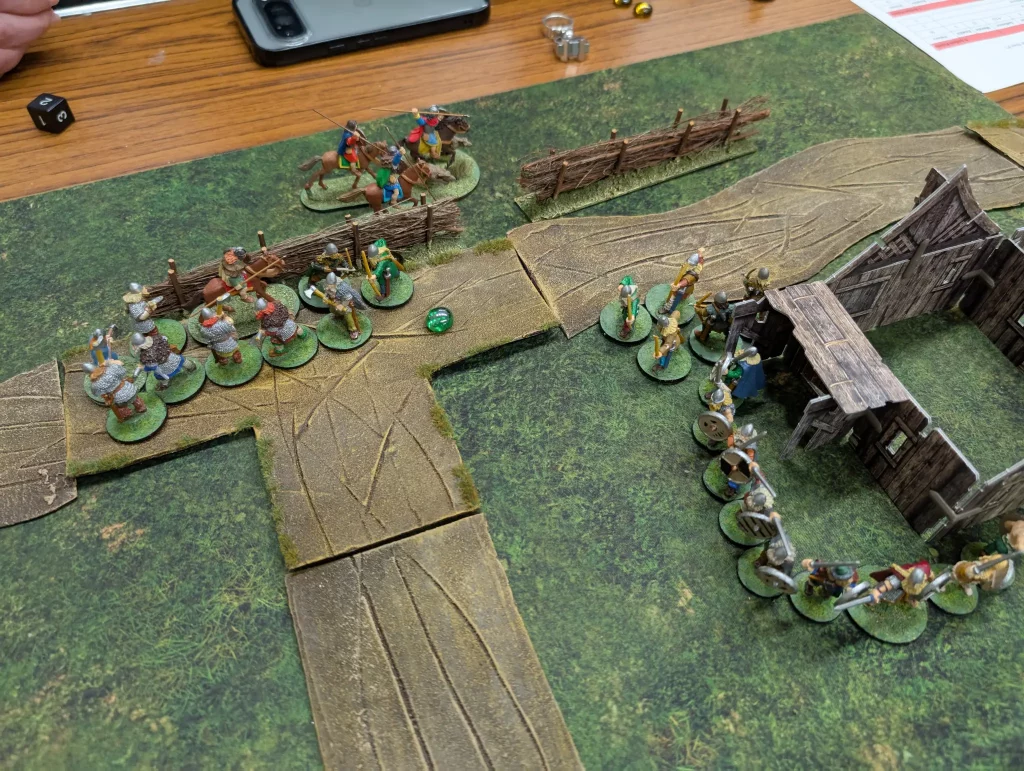
The Vikings got the initiative. Since they were within 3″ of the enemy, they couldn’t perform a charge. So the Vikings started moving up figure by figure. Not charging, but just moving into base to base contact with the enemy to prevent them running away. The Irish tried shooting and moving back, but weren’t very successful at killing the Vikings.
There is a tactic of a figure moving up to be in contact with two enemy figures. This locks both of them from moving until the Combat Phase. You can then bring up a second figure later to balance out the odds. This made it quite easy for the Vikings to pin down by Irish before they could run off.
It was at this point that we realised that we’d forgotten the morale check at the end of the previous turn. The Irish had lost the turn, since they’d taken more casualties (1). The Viking warlord got to designate an enemy unit within 6″ and force a morale check, so we did this now.
I needed to roll 8 or less on 2D6, and rolled a 9. So my Kerns had fled the battlefield (a mistake, as it turned out) and we needed to unwind the movement of the Vikings. Instead they formed a shield wall.
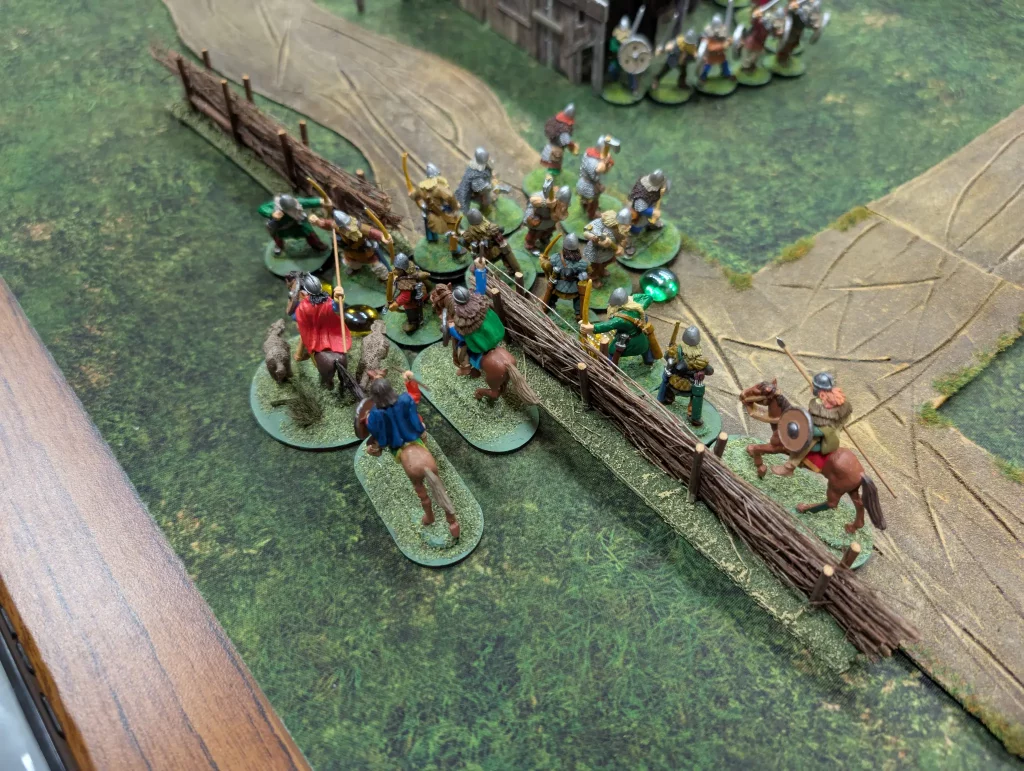
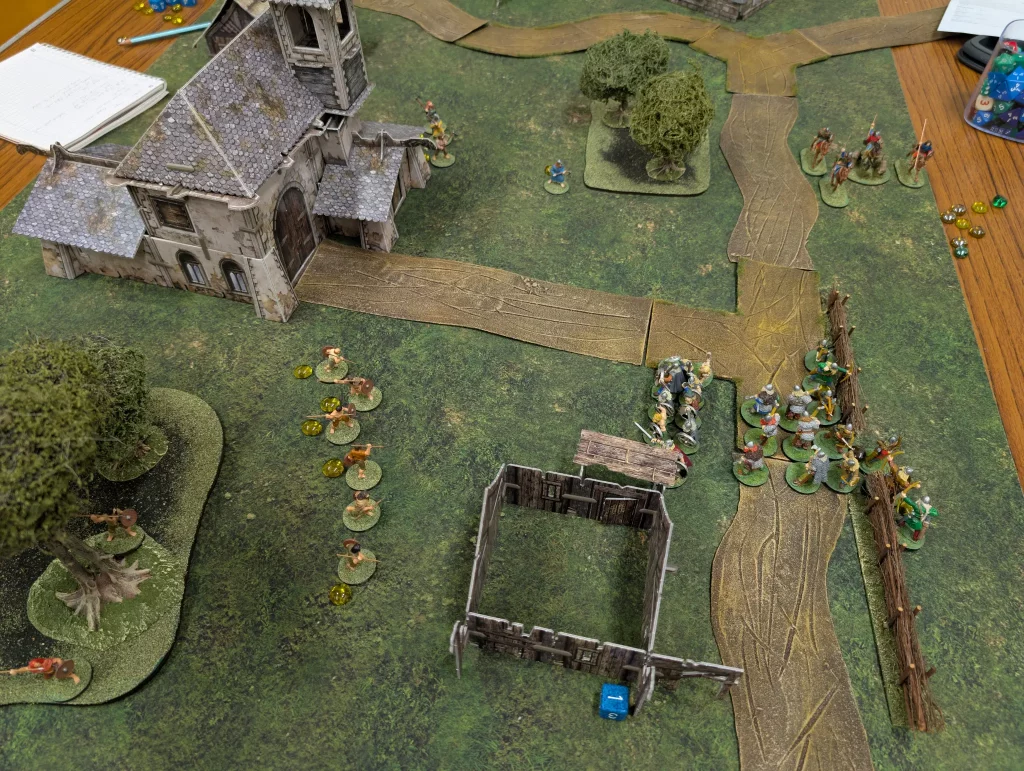
Meanwhile, the cavalry charged what they could see of the archers. They could barely get in contact with them, which was bad from my perspective because the Viking raiders could then move in and surround my cavalry. Those Viking archers that couldn’t get into the melee action, took shots at my nobles on the road, and killed all but one of them.
What was left was going to be one big melee. My hero quickly made short work of the single archer that he and his companions had pinned down on the other side of the fence, but on this side there were going to be two battles.
This is where we ran into problems with how to determine who attacks whom.
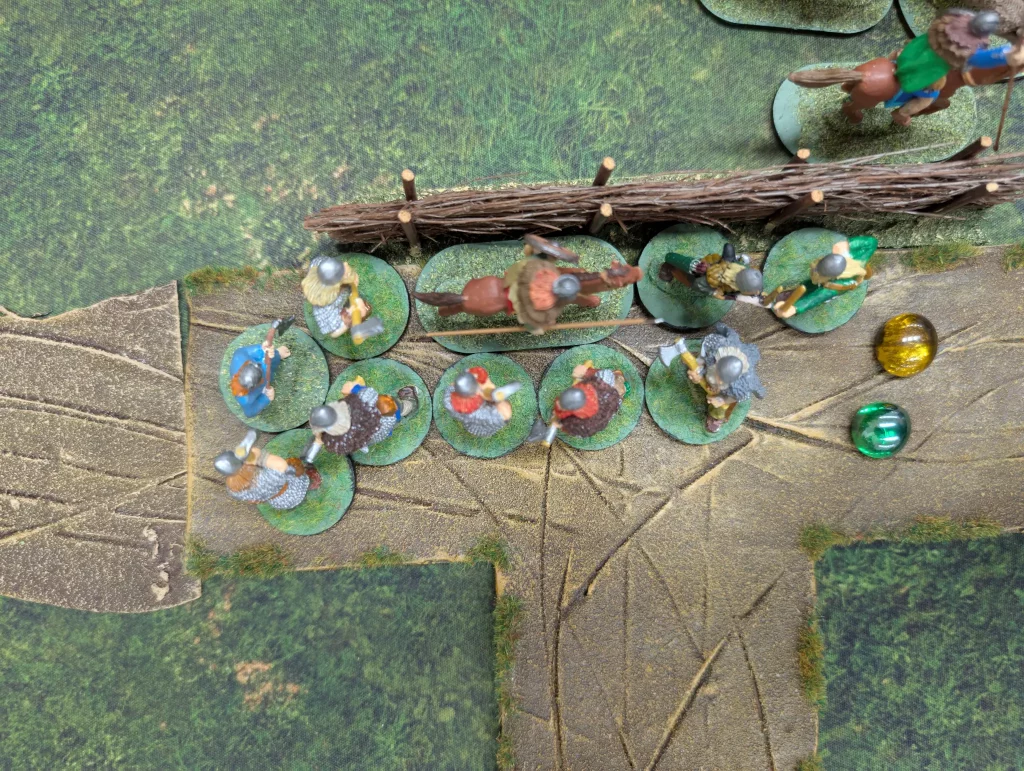
First we did the noble infantry. He had a great axe, plus had charged, so had 5D6. The Viking he had charged, had charged the cavalry, but was now fighting the infantry. So he had 5D6 since he had a great (Dane) axe as well. The other two Vikings both had Dane axes, and had charged, so had 5D6 each.
This is where the complexity of who fights who comes in. Of the three Vikings surrounding the Irish infantry, they could all fight the infantry. Or one of them could fight the cavalry, and another could support the guy behind him fighting the cavalry, leaving just one Viking against the infantry. Who gets to decide that? And why?
Presumably, if you’re in base to base contact, you must fight and can’t support someone else. The rules just say that if you’re in base to base contact you must fight, but it doesn’t say who you must fight.
At the point of writing this, I realise we also forgot that the Vikings should have been re-rolling an Attack die when using their Dane axes. This is an ability from the Vikings army list.
So it was 5D6 for the Irish, against 15D6 for the Vikings. Both sides roll, and whoever gets the highest dice result wins (if the Irish rolled a 2, 3, 4, 4, 5 on their dice, then their highest result is 5). The Vikings ended getting a single hit, and slaying the Irish noble.
For the cavalry, it was again 5D6 for the Irish, and against 12D6 for the Vikings (fewer figures in base to base contact, the rest supporting). The Vikings again scored a single wounding hit, forcing the cavalry to fall back.
Except he couldn’t fall back since he was surrounded and up against a hedge. So we immediately fought another around of battle, with the Irish suffering a penalty due to being desperate. This time they were wounded again and killed.
It was the end of the turn, and time for a morale check. The Viking hero though was far away from any enemy units, so couldn’t force a morale check on anyone.
And at this point I realised we’d made another mistake. We are so used to playing non-skirmish games, that the term ‘unit’ means “group of figures” to us. In Brethren, a unit is (normally) a single figure. When the kerns had failed their morale check, I’d made a single roll for all the kerns, treating them as a single unit.
However, they weren’t one single unit. They were eight units, each of one figure. It shouldn’t have been one roll, but eight different rolls. Most likely, only a couple of kerns would have fled. Confusing the meaning of the term ‘unit’ is something we keep doing in this game.
This was going to be difficult to unravel, and we decided against doing so. The Vikings would probably have moved into combat after all, and would have had the advantage.
With most of the Irish army killed or fled at this point, there really wasn’t much point in continuing. The Irish hero would leave the field of battle, allowing the Vikings to burn and plunder.
It was a shame we never really got to use the buildings at all. The Vikings staying back meant the Irish had to leave the vicinity of the Chapel, so we didn’t have a room to room fight there. The Vikings also burned down the one building they were close to. We probably need to come up with something about being close to a burning building.
Though the game is about moving individual figures, keeping a group of figures in close formation gives a really big advantage when it comes to melee. This means that we’re not really seeing figures breaking off individually. The Irish did (otherwise there wouldn’t have been much of a fight since the Vikings weren’t being aggressive), and they got picked off quite easily.
I’m not quite sure how to force splitting formations up to make use of the skirmish aspect of the rules.
But it was an interesting game, and I’d like to play it some more.