The Goths are Here
Saga Age of Chivalry came out near the start of the year, which was an opportunity to get into playing some Hundred Years War battles. I barely have armies of this period though, and apart from a few units of Archers I’d painted in the preceding months, I was mostly reliant on some ‘fantasy’ units I’d been using for Age of Magic: Great Kingdoms.
I’ve managed to paint a few infantry units for the English since then, but I’m currently limited to just English and French – some Free Companies units I have on my painting table are still waiting to be finished. So I haven’t done as much of this as I’ve wanted to, which means we’ve been more focused on other periods and games.
I’m also looking to try out a Limes campaign for Age of Invasions. Which means I need a ‘barbarian’ horde. I was thinking of Saxons, but they are actually my Anglo-Saxons, which are really repurposed Vikings. Wanting an army that was a ‘clean’ set of figures, I was thinking of getting a Pictish army, since the concept was interesting. Finally though, I decided to go for a Goth army. This would give me something which wasn’t centred on the British Isles, and slightly different to what I already had.
But I have no time to paint another army (trying to get my Free Companies done, finishing off some extras for my Irish, have unpainted Undead and Hordes figures as well still to do). So I decided to outsource the problem. I found a random person on BlueSky, and after a few weeks, I now have a new war band of Goths!
So tonight was Goths v Romans. My partner hasn’t played the Romans before, but has fought against them. The Goths are new to both of us, so it was going to be interesting to see how they fared. Looking at the Goth battleboard – it looked like it was going to need some careful combinations of abilities to play well, so I wasn’t surprised to see that it was also one of the most complex of the Age of Invasions factions. I wasn’t expecting to do well, but I was hoping that it was going to be interesting.
The Romans consisted of:
- Warlord on foot
- Hearthguard infantry
- Warriors with bows
- Warriors with spears x2
- Levee with spears
- Levee with javelins
For the Goth army, I went for the Ostrogoth list, and had:
- Mounted warlord
- Mounted hearthguard x2
- Mounted warriors x2
- Warrior infantry
- Levee with bows
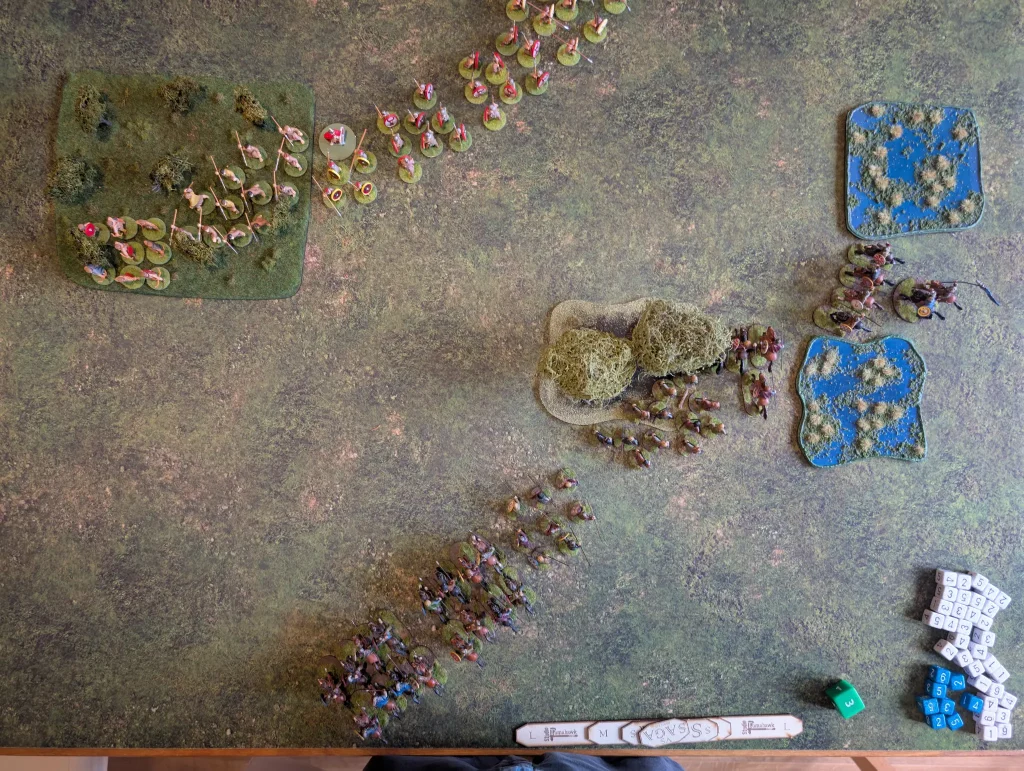
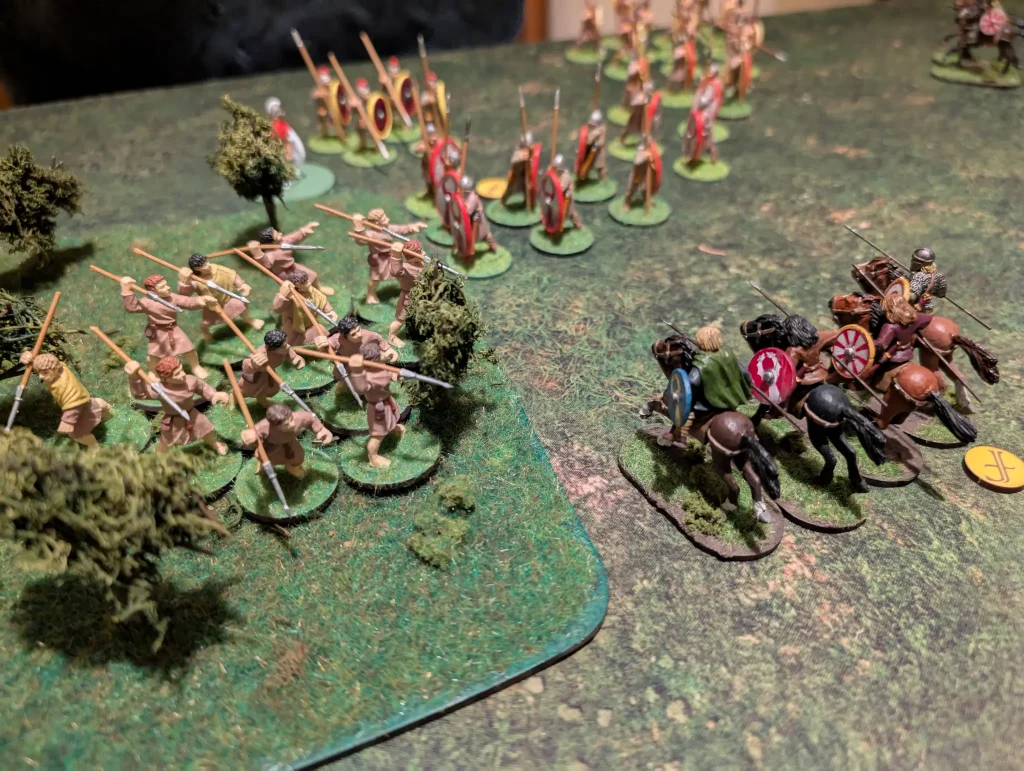
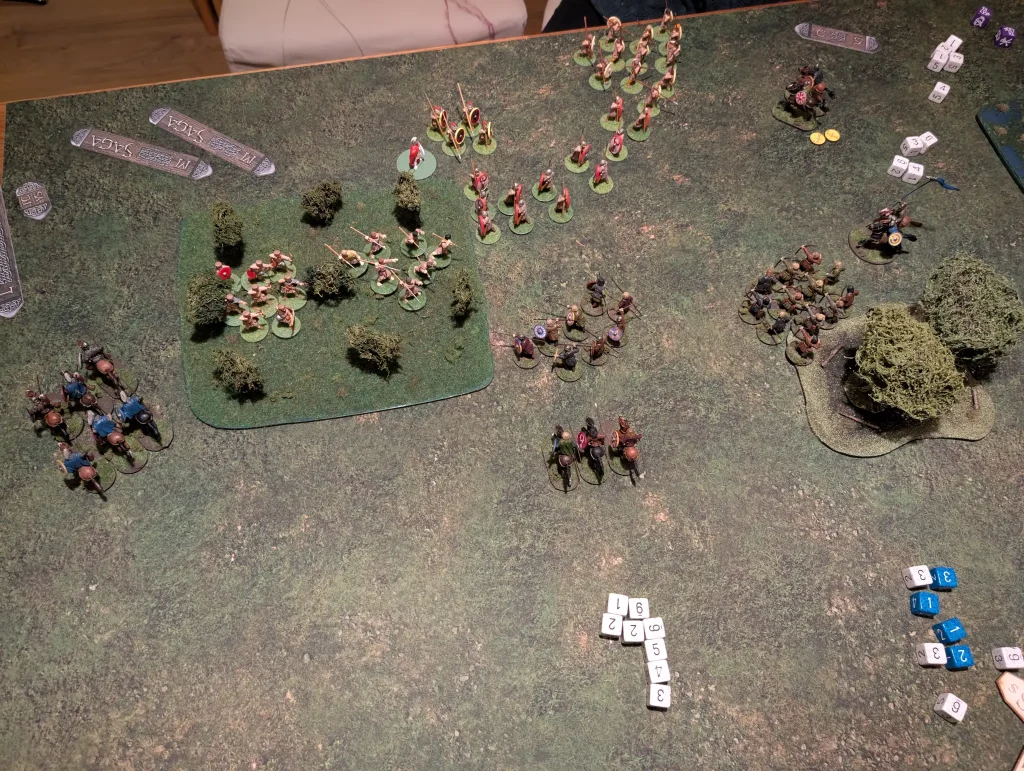
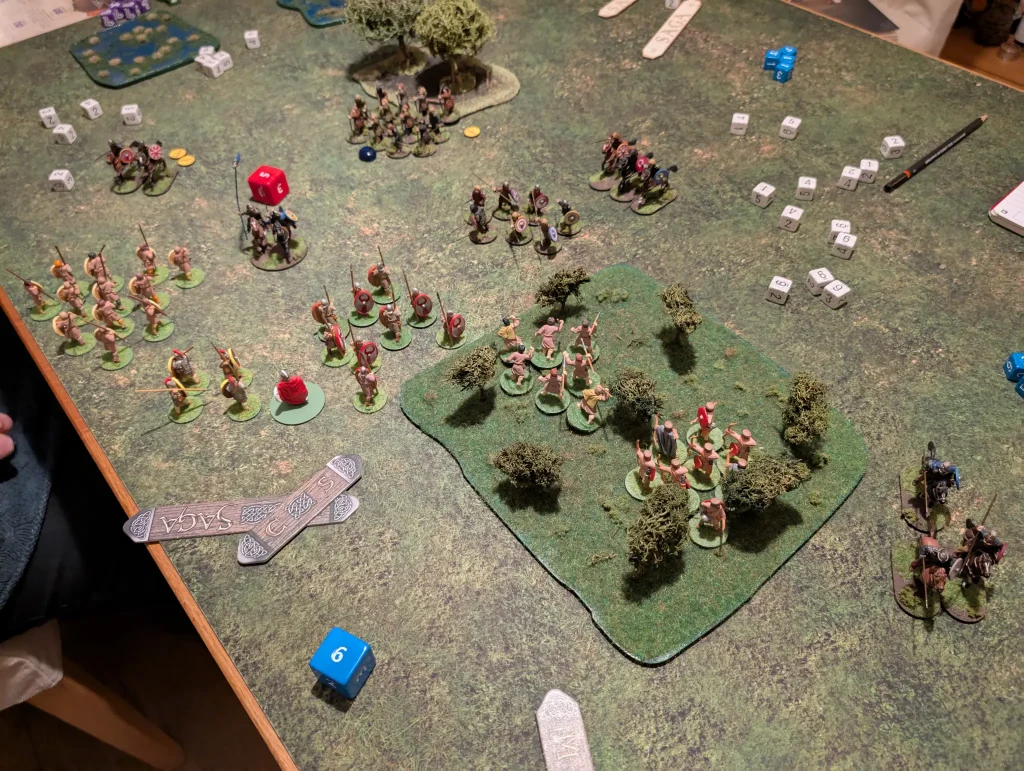
We went for a straight forward basic scenario, though the deployment we rolled was a diagonal line across the table. My choice was either start in the marsh, or face the Romans in the rough ground. Rough ground really isn’t great for horses, so the Goth warlord set up his heavy troops near the marsh, but ready to break out into open ground.
Turn 1
The Romans started by making a careful tactical movement towards the rear. They were obviously going to be defensive for this game, and have formed a solid line which was going to be hard to beat. Most of their saga dice when onto battle board abilities.
The Goths opened by moving forward what they could. They had a non-obvious battleboard, since lots of the abilities give you fatigue, or given you bonuses based on fatigue. So you want to be fatigued, but not too much because then you either become exhausted or get crippled in battle.
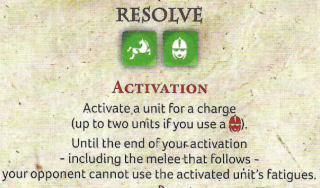
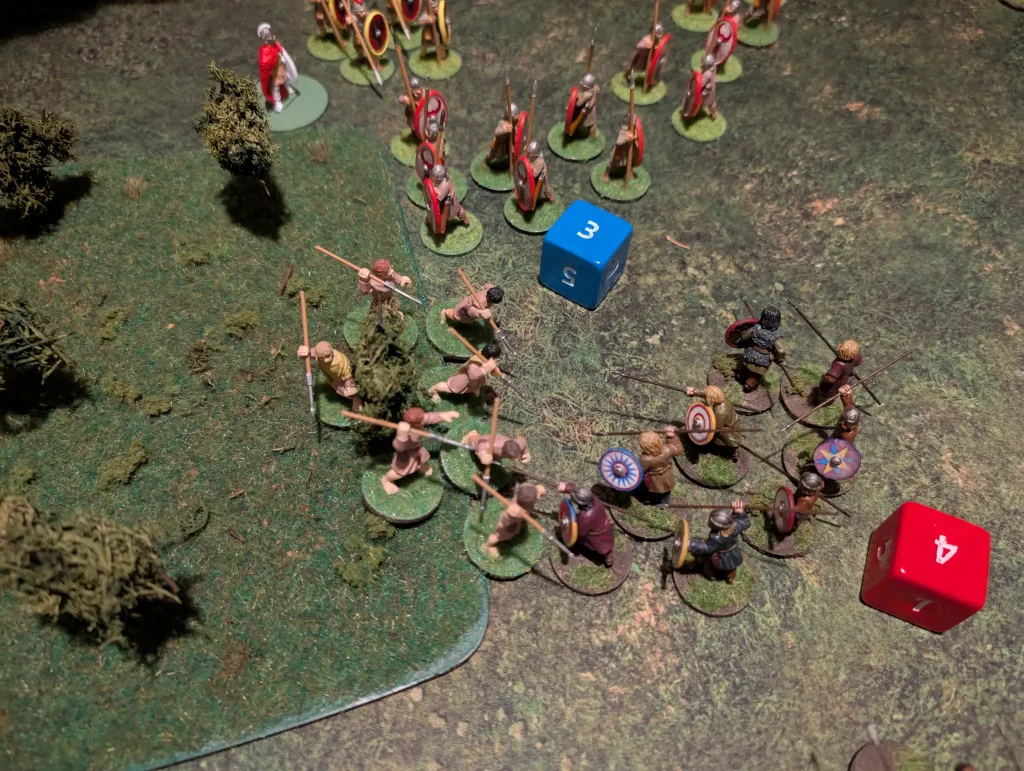
On turn 1, a unit of Hearthguard was able to charge the levees on the far flank. I was hoping to kill a few and push the unit back to break their flank.
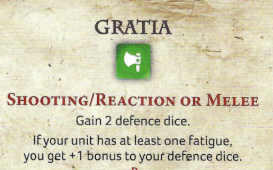
The Goths used Immunity and Gratia to try and make sure that they didn’t get wiped out by a unit of grotty levees. With 8 attack dice, they were confident that they’d kill some levee and force the unit back.
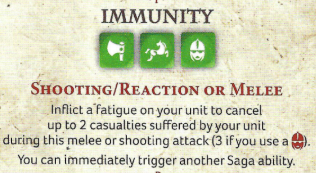
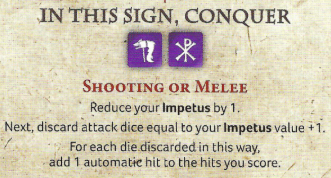
The levees had closed ranks though (halving their attack dice from 6 to 3), and then used Ardour and In This Sign, Conquer. This boosted their attack dice back up to six, and gave them some automatic hits. My hearthguard also now had two fatigue (one from the extra activation, one from Immunity), so their armour got lowered by the Romans to 2.
The result was no kills on either side. So my Hearthguard fell back, unable to break through. This was a harbinger for how the rest of the battle was going to go. Throughout the battle, the Romans would end up using a lot of Impetus, spending dice to ramp it back up after doing so.
Turn 2
At the start of the Roman turn, the Goths used Weregild, which causes their opponents to take fatigue whenever they use my fatigue. I should have used it in turn 1, but had decided against it.
The Romans used Combined Formation to make shooting attacks through friendly units, but fortunately without much effect. However their spear levee used Plumbatæ to attack my hearthguard. Along with another invocation of In This Sign, they killed two of them.
The Roman archers in the rough ground then shot again, killing two of my mounted warriors.
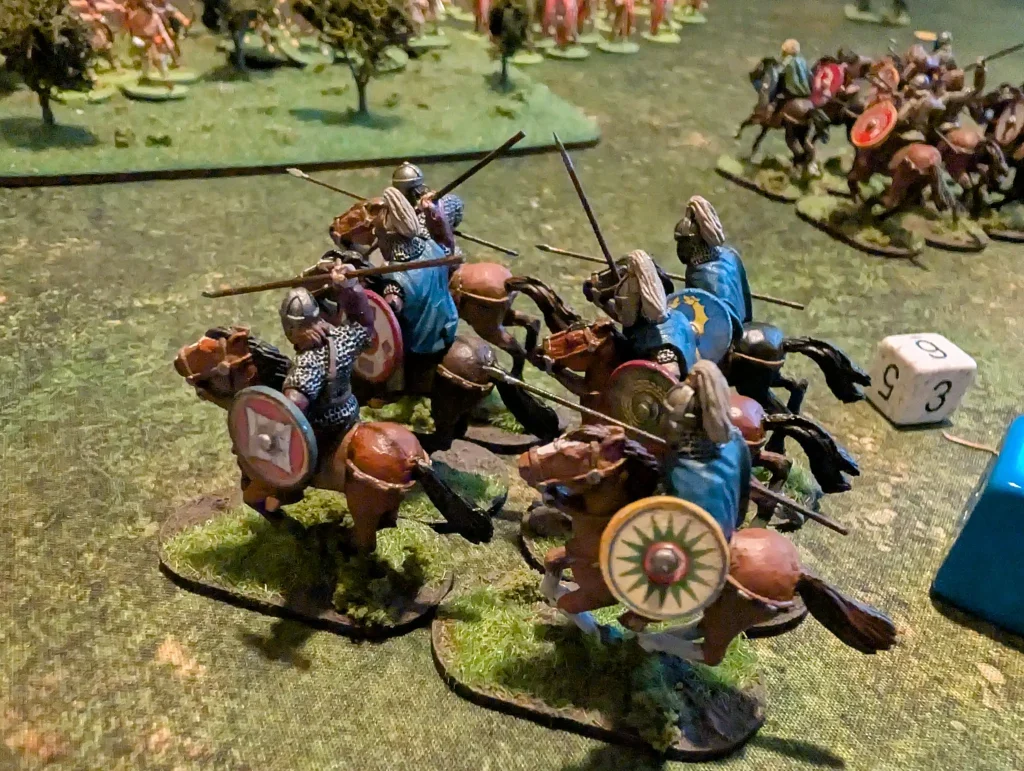
On the Goth turn, it was time to try out Resolve, activating two units and not permitting my opponent to use our fatigues. My heartguard on the right flank (now down to two), charged again. Again, the Levee closed ranks and there were no kills on either side.
My second unit to activate was another unit of mounted warriors. Having lots of mounted units really helps with manoeuvrability. However, it does mean that they have lower armour.
I charged one of the central units of warriors, and we both got a kill after the Romans closed ranks. Since the Goths were the attackers, I had to fall back. I’d used First Blood (a couple of extra attack dice since I had no fatigue), and the Romans used Limes to get a bonus to their defence due to being near friendly units.
The Romans have a lot of good abilities that allow units to support each other. The Goths have abilities around the manipulation of fatigue. It was turning out to be tricky to chain the Goth abilities together to make best use of them, since this seems to be how they are designed.
At this point, I had a spare Saga die sitting on my Hearthguard activation ability. It should have been put on my Warriors activation, since I was wanting to move my mounted warriors around the left flank of the Romans, to threaten their warlord from the rear. I compounded this mistake by deciding to activate my Hearthguards, even though I had no other Saga dice on my board.
My fresh unit of Hearthguard charged in against another Roman unit. They got two kills, but took three casualties themselves. The Goths were taking a lot of casualties, and not inflicting much on the strong Roman lines.
Turn 3
The Romans start their turn with Signa, allowing them to activate two units for a rest. They then used Plumbatæ on my lone hearthgurd, killing him off. The levee and warriors in the fields use a number of attacks against my mounted warriors. Javelins, Combined Formations, and then a charge from the levee whittle my unit down to four horses.
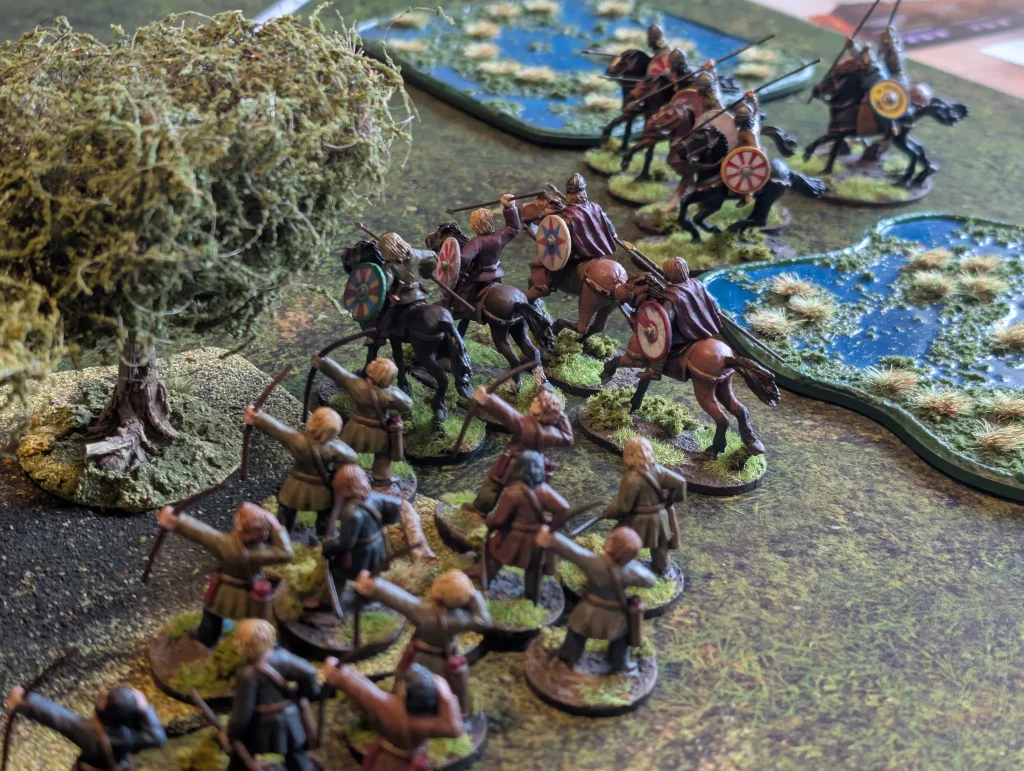
The Goths rest their unit of exhausted Hearthguard, and the Warlord uses We Obey to get the archer levees to finally make shooting attacks from the centre. I’ve been moving them forward slowly, but with the Romans falling back at the start they haven’t been sufficiently in range.
The levees kill a single warrior. My horse on the left flank finally gets a move action, and starts heading around the side of the table, avoiding the field.
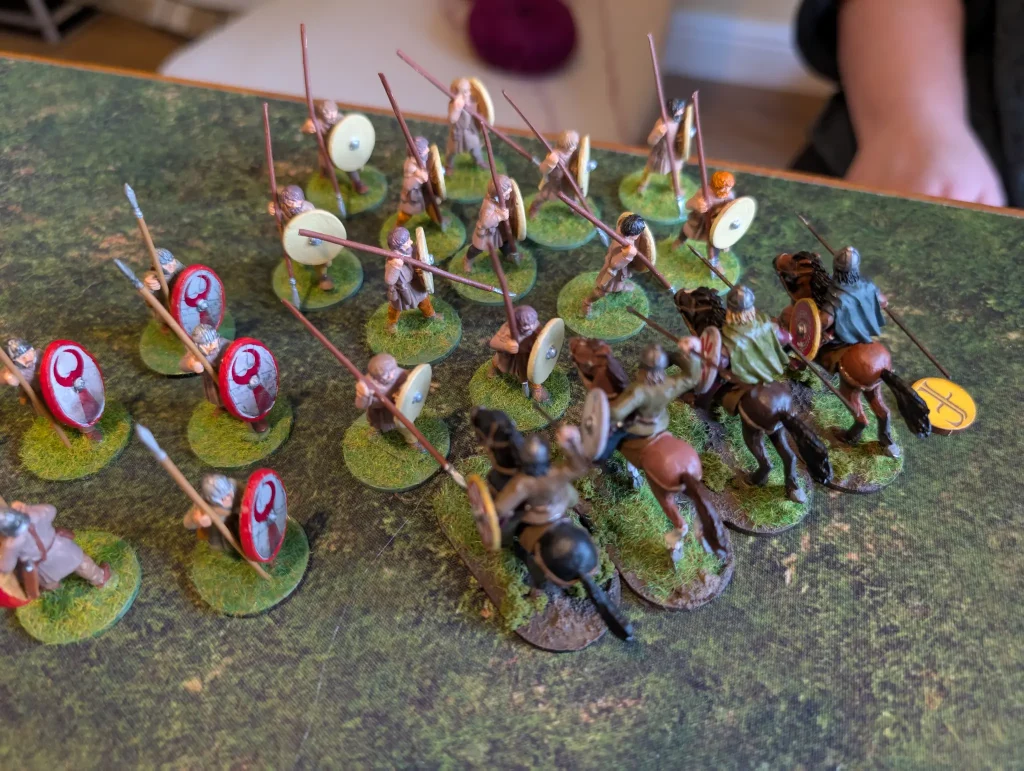
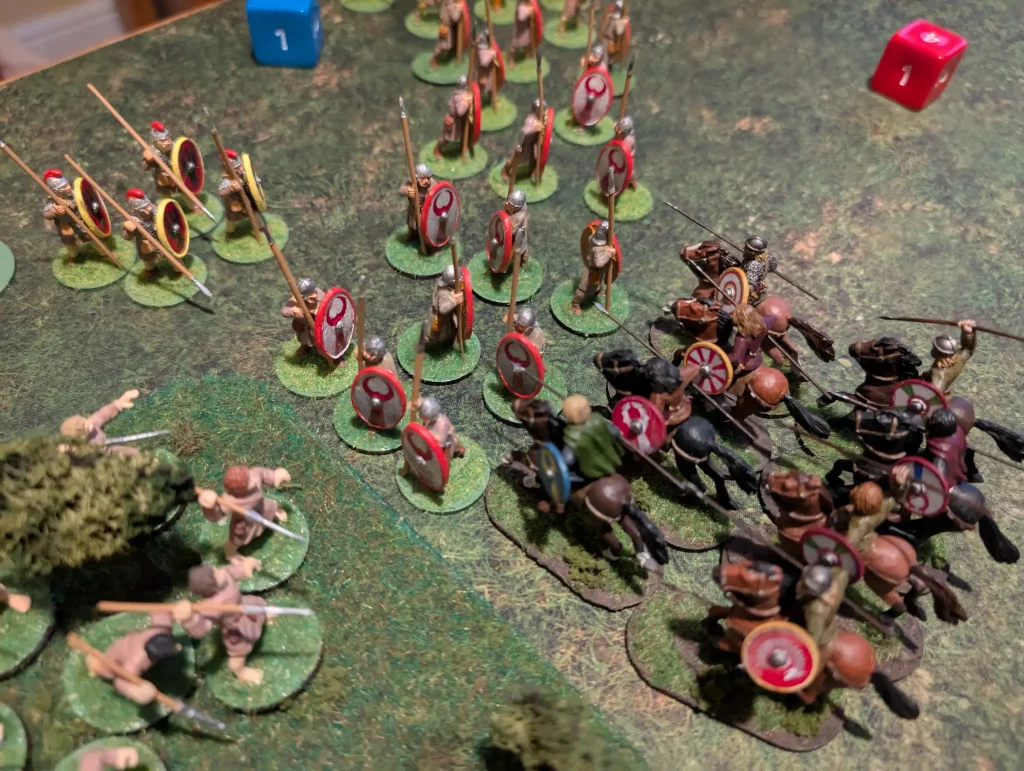
My warrior infantry charge in, attacking the levee who came out of the field. We kill five of them, and they are forced back into their field. With the use of Immunity, my warriors don’t take any casualties.
It’s the first real successful attack of the day for the Goths, though I did forget to move my Warlord somewhere safe.
Turn 4
The Romans start the turn with a javelin attack against my infantry warriors, killing one of them. Then they make a second (free) javelin attack getting a second kill.
An attack on my remaining Hearthguard fails, but the archers take out three of my mounted warriors on the left flank. With just 3 warriors left there, I don’t have much to threaten the Roman warlord at the rear with. The Romans do shuffle their rear units around them for better defence, and better support of their front ranks.
For the Goths, things aren’t looking great. I’m now quite outnumbered, and there doesn’t look like there is much chance of winning the battle. I decide that I’d be better off going out with style, so put the few remaining Saga dice I now get into supporting an archer volley, and then an attack on the Roman ranks by my Warlord.
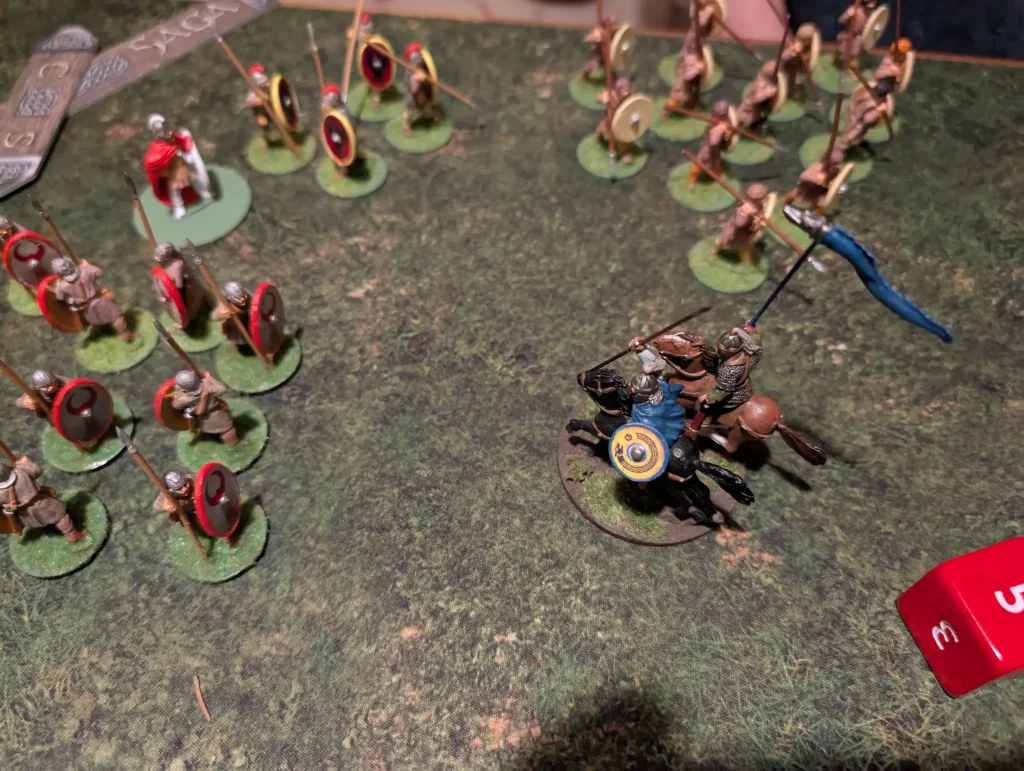
Rather than combining both against one unit, I kill two of the warriors from one unit with my archers, then my Hearthguard goes in.
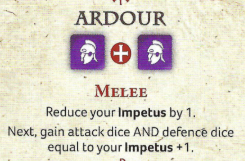
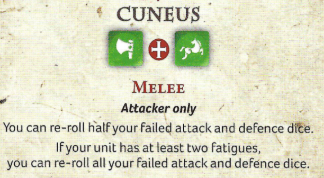
The warriors close ranks, and I use First Blood to give me extra attack dice. They use Limes to bolster their defence. Then I chain Immunity (+1 fatigue, plus cancel casualties), Attack (+1 fatigue, +2 automatic hits) and Cuneus (allowing me to re-roll all failed attack and defence dice).
Both Immunity and Attack allow me to immediately take a second ability before the opponent has a chance to use my fatigues (and therefore preventing the full use of Cuneus). However, it does allow the Romans to use my fatigue at the end, cranking their armour up to 6.
After all that, I roll poorly and get zero hits. Back I re-roll everything… and get only 3 hits which gets reduced down to a single kill. I cancel all the hits against me, so the warriors are forced backwards.
This is where the chaining of abilities is so important with the Goths. Yes, the abilities are nice, but they give me fatigue which the opponent can then use to raise their armour or lower mine. Unless I start things off with something that prevents my fatigue from being used, the cost of taking fatigue cancels the bonuses of the abilities.
At this point I considered it a loss for the Goths. I’d finally broken through the Roman lines, but they still had plenty left to defend with, and I didn’t much much left to push the attack. My warlord wasn’t in a great position, with three units plus an enemy Warlord able to attack him.
So we finished the game at the end of turn four, with a victory to the Romans.
However, it was an interesting game. I had a new army to play with (which I hadn’t needed to paint), and one of the more complex battleboards from Age of Invasions to try to get to grips with (both the Goths and Huns are listed as 3 stars (out of 3) in complexity, the Romans are 2 stars). Maybe I should have gone for Picts (1 star), but it was good to get something different on the table.
I really do like the paint job that Zoë did on the Goths, and I’m tempted to expand them a bit. With a few more infantry, I can use them as Visigoths (same battleboard, just warriors have to be infantry). With a few more horses (they have no infantry warriors) I can use them as Lombards for Age of Vikings.
I could also get some Cataphracts (heavy horse armour) to give me some extra options. Extra archers to try and soften up the Roman lines might also be useful.
On the Roman front, the Manubalista (it didn’t get used in this game) might be useful to deter barbarians hanging back and trying to use missile fire. Levees with spears are really good defensive troops, so maybe another unit of levee as an option. I do need to get my Roman infantry warlord fully painted (he’s currently half painted). Initially, I was focused on cavalry for the Romans when I started on the faction, but infantry probably work better when they are being defensive.
We’ll probably have another game of Goths and Romans at some point, when we’ll hopefully have a better understanding of how to use the battle boards.