Forced March
Our wargaming this week was back to Saga: Age of Chivalry, a game we’ve only played a few times. Once again it was French v English, with the French taking a slightly different arrangement of figures. This time, they took a Cannon, and also a unit of Pavises and Crossbowmen.
We had a random Battle of Heroes scenario, getting Unknown Lands and Confusion. This meant we had little terrain (chosen by the French), and also another deployment along the diagonal. There was Cautious, which meant English went first, and Forced March which meant we could only move S in the first couple of turns. The victory conditions were Carnage, which meant points for figures that survived, plus bonus if you were more than L from our own table edge at the end of the game.
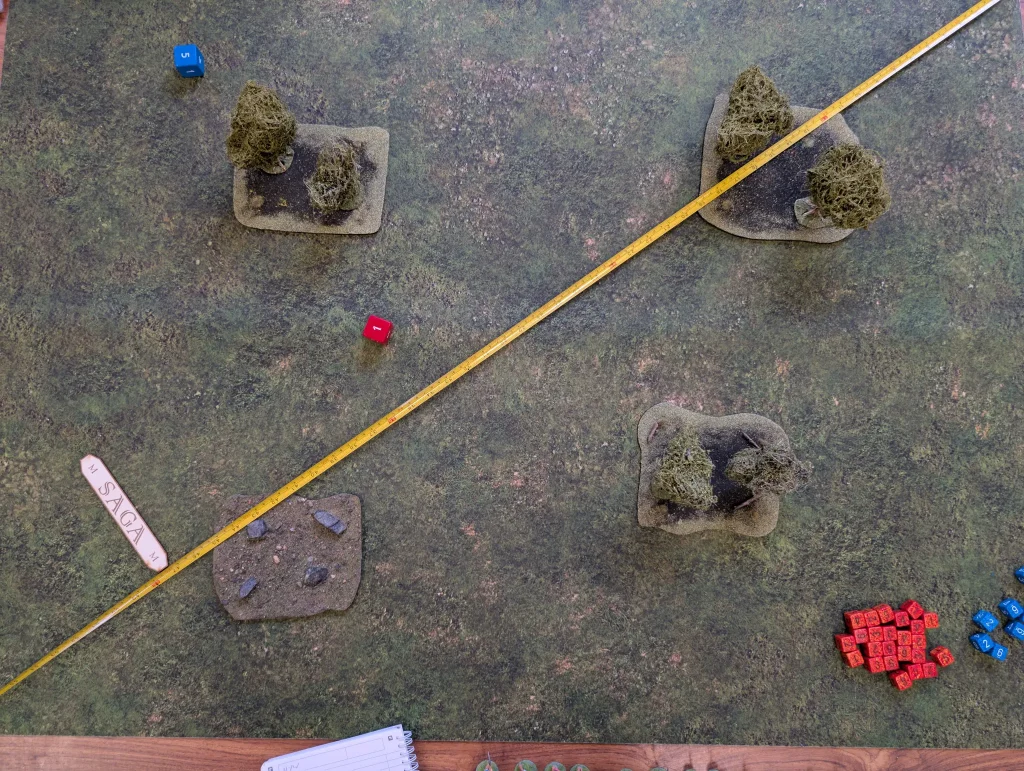
The problem with diagonal deployment, is that it doesn’t work great with a lot of the victory conditions which give bonuses for being at the far side of the table – since you can deploy at the far side.
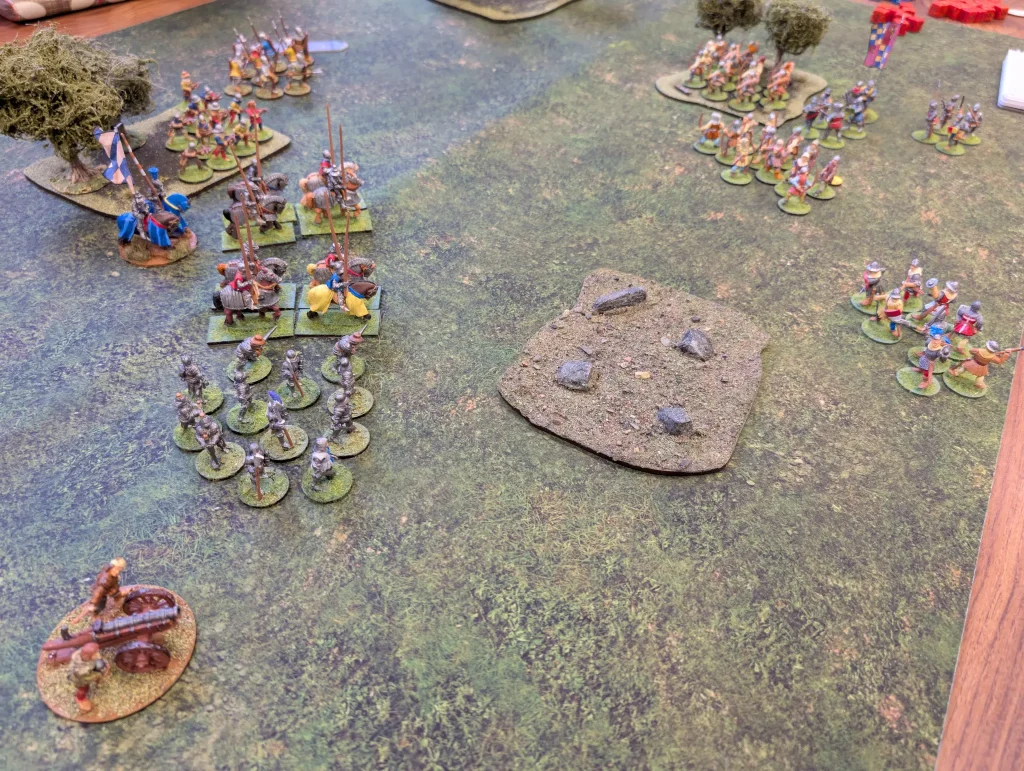
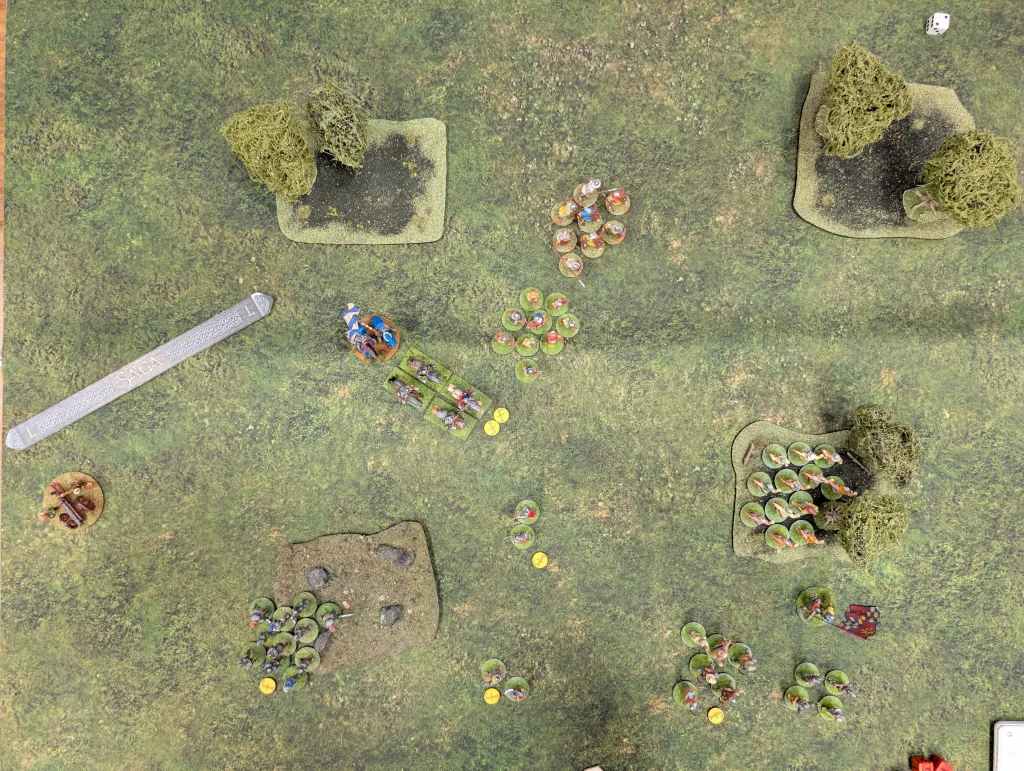
The French deployed on the West (left in above photo), mostly out in the open with lots of clear ground between themselves and where the English were likely to deploy. This immediately gave them lots of victory points (though they wouldn’t get them until the end of the game), since they started far from their battle edge.
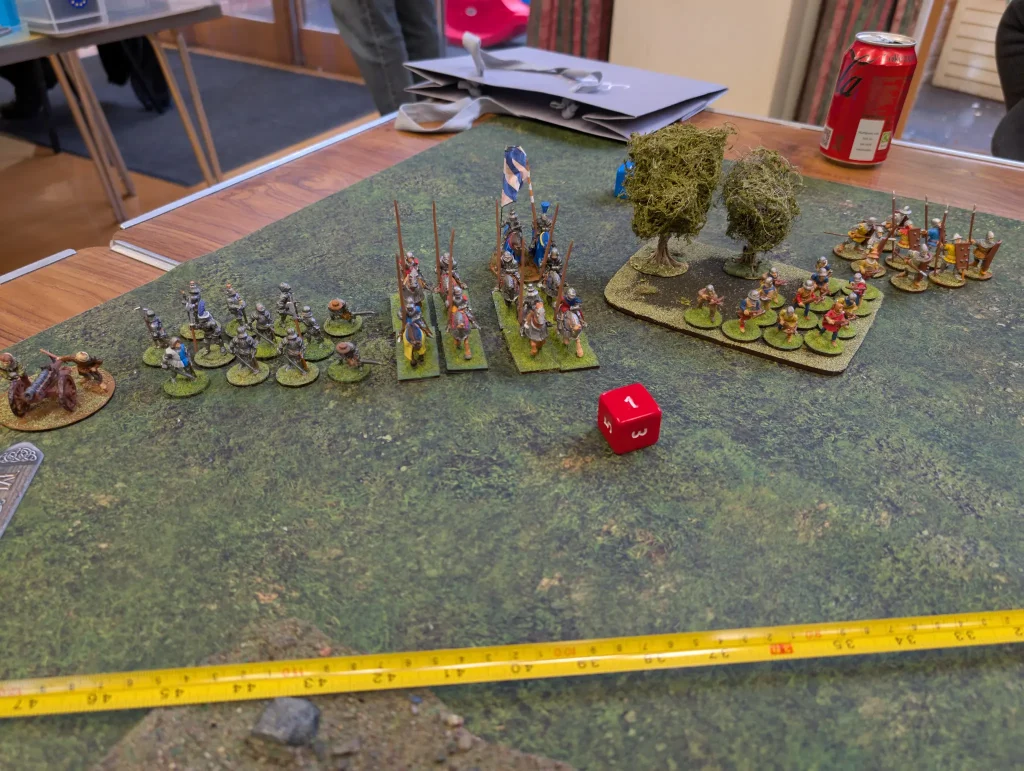
As well as their pavises and cannon, the French had a unit of 12 warriors, crossbowmen, and two units of mounted (unbarded) hearthguard.
The English could have deployed at the NE, but that meant I wouldn’t be able to deploy in the woods, since it was to close to the deployment line. It would also make for a very slow game if I deployed at that end. Whilst pondering this, I completely forgot about the Carnage bonus and deployed around the southern woods.
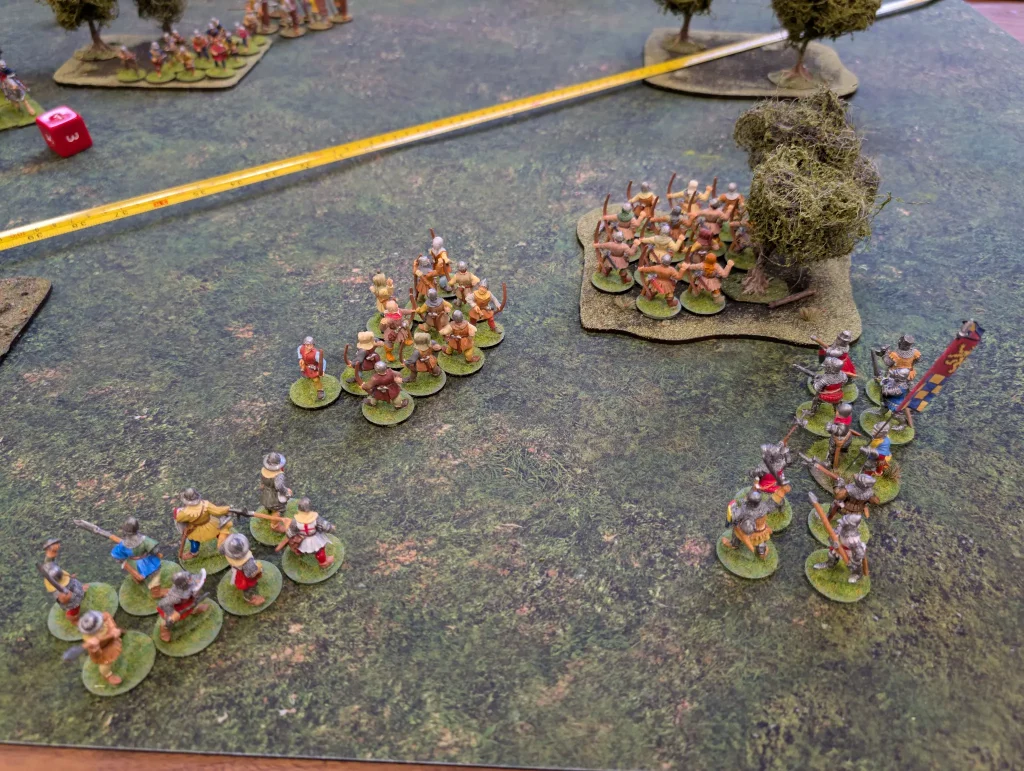
I had three points of archers, deployed as two units of twelve men; two units of hearthguards and a unit of foot warriors.
Turn 1
The English went first, unleashing volleys of arrows with Loose! which allows them to shoot at 2L range, but the targets get +1 to their armour. I got a single kill on the crossbowmen, and used Hail of Arrows to give one of their Hearthguard units a fatigue. I then used With All Haste to move my warriors along the back edge of the table. My plan was to threaten the French cannon.
In my first turn, I could only activate each unit once.
The French used Full Harness to give their hearthguard Resilience. They fired their Gonne, which did little more than smoke and noise, giving my archers a fatigue. Their mounted knights moved slowly forward, after taking a rest to remove the fatigue.
Turn 2
The English once again used Loose!, getting 3 hits and a single kill on the large unit of warriors, and 2 kills on the crossbowmen. The long range of the English archers is good, but the inability to concentrate shots on a single target (activate two units, but both cannot fire at the same target) means they aren’t hugely effective.
My warriors moved a bit further along the table.
The French again used Full Harness, and used their Gonne to inflict fatigues on the English warriors, and shuffled their units forward a bit more. This was the last turn where everyone was limited to moving S.
Turn 3
The English were now expecting the French to charge, so used Gruelling Advance to lay down spikes in front of their archers. This would give any units that crossed it fatigue.
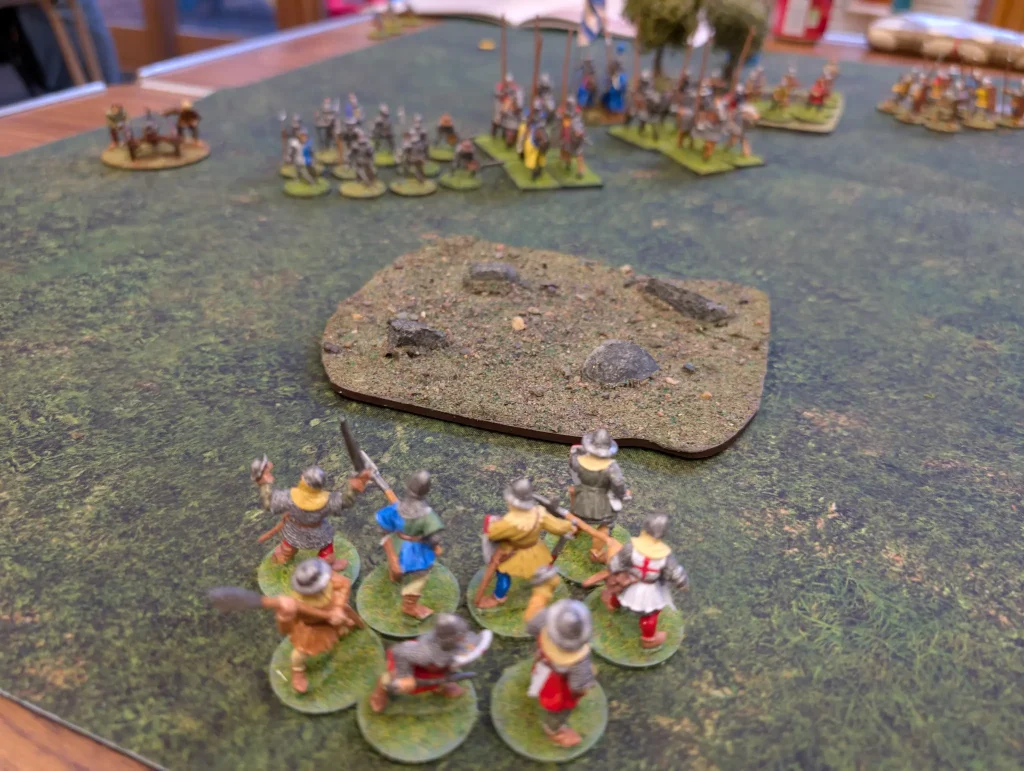
My warriors moved, but my opponent used their Fatigue to reduce their movement to S. So I moved them into the rocky ground, where I hoped they would have a better chance against the French warriors who were bearing down on them.
The French were now within reasonable range of my archers, so I switched to Wall of Arrows, getting 3 hits and a kill against one of the Hearthguard units. However, they used their Full Harness to convert the casualty into a fatigue. Against the other unit, I got a single hit (only a few of my archers were within range), plus used Hail of Armour, so together with their use of Resilience, they took two fatigues.

The French used We Obey to get one unit to rest, then Flying Wedge to activate up to three units for a charge with bonus attack dice.
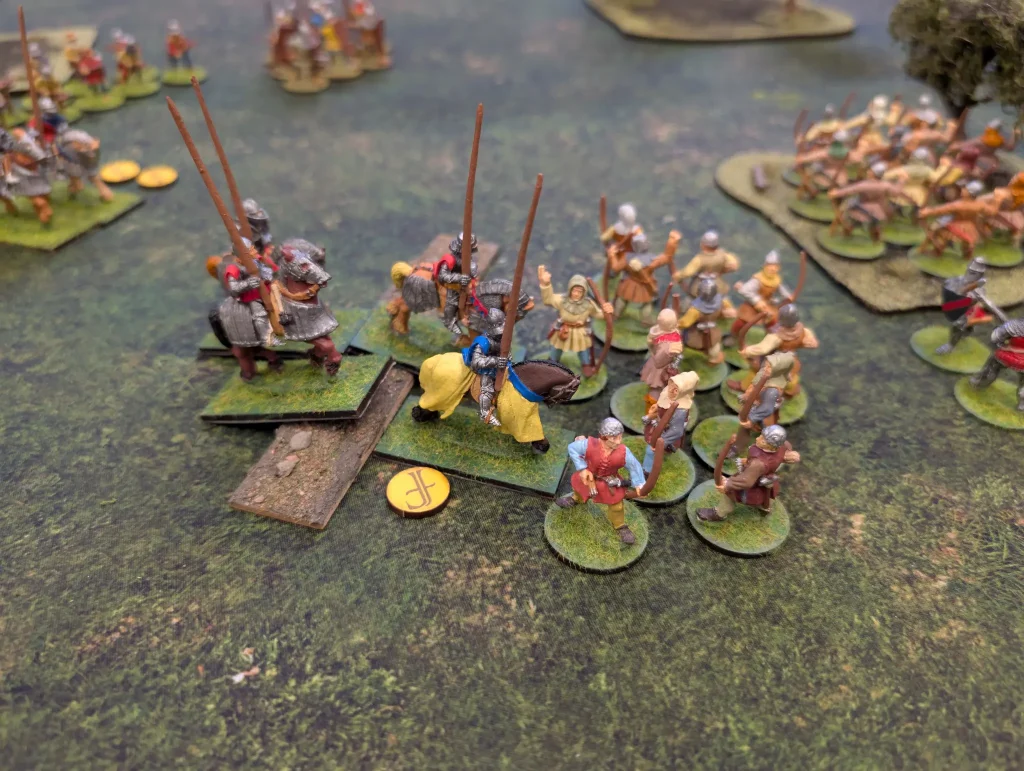
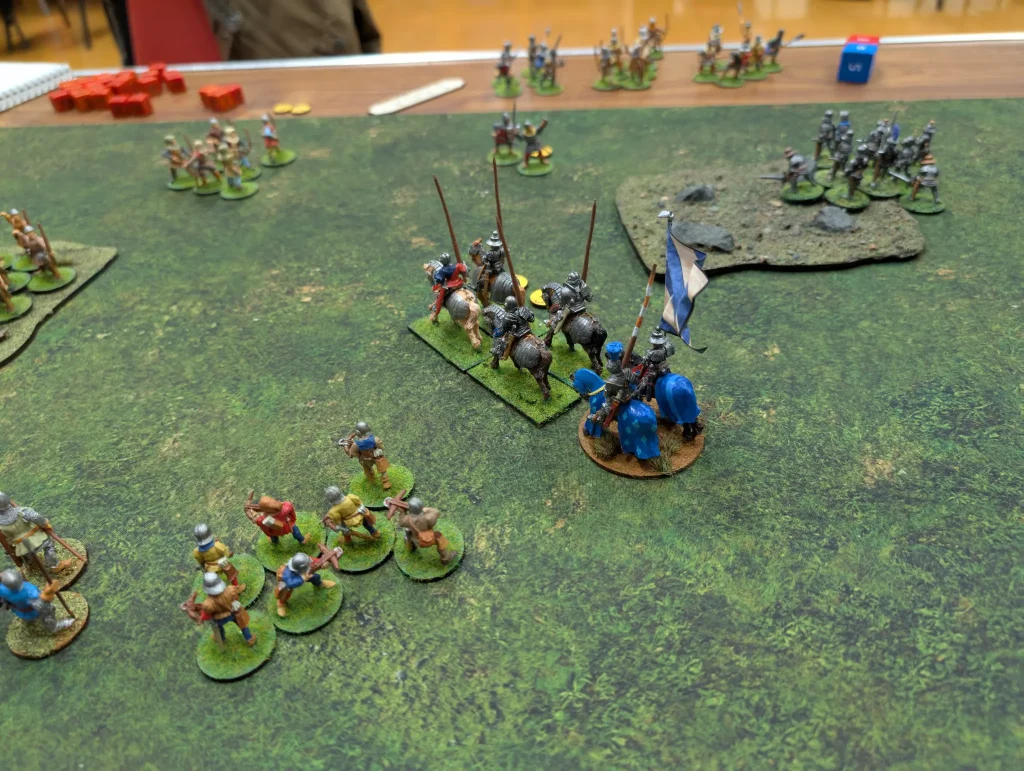
We both had lots of bonuses stored up, and the first wave of mounted knights charged over the spikes to attack my archers out in the open. The French used Feat of Arms (2 automatic hits), Tenacity (bonus defence dice), Panoply (re-roll attack and defence dice), Armed & Armoured (they get bonuses, I lose dice) and Pledge of Battle (suffer less fatigue).
The English had Herce (5 extra attack dice) and Dieu et Mon Driot! (increase my armour and bonus defence dice).
They had 15 attack dice and got 12 hits, we had 9 attack dice and got 6 hits.
In the end, I lost 6 archers and was forced back, and the French took no casualties.
The second unit they activated with Flying Wedge was their warrior infantry, which charged my warriors hiding in the rocky ground. We both had empty battle boards at this point, though the English had the defensive advantage of being in rocky ground, so we also closed ranks.
The result was that 5 English died, and the French took no casualties.
The French didn’t have any other units that they wanted to charge.
Turn 4
This was the penultimate turn of the game, and the English had probably lost. I could have started moving down the table to get the bonus points, but decided against it. It would be more interesting to see how the actual fighting side of the battle turned out. Plus, the English wanted revenge on the unit of mounted knights.
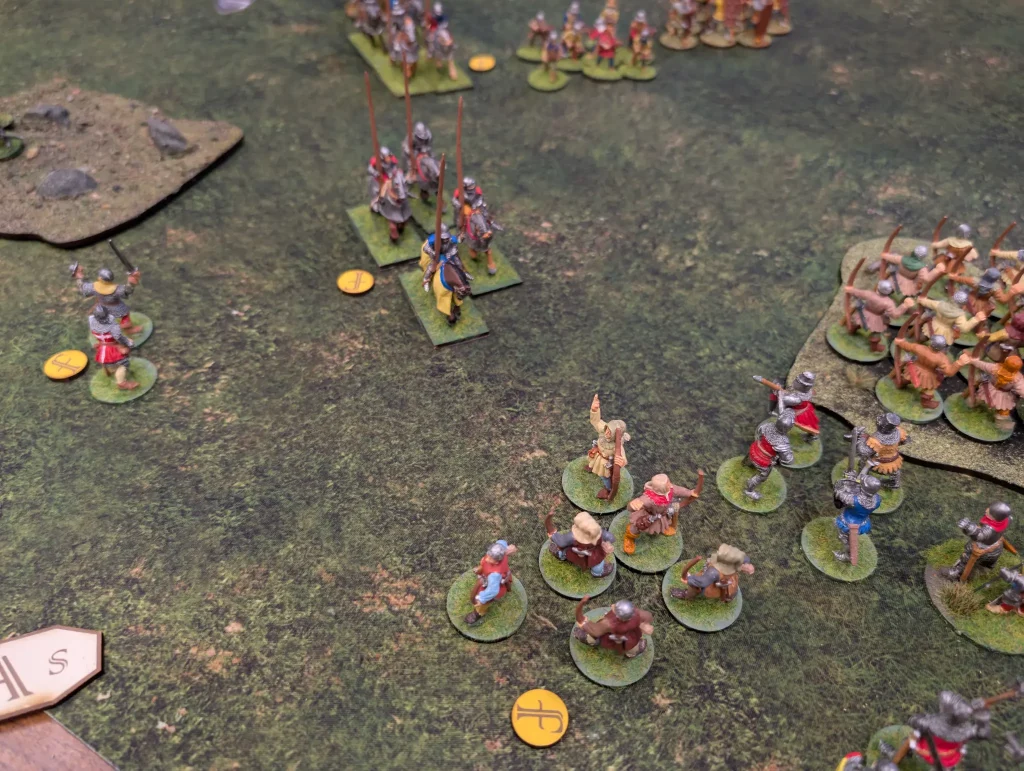
My unit of warriors was down to three men, but we charged the mounted knights anyway. We didn’t get any kills, but we gave them a fatigue. We lost one man, and were forced back.
My archers used Rain of Arrows to get a +1 bonus to attack rolls in a shooting attack on them, we got a hit but no kills.
Then, We Obey was used to send my Hearthguard foot knights charging in. With Herce, we had a bonus of 5 attack dice, and got 7 hits and 3 kills, forcing the French back. The English lost two of theirs though.
I then activated the same unit of Hearthguard again, charging in a second time and finishing off the French unit, suffering no further casualties. This also gave a fatigue to the nearby unit of French hearthguards since they were within short of a unit that had been wiped out.
So the English had achieved their objective for this turn.
The French went Full Harness and rested their mounted knights, and their crossbowmen shot at the English archers in the woods, getting 1 kill.
The English warlord was now also exposed, so the French fired their Gonne, getting a result of both a fatigue and a casualty. I used my warlord’s bodyguard ability to take the casualty in a nearby hearthguard.
Unsurprisingly, the French hearthguard charged the two English hearthguards who were out in the open and unprotected, wiping them out.
Turn 5
The English now didn’t have much left in the melee department, but that’s not what the English army was known for. I was also down to 4 saga dice, which limited my options. I used two activations of Wall of Arrows to do what I could.
With both their sets of volleys (four unit activations) the English archers got one kill on the unit of Pavises, one on the crossbowmen and only managed to inflict a fatigue on the remaining unit of French hearthguard.
We then followed that up with Loose!, killing another crossbowman. Finally, I moved my warlord and his bodyguards out of sight of the French cannon, around the back of the woods.
The French had a final shot from their cannon, killing an archer. Their crossbowmen let loose a volley, which was ineffective, and the French cavalry charged – but I used their fatigue to cut down their charge distance so they failed to engage.
With the game ending after five turns, this was a victory to the French. On just survival points alone, the French won. They got 24 points to the English 17. The French also gained bonus points for being further from their edge of the table, which increased their victory points.
The English have never managed to defeat the French, and online discussion seems to suggest that the English have quite a weak battle board. It does feel that way. The abilities they have which sound good, have limitations on them which greatly reduce their effectiveness. Whilst the French have lots of abilities which seem designed to play well against the English.
It’s slightly suspicious that it’s a French company that makes Saga…
We’re also not sure how the Pavises are meant to be used. Historically, they were used to protect crossbowmen. But you can’t place them in front of crossbowmen without blocking their line of sight. Unlike the Romans, nobody in Chivalry seems to have a saga ability to allow them to shoot through pavises. They move too slowly to be used in melee, and can’t do anything whilst sitting back.
Since they move slowly and aren’t really a threat, there’s little reason for the opponent to spend shooting activations against them. So whilst it’s interesting to have another unit type, I’m not entirely certain what the point of them are.
Anyway, it was a good game, and not too bad of a defeat (if you ignore the objective points) for the English. I do want to get a Free Companies army finished, but I have too many things taking up my time at the moment. I’m also finding it hard to paint Age of Chivalry armies. I don’t have a good idea of what they should look like (outside of the knights in shining armour). I find the earlier periods easier to visualise. So it’s been slow going even when I have the time.