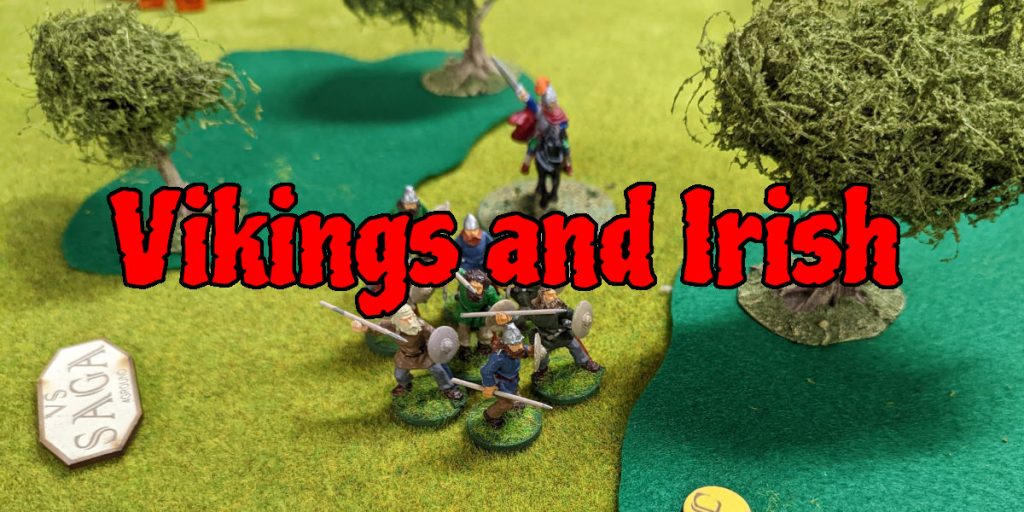
Battle at the Hill
This Friday’s game was another Saga battle, a chance for the Vikings to get their revenge on the Irish. This time the Vikings tried to be a bit more aggressive, whilst trying to keep away from the woods. It still didn’t go well for them, but it went better.
Part way through, a random stranger turned up who knew a little bit more about Saga than we did, and pointed out that we were playing it wrong. Quite a bit wrong actually. There had been some changes since first edition which hadn’t been entirely clear in the rules. The principle ones were:
- At the start of your turn, you get to roll the full set of saga dice that your warband generates, and add them to your battle board. So if you had 3 dice still on your board, and you generate 5, then you get to roll five more and have a set of 8. I had assumed you’d only roll the 2.
- You have to put all your dice on the board in the order phase. This means you have to plan ahead of time which abilities you will want to use. This requires a lot more planning ahead than we’d been doing.
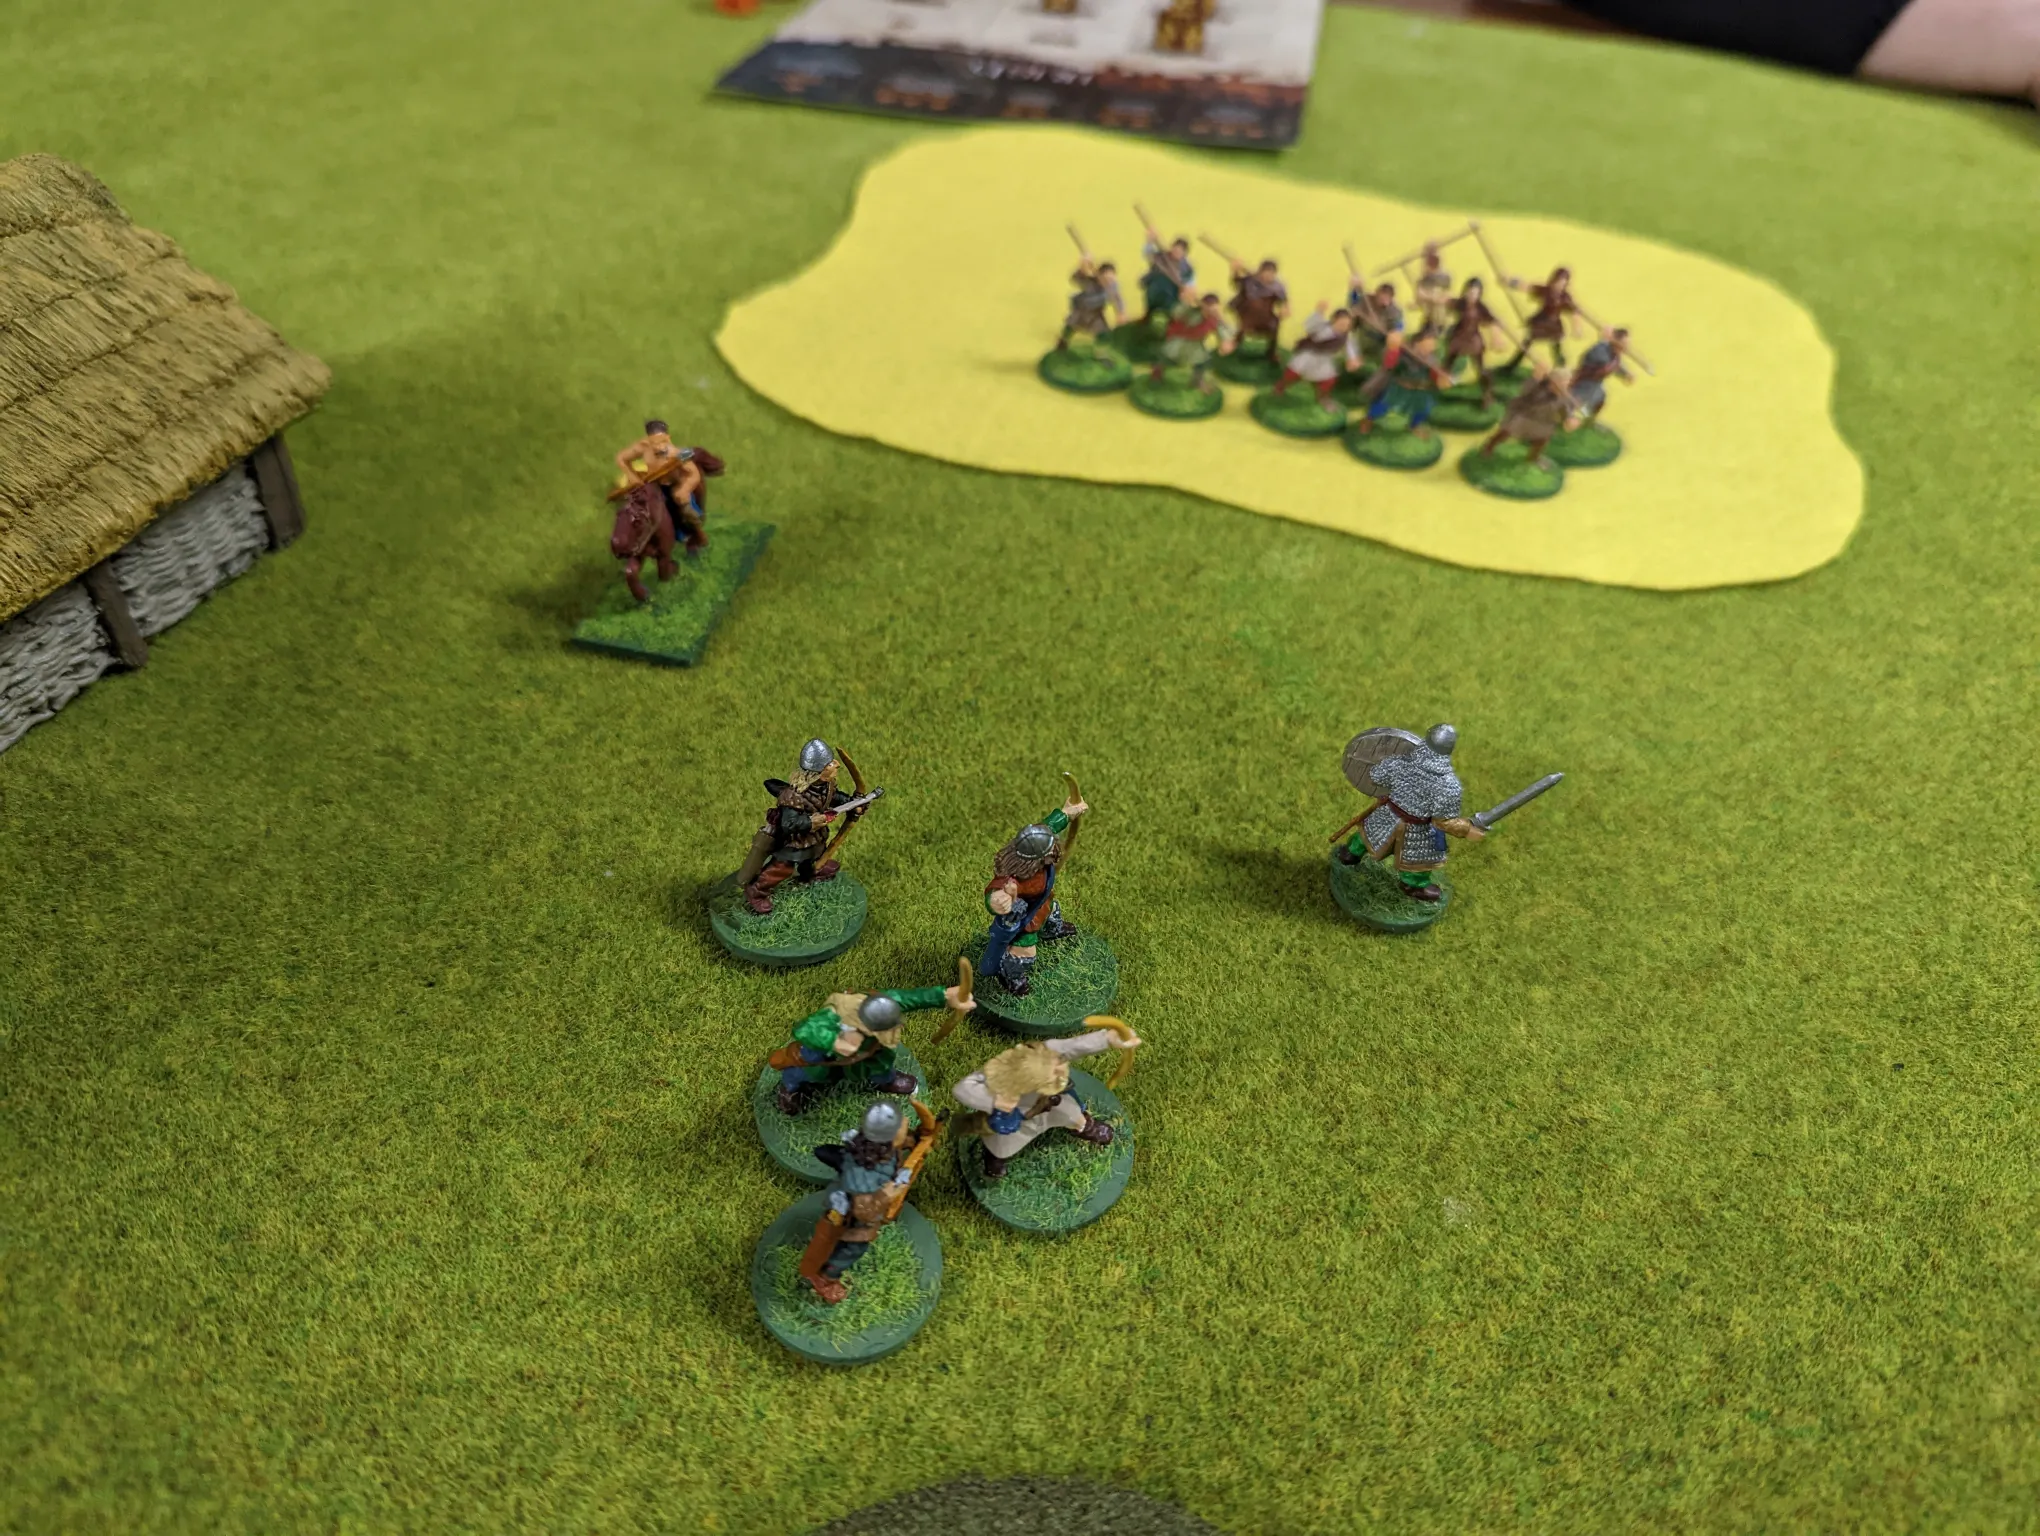
The Vikings went first again, which again meant more terrain than they would have liked. The Vikings tried to keep a channel open around the hill so the Irish couldn’t make hidden attacks at them as they went past, though possibly they should be trying to put terrain in the Irish half of the field, to prevent them having a strong defensive position.
Viking Warband
- Warlord
- Hirdmen (Hearthguard)
- Berserkers (Hearthguard)
- Bondi (Warriors)
- Thralls (Levies with bows)
Irish Warband
- Mounted Warlord
- Fianna (Mounted Hearthguard with javelins)
- 2 x Bonnachts (Warriors with javelins)
- Kerns (Levies with javelins)
The Battle
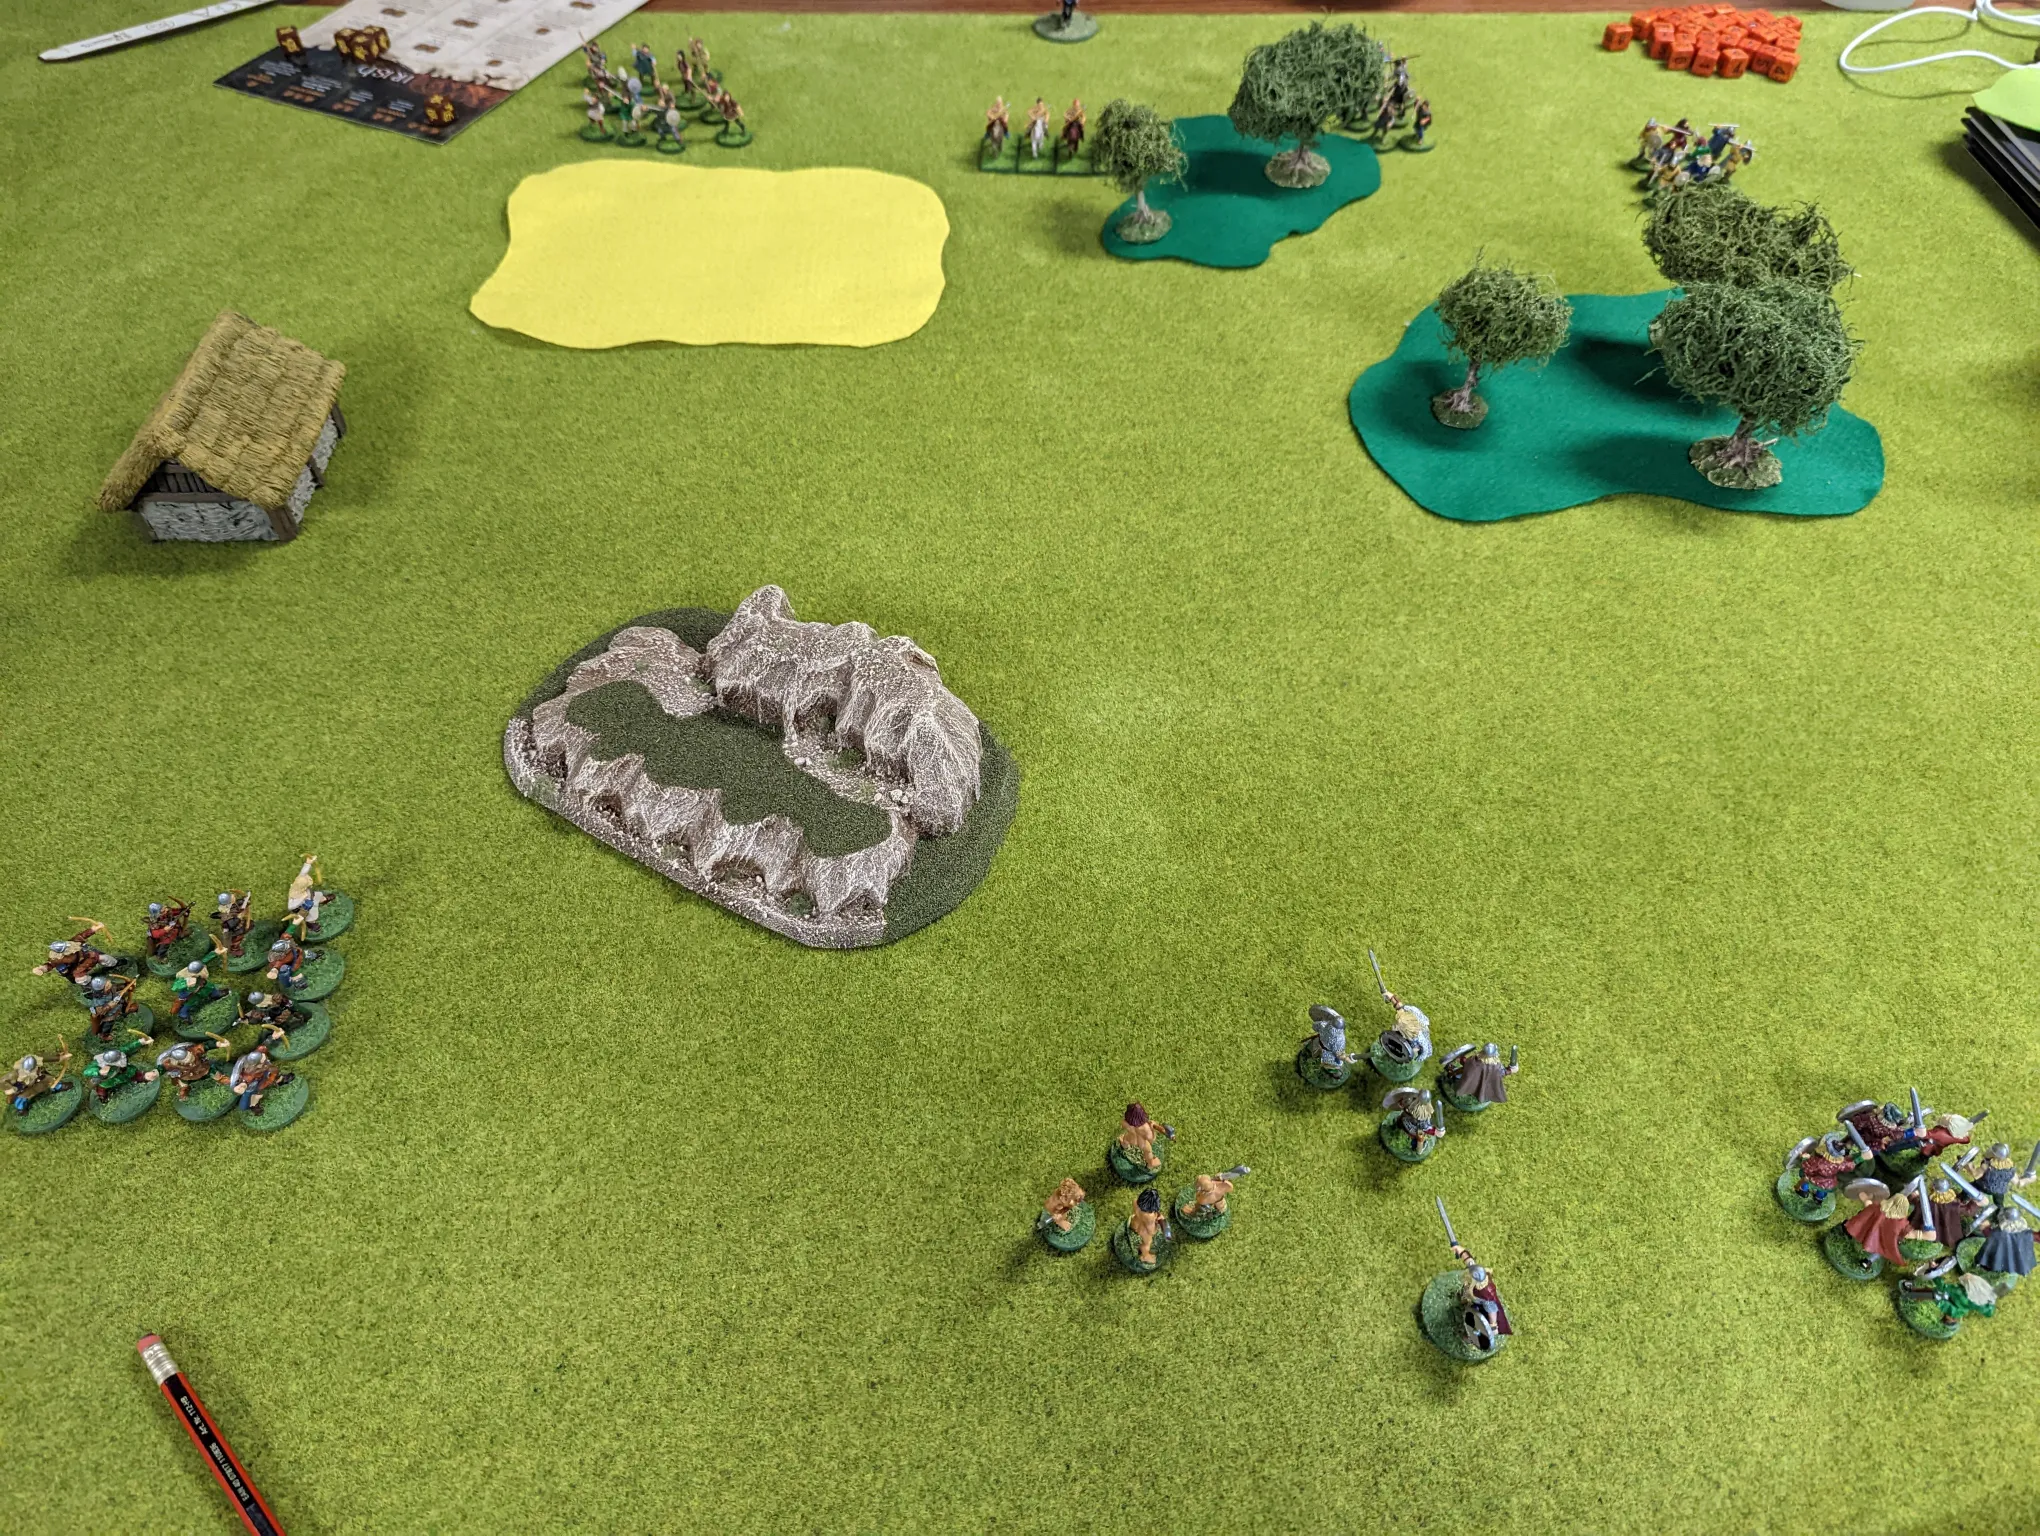
The first two turns were pretty much spent manoeuvring to get into position. As usual, the Irish played defensively, hiding in the woods and fields whilst the Vikings tried to move up without getting shot at from those same woods and fields.
Whilst the Thralls got sent left around the hill, the rest of the Viking force went right. This time rather than sending my very fragile berserkers ahead, I tried to keep them shielded from missile fire. They can be deadly in melee, but have very little armour (the actual models are naked, thanks to Wargames Foundry. Once I get time to paint them, I’ll be adding some equal opportunity nudity thanks to Footsore Miniatures).

The viking thralls thought they saw movement in the field, but the Irish horsemen vanished from sight before they could be shot (Heirs of Mil). The Fianna then came out, throwing javelins and taking out a lot of the Thralls. Some Bonnachts were also clustering at the edge of the woods, threatening with their javelins.
Javelins are pretty powerful – you get a free shooting attack after movement, allowing the Irish to move and shoot with a single activation. The Vikings really want to get into melee, the Irish don’t.
This was about when Graham from Graham’s Wargame Vault turned up, and was able to provide some very useful advice about what we were doing wrong. So we switched how we were doing the battle board. This gave us more dice to play with, but also meant we had to start thinking ahead about how we were wanting to use the dice.
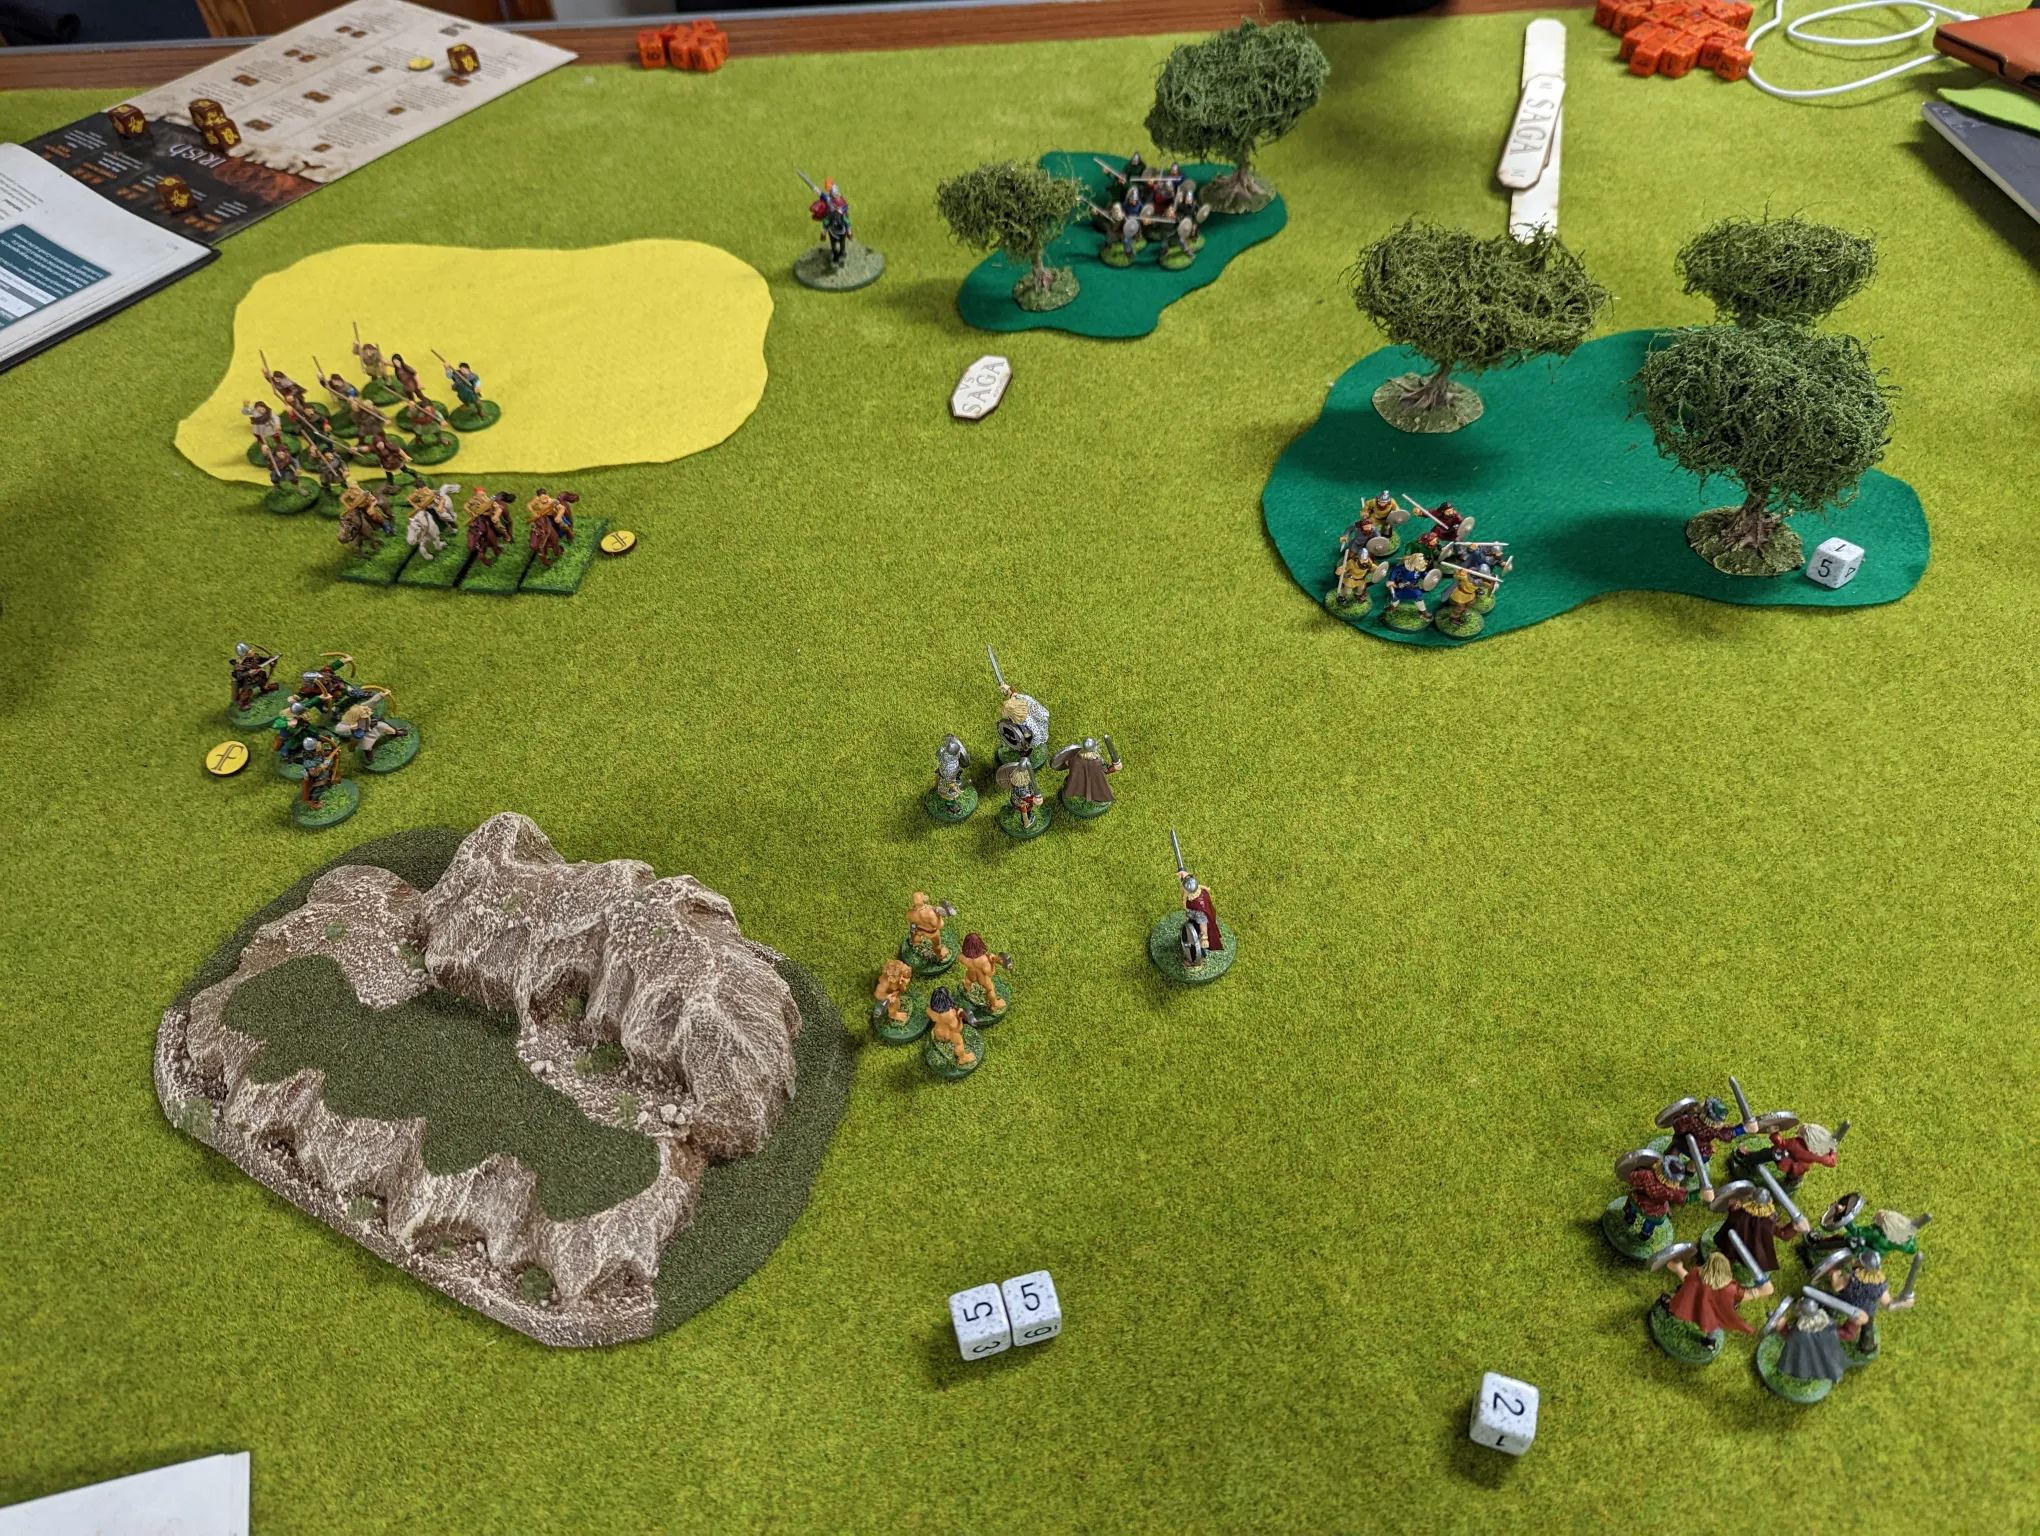
With the Irish out in the open, the Vikings were able to rush in and engage in some melee. The Viking Njord ability was useful, allowing them to remove fatigue after a rush across the battlefield.
Four Viking Hirdmen against four Irish Fianna didn’t go well for the Irish, but the Irish responded with javelin shots which took down a lot of the Hirdmen.
In turn 5, on the right flank, the Viking berserkers got into melee with a unit of Bonnachts, though two were killed as soon as they came within range of the woods. The two remaining berserkers make a good accounting of themselves before being sent to Valhalla. The Viking warlord also got stuck in, driving the Bonnachts back into the woods.
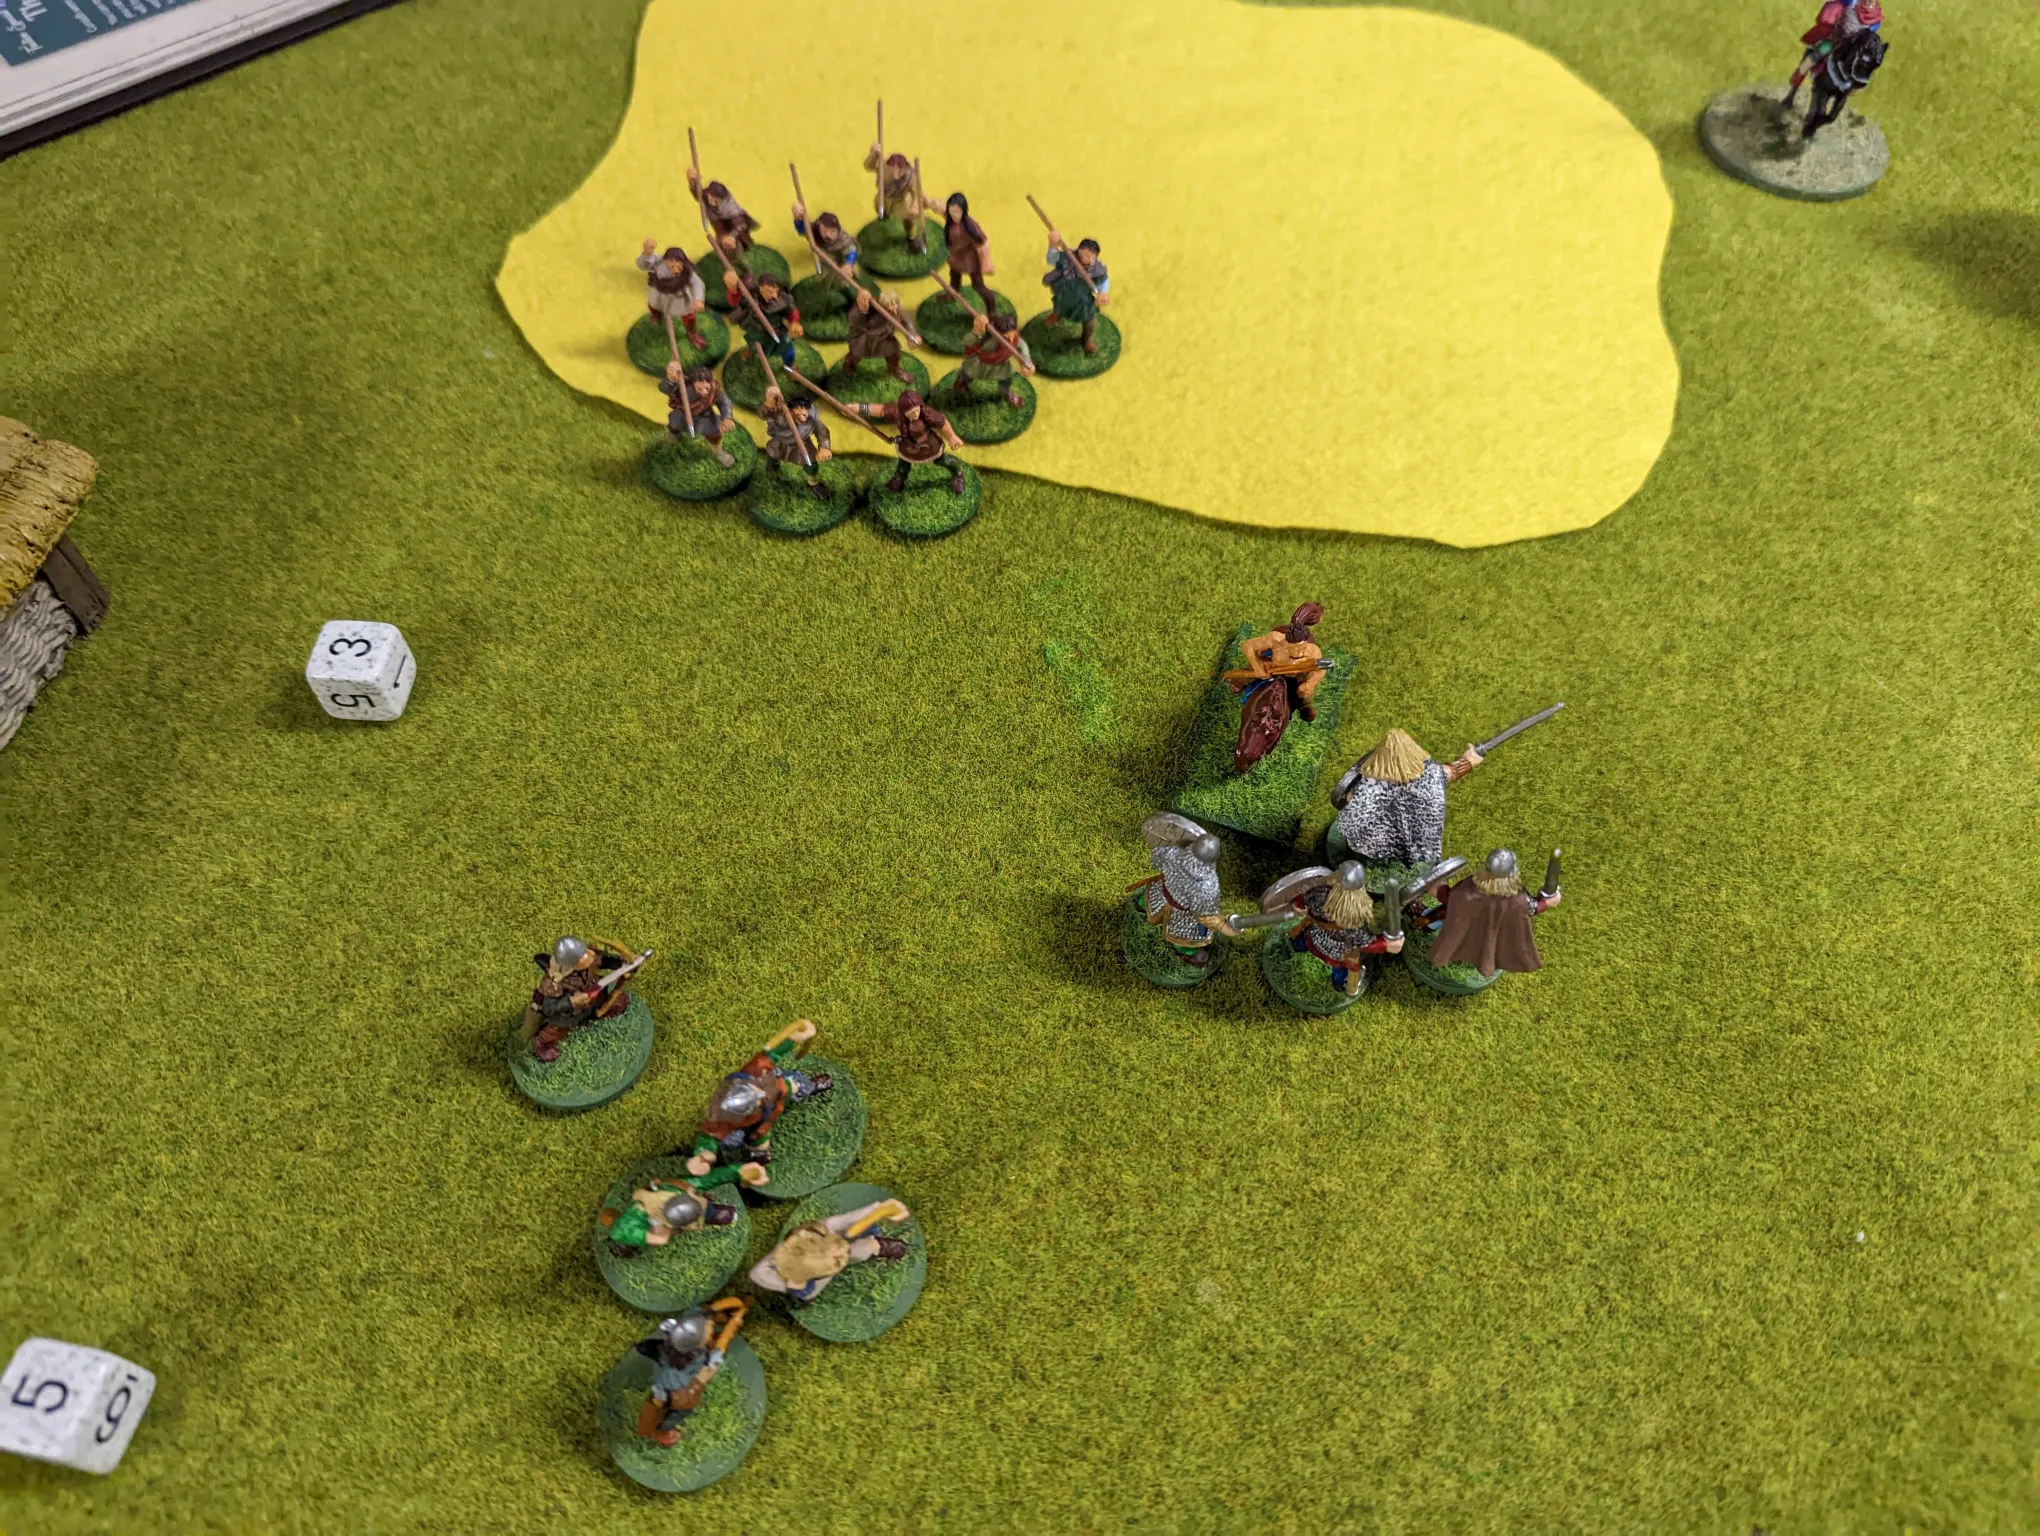
Given the shooting from the Irish, the Vikings decided that there wasn’t much to be gained in pressing the attack further. A tactical movement rearwards was decided upon to avoid further losses. The one remaining Viking Hirdmen made a valiant attack on the one remaining Fianna, but luck was not with him, and he fell in battle. The warlord though took his bondi back towards safety.
The heroic Fianna did try a race across the field to launch a final javelin attack on the Viking warlord, but he was too exhausted to make the full distance (the Vikings spent one of his fatigues to reduce his movement).
In the final tally, the Vikings had been defeated again, though it was much closer than the previous battle.
It was pointed out that the Irish really want to have some Curaidh (heroes). I have the models, but haven’t even started painting them yet and don’t know when I’ll have time to do so. I also have a real Irish warlord and some warriors (rather than the random dark ages figures which are being used for the Irish at the moment), which I’ve started painting, but it’ll be a while before they’re ready.
Good report. You had the right person advising you, he knows the rules better than anyone I know.