The Anglo Saxons
My Jomsvikings were a Saga warband that I put together with two aims. The first was to find a use for about twenty viking figures I had which were clad in wolf skins, which meant it had to consist of as few figures as possible. The second aim was for them to be a counter to the Irish warband I was often fighting with my standard Vikings.
I settled on the Jomsvikings, since taking Sigvaldi Strut-Haraldsson as a legendary warlord used up a point, and gave me an excuse to field only hearthguard units. Also, his hearthguard have an armour of six against shooting attacks, which makes them ideal against light missile troops.
Unfortunately, I haven’t yet got to play them, and I’ve ended up fighting against them when my partner decided they wanted to play something other than Irish. So it was time to try out my Anglo-Saxons for the first time in a one-on-one battle, and they’d be going up against the Jomsvikings. I’ve played the army once before, in a three way battle when introducing someone else to the game.
This time I hoped to get a chance to figure out their tactics before playing them. However, there ended up being a three week delay between me reading up on them and actually getting to play them last night. It turned out I’d forgotten some crucial things about them – such as my mounted warriors being equipped with javelins.
The Anglo-Saxons were using Athelstan, King of the Anglo-Saxons as a legendary warlord. Again, this was part of an attempt to find a use for all my Saxon/Viking cavalry figures that I have. What I ended up with was the following:
- Athelstan, King of the Anglosaxons
- Hearthguards (1 unit of infantry)
- Levies (1 unit with bows)
- Warriors (3 points with horse and javelins, deployed as two units of 12 warrriors each)
The Anglo-Saxons have an unusual feature, that activation is based on unit size rather than the type of the unit. So large units are easier to activate than smaller ones. A lot of the advanced battle board features also give advantages to larger units.
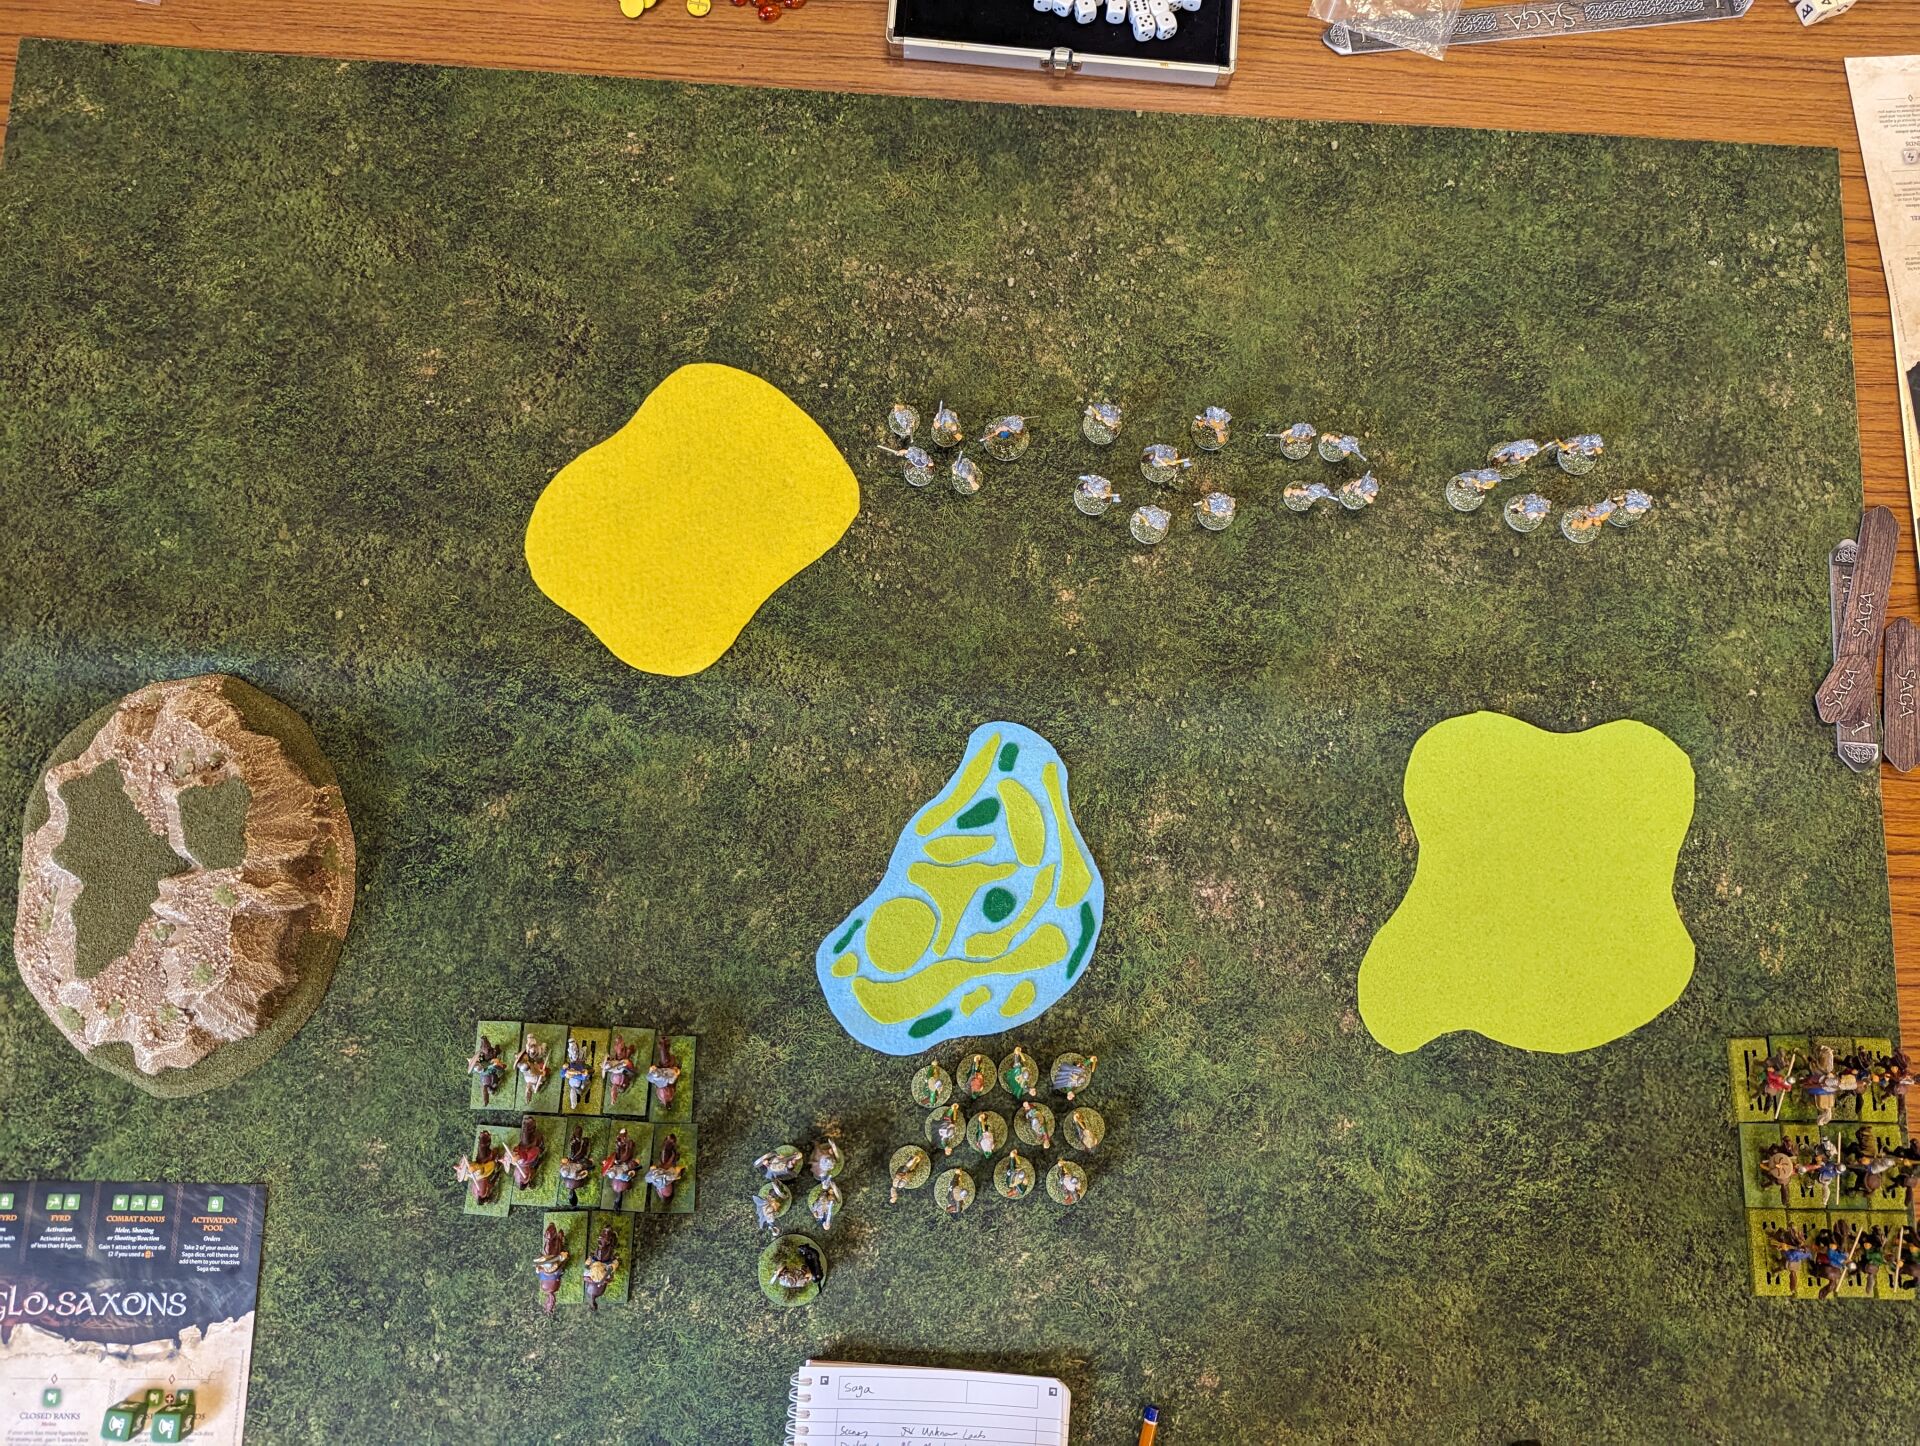
We did a random battle again, which turned out with the following scenario options:
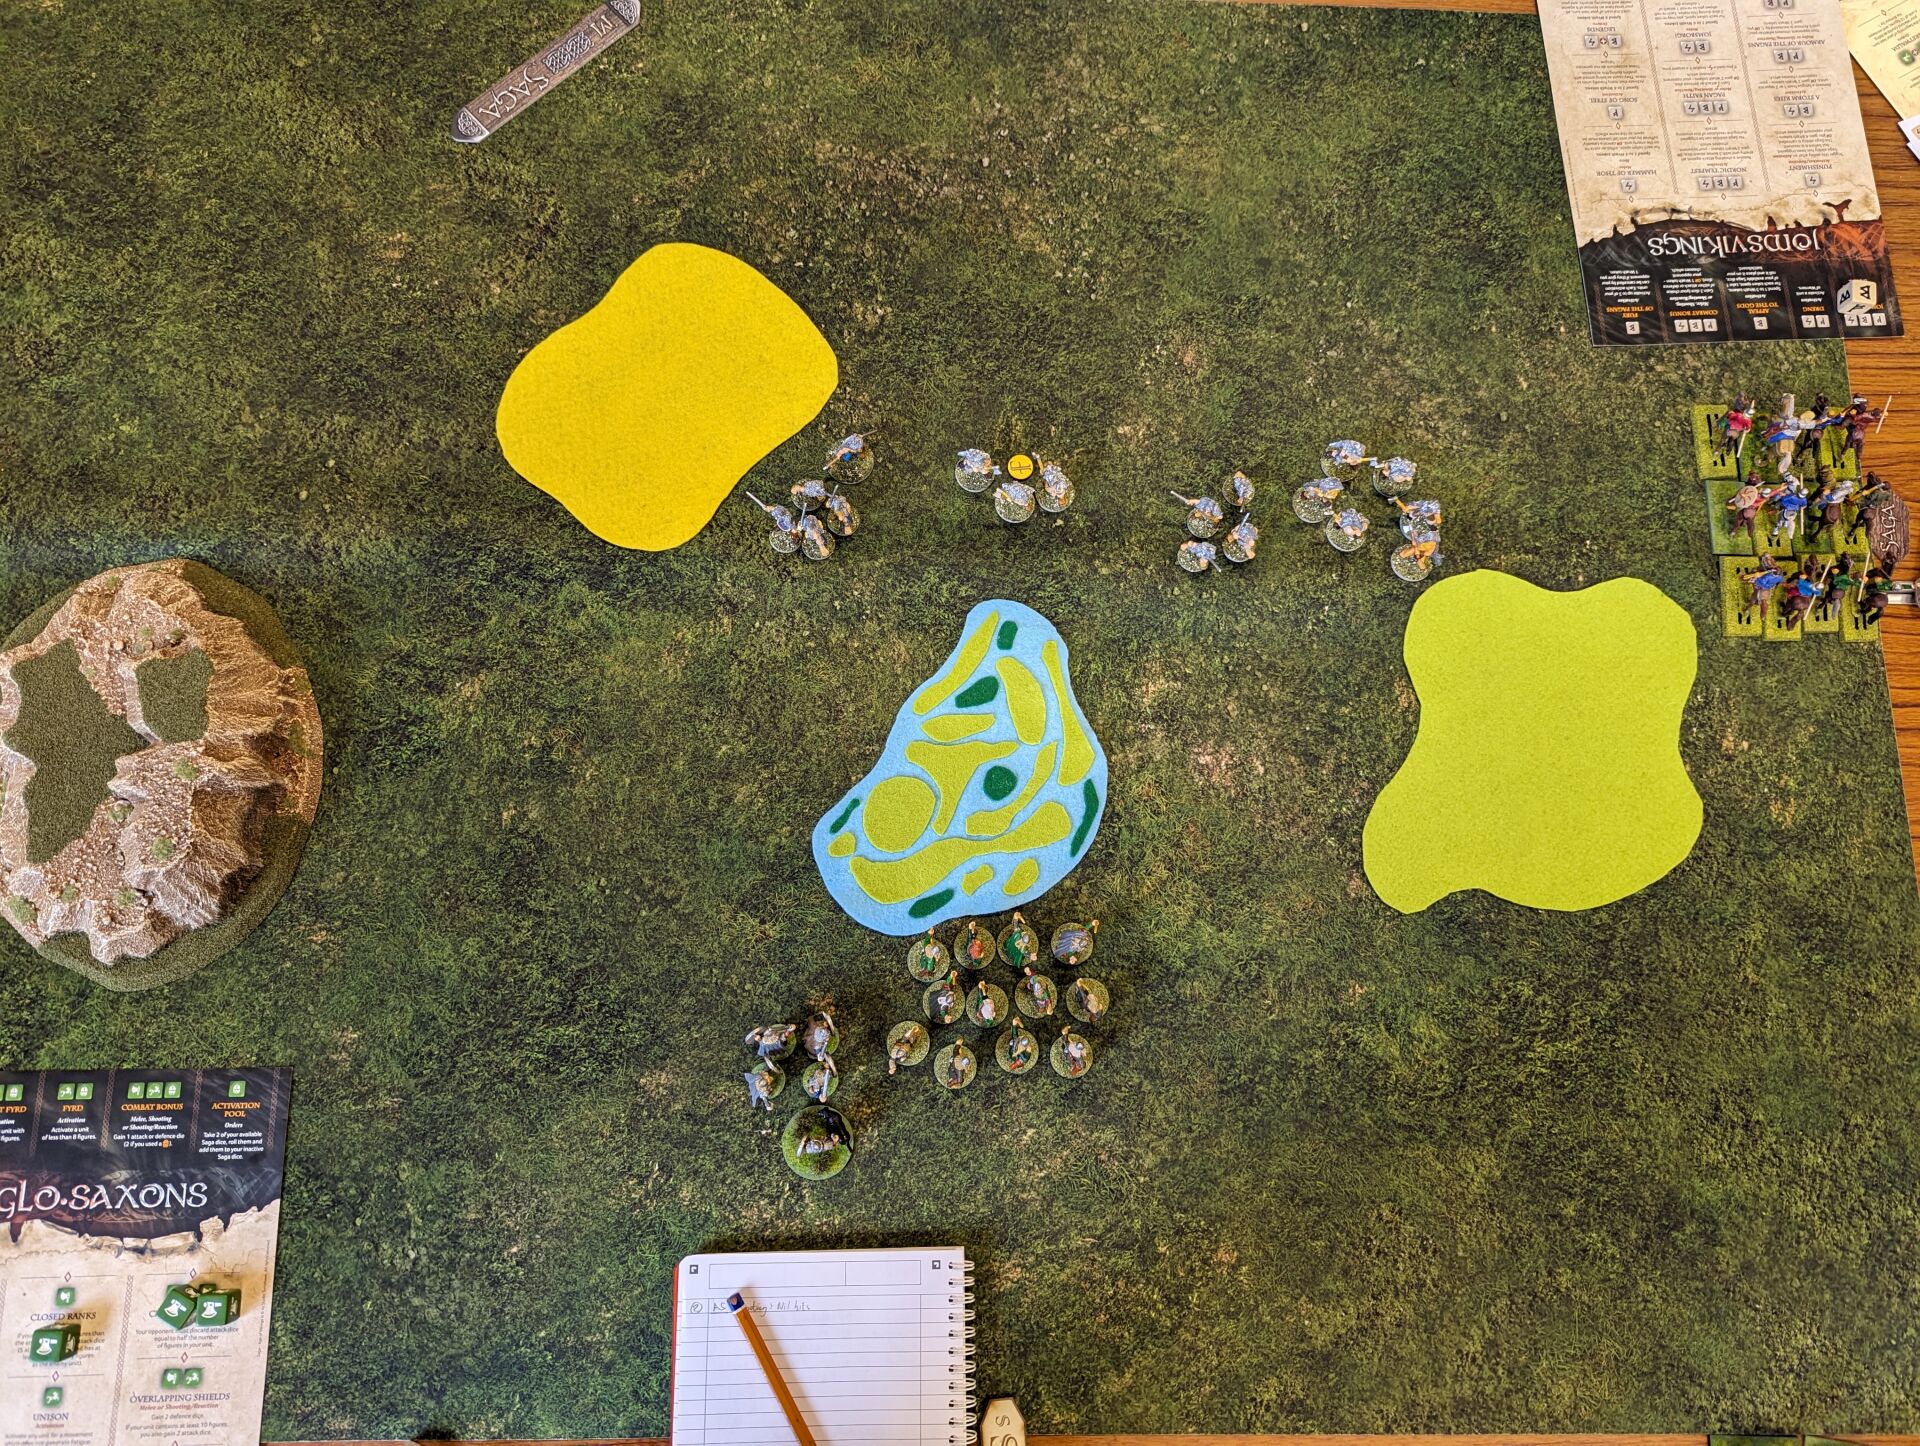
- Terrain: Unknown lands (four pieces of terrain by one player)
- Deployment: March Column (randomly choose order units are put on the board)
- Length: Fight until dusk (six turns)
- Victory: Subjugation (massacre points)
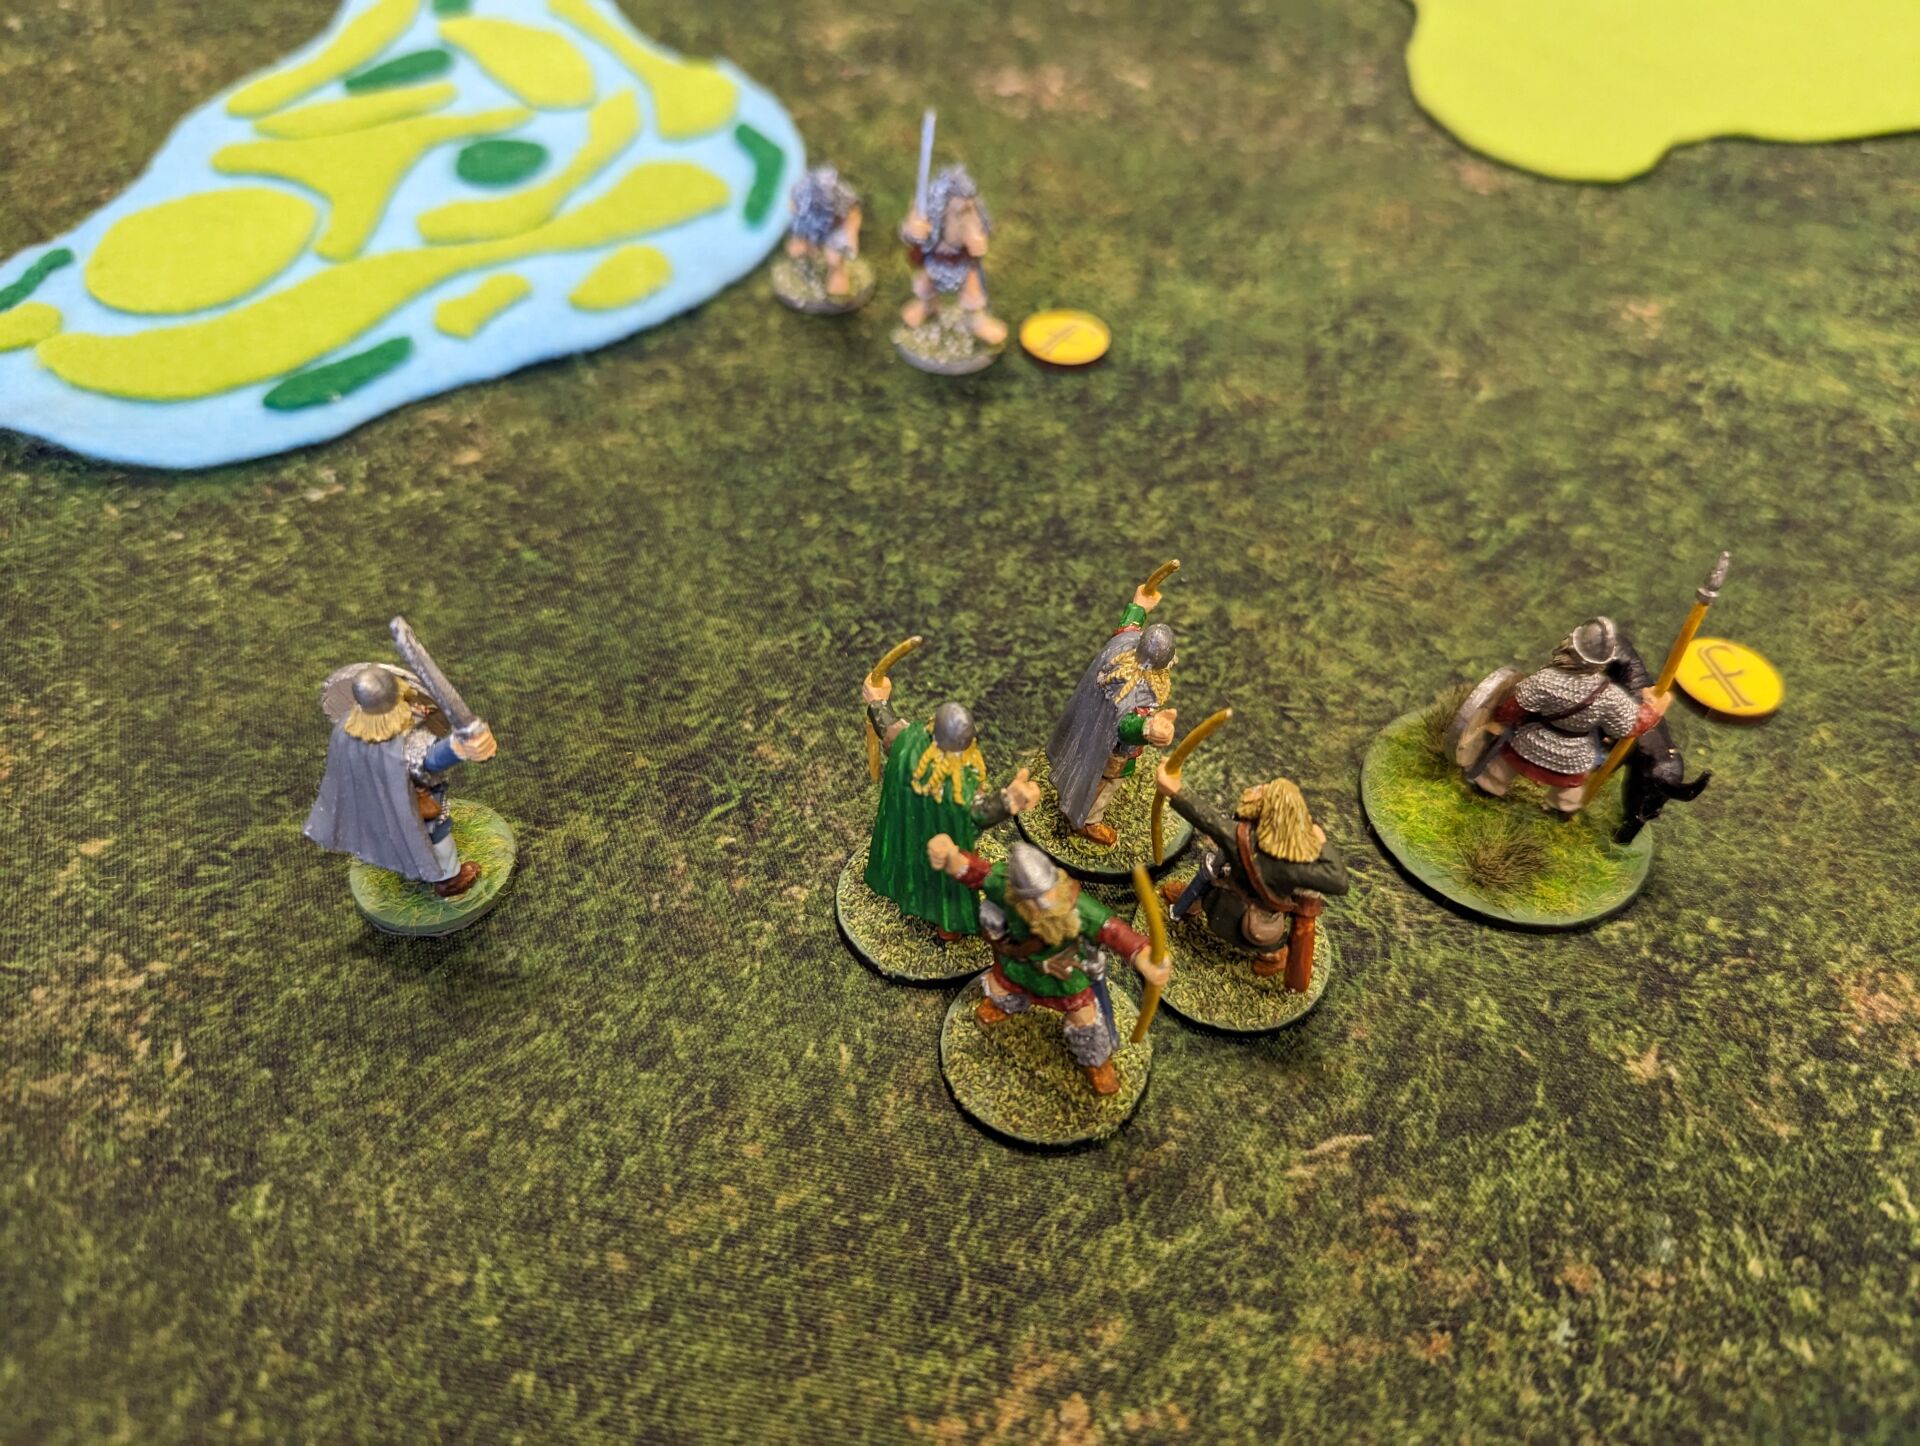
For terrain, we had (from left to right in above picture) a steep hill, fields, marsh and a low hill. The Anglo-Saxons went first, coming in from the south (bottom). With only three Saga dice to play with on my first turn, options were limited, and possibly I should have held back and did nothing.
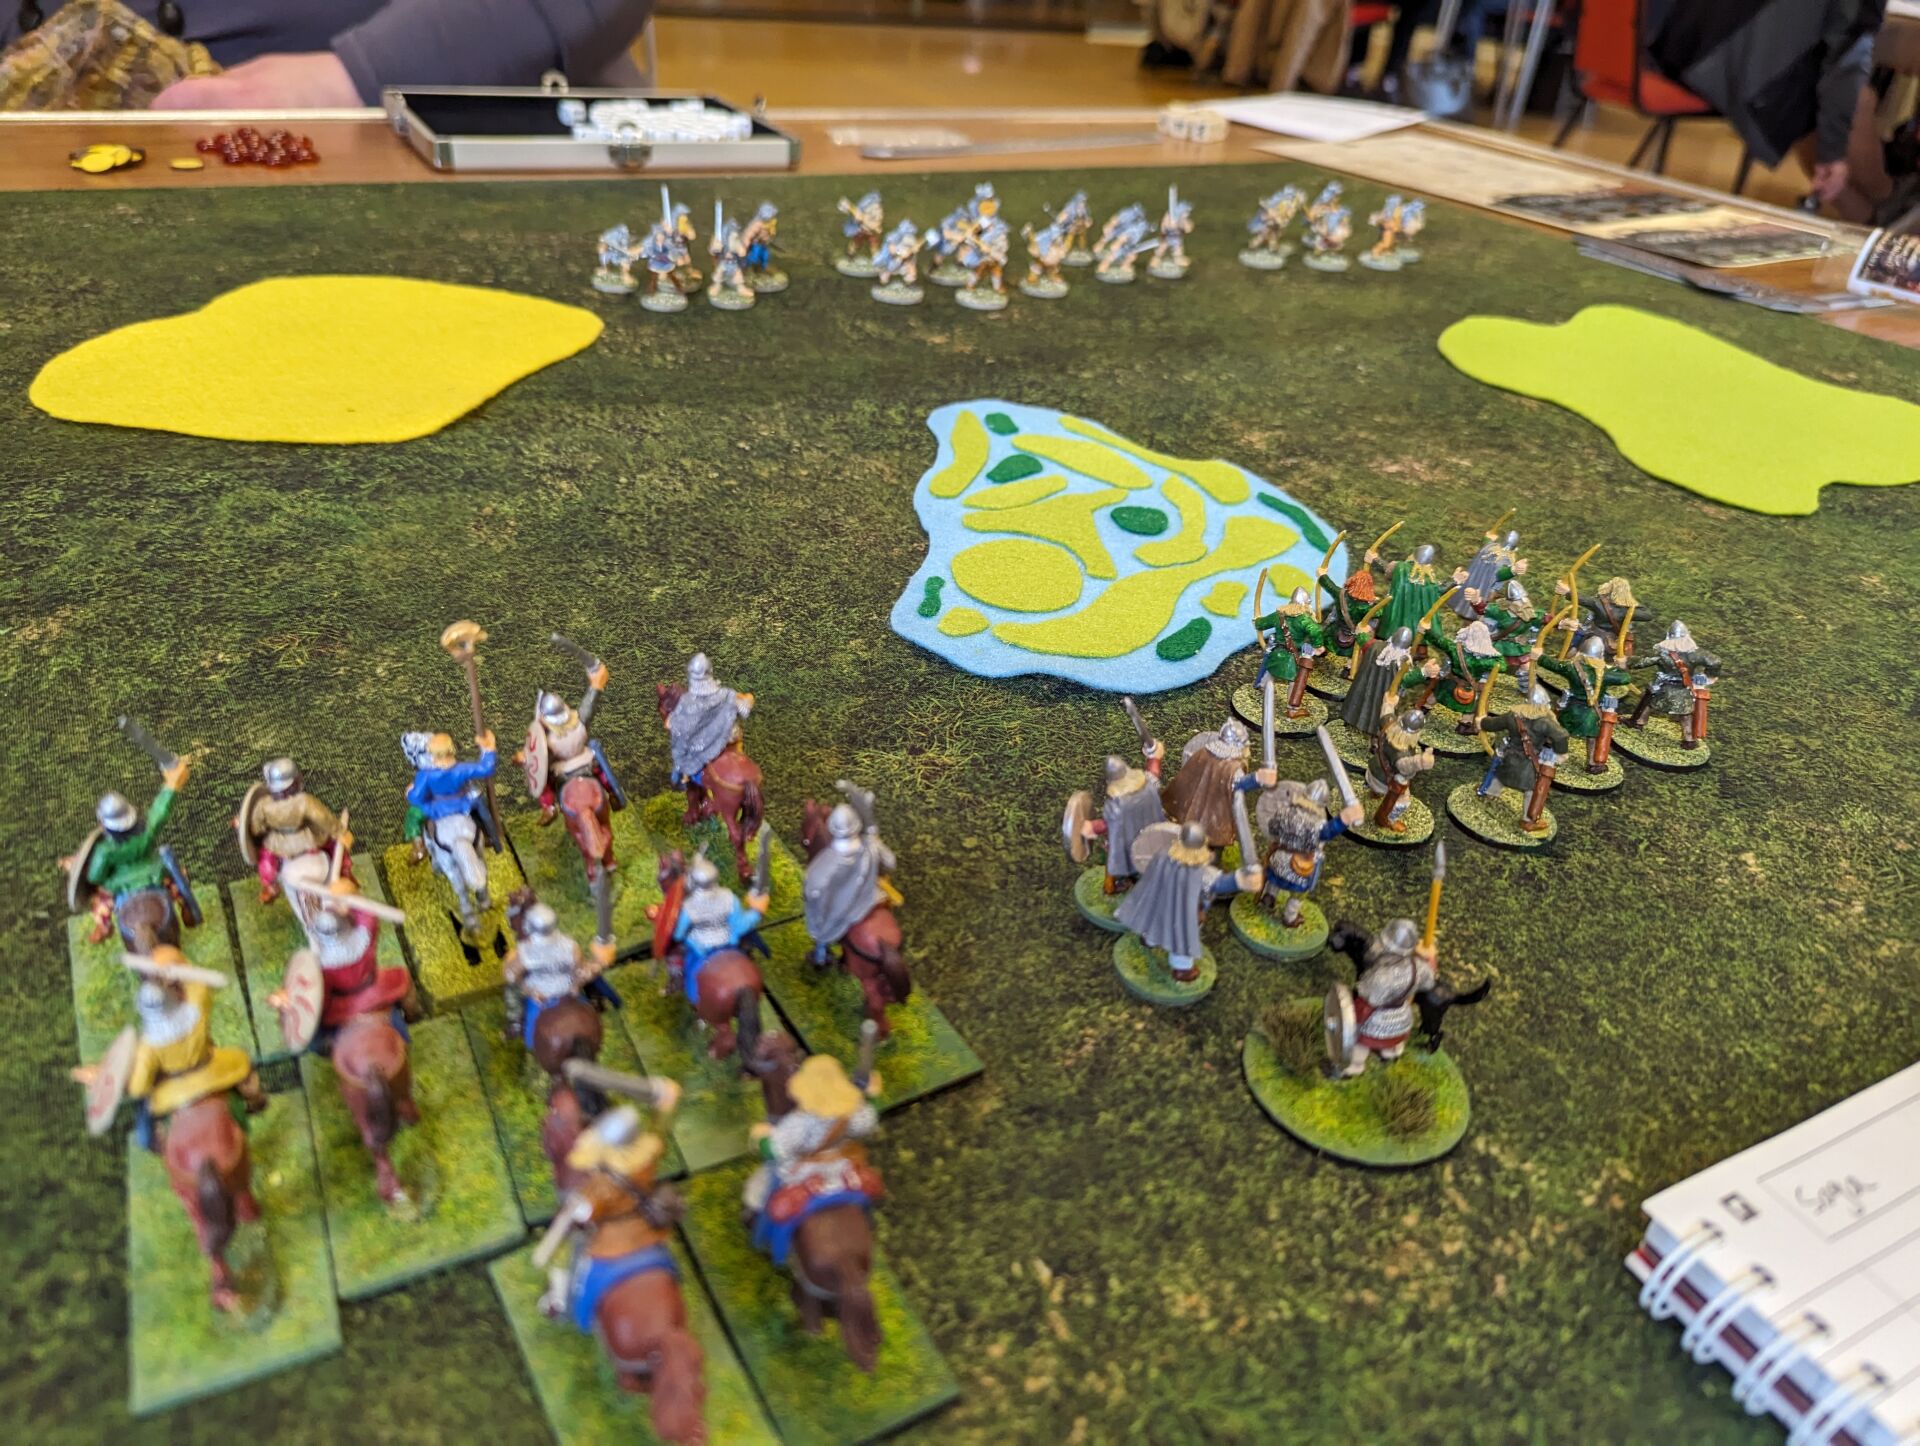
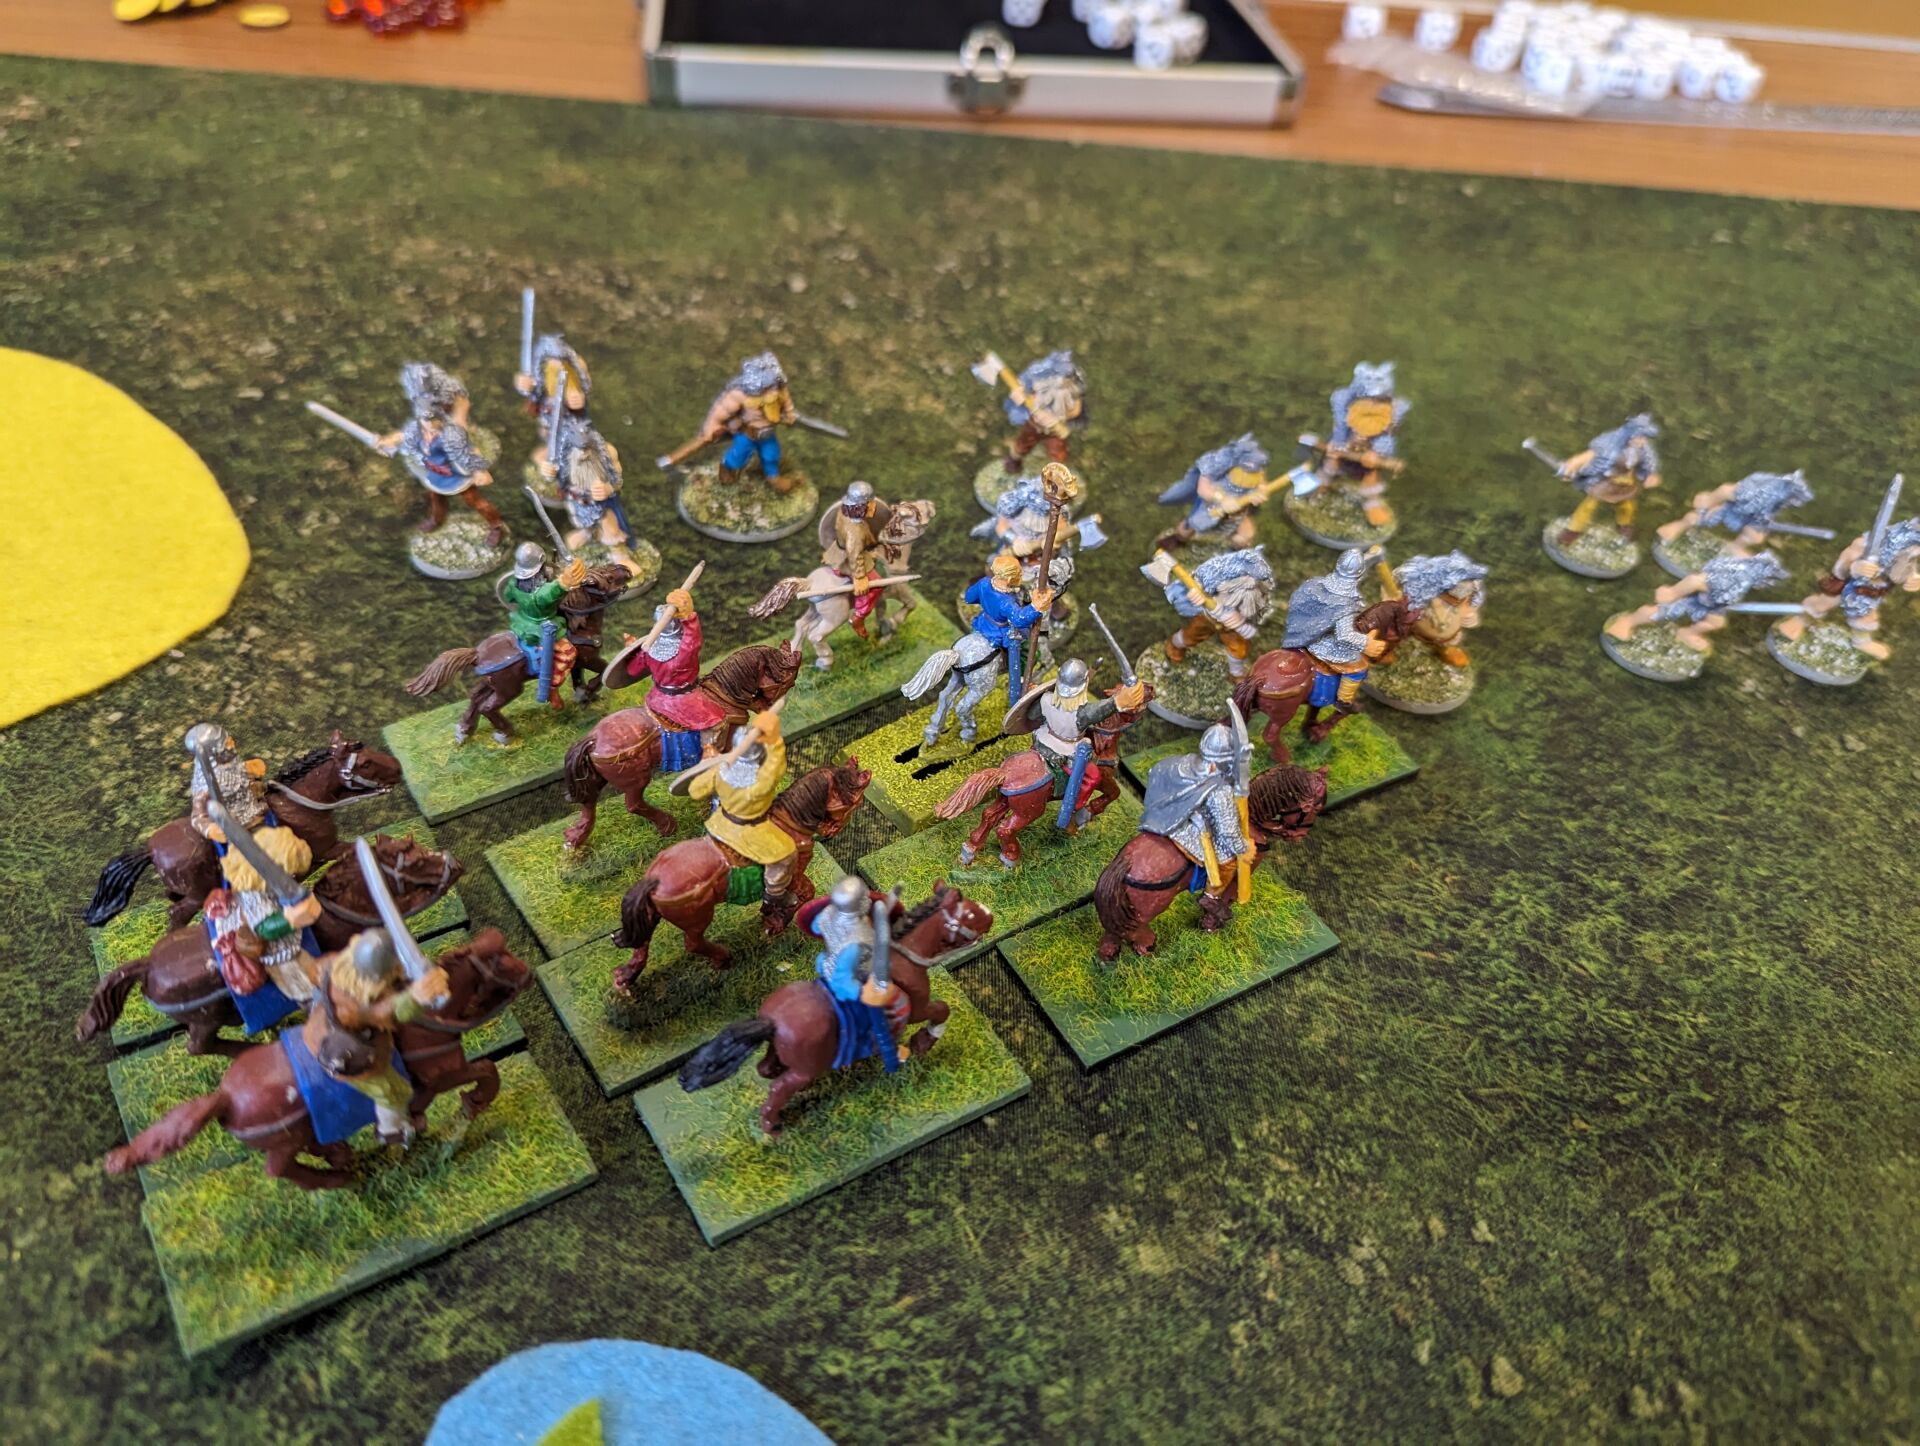
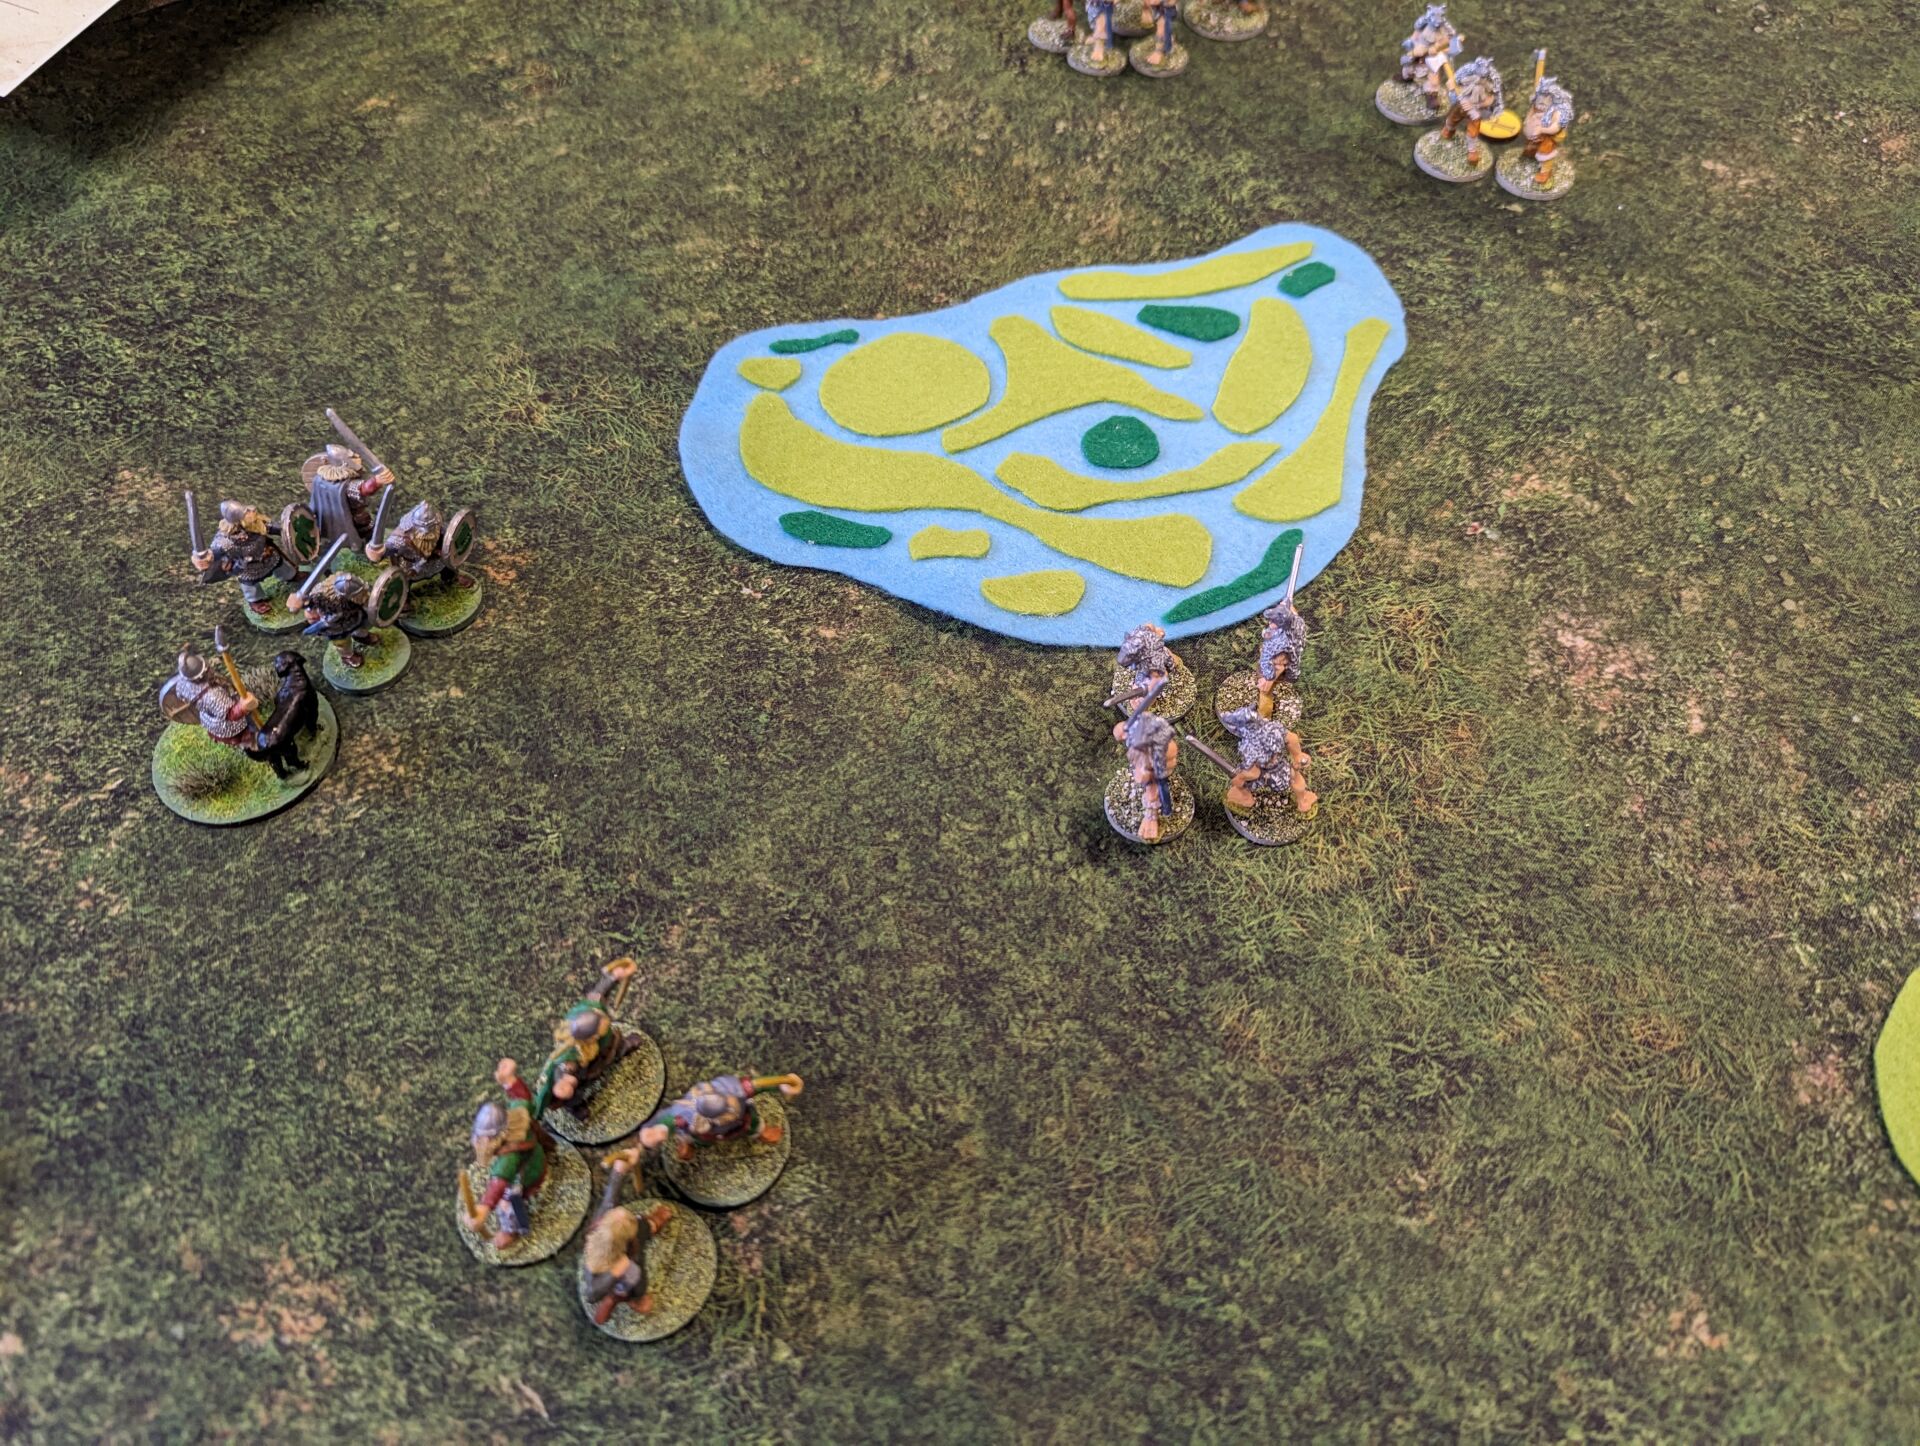
Instead I moved by western cavalry up between the marsh and the fields to attack the unit of six hearthguard in the middle of the Jomsviking lines. I hoped to use my numerical superiority to hit them hard, but it turns out fate wasn’t with me.
Gæd a ƿýrd sƿa hio scel
— Beowulf “Fate goes ever as she shall”
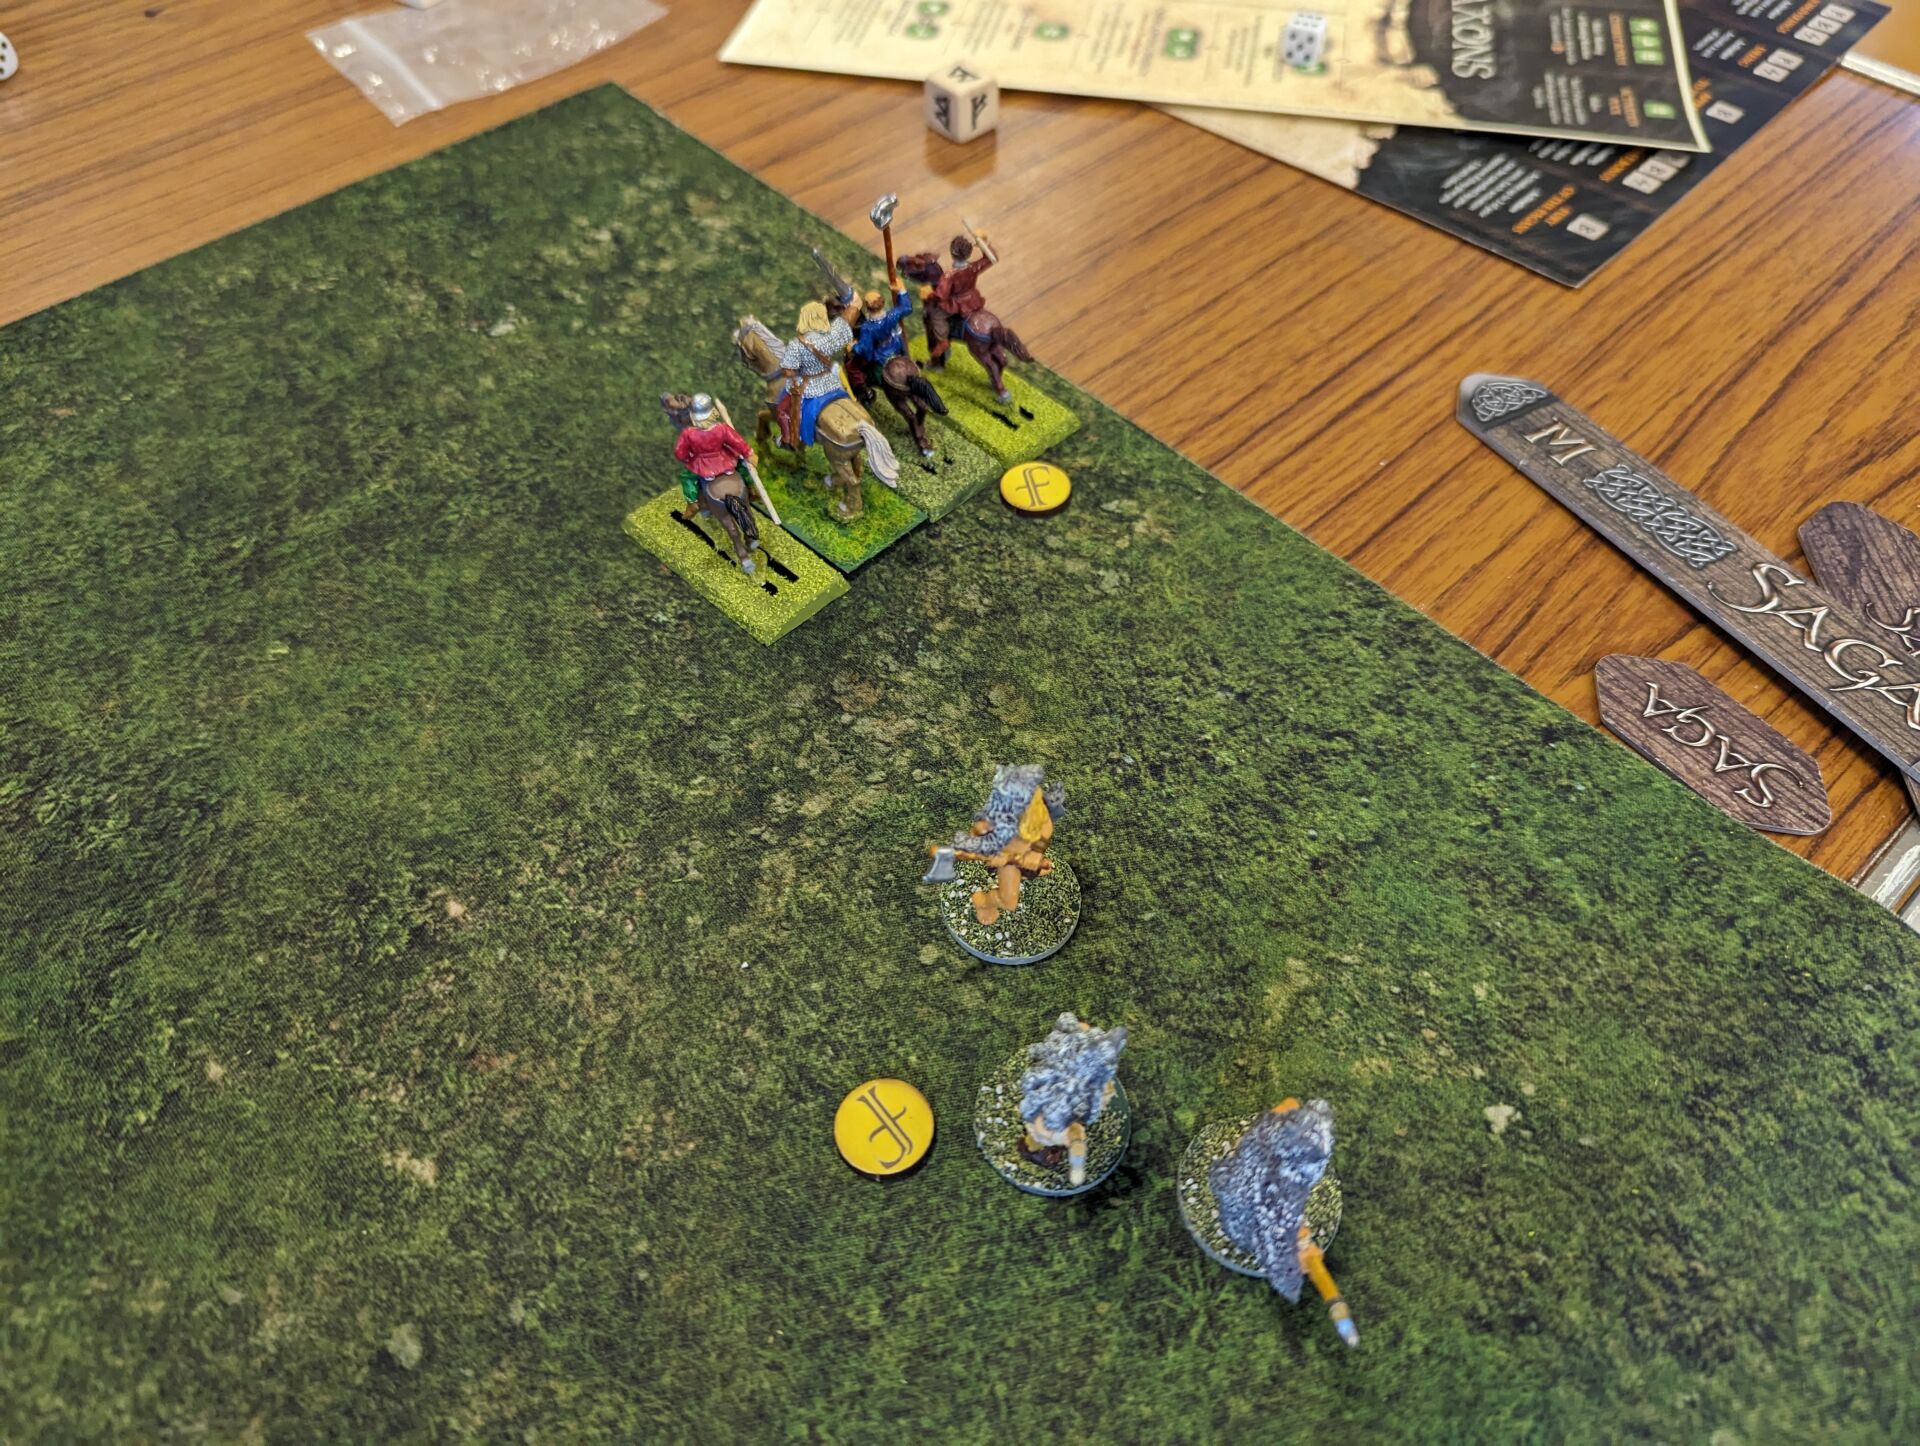
I used Crash of Shields, which meant the Hearthguard had to discard six of their attack dice. Since I’d needed to get a fatigue to launch an attack that turn, the Jomsvikings used it to increase their armour. With my hero leading the warriors, I had 14 attack dice against their 6. We both caused 6 hits, and four of my Anglo-Saxons went down compared to only two Jomsvikings. As a result, I was driven back.
You may ask why I didn’t use Unison to activate two of my units without fatigue. It would have been a better idea, and allowed me to move up two units into a better position, but I forgot about that ability. This is also where I first forgot that I had javelins, which would have given me +1 on attack rolls. Since I was often going up against an armour of 5 or 6 in this battle, remembering that would probably have made a big difference.
This of course left my warriors in a bad position, and the Jomsvikings counter charged with two of their units. In the exchange, one Jomsviking was slain and all my remaining warriors in that unit were killed.
For turn two, I moved my eastern mounted warriors up the edge of the board, hoping to be able to put them in a position to threaten the Jomsvikings from the rear. In the meantime, I tried shooting with my Levies, but this had no effect. The Jomsvikings have 6 armour against shooting attacks, so it wasn’t that surprising.
The Jomsvikings responded by using Song of Steel to move some of their units, gaining javelins attacks as well. Since the 2022 rules update, the ability doesn’t quite make sense anymore since Javelins no longer provide a free shooting action at the end of a move. However, we kept it as-is, and it turns out this is close enough to what the modified version of Song of Steel does (the unit is considered to be equipped with javelins until the end of the turn).
Rather confusingly, the Jomsviking statistics don’t provide statistics for shooting attacks for any of their units. Our assumption was that Hearthguard would get one attack die per figure, since that’s what hearthguards in other warbands get.
These javelin attacks killed three of my mounted warriors and two archers. A charge against my archers then killed six of them, with no Jomsvikings killed.
A charge against my mounted warriors killed five Anglo-Saxons, with 3 Jomsvikings slain. This was leaving me with very few figures to begin turn three with. The game was meant to last six turns, but it was clear at this point that I’d already lost.
I had a choice between retreating or trying one last desperate attack. Since it’s only a game, and I don’t need to care about the life of my miniatures, I went on the attack.
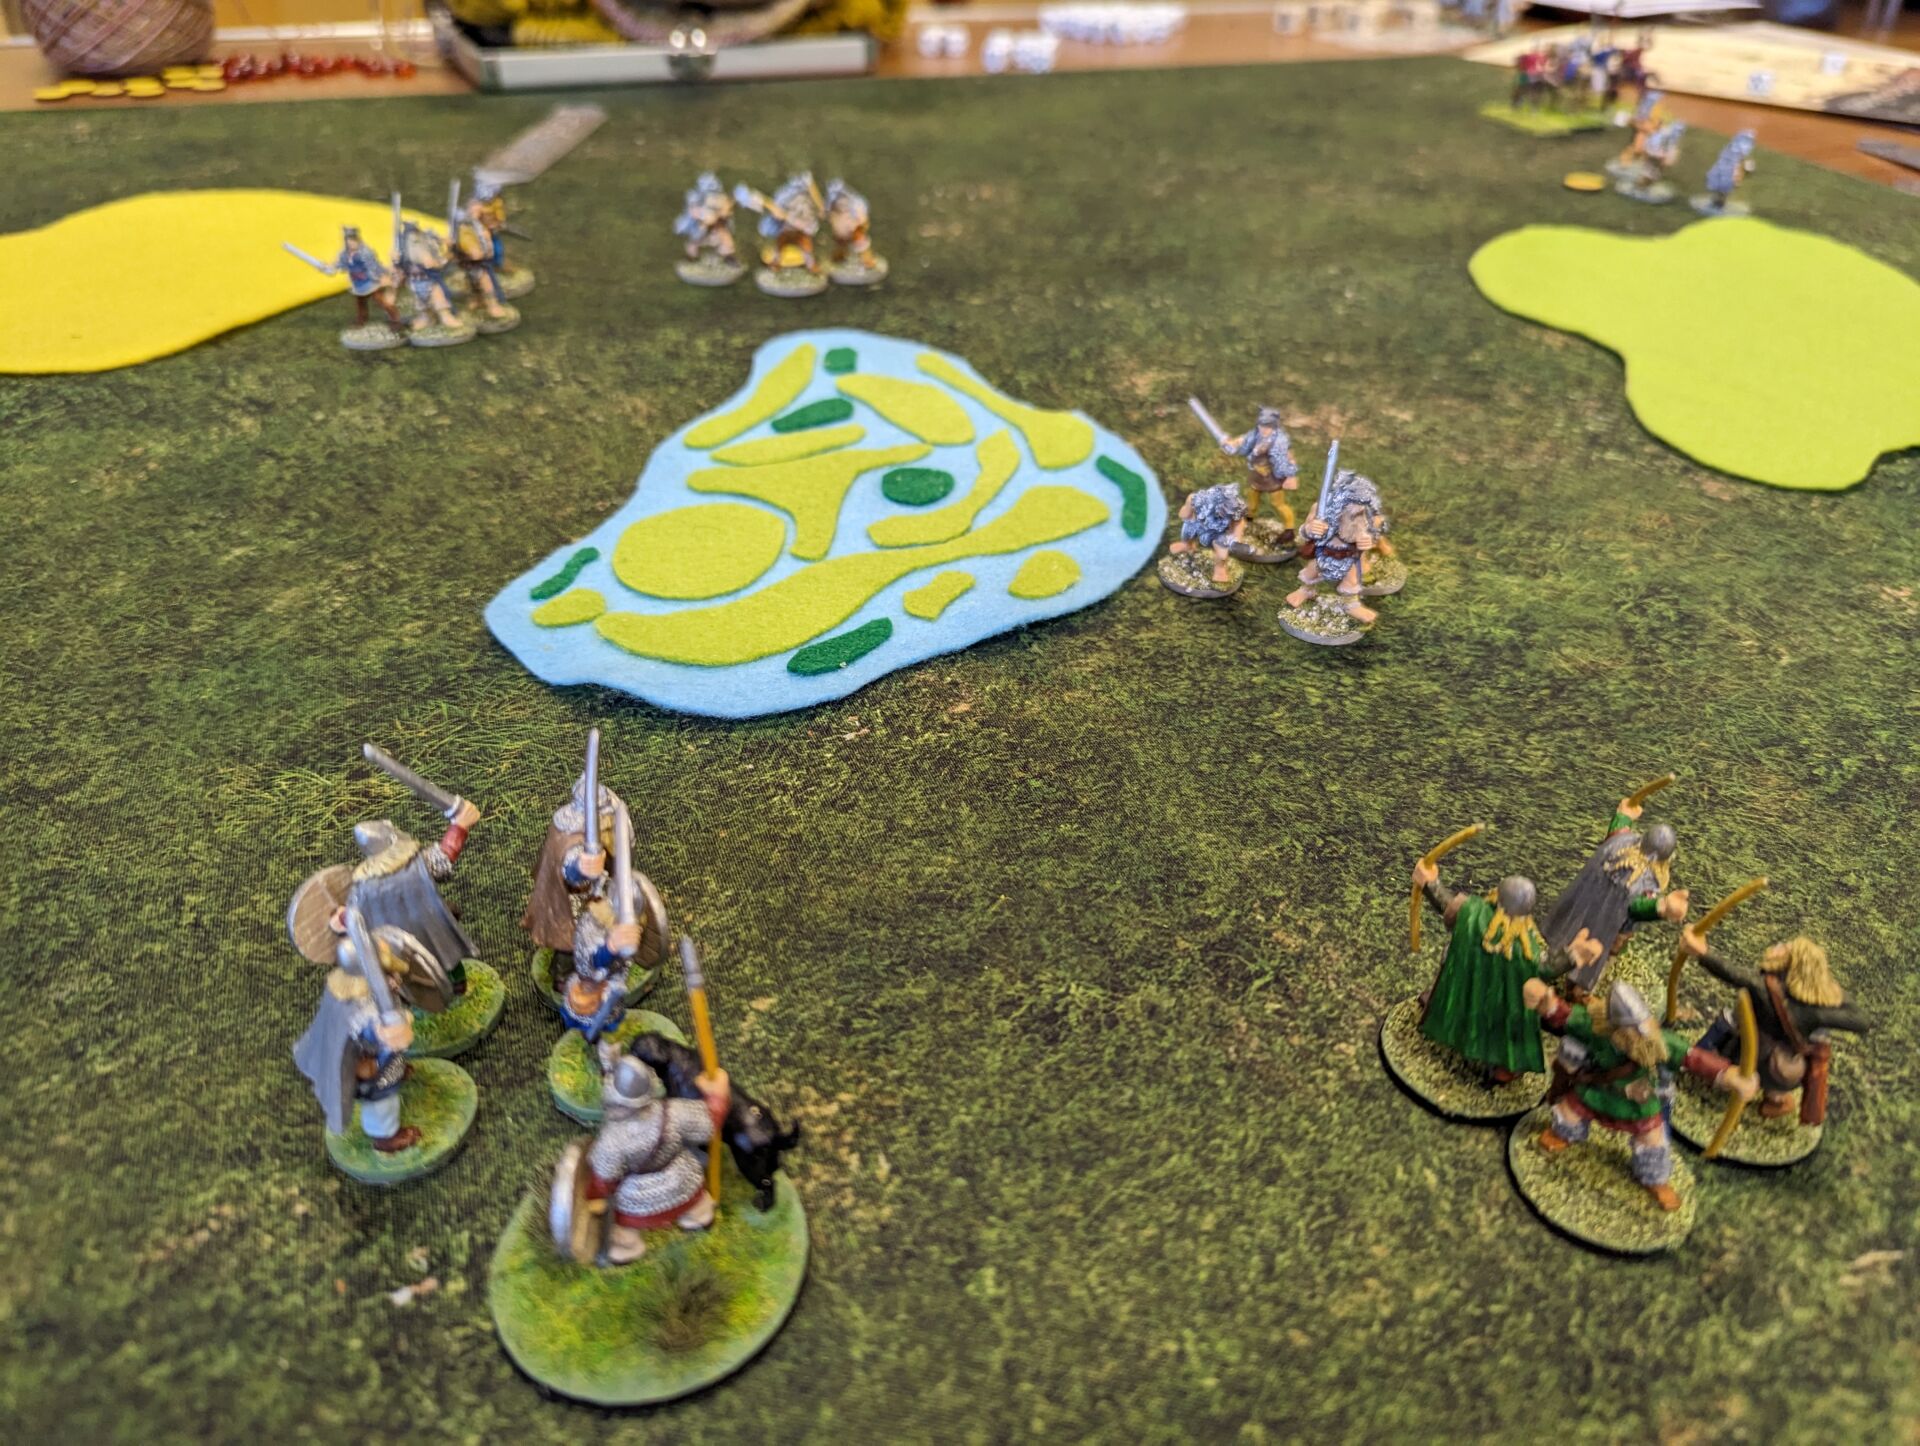
I used combinations of We Obey, Determination and activation dice to attack the front Jomsvikings with my one infantry Hearthguard unit and my warlord. My archers tried to soften them up first, but had no effect. I was using Valiant Hearts, which meant my units were counted as being larger than they actually were. Then I could also used Closed Ranks to give myself extra attack dice due to having a unit larger than the enemy.
My hearthguard unit killed one Jomsvikings, but suffered three dead themselves. My warlord, Athelstan, only managed to kill one Jomsviking, and took one hit himself which he used resilience to resist. What remained of my mounted unit charged the Jomsvikings on the flank. They were wiped out, but killed two of the enemy.
It was now time for the Jomsvikings to finish me off. Javelin attacks were used again, but they were ineffective. However, my Warlord was slain in melee as the Jomsvikings charged in. And that was it for the Anglo-Saxons.
We decided to end the game there, since there was now little I could do. Counting up the massacre points gave the Anglo-Saxons 13 to the Jomsvikings 36. It was an incredibly one sided victory. It was also a very quick game, finishing in a little over two hours including setup.
There were three problems I think in how the game went. Firstly, I forgot my javelins. These would give me a +1 on attacks in a charge. The Jomsvikings were often using my fatigue to increase their armour to 6, so a +1 would double the number of hits I’d get. Even against their usual armour of 5, it’s increasing my hits by 50%.
I’d also completely failed to see Unison, which allows me to move a couple of units without fatigue. The Jomsvikings were using Song of Steel to do the same, so were able to manoeuvre quickly without giving me the benefit of fatigue to make use of.
I also shouldn’t have gone aggressive at the start. I should have moved into a position where I could strike from next turn, saving up my saga dice and then concentrating my attacks rather than splitting them. My larger units were constrained somewhat by the terrain, but I think I could have done something better than I did.
Finally (four things!), I shouldn’t have taken archers. Instead I should have used warriors with javelins. Missile attacks against Jomsvikings is pointless, and Javelins give me a bonus on melee attacks.