Feasting and Pillaging
It was Saxons and Vikings again for Saga, with me playing the Anglo Saxons against a newish player (who had only played once before) fielding a Viking warband. We each had four point armies, playing the Feasting and Pillaging scenario. It’s a simple scenario, where there are three objectives to be grabbed and taken back to your side of the table. This made placement of terrain and units especially important, since we both needed to be in a position to be able to grab the loot and get back out as quickly as possible.
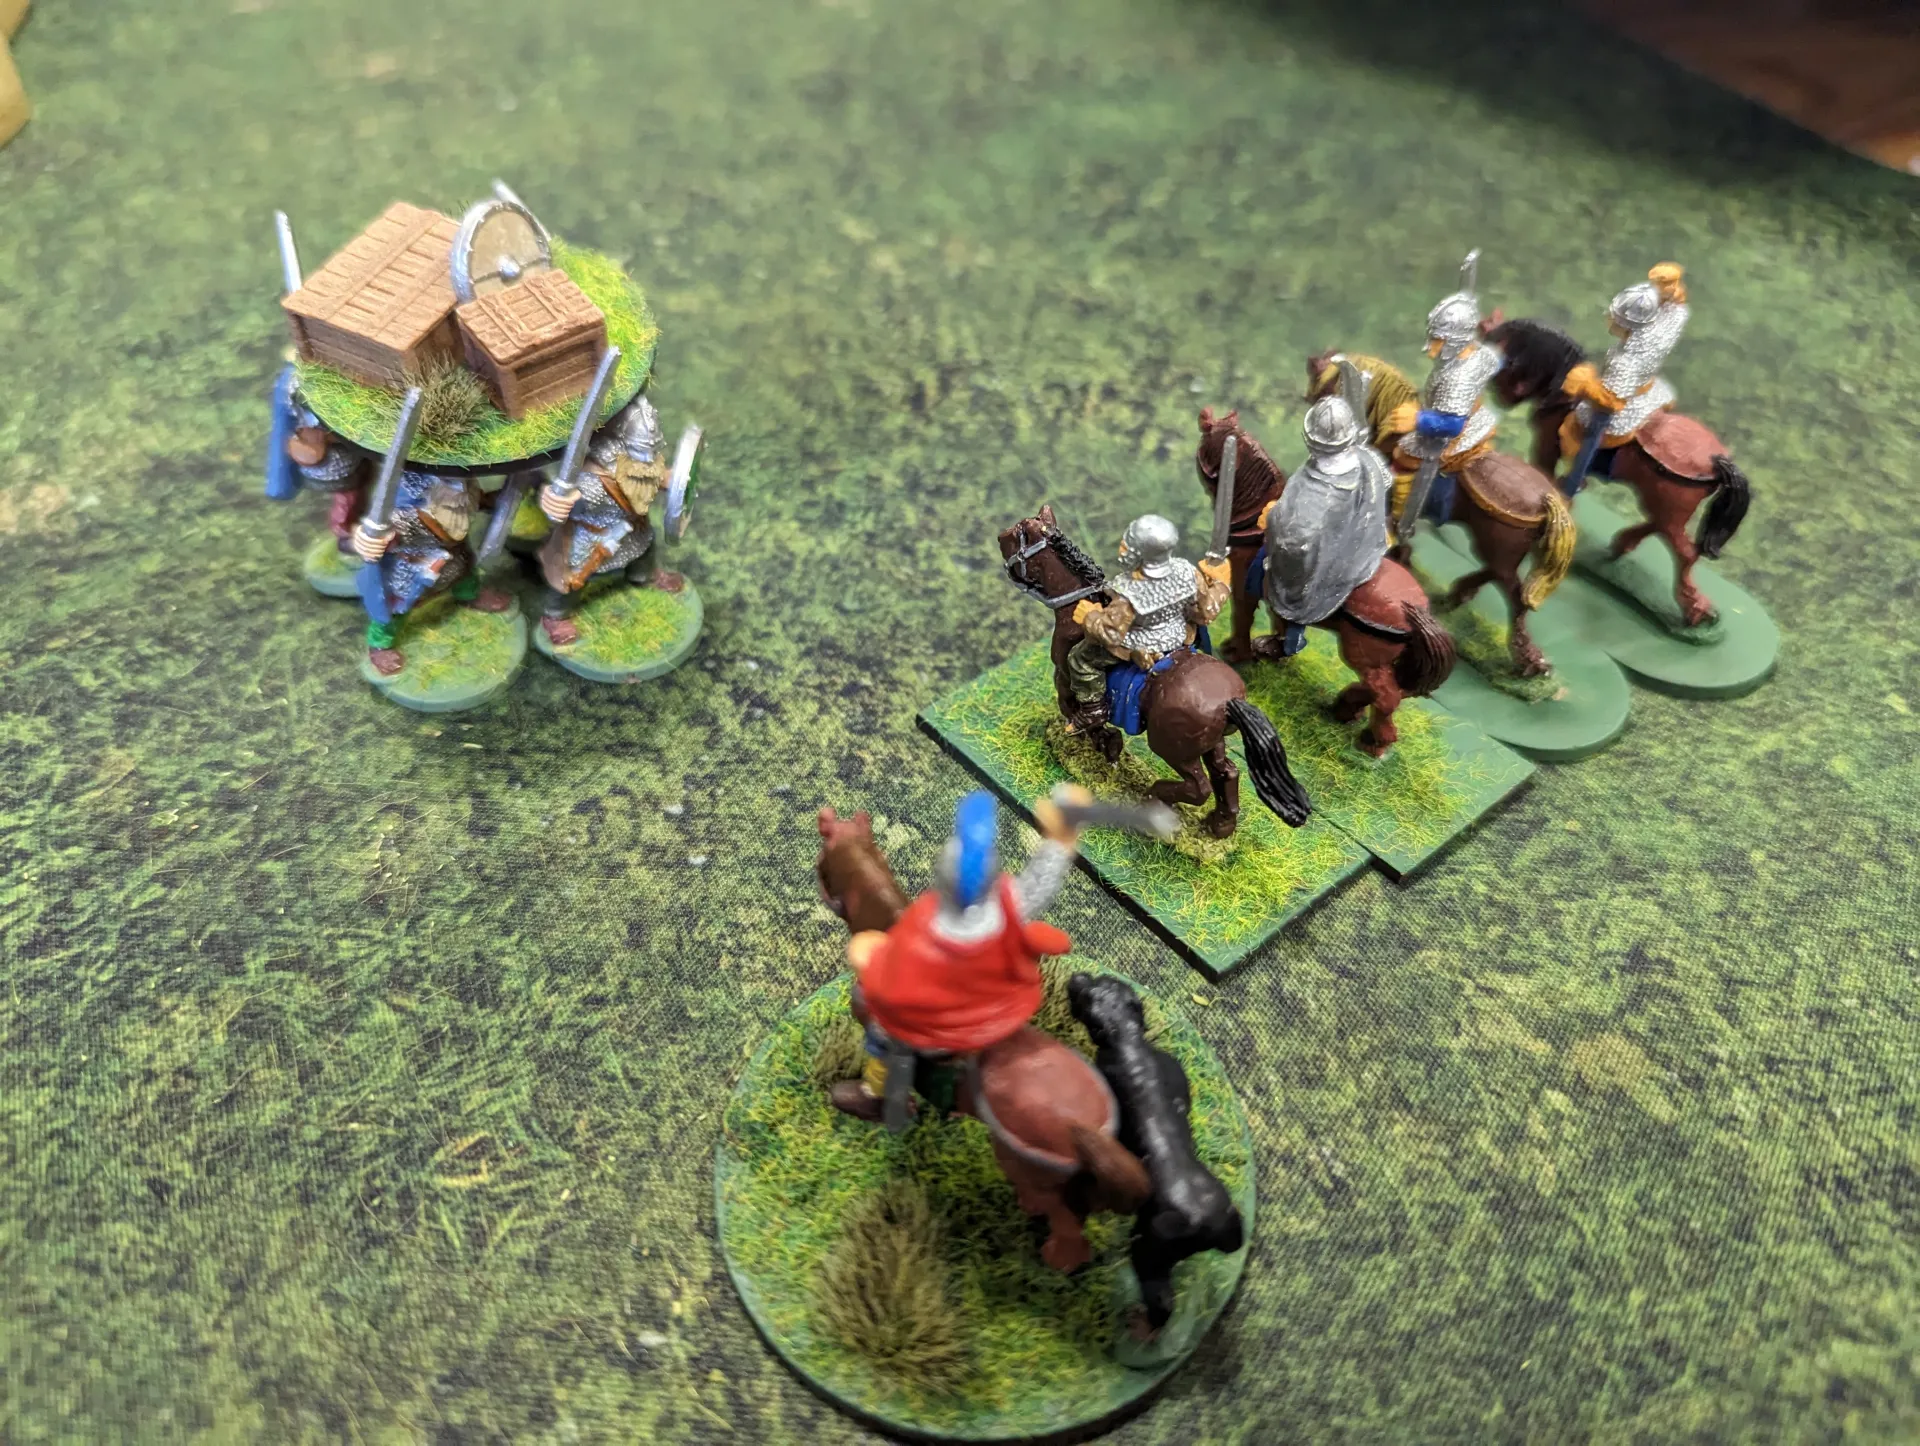
With only four points to play with, I went with a standard Anglo Saxon army. Spending a point on a legendary warlord would have really cut down my options. This meant I could only afford a single unit of four mounted hearthguards, rather than the usual two units of twelve mounted warriors.
As well as the mounted hearthguard, I took some hearthguard infantry, a unit of levy archers and a unit of warrior infantry. My warlord I also took as mounted.
I was facing a unit of hearthguards, a unit of berserkers, one unit of levy with javelins and a unit of warriors. This meant we were balanced in types of units, but I had the advantage of both speed (with my horses) and range (with my archers).
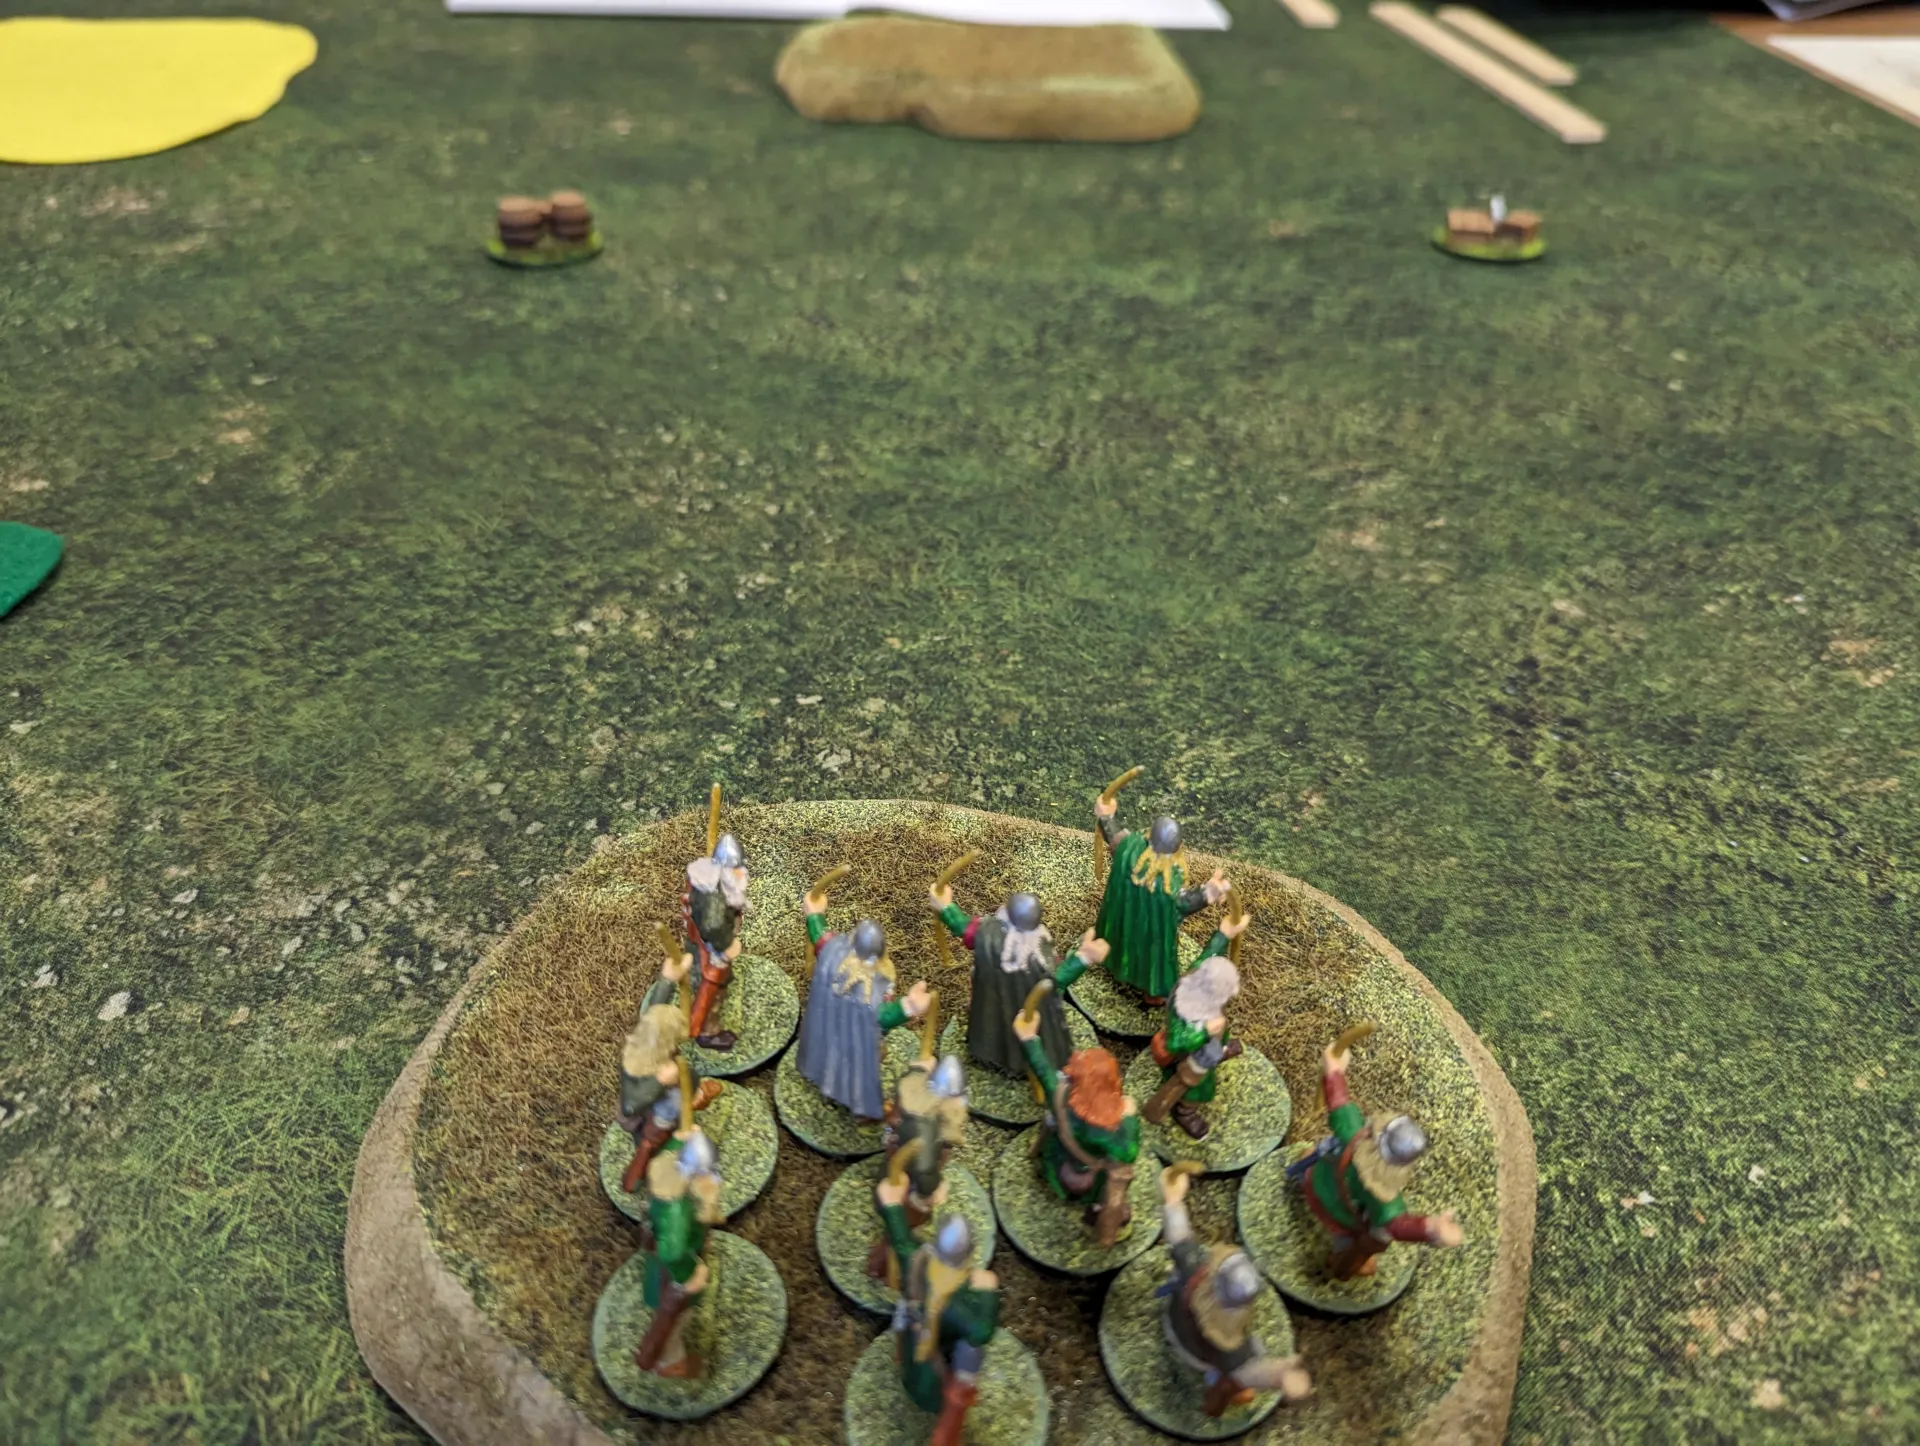
I placed my archers right in the middle, giving them a good view of the centre of the battle field. I could have aimed to hide them in the woods, but I wanted them to have some manoeuvrability. My plan was to possibly ‘let’ the Vikings take the central loot token, but force them to pay with it with their lives.
I placed by warriors on the western flank, where they could head for the western loot. There was a field between it and the Viking side of the table, so it would be hard for the Vikings to reach it.
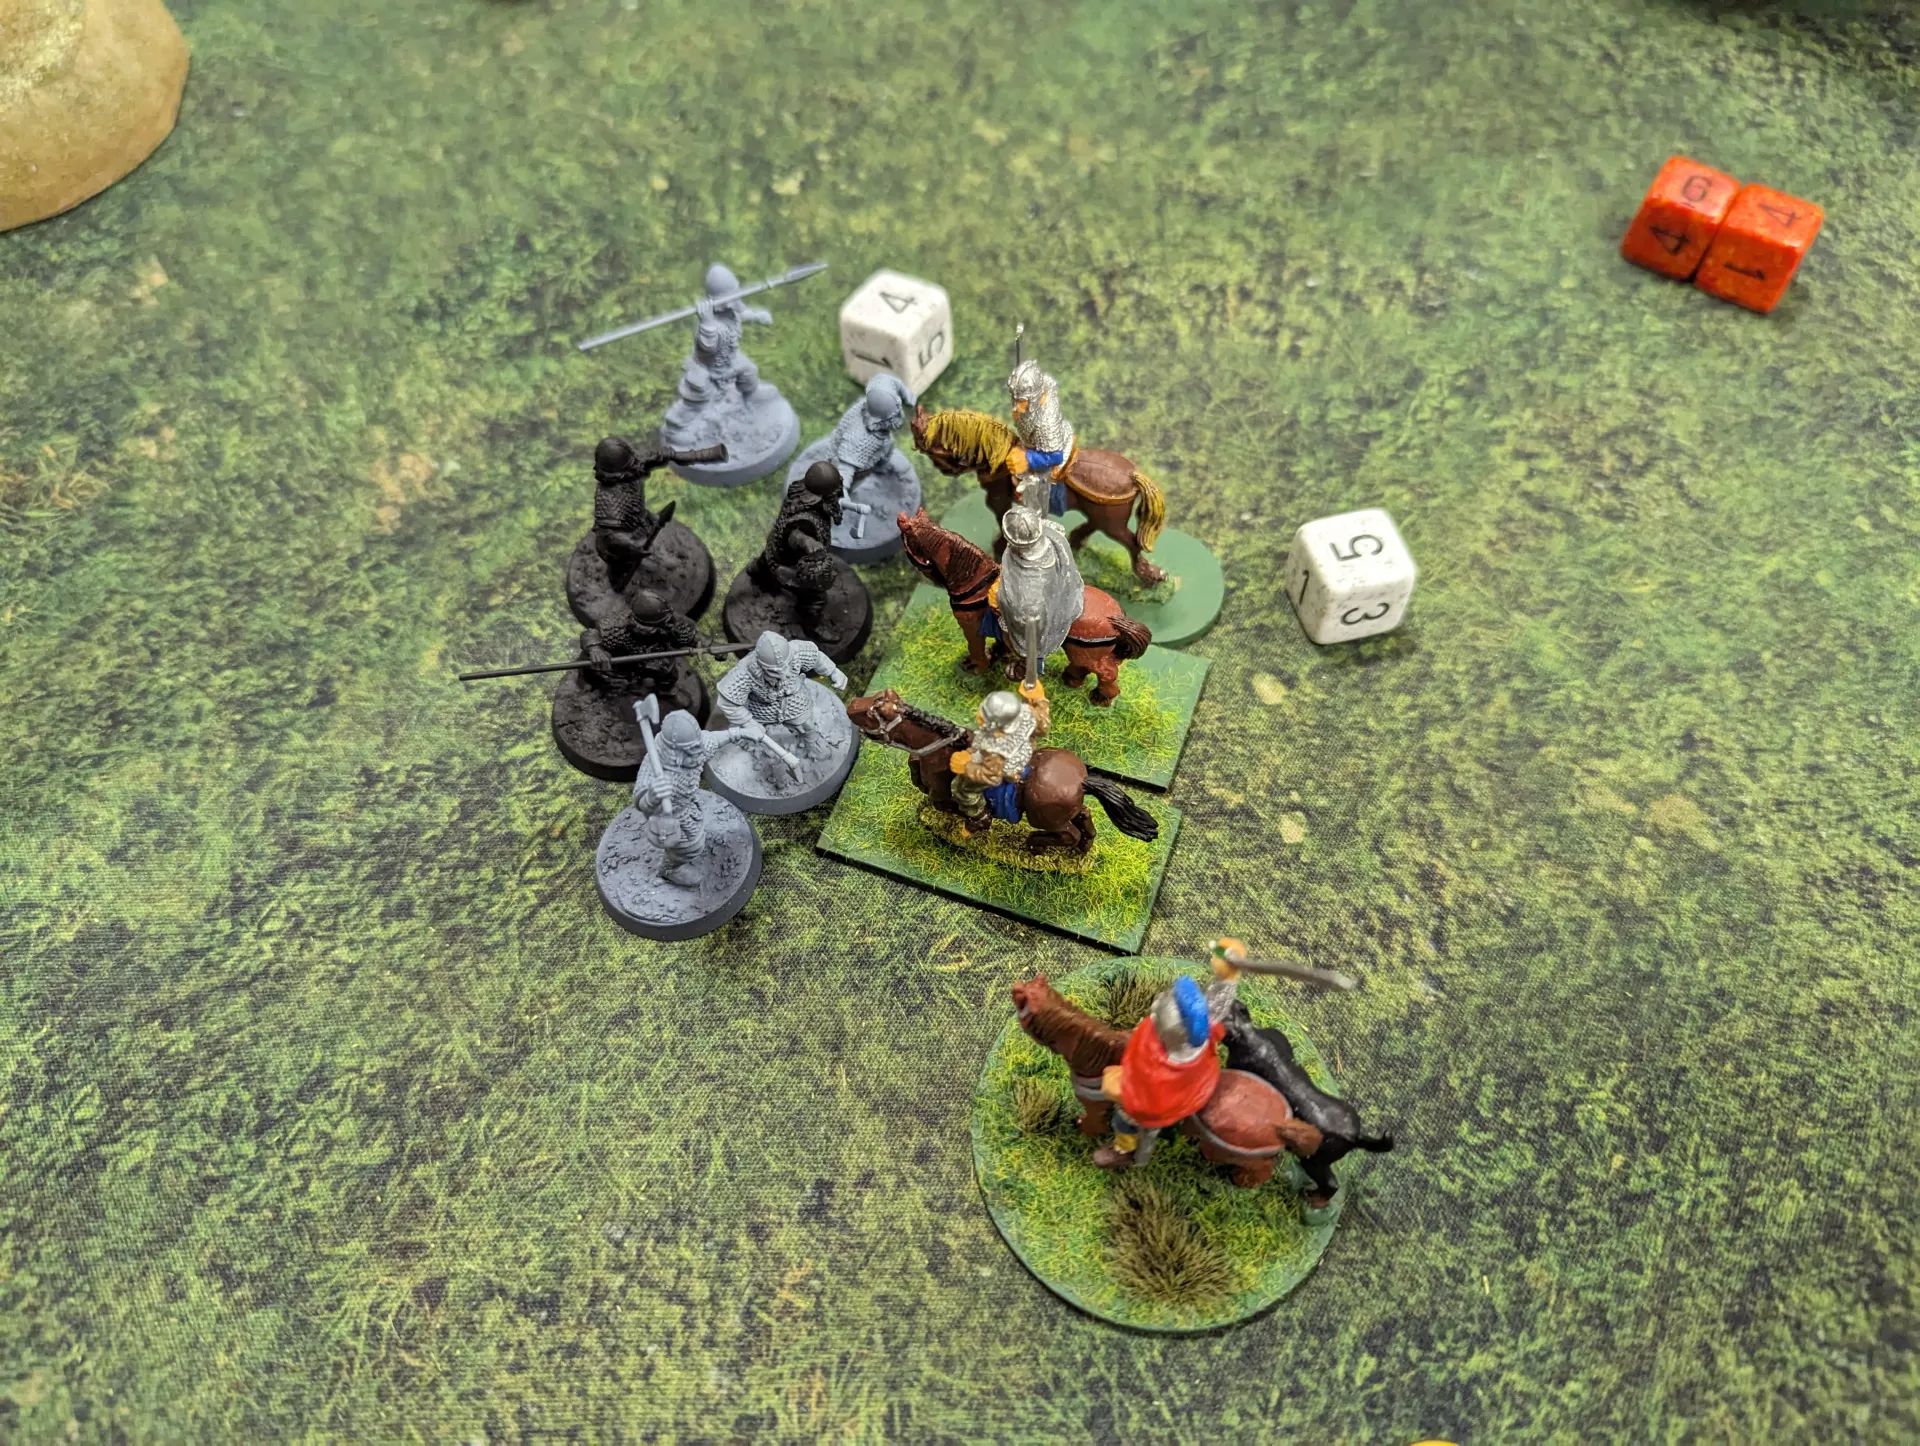
The vikings then deployed their army, focusing on the centre and Eastern flank. I then deployed by final troops, putting all my hearthguard next to my Warlord on the Eastern flank. After the previous week, I wanted my warlord close to enough hearthguards to act as bodyguards.

In my first turn, I only had three Saga Dice to use, but it was enough. Using manoeuvre, I could move everyone forward. Then a combination of We Obey, Determination and Saga Dice was enough to grab the eastern most of the loot objectives. I had some fatigue, but I was hoping that it would be worth it.
The Vikings managed a similar achievement with the middle objective, and also moved their levies and warriors on the Eastern flank up a bit.
For turn two, I used my archers to shoot at the viking loot bearers, killing only one of them.
I then charged my mounted hearthguard forward to engage the levies. They had javelins, so would be a dangerous annoyance if they got within throwing range of me, or managed to charge themselves. Using Clash of Shields, I removed all their attack dice so they were unable to fight back, and killed five of them. They fell back, then much to the annoyance of the vikings I did another movement (gaining a second fatigue marker) to fall back myself. I didn’t want to be left where two units were in charge range of me.
I was also able to grab the Western loot with my warriors, who were pretty unopposed.
The Vikings started trying to get their loot back home, and moved some of their forces forward to begin threatening me.

Turn three, I rested my mounted heathguard. By now the unit of berserkers was in range of my archers, so I shot at them and killed two of them. Berserkers can be really nasty if used correctly, but I’ve found them really hard to use correctly. They are extremely fragile, and die quickly if exposed to missile fire. The trick I think is to bring them in under cover of another unit, then bring them out in front only when they’re ready to charge. I like the concept of the unit, but I’ve rarely succeeded in using them well myself.
I also moved my archers back, since I didn’t want them being charged. By this point I’d decided to ‘let’ the Vikings take the central objective. The Western one I now had unopposed, so the important thing would be to protect the Eastern one which was under the most threat.
I was playing a very defensive game – not something that I normally do. It seemed to be paying off.
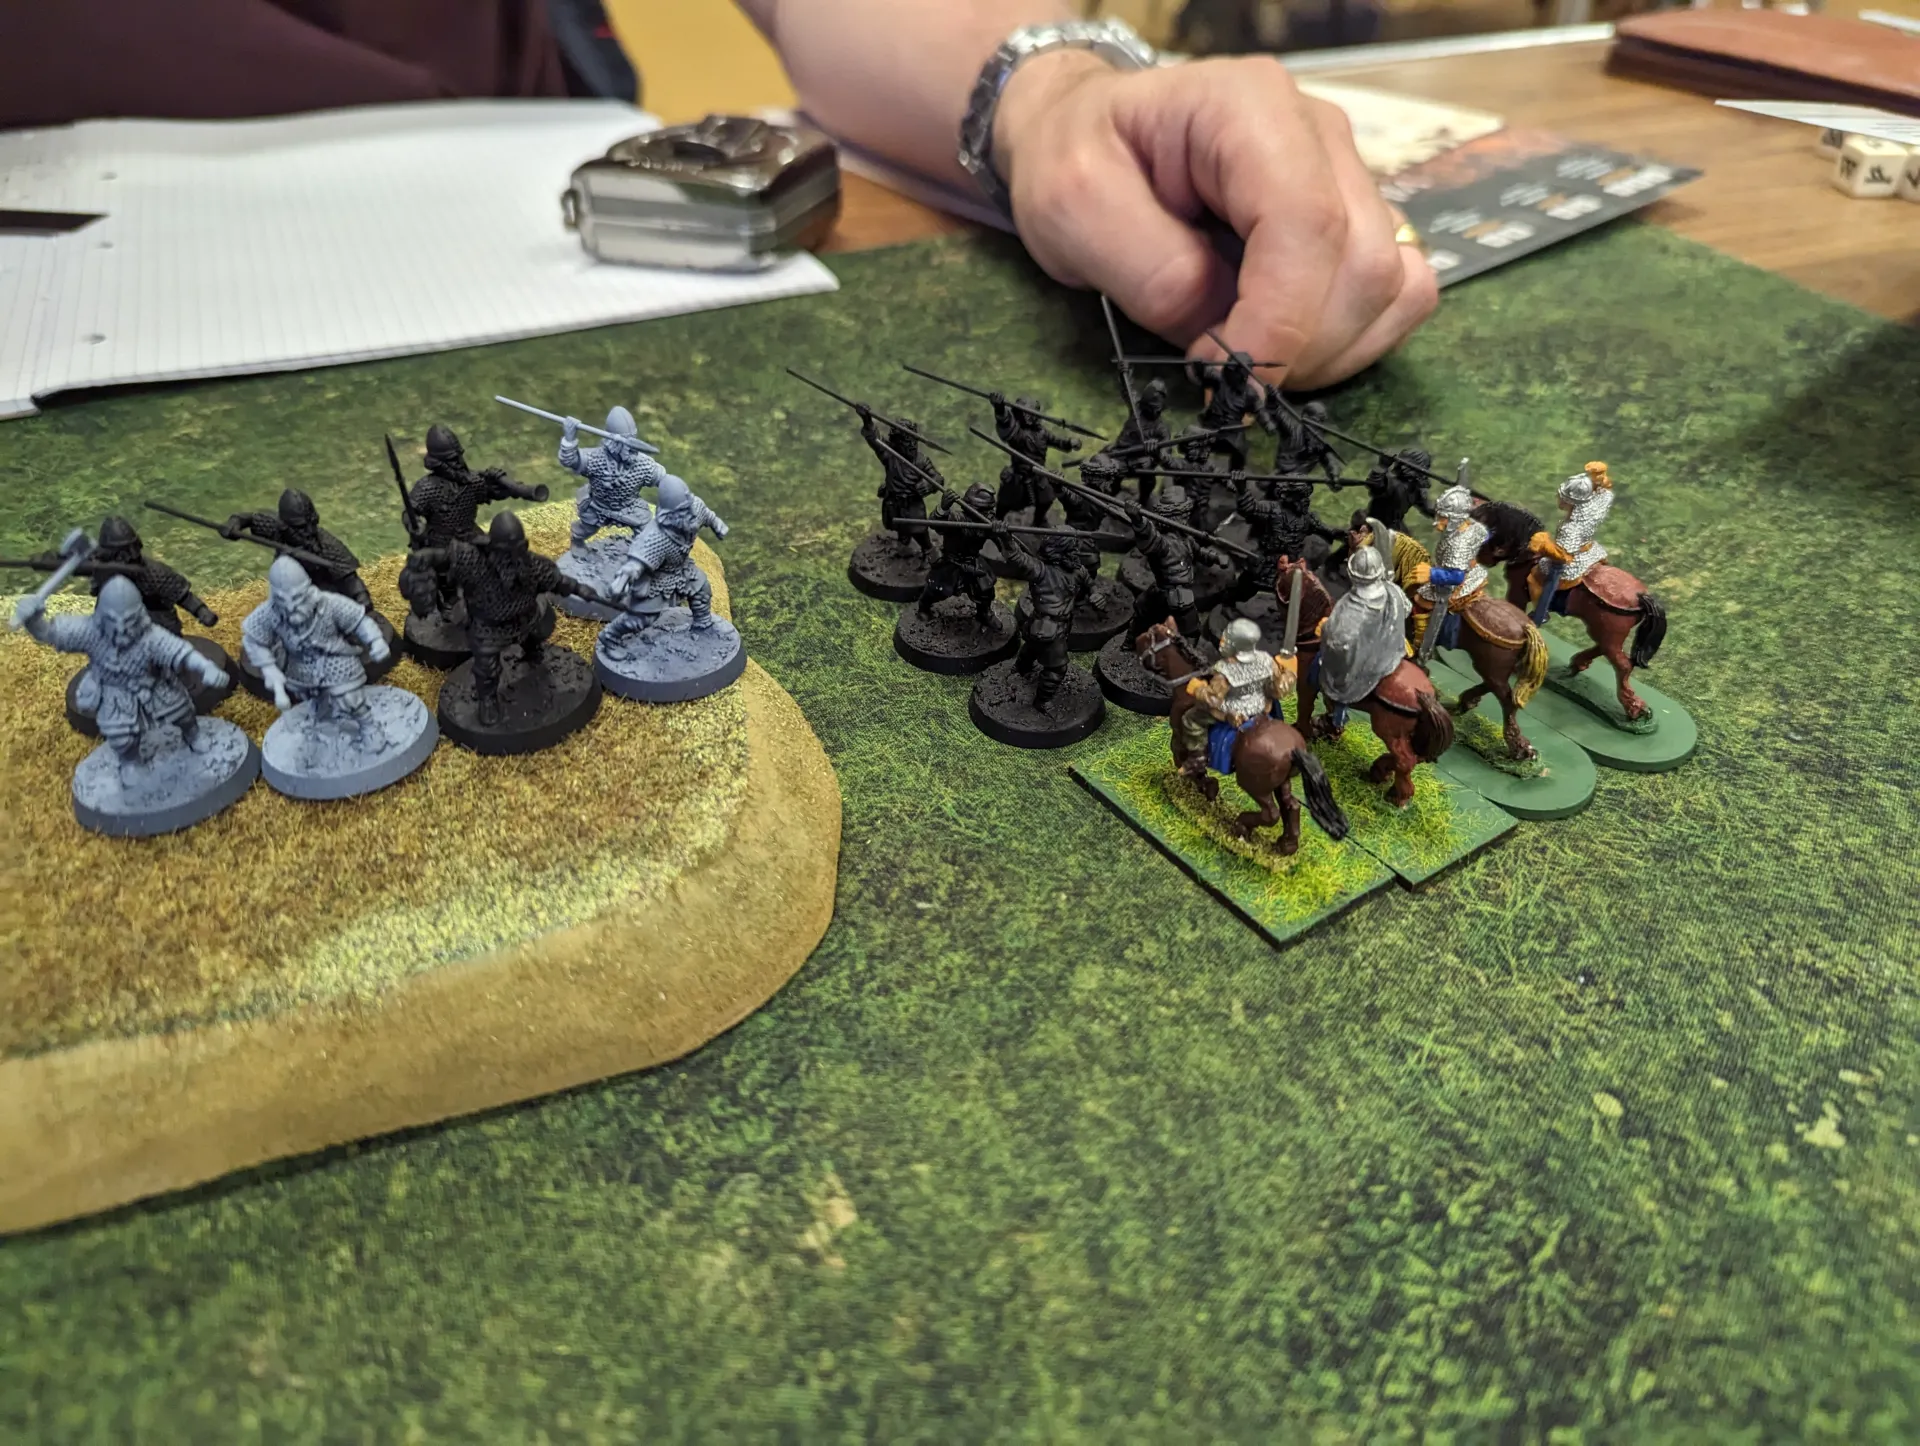
The Vikings made some gains though in their half of turn three. Their warriors charged my mounted hearthguards, killing one of them in exchange for one Viking warrior. They used a good combination of Ullr, Thor and Heimdall to chain up their bonuses, which I only partially mitigated with Clash of Shields. We both rolled badly. The Vikings fell back.
The Vikings had enough activation dice to charge back in though. We were both out of saga abilities to use, and this time luck was on the side of the Vikings. Three Saxons died to one Viking. My mounted hearthguard had been wiped out.
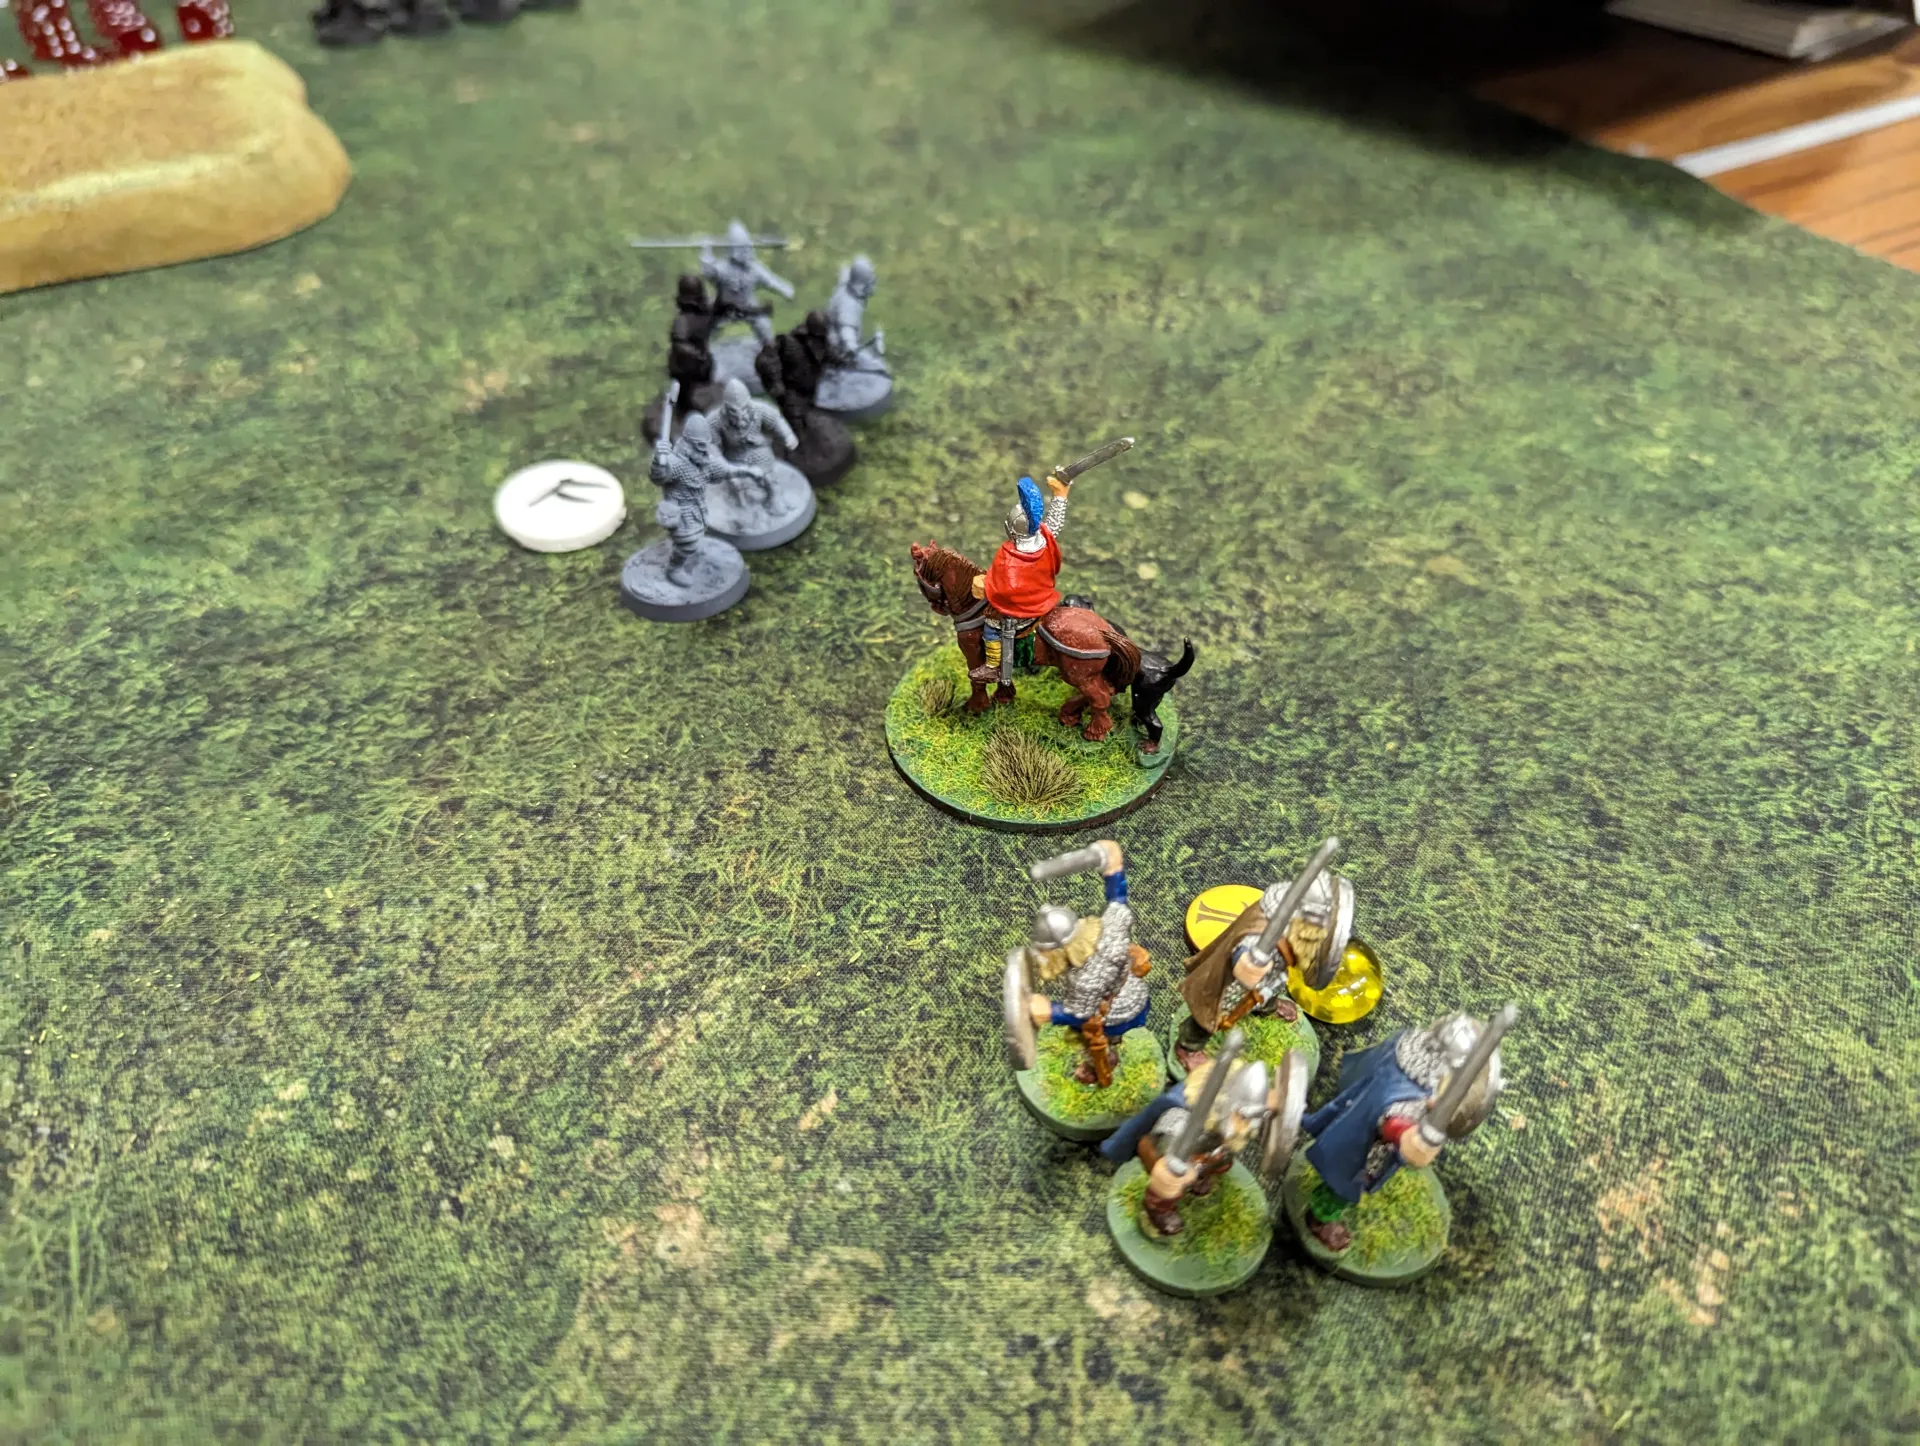
So turn four started with my Warlord feeling somewhat vulnerable. I had some hearthguard as bodyguards nearby, but they were carrying the loot. Some warriors were close, and berserkers and the Viking warlord weren’t far away.
My main aim was to take out the berserkers – which I completely failed to do with a volley of arrows from my archers. The Vikings got lucky and saved all hits. Fortunately I had enough activations to shoot again, and this time I killed the remaining two.
One advantage that the Saxons have is that their activation dice is based on unit size, so you have a lot more flexibility with activations. A large unit of levies is activated the same as hearthguards and heroes, so as long as the Saxons can keep their unit size up, levies are much easier to use.
I also moved my Warlord and loot bearers back, to give them some protection.
For the Viking turn, they rolled their first yew (ᛇ) rune of the game. They got their loot off the board, and then charged my warlord with theirs. He had no bodyguards to rely on, and ended up getting exhausted and the Saxons only gained a single fatigue. The warriors then moved in on my hearthguard, killing none of them but losing four themselves.
Turn five, I got all my loot off the board, shot and killed the Viking warlord and retreated my own warlord and archers out of combat range. It was a level of cowardice that the Vikings had not been expecting, but I was more interested in preserving my forces than engaging in unnecessary combat.
At this point the Vikings conceded the game.
It had been a good game, and I think also a good learning experience. I think it did demonstrate some of the nice features of Saga – the way that saga abilities and fatigue can be used to chain effects together and also counter each other. It adds a tactical layer to the game which you don’t get with a simple rolling of dice for hits and saves.
It does require more planning, and makes it a bit more gamy compared to systems where it’s simply about position and manoeuvre. It does move the planning out of army design (there aren’t too many options when putting together an army) and into the actual game itself. Which I like.