Invasions Rematch
After last week’s disastrous outing for the Britons, it was time to have a rematch. This time I played the attacking Saxons and my partner took on the role of the defending Britons. Once again we had four point armies and we were fighting over livestock. One small complication this week was that the club was ‘upstairs’, which meant smaller tables, so we didn’t have much room to put things like battle boards and books to the side of the actual gaming area.
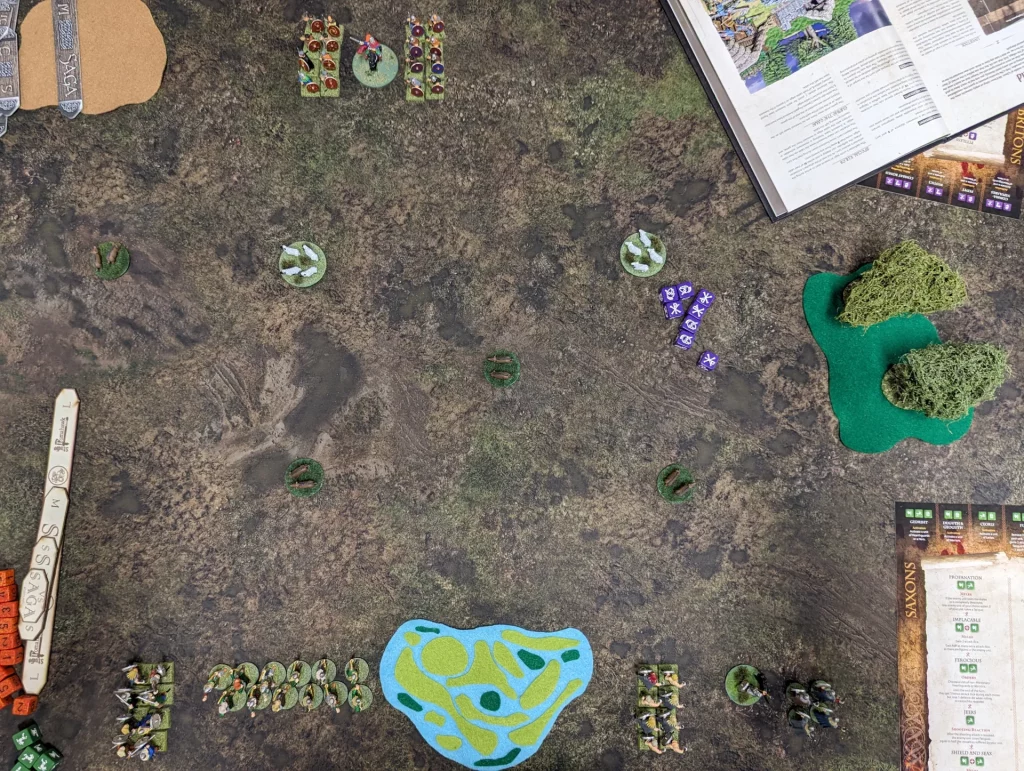
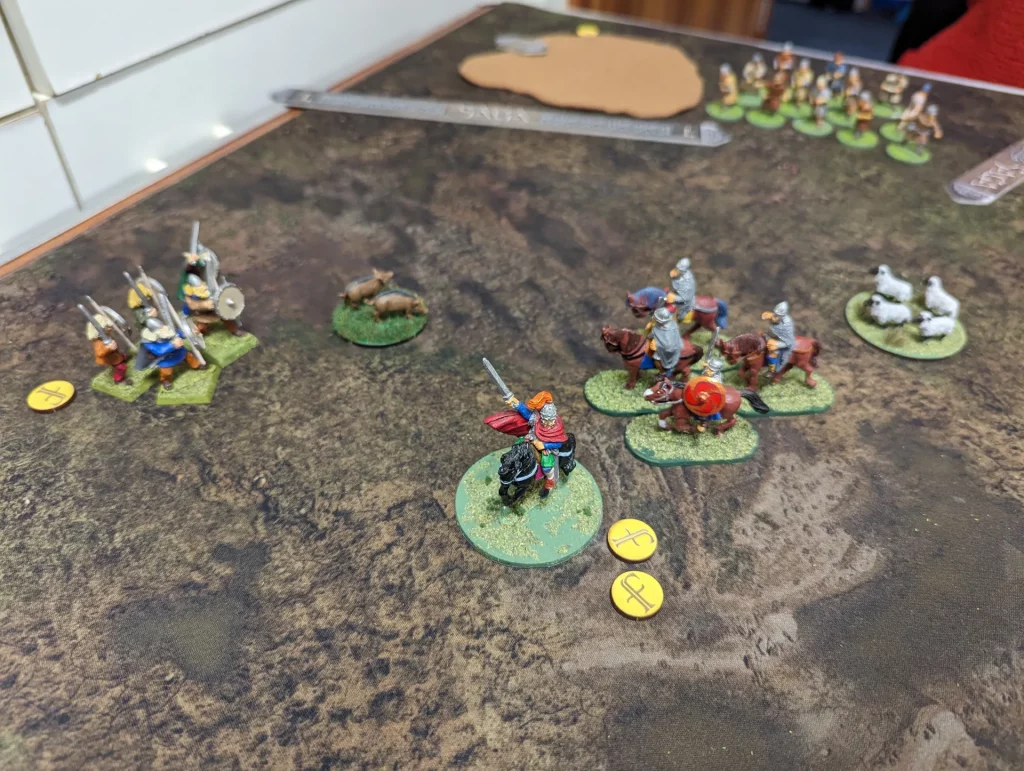
The defender got to place some swamp in the middle of my deployment area, which split my attacking Saxon warband into two. My aim was to try and grab as much of the livestock as possible to get it back towards my end of the table. The defenders deployed their three units with two groups of warriors and their warlord.
In turn one, I only had three dice, and used manoeuvre (which I had to be reminded about – it’s the free movement action which I always forget) to move up the board. With We Obey I managed to get up to three units of pigs ready to start pulling them back next turn.
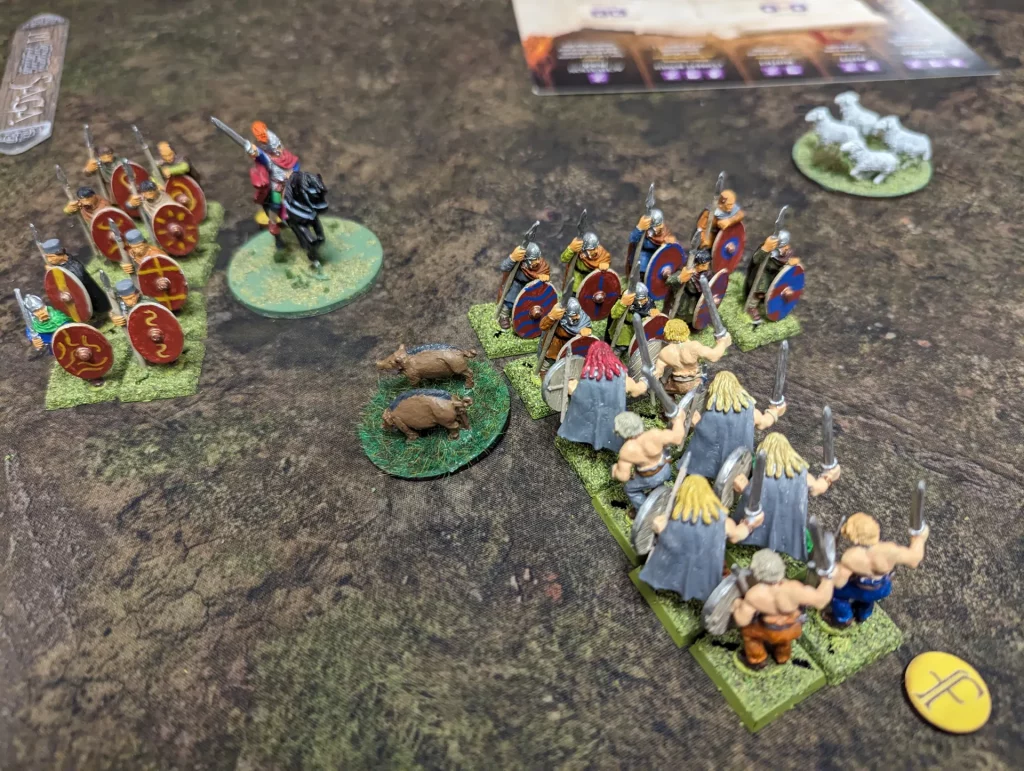
When the Britons activated they went full on aggressive, attacking my central warriors. Call to Arms was used to give a unit of Briton warriors a move with a bonus distance, and Wall of Steel gave them bonus attack dice when they charged my warriors. This gave them a large advantage over my warriors, and they got 9 hits and 5 kills. The Saxons got 4 hits and 1 kill, so my Saxons lost and were forced back.
Since I’d lost more than half my unit of warriors, I was now also down a Saga die.
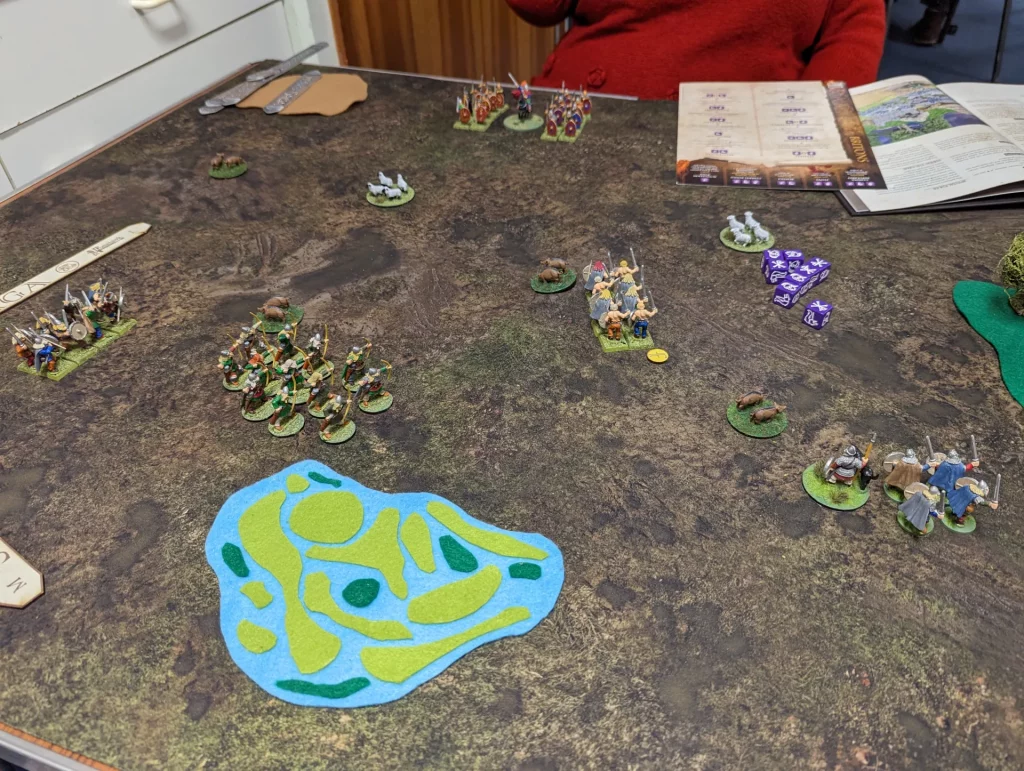
Turn two started, and there was an opening for my archers. They headed up to get a clear shot at the Briton warlord, but with even two volleys of shooting they failed to get any unsaved hits on him. He was using Shieldwall for the first round of shooting (counts as being in light cover, and extra defence dice) which didn’t help, but my second round was just as ineffective.
But, at least I managed to start moving some animals back towards my table edge. Two bases of animals were moved backwards twice.
The Britons started their turn with a unit of mounted hearthguards coming onto the table, and then their warriors charged my levee archers. The Saxon archers got zero kills, the Briton warriors got four kills, driving me backwards.

The Briton warriors then charged what was left of my warriors, wiping them out, and the best I could do was to kill one of them in return.
At the start of turn three, I rolled all axes on the saga dice, which didn’t give me many options. I could’t activate my archers, so my western warriors moved up to grab the pigs there, and my warlord managed to get one base of pigs off the table, giving me a guaranteed three points.
The Britons start by bringing on their last unit – their levee slingers. I’ve had a saga die sitting on Jeers since turn one, which gives me a reaction against shooting. This has been a waste since the Britons haven’t even had any missile troops on the table. I would have been better off putting my die elsewhere.
Another wasted die for the Saxons was Profanation, which allows me to put fatigue on an enemy unit if I win a melee. I haven’t won any melees, or even been in a situation where I thought I might win a melee, so this was another wasted choice.
Anyway, the Britons start taking pigs back towards their table edge, and attack my archers with their warriors (again). I manage to take down a single warrior, at the cost of 4 of my archers killed. Which meant that I was down another die. At least I was able to fall my archers back to where I wanted them to be – next to a base of pigs.
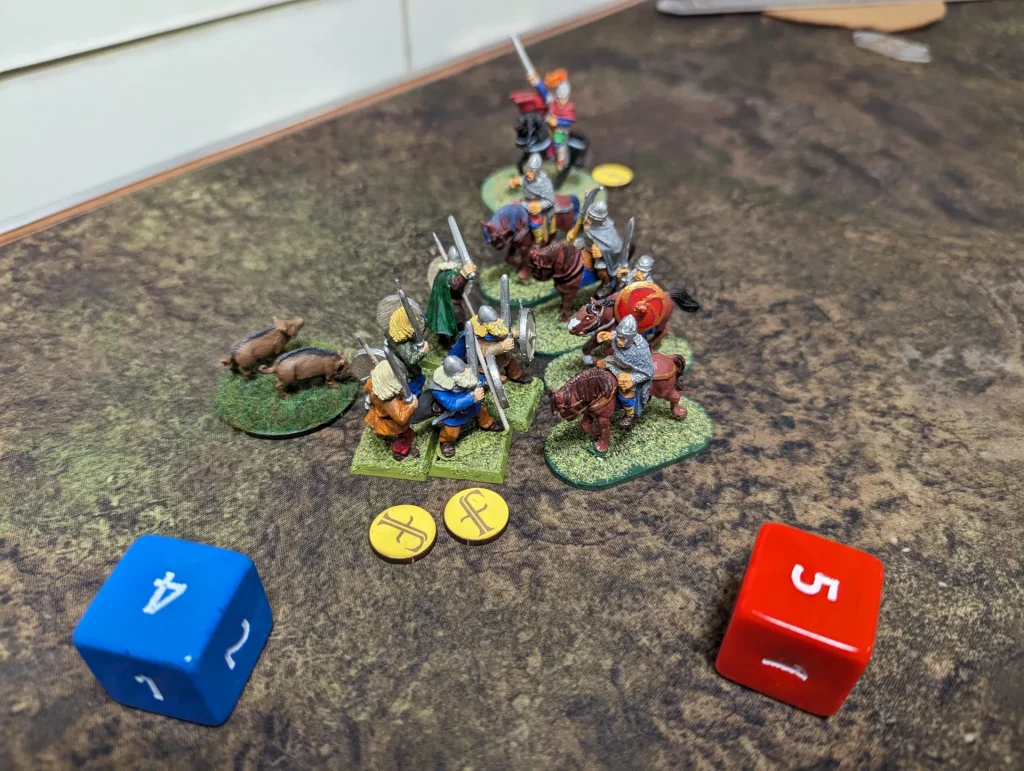
Finally, the hearthguards and warlord move into position to attack my warriors in the west. They stack up various board abilities as the Briton warlord charges in. I decide to use Profanation at this point – not because I think I’m going to win, but because I’m unlikely to find a use for it later on.
I get one hit in, which is soaked by resilience, and the Warlord kills three of my warriors. I have to fall back, but again I manage to stay close to the pigs.
Turn four, and the Saxons just try to get some livestock over their table edge. They don’t manage to score any points, but at least we’re closer to doing so. The best I can hope for is to get three livestock bases off my table edge, which would give me nine points. This would win me the game, but I’m not thinking that this is likely. I’m expecting two (so six points), since my warriors are likely to be killed by the hearthguard and warlord of the Britons.
The Britons do indeed wipe out my warriors with their hearthguard, and the Briton rear guard start making claim to the sheep.
Turn five, I get my second unit of livestock off the table, and because I can’t do much else, charge the Briton warriors with my hearth guard, killing five of them for a cost of one of mine. My plan had been to try and get my warlord and hearthguard over to the western table edge to grab the third base of pigs from the Briton warlord, but it was too far.
The Britons move the livestock they have further back, and in turn six we finish up. I manage to shoot at the Briton warlord again, but again completely miss.
By the end of the game, the Saxons have six points and the Britons have eight points, giving victory to the Britons this time. So, another loss for me, but not as bad as last time.
The Briton tactic of reducing my Saga dice worked in their favour, and I was never able to make solid attacks where they were effective. I had some bad dice rolls a couple of times when it counted, but it mostly came down to not having good tactics on use of the battle board and how I deployed my troops.