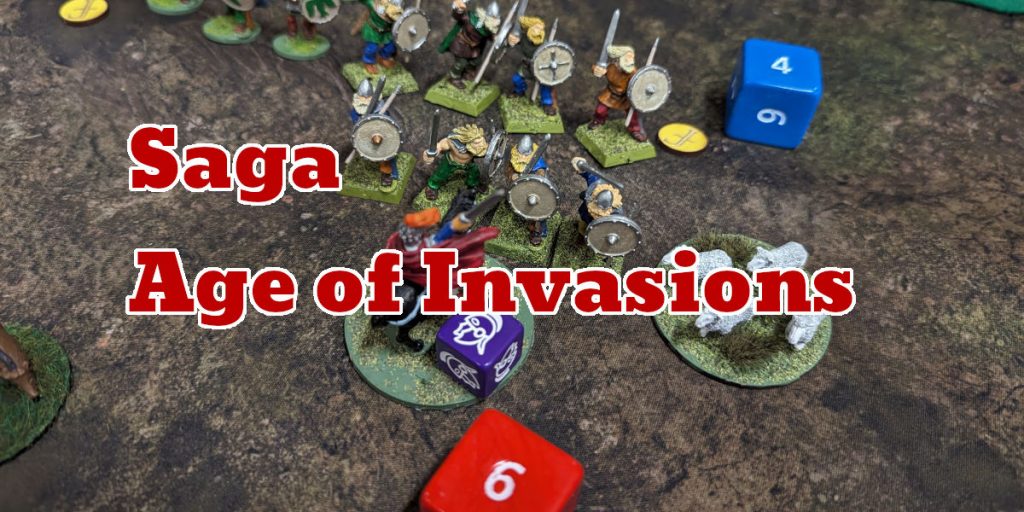
Age of Invasions
What I like about Saga is the variation between the different factions. A game like Lion Rampant has a nice clean set of rules, and provides a lot of flexibility in how you build armies, but there’s not that much which is unique between different armies. The battle boards in Saga provide a very unique style to each faction, each of which can require very different tactics.
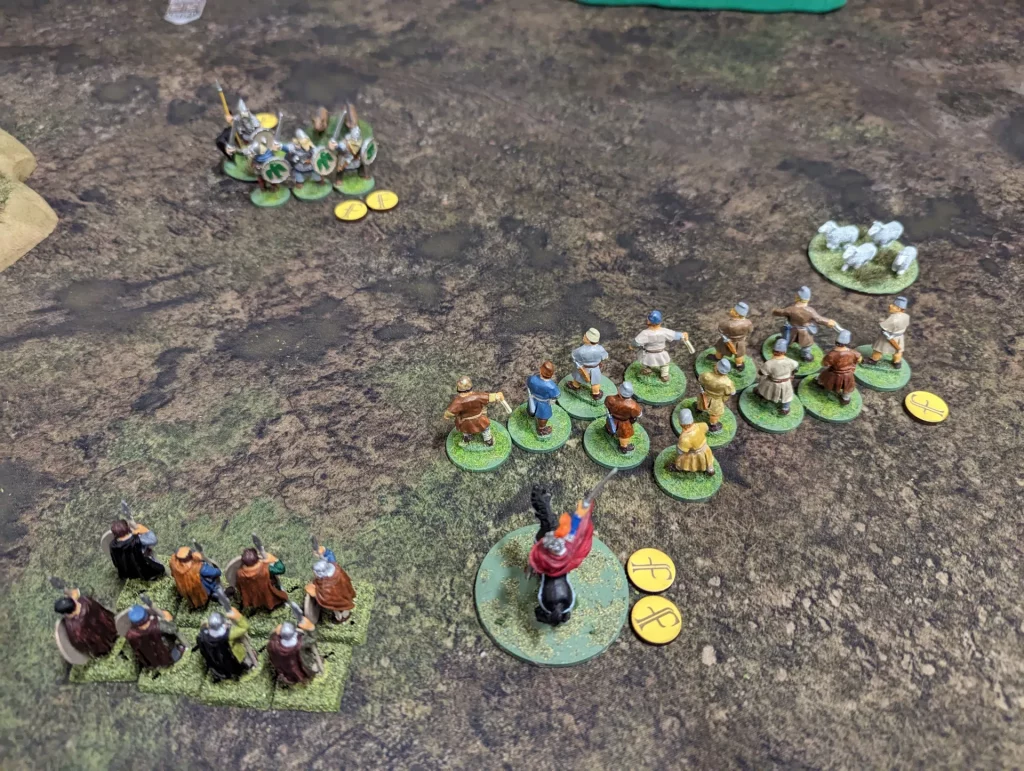
So far all our Saga games have been with either Age of Vikings or Age of Magic. So our first game of Age of Invasions was an interesting exploration of a different period and completely different armies. I’ve been wanting to try out my Romans army, but they’re still a long way from being painted, so I put together Briton and Saxon armies from my collection of random figures. I had enough for two four point armies, so we had a small game of Cattle Raiding.
The Romano British army, which I played, was made up of figures I’d bought almost twenty years ago for Warhammer Historical armies. The advantage of playing historical is that figures are very transferable between rule systems. The only thing that really changes is basing. Most of the figures that I’ve been using for Saga I’ve re-based on round bases (which I prefer the look of), but some still have the old plastic square bases of Warhammer.
The Saxon army was able to take figures from my Anglo-Saxon Age of Vikings army (though their shields probably need to be changed, since they are more Viking in style). Both armies had a single unit of Huscurls (mounted for the Britons), two units of warriors and a unit of Levees with bows or slings. We played ‘The Cattle Raid’ scenario from the Age of Invasions book.
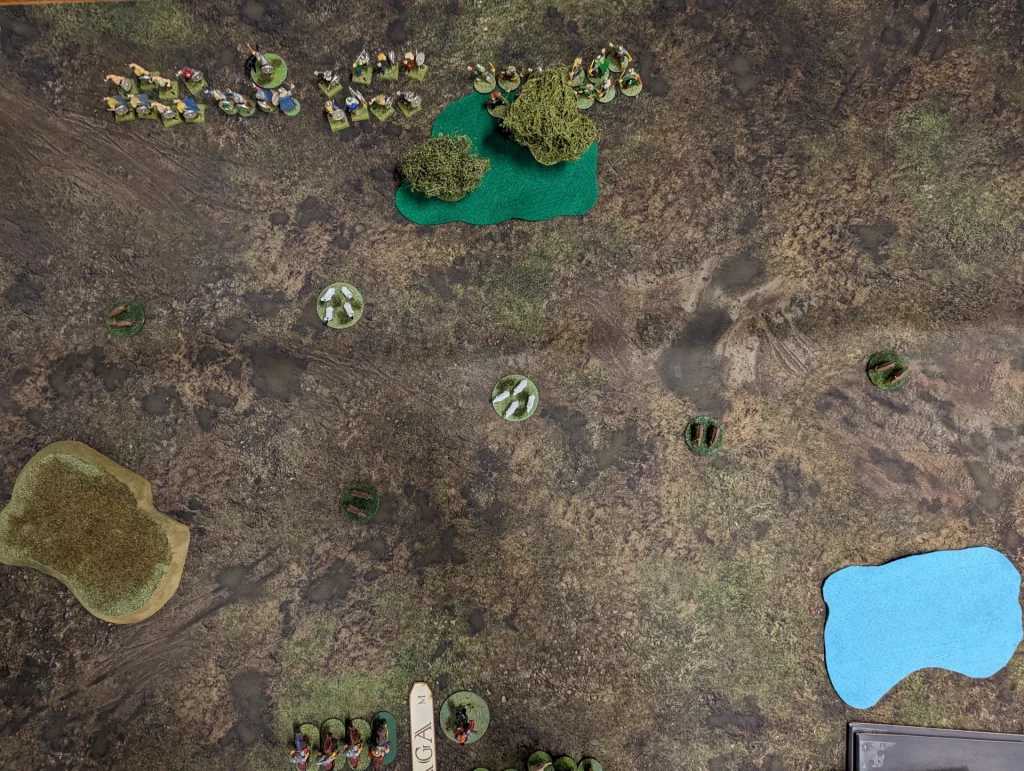
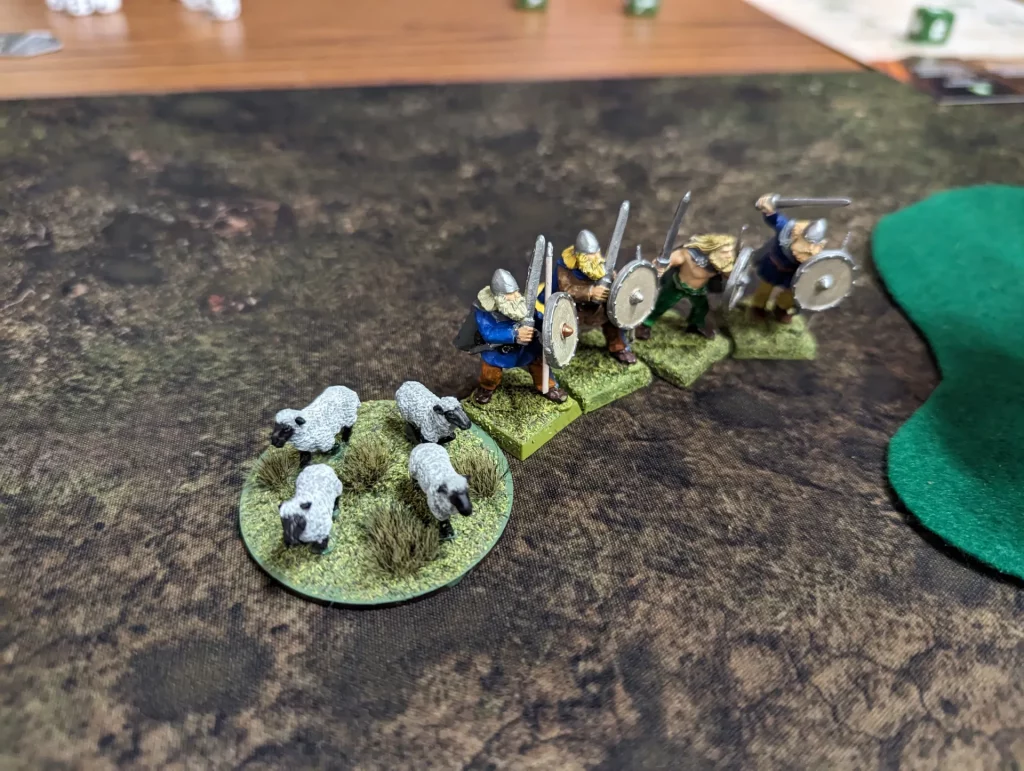
The scenario opens with six livestock bases on the table, and the Saxons having deployed their entire army. The Britons (defending) have noticed the raid, but only have half their warband assembled on the table. The remaining two units will come onto the table over the next couple of turns.
Turn One opens with the Saxons using Manoeuvre to rapidly move forward and claim as much of the livestock as they could. The Briton’s board is quite defensive, and a lot of the battle board options require the warband to stick together (you get extra bonuses if you are close to the warlord).
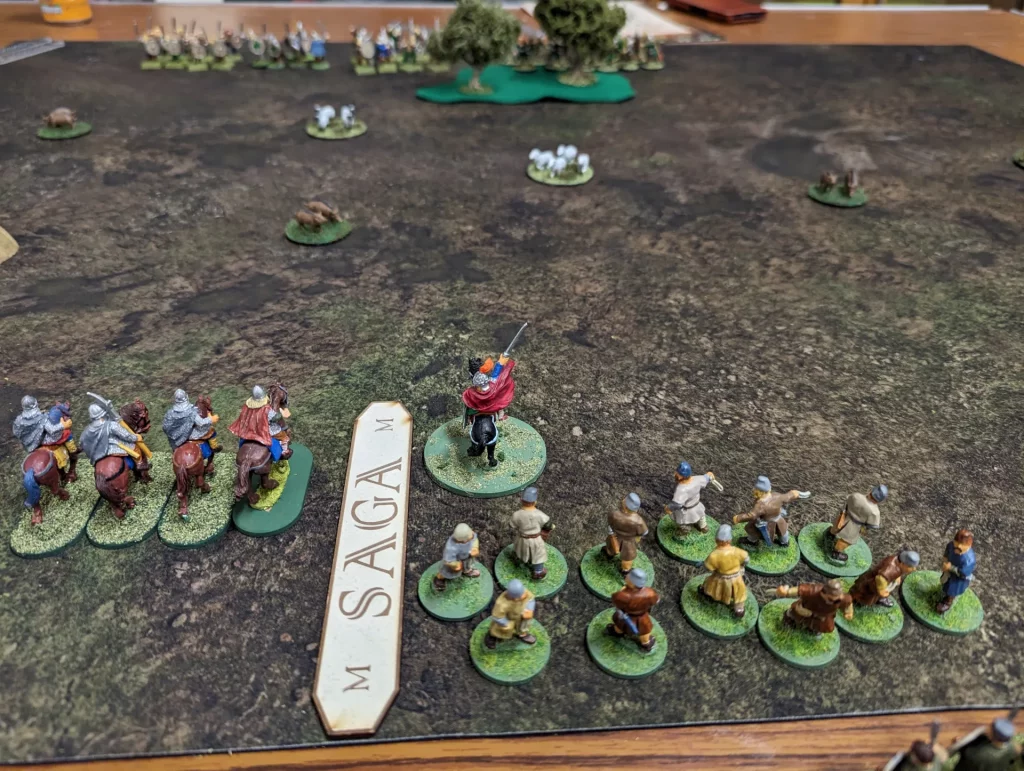
With only three Saga dice, the Britons were restricted in their options, but I went for Dux Bellorum, which gives my warlord a Resilience of 2 (one fatigue to cancel two hits, rather than the usual one hit). I was able to charge my Warlord straight into melee (using Determination) with the warriors who were trying to steal our sheep.

The Briton warlord took no hits, and killed four warriors with the help of Pendragon (re-roll all 1s or 2s), forcing the Saxons back. The warlord then fell back himself, not wanting to be a target for everyone else. He could then also use We Obey to move his Hearthguards up as a shield.
The turn ended with my Warlord having three fatigues (and therefore exhausted), but hopefully with bodyguards nearby to stop him from being killed. The Saxons had lost half a unit.
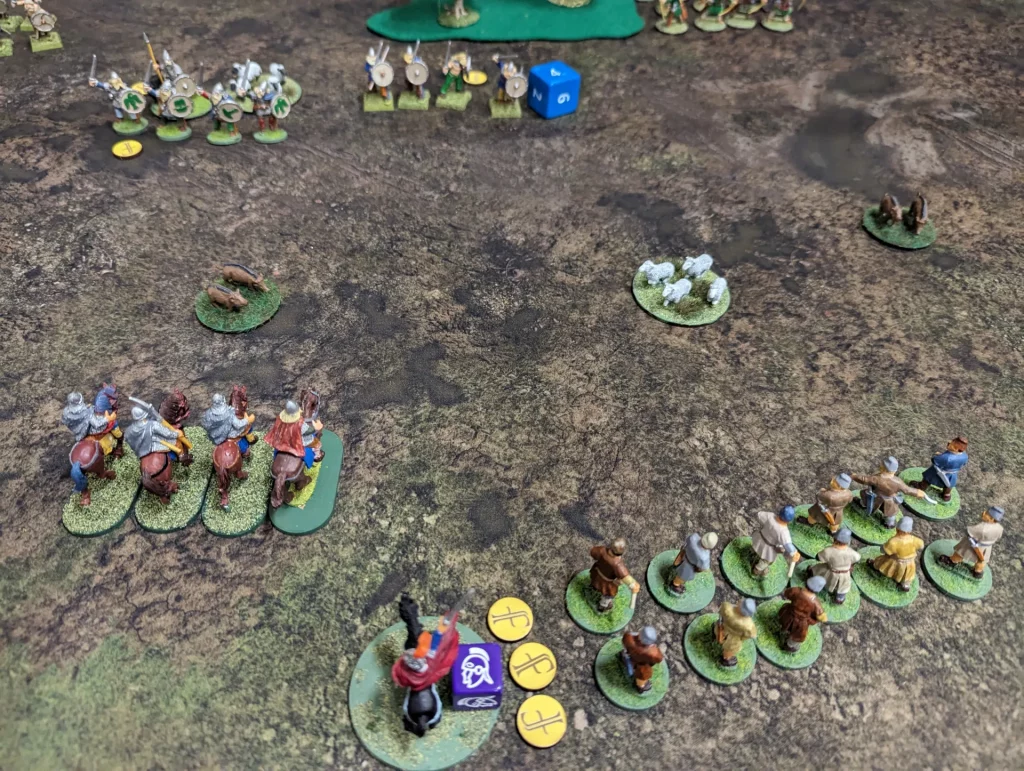
Turn two, and the Saxons used their The Storm Breaks ability to activate two of their units for a charge against my Hearthguards. They chose to use their own Hearthguards and Warlord. First in was the Hearthguards – four infantry versus four mounted. The Saxons also used Ferocious to give themselves 3 extra attack dice, so had an edge (11 dice to 8 dice), and also rolled really well. The Britons weren’t as lucky. The Saxons got five kills (there were only 4 Britons, so the unit was wiped out), and the Britons got only one kill.
End of the Saxon turn, a unit of Briton warriors entered the table, but I was already down a full unit, so was still on three Saga dice. I rested my Warlord, and used my Levees to shoot at the Hearthguard (and got no kills).
Turn three, the Saxons mostly rested but were starting to move the livestock back towards their edge of the table. The last Briton unit came on (another unit of Warriors) and we started moving up. Two volleys of sling shots against the Hearthguard got a single kill. Shooting the warriors would have been more effective (they have lower armour), but they were out of range.
Turn four, the Saxons continued to claim livestock and try to keep out of melee. I came up with a cunning plan to charge my warriors forward and take the fight to the Saxons, but for some reason put my Saga dice on Comma-Nipulares (active heroes or Hearthguards) rather than Pedyt (activate warriors). This was the last turn in which I could have a chance of being effective, and I fucked it up.
Turns five and six mostly involved moving livestock. I got two livestock bases back into my side of the table, but the Saxons managed in getting four off their edge.
I was moving up the rest of my Briton units, but was too far away to be able to catch the Saxons. Even if I had caught the Saxons, I wouldn’t have had enough time to get the Livestock back to my side of the table, so by this point it was a clear win for the Saxons.
The loss of my Hearthguards in turn two really crippled my options. I also think the scenario may work better with six points, since it was difficult to get my units up and defending the livestock. It was an interesting introduction to two of the Age of Invasions factions though. The Saxons are a lot more aggressive in style compared to their Anglo-Saxon descendants in Age of Vikings (they’re the invaders at this point in history, rather than the incumbents).
The 5th century Romano Britons are the incumbents, trying to defend their homeland against the invaders. I have a large number of shielded warriors I can use for this army, and a few mounted hearthguard (which I’ve just expanded upon and need to paint).
Our main factions of interest will be Romans and Goths, but these warbands are yet to be fully purchased and painted, so it may be some time before they are ready. I’m also tempted by the Picts, which might also double as a Scottish army for Age of Vikings. It’s a whole new (Saga) universe, and there are a lot of options.
3 Responses
-
Pingback: Invasions Rematch – Gaming Chronicles
Though I only got a brief look at the game, the scenario seemed to have generated two very different approaches to nabbing the goodies. Visually attractive game, too. Thanks for chatting, Sam 👍🏼
Happy to run a Saga game if you want to try it out for yourself.