Getting Home

This is the second half of the two-part game I wanted to do with Saga. However, things didn’t work out so well this time. The plan was to have a chase between the Britons and Saxons, with the Britons trying to reach their fort.
However, coming up with victory criteria was difficult. As it turned out, coming up with a decent deployment that allowed for a reasonable scenario of this type was also difficult. Ultimately, I think the idea behind the scenario was ultimately broken. It fitted what I wanted to do narratively, but didn’t work from a wargaming perspective – at least not using the Saga rules.

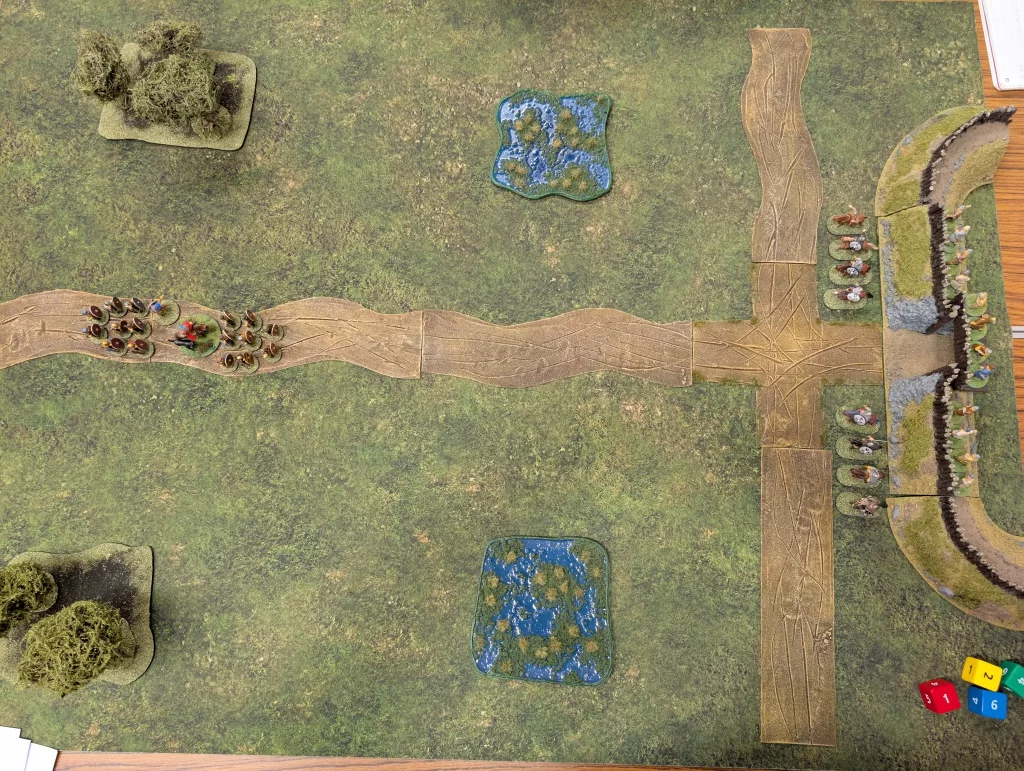
The idea was to get the British units across the board and to their fort, where they could meet up with some reinforcements. The Saxons would then deploy behind them at the start of their turn, and try and chase them down.
To give the Saxons a chance to stop the Britons, two new Saxon units could deploy to the sides, to try and cut off the Britons on the road. Initially, I had them coming in from the edge of the table, but then it was decided to allow them to deploy within S of one of the terrain pieces.
I wanted the Britons to have a reason to fight the Saxons rather than just run off the board, so in the end we settled on massacre points as a victory condition, with extra points if the hero from the first game got to the fort.
The Saxons got to roll to recover their wounded at the start of the game, which were mostly warriors. As expected, they got most of them back.
Turn one started with the Britons deploying on the road, and marching down it towards the fort. They started with 3 Saga Dice, and weren’t permitted to use a manoeuvre action in their first turn. This was to prevent them getting too much of a lead over the Saxons. I didn’t rush them as far as I could have, since I wanted some dice on defensive Saga abilities.

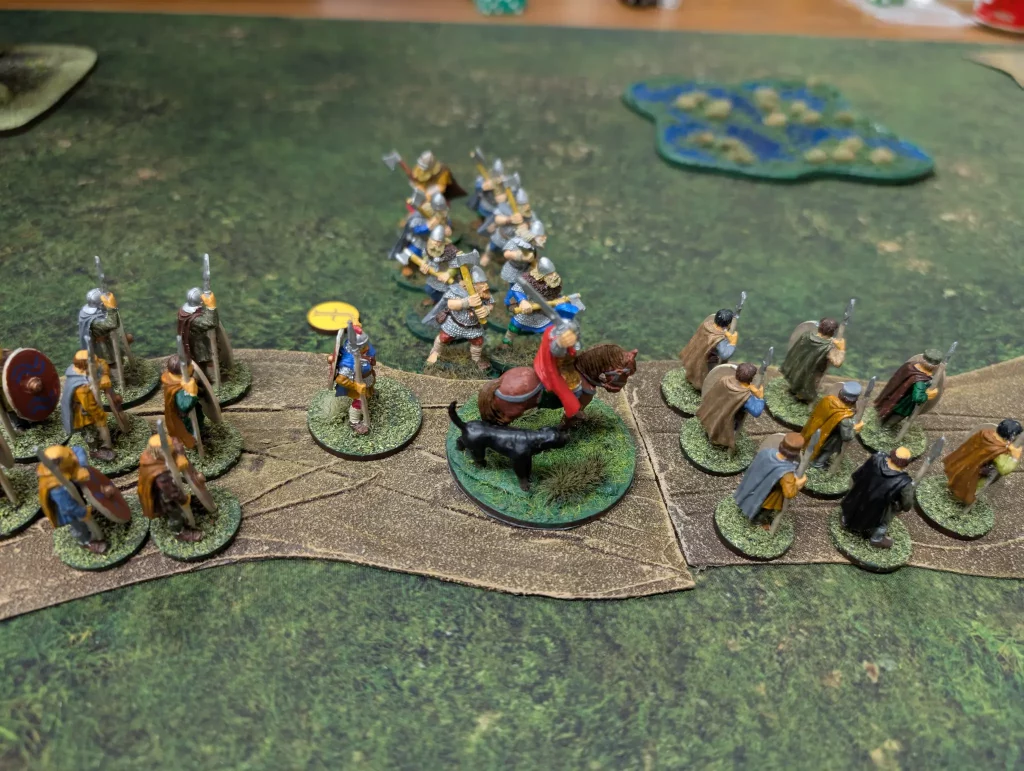
The Saxons deployed a unit of 8 hearthguard near a marsh, and charged directly at my Warlord. The Hearthguard rolled really badly, and got a single hit on the Warlord, which he took on Fatigue. The hearthguard were forced to fall back.
As we were doing the second combat, it was realised that the Hearthguard had only used 8 base attack dice, rather than the 16 they should have had. So we rolled the other 8 dice, and still only got one extra hit. This left the Warlord exhausted. It was really a bad set of rolls for the Saxons.
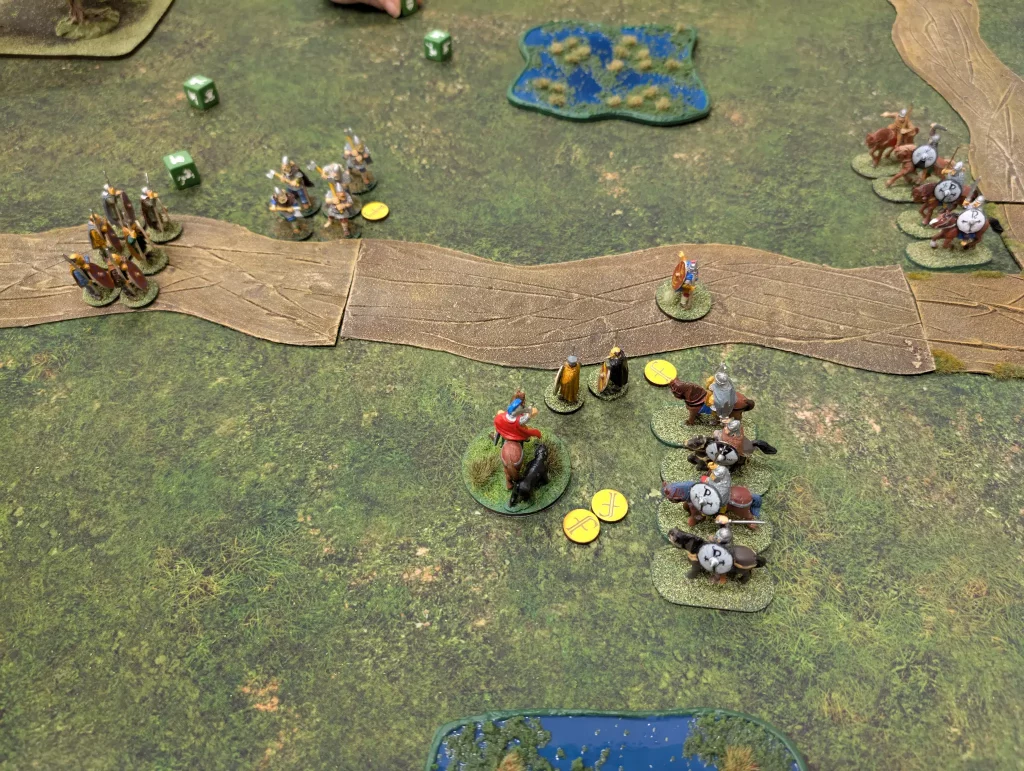
The rest of the Saxons came on at the short edge, and charged forward. One group of 4 Hearthguard caught up with a unit of British warriors, but were wiped out in the melee, only killing 2 of the Britons.

Turn two, and I send a unit of Briton warriors against the Hearthguard. I get 3 kills to their 6, which leaves me with 2 warriors. I move my mounted Hearthguard up and rest my warlord. I also manage to get the Hero further down the road.
The Saxons retaliate, but take heavy losses themselves. By the end of the second turn, I still have two units of mounted hearthguard, and I can easily get my Hero home.
Massacre point wise, the Saxons have lost 12 Hearthguard, to my 14 warriors. The Saxons decide it’s not worth continuing, so pull back. This gives victory to the Britons after only two turns.
I think a better game would have been another settlement, with the Saxons attacking this time and the Britons defending. The hero would be in one of the buildings (healing his long term wounds suffered as a prisoner of the Saxons), and the Saxons need to find him. This makes it more a attack/defence game rather than the chase that we tried.
We might try it again with this sort of scenario, though now that Age of Chivalry is out, our next Saga game is very likely to be trying out the factions in that.
One final thing is that I did have a fort at the British end of the board, and tried to come up with some rules for that:
- A fortification counts as hard cover against attacks from the outside.
- A unit defending the fortification can choose to take a fatigue (if allowed) rather than fall back if it loses a melee. This decision is made after all other fatigues for fighting the melee are taken.
- A unit defending the fortification with missile weapons can measure range and line of sight from a friendly unit outside the fort within a range of S. This allows them to ‘shoot over the heads’ of units outside the walls.
I’d like to try out battles with fortifications at some point, but we didn’t get to try them this time.
So ultimately things didn’t go as planned for this game, but I think we learned some things about how (not) to build scenarios for Saga.