Danish Pillage
In this case, it was the Danes that were being pillaged, by the not very friendly Anglo-Saxons and their very Angry Monks. It was time for another game of Saga: Age of Vikings, this time running the Pillage scenario from the Book of Battles. It was a day time raid, and the central building was my Chapel.
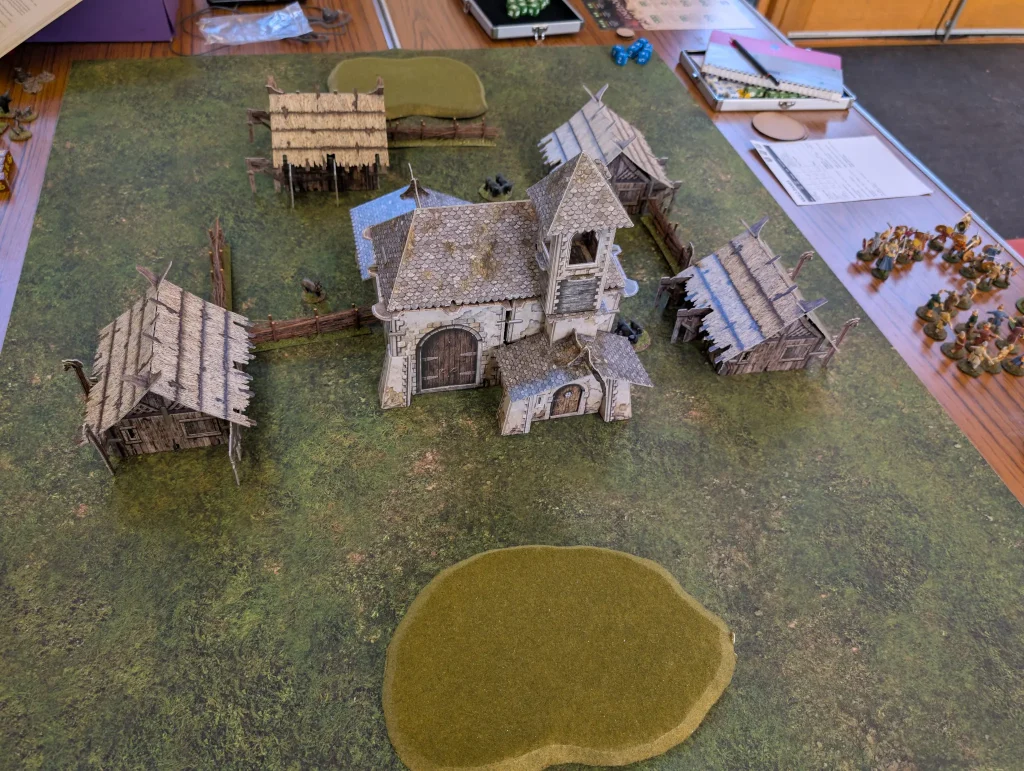
The attacking Anglo-Saxons chose to put down a couple of hills as the extra terrain, and I’d blocked off some of the routes using fencing. The Danes would be defending from the rear of the settlement, with the Anglo-Saxons coming from the front towards the main door of the chapel.
The scenario begins with the attackers (the Anglo-Saxons) coming on the table. Initially, the defenders (Anglo-Danes) had only civilians on the table – located inside the buildings. At the end of each player’s turn, I get to roll a die to track the reinforcement level. This starts at zero, and every time it reaches a multiple of 7, a couple of units come onto the table at my end.
Turn 1
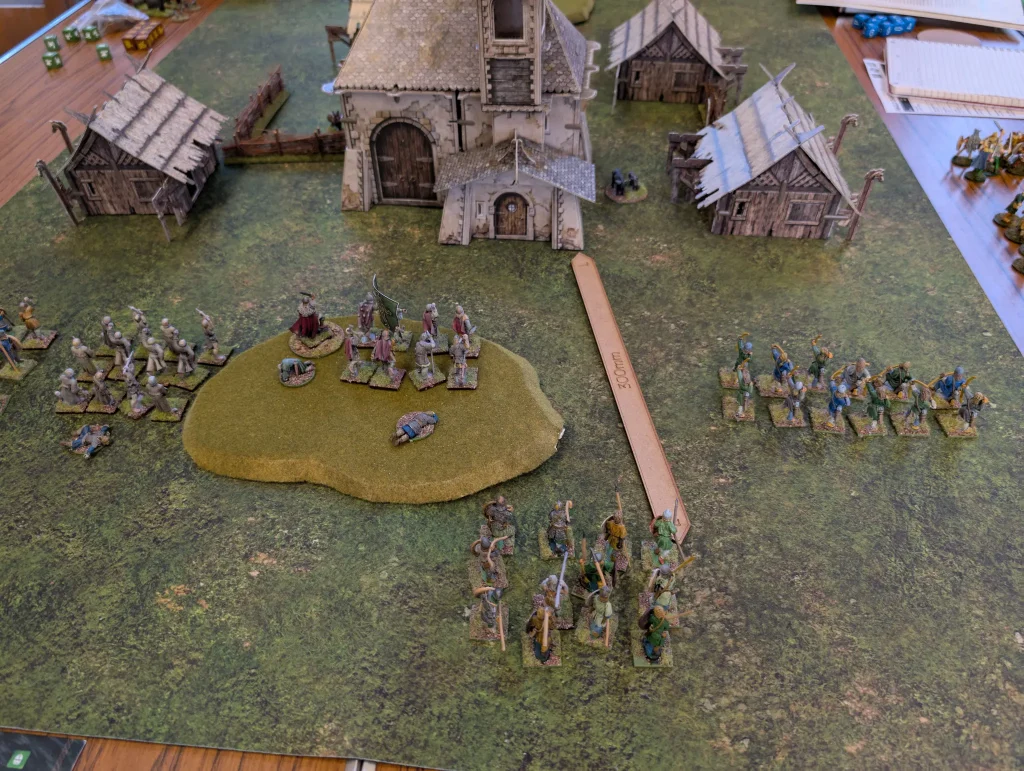
The Anglo-Saxons deployed onto the table using manoeuvre, and then took some extra fatigue in moving further forward. This brought them close enough to the central building for the alarm to be raised. I rolled 5 for the reinforcement for the Danes.
The Anglo-Danes didn’t have any forces deployed yet, but the civilians could move. One set fled their home, the others stayed where they were to protect the buildings. Not that they could do much, but it would slow up the attackers a little bit. At the end of my turn, I rolled a 3 for the reinforcement level, bringing it to 8. Since we’d passed a multiple of 7, it meant the first part of the Danish war band came on the table. I brought on my warlord, and two units of six hearthguard.
Turn 2
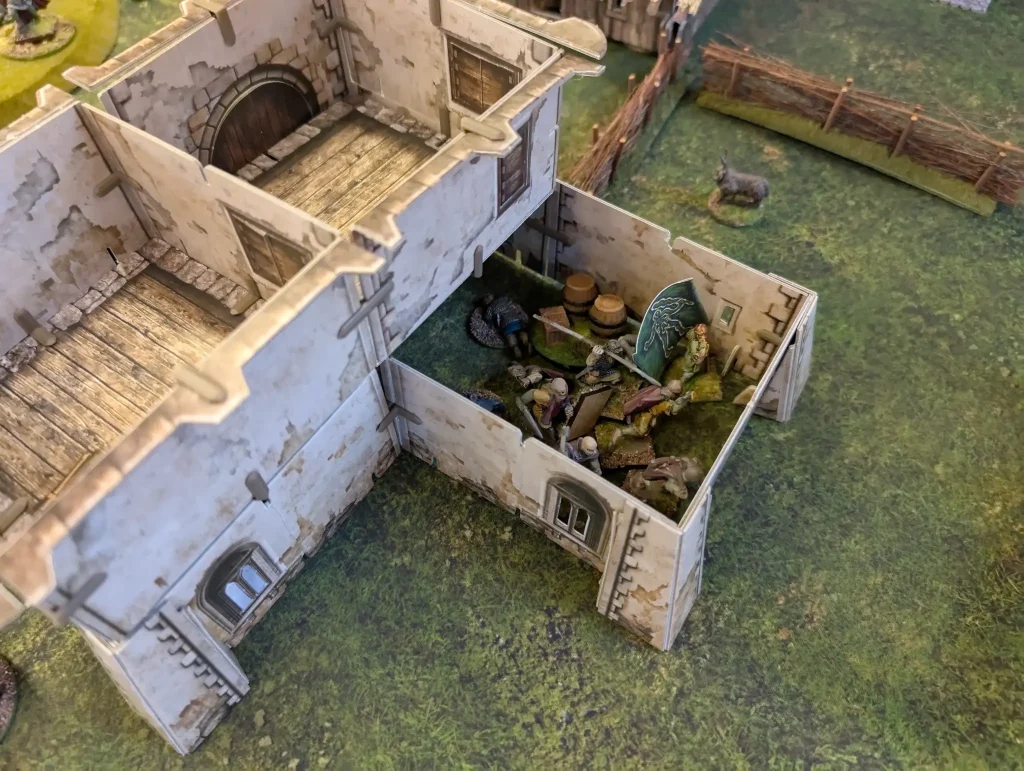
The Anglo-Saxons used their war banner to remove fatigue from their hearthguard, then charged the chapel. They killed the civilians, and moved in to occupy it. Ransacking the place, they found some beer (worth 2 victory points).
The Anglo-Danes used their Exhaustion ability to add fatigue to three Anglo-Saxons units. The Anglo-Saxons immediately responded with Truce, which removed a fatigue from all of their units. Many of the Anglo-Danes abilities revolve around giving fatigue to the enemy. With Truce, the Anglo-Saxons could pretty much nullify that – or at least minimise it.
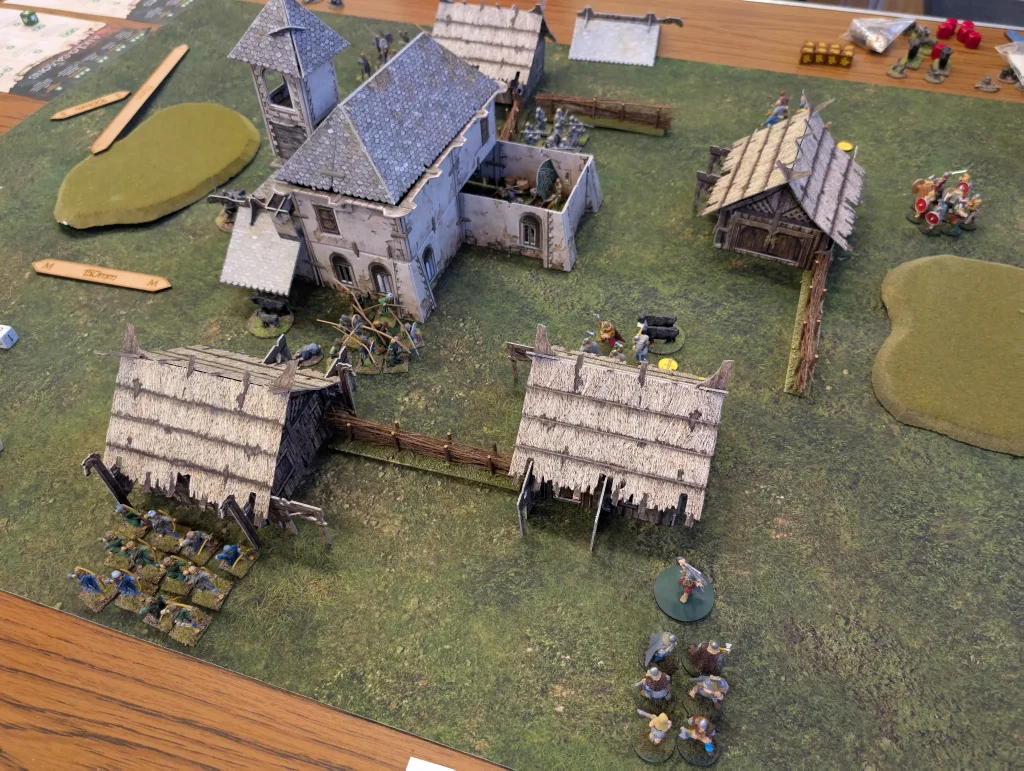
I was able to move my existing units up, but not close enough to engage. At the end of the turn, the reinforcement level when to 17, and a brought on a unit of warriors and levee.
Turn 3
The Anglo-Saxons used their warbanner again, then grabbed some livestock. Other than that, they didn’t do much other than move. One disadvantage they did have was that with most of their units having 12 figures, they couldn’t fit inside the smaller buildings, making them difficult to loot.
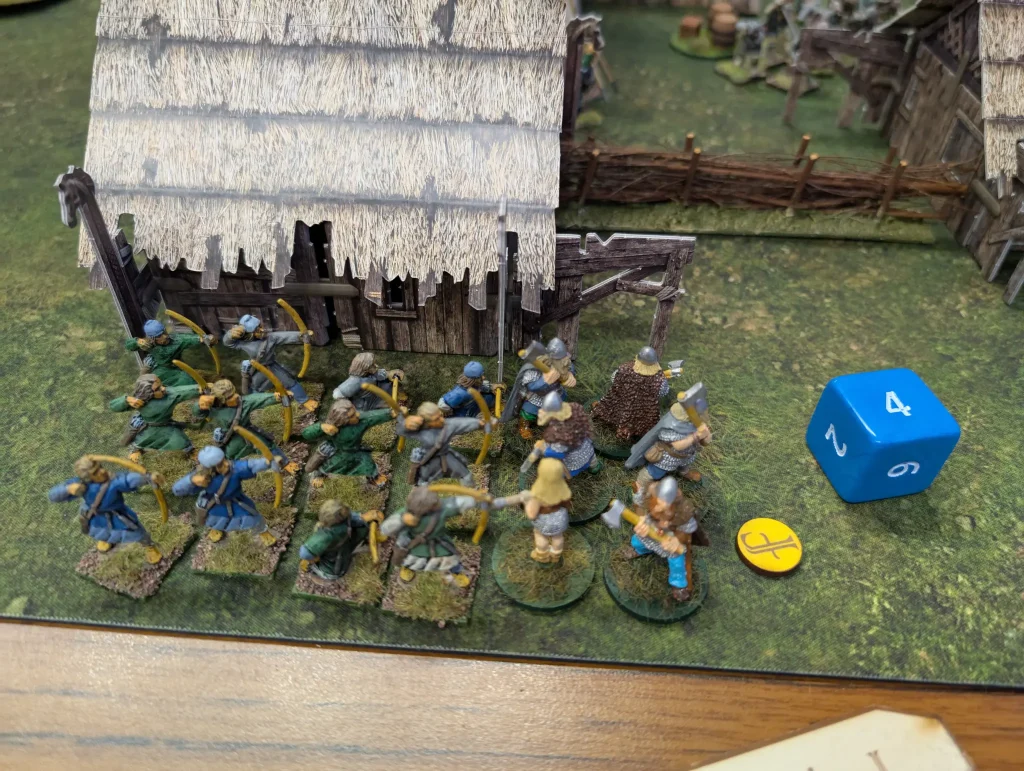
The Anglo-Danes were now close enough to get into combat. One of my hearthguard units took some fatigue to be able to charge the unit of levee spearmen. We killed 4 of them, and took a casualty. The rest of my units still weren’t close enough.
Turn 4
The Anglo-Saxons charged their hearthguard against my hearthguard, killing 4 of them. I managed to slay zero Anglo-Saxons. The reinforcement total went to 24.
At this point, I needed to get some points, so my Anglo-Danes started to go as aggressive as we could. My levee used their slings against the Angry Monks, getting 4 hits and 3 kills. This invoked the Angry Monks ability and the Anglo-Saxons got to roll three Saga dice.
My single Hearthguard figure charged the Anglo-Saxon hearthguards, using Shock to prevent them from closing ranks. I was wiped out, and got no kills on them, but they were left exhausted.
My other unit of Hearthguard charged the bowmen, getting 5 skills and losing one figure themselves. Since the Anglo-Saxons had used my fatigue to improve their armour, I was able to charge a second time and this time wipe them out.
At the end of my turn, I rolled a five on the reinforcements die, bringing the total to 29. This meant that next turn would be the last (the game ends at 30).
Turn 5
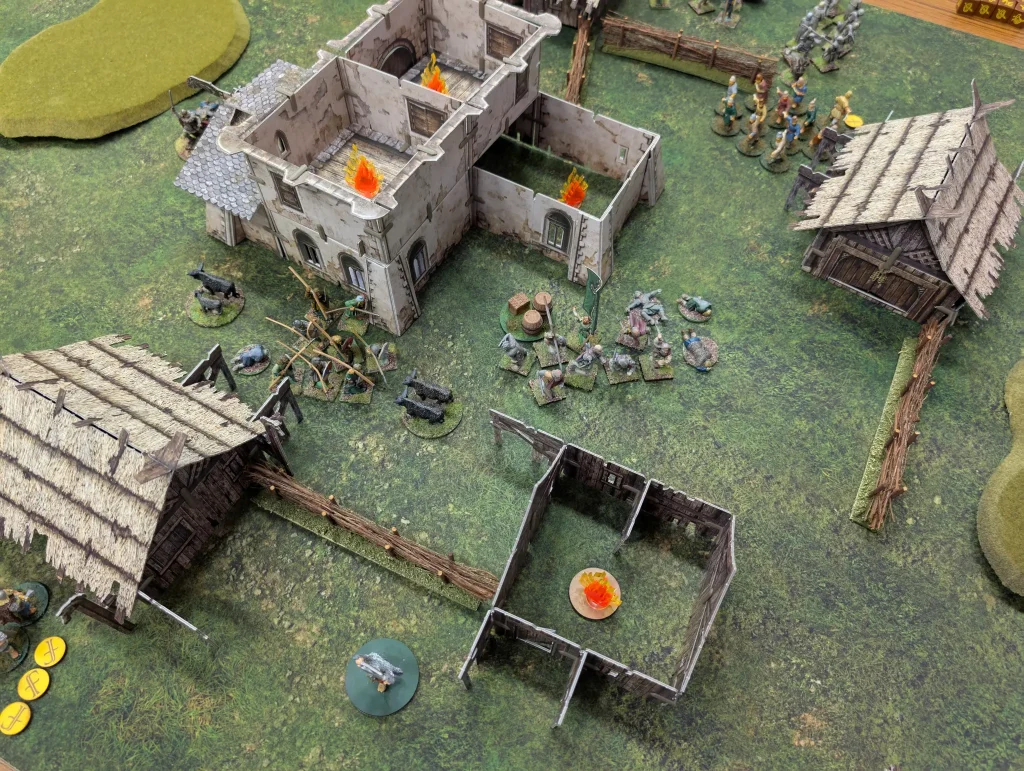
The Anglo-Saxons used their Call to Arms to turn their levees into warriors, and started setting fire to buildings. The chapel and one of the small huts was set ablaze. The Angry Monks charged my slingers, getting 3 kills with 4 of them dying themselves. This gave the Anglo-Saxons another 4 saga dice, allowing them to take further actions, some of which involved getting a unit of livestock off the table.
Finally, their levee charged mine, getting a rather impressive 11 hits and killing 7 of them.
At this point I rolled the reinforcement die for the last time, and failed to get a number less than 1, so the game ended.
The Anglo-Saxons had burned a large building (4pts), a small building (2pts), grabbed some liquor (2pts) and liberated some sheep (3pts), for a total of 11 victory points.
The Anglo-Danes gained massacre points. We had only managed to kill levee – 15 of them in total. Getting ½pt for each levee killed gave us a total of 8 victory points.
So the victory went to the Anglo-Saxons.
This was I think the first time that I’ve played my Anglo-Danes. They are an army built from pretty much what was left of my random mix of Viking and Saxon figures. I have played against the Anglo-Danes in this scenario (using my Vikings as attackers), and the Danes won that time.
I’d arranged the village more centrally, rather than trying to maximise it for defence, plus had used a large building (which benefits the attacker).
Since I got massacre points, and the attacker didn’t, I should have tried to move up quicker in order to engage in combat. If my units were wiped out early, then they could come back in later, so it would have been worth doing as long as I was killing the enemy.
I really wanted to try and wipe out the Angry Monks in a single turn, with possibly a couple of Hearthguard units attacking them. That would mean that the bonus saga dice that they gave out when they died would max out, and only be useful for a single turn. The monks taking a few casualties every turn was really good for them.
Despite the loss, it was a good game. It was interesting to play a new faction, even though I couldn’t make huge use of their abilities. As with all Saga factions, I find it takes a few games to really figure out how to play them.
I wanted to leave a comment on your Dec/2022 Full Thrust post but there’s no comment box? Is it turned of for older post?
It was. Comments close after 21 days. Possibly a default setting in WordPress. I’ve disabled that setting now.