Moor Goths
Our session of Saga this week was almost over before it began, with a slight accident involving gravity and my figure boxes as I tried to get through the door into the games club. Fortunately I’d added superglue to the list of things to bring, so a bit of gluing and re-bending of spears and flags mostly fixed things.
This was another battle between the Goths and the Romans, and a second attempt to try to figure out how to play my new army.
- Scenary: Bleak Moor (normal scenery selection);
- Deployment: Refused Flank (fighting down the length of the table, rather than across the width)
- Length: Until Dusk (6 turns)
- Special Rule: Hostile Land (all uneven terrain is dangerous terrain)
- Victory: Carnage (survival points, plus bonus points for moving forward)
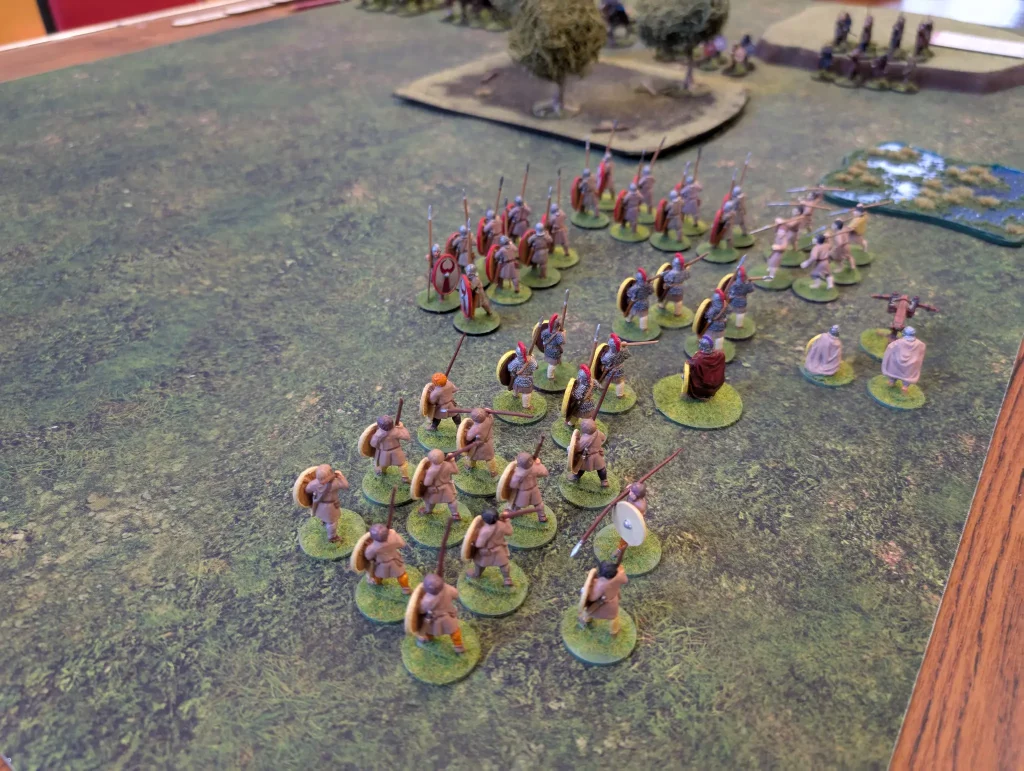
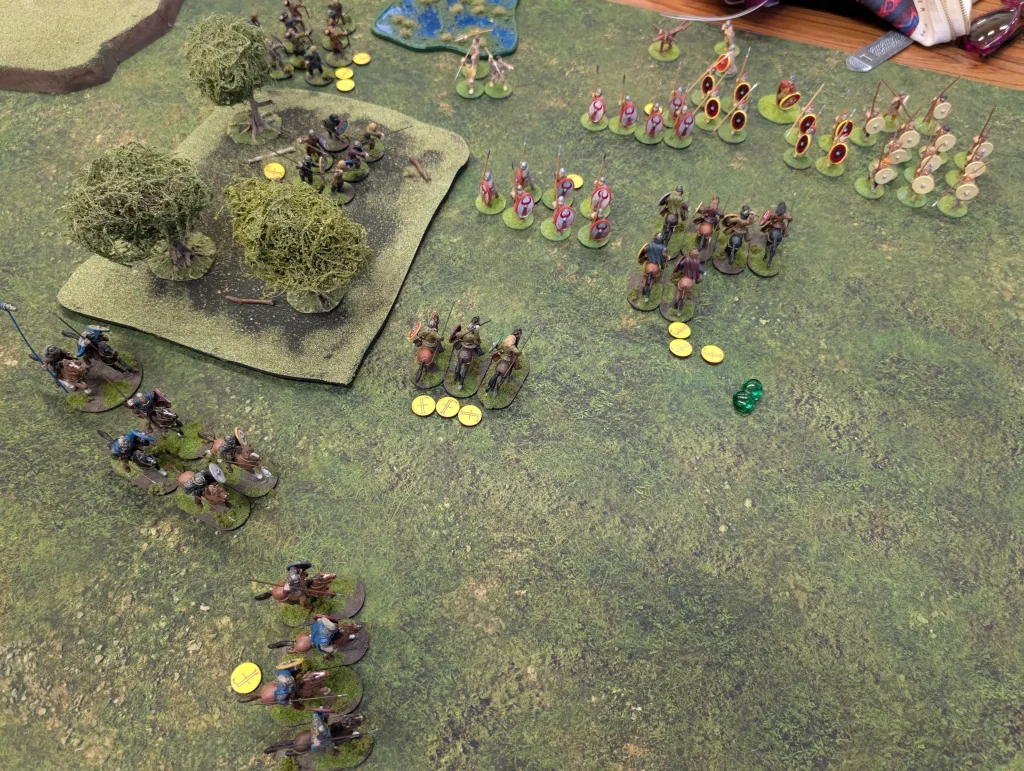
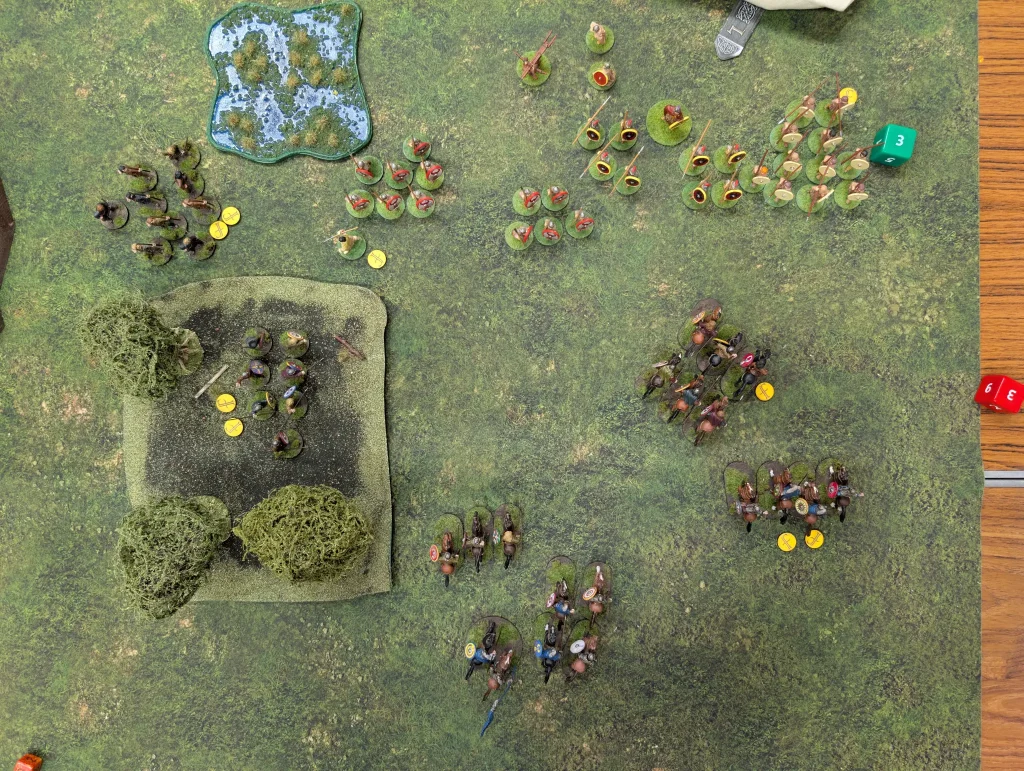
We deployed the scenery. Since I wanted a clear space to fight the Romans in, I tried to put as much as I could down the Goth end of the table. This left the Romans out in the open, so they formed a defensive square in one corner, whilst I deployed across the middle.
As before, the Romans went for all infantry, though they swapped out their archers for some standard warriors and also took a Manubalista, dropping half a unit of Levee javelin troops to pay for that.
Turn 1
The Romans started with 3 saga dice on turn 1, and managed to use We Obey on their Manubalista to shoot at my archers,getting 6 hits and 3 kills. Manubalista have a range of 2xL, and have an aggression equal to half the number of figures in the target unit. This makes them really useful against larger units of Levees and Warriors, not so great against Hearthguard.
The Goths started by shuffling forward and taking a shooting action against the Roman levee javelins. The Levee had only 6 figures, so even a single casualty would take them down below the point that they generated a Saga die. I got 4 hits – and 0 kills when they saved everything with the use of Scuta.
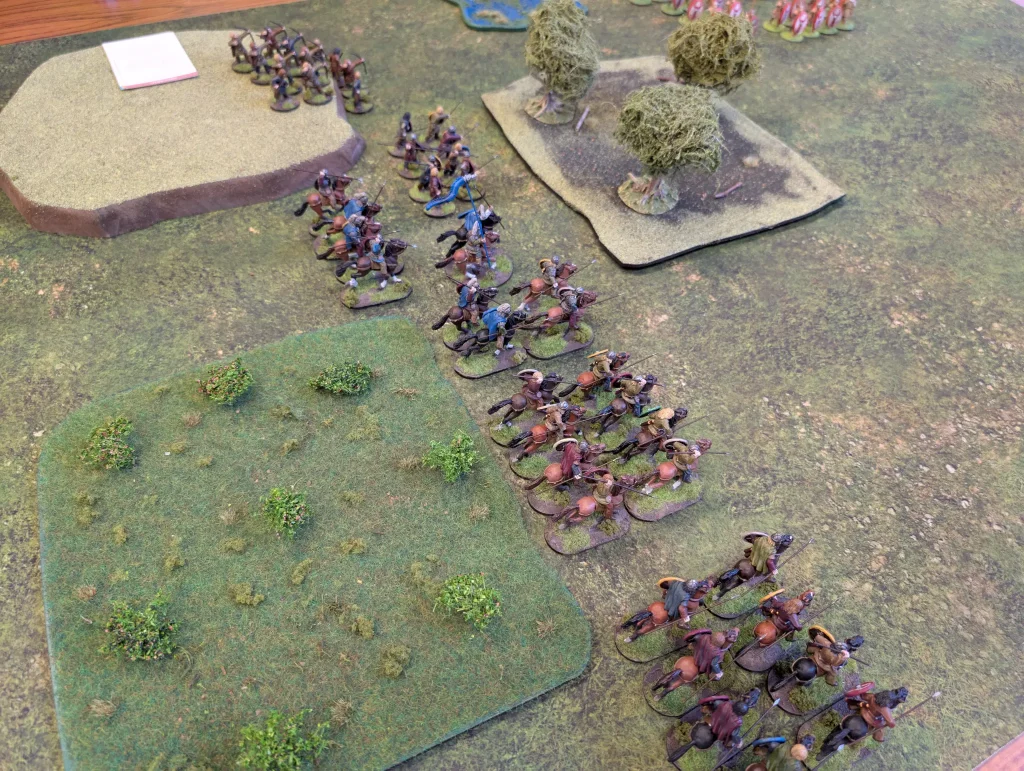
Most of my mounted units I moved out into the open field, leading with my two warrior units. They were set up ready to charge, but I held back wanting to be able to put together some decent Saga abilities in order to be effective.
Turn 2
The Romans retaliated, their Javelin troops chucking Javelins at my archers, but got no kills. The Manubalista was able to open up on one of my warrior cavalry, scoring a single kill. Then some Roman warriors moved in and used Plumbatae and In This Sign Conquer, getting an impressive 4 kills due to the Goth’s inability to save. So I was down to a unit of 3 warriors, meaning I was also down a Saga die.
The Goths went ahead with their planned attacks anyway. Using Resolve, I could activate two units and not allow my opponent to use my fatigue. This had the advantage of not having my armour dropped, and not having my activations cancelled. It also had the disadvantage that since my fatigues weren’t going to get used by the enemy, I’d end up with two exhausted units.
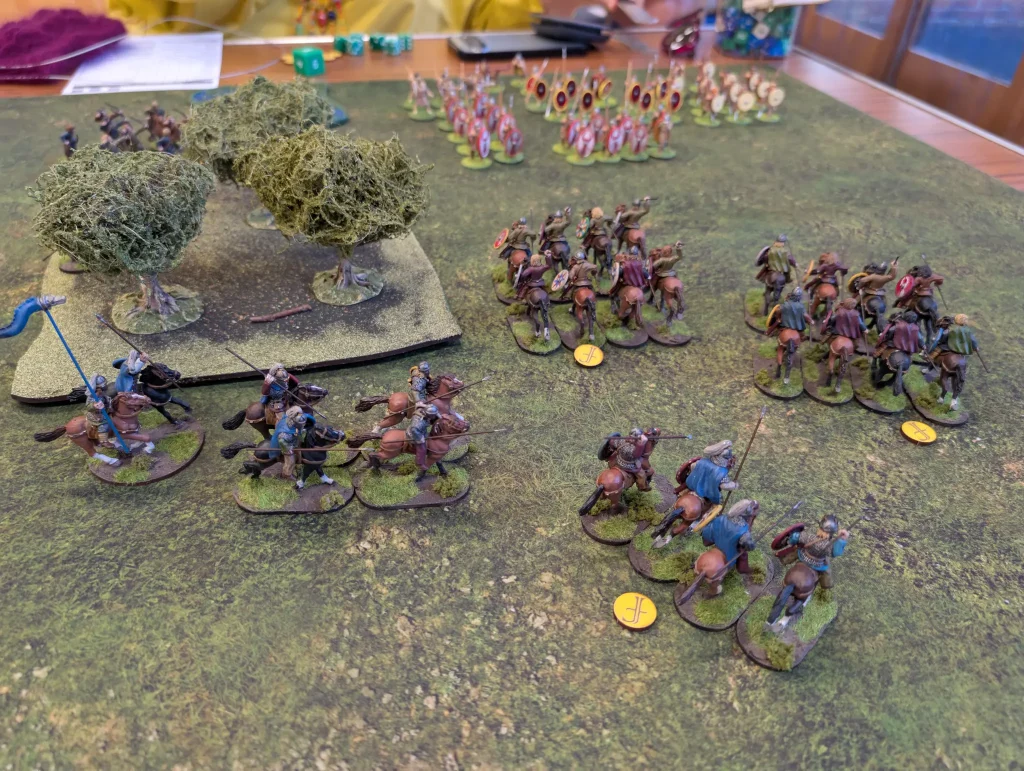
My unit of 3 warriors charged against their 8 warriors. The Romans closed ranks, and I got in a single kill. Since they’d closed ranks though, and they had more figures, my cavalry were forced back.
The second unit of warrior cavalry charged the second unit of Roman warriors. I uses Cunes, which allowed me to re-roll all failed attack and defence dice. Which was good, because my attack rolls were abysmal. The Romans had closed ranks, but still managed to get 2 kills in. However, 3 Romans died.
The Roman unit was forced to fall back.
My archers took a shooting action against the small levee unit, and got 3 kills. Finally, my warrior infantry moved through the woods – taking fatigue as they did so.
The Goths had several exhausted units at this point, so it wasn’t looking good. The Romans had hardly any fatigue, so even using my Eye of the Hurricane ability to would be of limited help.
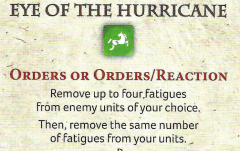
Things weren’t being helped by the Romans using Fœdus to cause my units to gain extra fatigue after shooting and melee actions.
Turn 3
The Romans shot their Manubalista into the woods where my foot warriors were lurking, getting 3 hits but only a single kill against them. They had three levee with javelins left, and they charged against my now exhausted archers. Neither side managed to kill anyone, but I really wanted to get rid of that unit of levee.
My mounted warriors were also exhausted, and I was expecting the Romans to push forward with an attack on them at this point. Instead, the Romans fell back to reform their defensive line.
The Goths mostly spent this turn resting. This was partly because I had too much fatigue, and partly because I managed to roll 5 commons and an uncommon on my Saga dice, which limited my actions. My warriors at the front of the combat tried to fall back, but the Romans used two of their fatigues to cancel their action. Which was probably a better result than what I’d been planning.
Turn 4
The Romans took this turn to be a little bit aggressive. Their large unit of levee moved forward and used Plumbatæ to shower my warriors stuck at the front. Fortunately, no Goths were lost due to the gods looking favourably on my defence dice for once.
The Manubalista did its usual firing at my archers. I had Gratia sitting ready for this, and took no casualties. It wouldn’t be until next turn when I would realise that Gratia granted two extra defence dice, as well as +1 to defence rolls if you have fatigue. I’d been missing the first (basic) part of that ability.
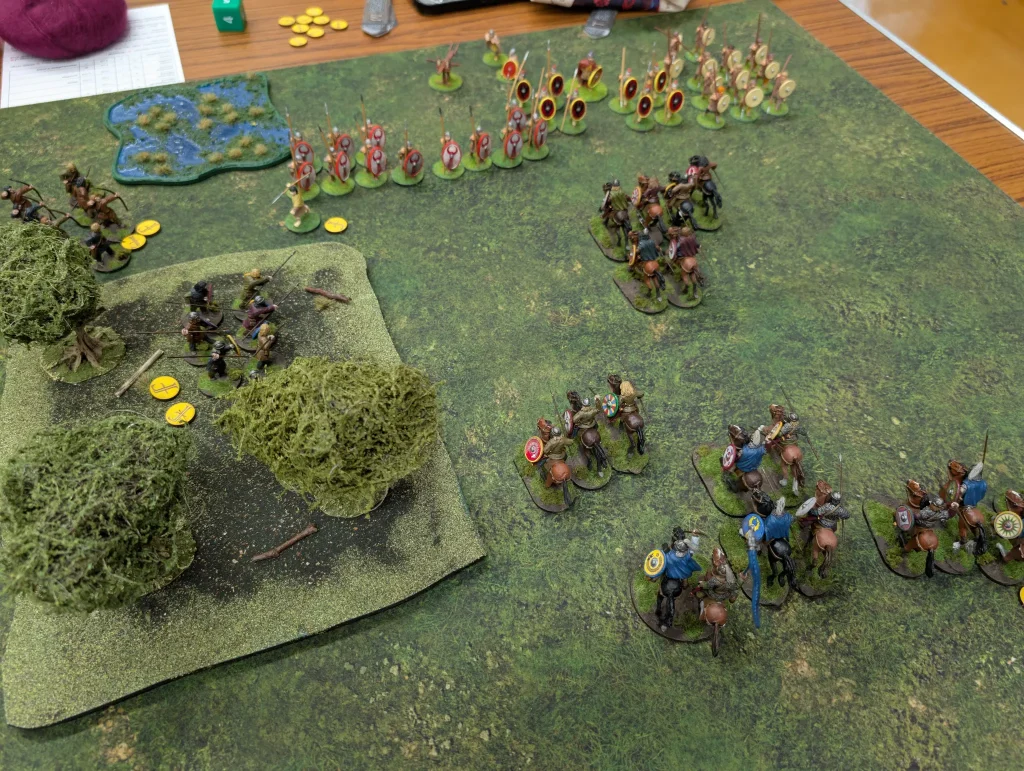
For the Goths, it was time to get back into the action. I used Feud to mark the unit of levees on the Roman flank as a hated target, which would give any units that attacked them bonus attack dice. I’d also wanted to put a die on Eye of the Hurricane, but I hadn’t rolled any uncommons this turn. My warlord ordered by Hearthguard on my right flank to move forward to within charge range.
They then charged the levees. Stacked up with Immunity and Blood Price, they had 16 attack dice on their attack. The Romans of course closed ranks, so they had only 3 attack dice. The Romans got no kills on the Goths. The Goths got… 1. Since I had two fatigue, the Romans had used that to boost their own armour up to 6. Being outnumbered against an opponent that closed ranks (a rule that a passing club member had pointed out to us), the Goths fell back.
The Goths have a dilemma. Their best abilities give them fatigue. So they either have to charge in and suffer the consequences of being fatigued (with the enemy being able to lower the Goth’s armour, or raise their own), or they need to use Resolve to charge in which prevents their fatigue from being used against them. But this means they end up exhausted.
I think the idea is that they then use Eye of the Hurricane to get rid of that fatigue in the next Order/Reaction step. But if their opponent is managing to keep their fatigue low, then this doesn’t work. It’s also all extra dice which need to be put on these other abilities. So it feels like as the Goths that you want to do a massed charged, but you can’t afford to. Or at least, I haven’t yet figured out how.
Next, my warriors on horse charged in, using Gratia for defence whilst the Romans used Ardour to boost both their attack and defence. With the Romans closing ranks, there were no kills on either side and the Levee once again stood their ground.
Turn 5
It was getting late in the evening at this point, so if we were quick we could get in a fifth turn. If we were really quick, we might get a sixth before we had to pack up, but this was probably going to be the final turn.
The Romans used Signa again to rest two of their units and remove fatigue. They attacked with Plumbatæ and their Manubalista, and got no kills.
The Goths went for an all out attack at this point. Using Resolve, my warriors charged the Roman hearthguards, getting 2 hits but no kills. The Romans responded with 3 kills against my warriors, with the help of Ardour.
My hearthguards then went in against the Levee again, killing 3 of them for again no loses to themselves due to Immunity. The Romans used their Scuta for this, re-rolling their defence die.
Finally, my other unit of Hearthguard, who had seen no action yet this game, charged against the unit of 5 Roman warriors in the middle of their line. Using First Blood to get some bonus dice, they got no kills (the Romans had Limes to increase their defence) and suffered a loss themselves.

So overall, that final turn was a loss for the Goths. They’d lost 1 hearthguard and 3 warriors, and the Romans had only lost 3 levee.
By this point, we needed to finish the game, so we ended a turn early and tallied the total scores. This was a survival point game, so we counted up the figures still left on the board.
The Goths had 17 points, the Romans had 19 points. However, we also got points for being away from our own table edge – this gave the adventurous Goths an extra 6 points, and the Romans an extra 4. Which meant that we were exactly equal.
This was a big improvement on our previous game (for the Goths). The Romans are very good at playing defensive, and it’s very embarrassing to keep on bouncing off their Levee.
It was a good game, and I’m hopefully starting to get a better idea about how to play these horsemen. And also a better idea about how to play Romans as well.