Irish v Anglo-Saxons
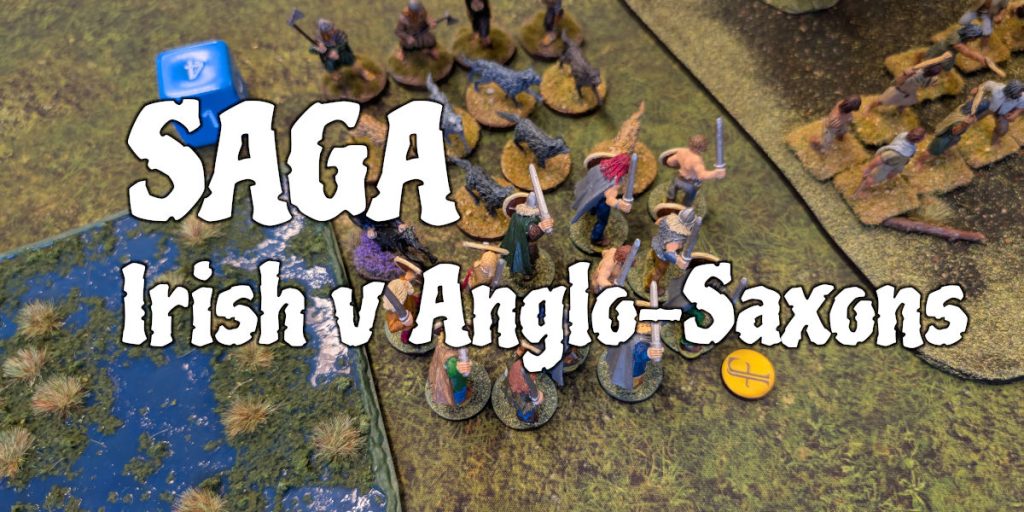
For wargaming this week, it was time to get back to Saga: Age of Vikings. I was playing my Anglo-Saxons, up against a new player with their Irish.
I went for a mostly Levee based army, with one unit of 8 hearthguard, a unit of 12 archers, and the rest were units of levee warriors.
The Irish had a unit of dogs, two units of hearthguard, two units of slingers, and a priest. Their Warlord also had a war banner, so he wouldn’t be as aggressive, but would be harder to kill.
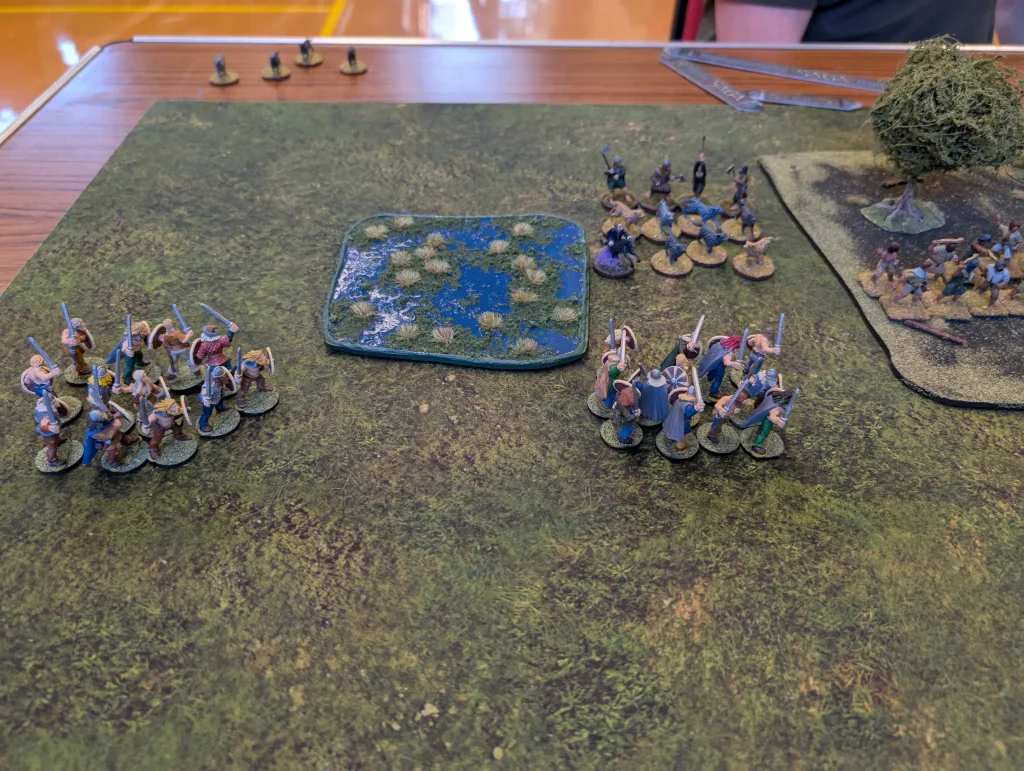
We went for a simple fight, which started by putting down terrain. I wanted as little as possible, whereas the Irish were aiming for lots so they could use their terrain focused Saga abilities. This can often be a crucial part of the game, and I hopefully did a reasonable job in explaining the importance of this phase, especially for a faction like the Irish.
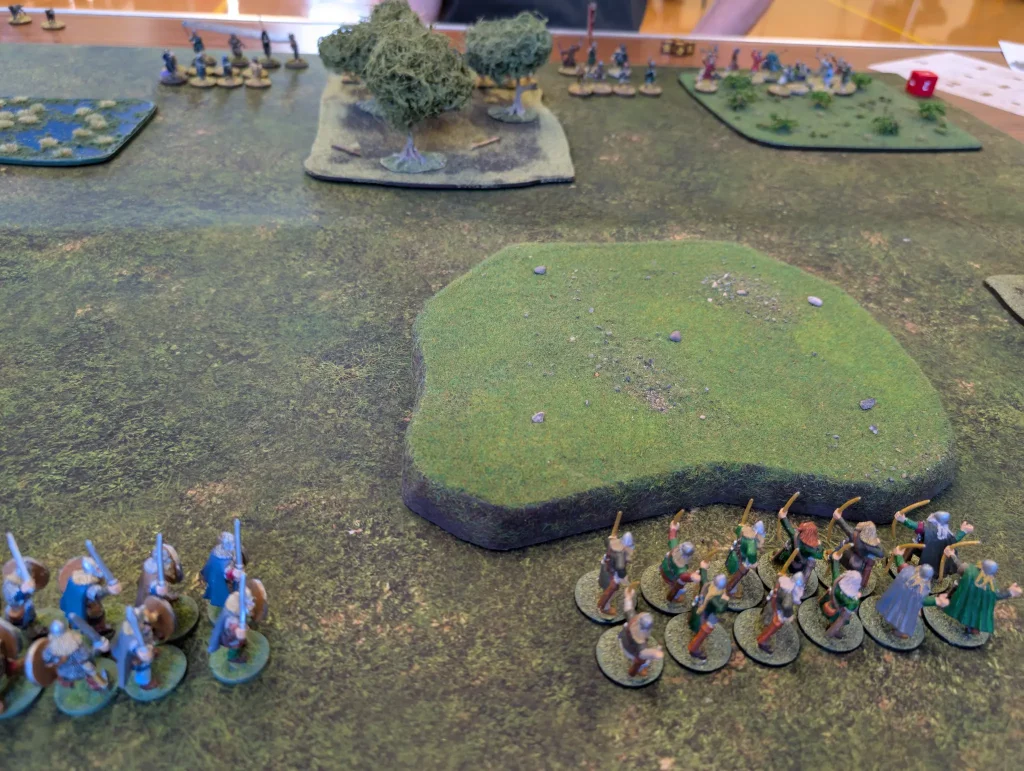
After terrain placement, the Anglo-Saxons deployed half their warband, then the Irish deployed all of theirs. Finally, I deployed the last of the Anglo-Saxons and the Irish got to roll three Saga dice to put down on their board.
Turn 1
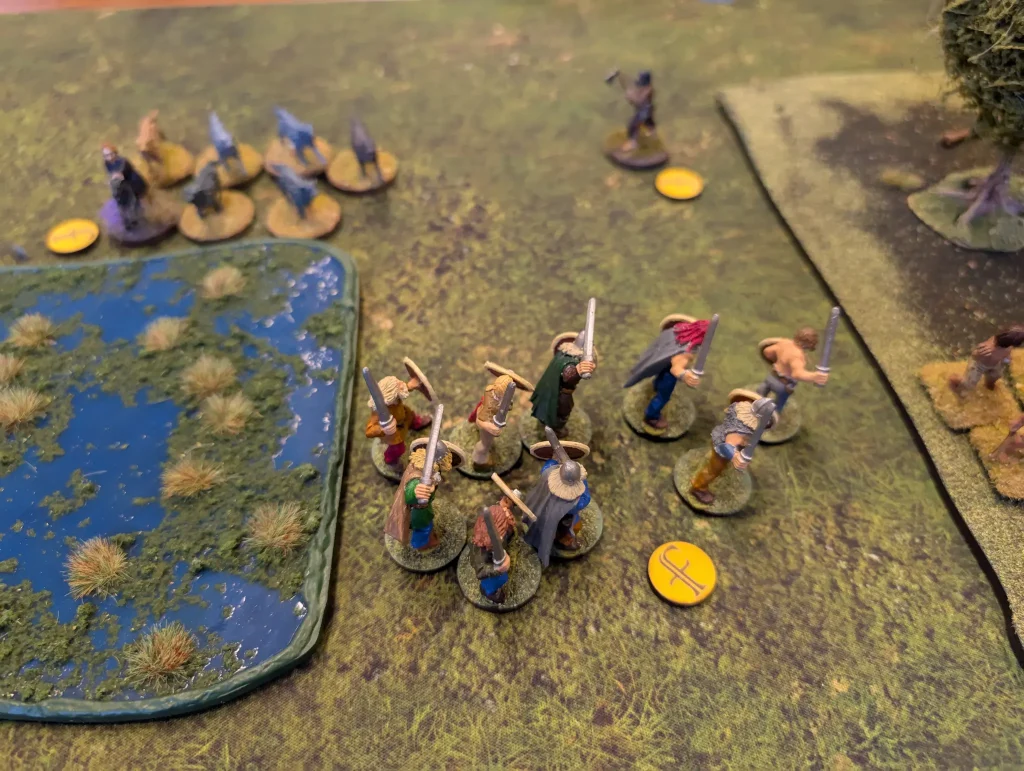
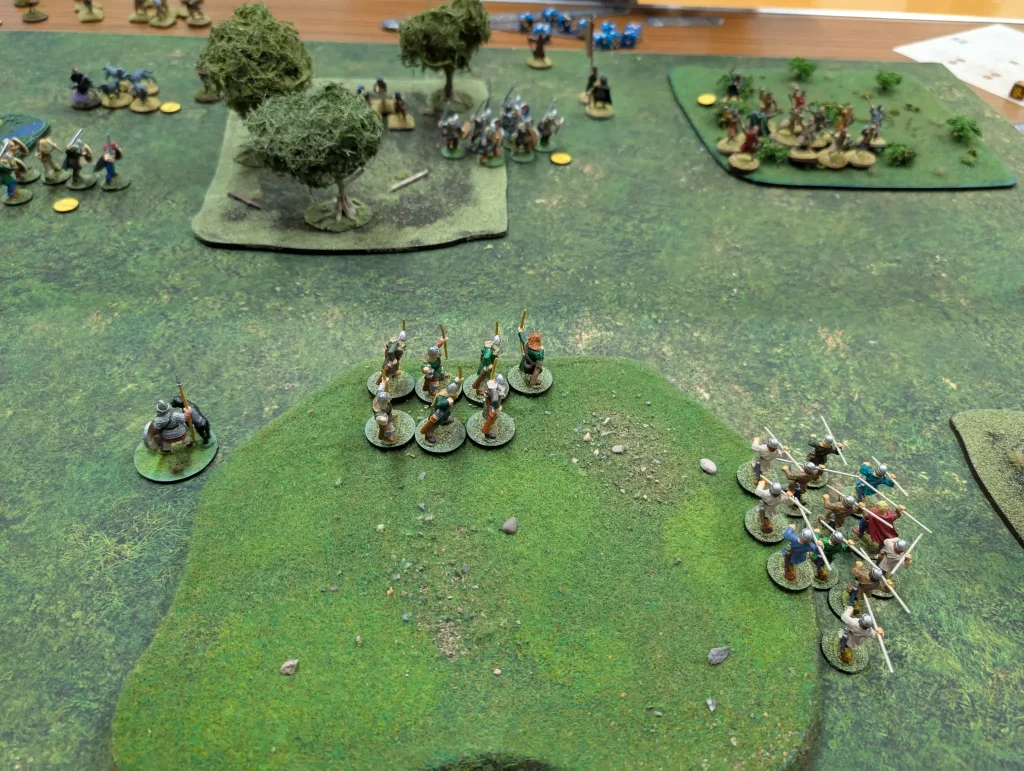
The Anglo-Saxons went first, and I mostly put down dice to use in the future – including something on Call to Arms which is such an important Anglo-Saxon ability. Other than that, I used manoeuvre and Unison to be as aggressive as I could. I moved my two units of levee warriors up on the western flank, to threaten the Irish wolf hounds.
My plan at this point was to try and concentrate on the weaker flank of the Irish. The Irish were well dug in on the Eastern flank, with slingers in the field and behind the woods. Their Priest, Warlord and a unit of Hearthguard were protected by both terrain pieces, so I would be forced to come in one at a time against them.
On the other flank, there was more space, making it easier for me to attack. The Irish also wouldn’t be able to use the Marsh in the same way they can make use of the woods or fields (which is why I’d chosen to put it where I had).
The Irish moved a unit of slingers into the central woods. The Priest was used to change one of their Saga dice to get something more beneficial from what they rolled. I think the Priest was underutilised in this game. Looking at their abilities, I think they can be useful, but you really need to remember those abilities and when to use them. My opponent I think forgot about them, and I kept on forgetting to remind them.
Despite that, the Irish got the first kill of the game. Their slingers in the woods took a shot against my archers, killing one of them with the help of Firbolg.
Turn 2
The Anglo-Saxons, who had been avoiding the wood on their Eastern flank, now deliberately moved close to it, allowing the Irish to use their Sons of Dana ability to shoot at them. They didn’t get any kills. I did this deliberately because I didn’t want them to use it against my next unit that was going to attack.
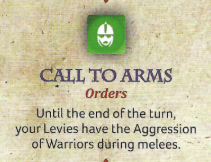
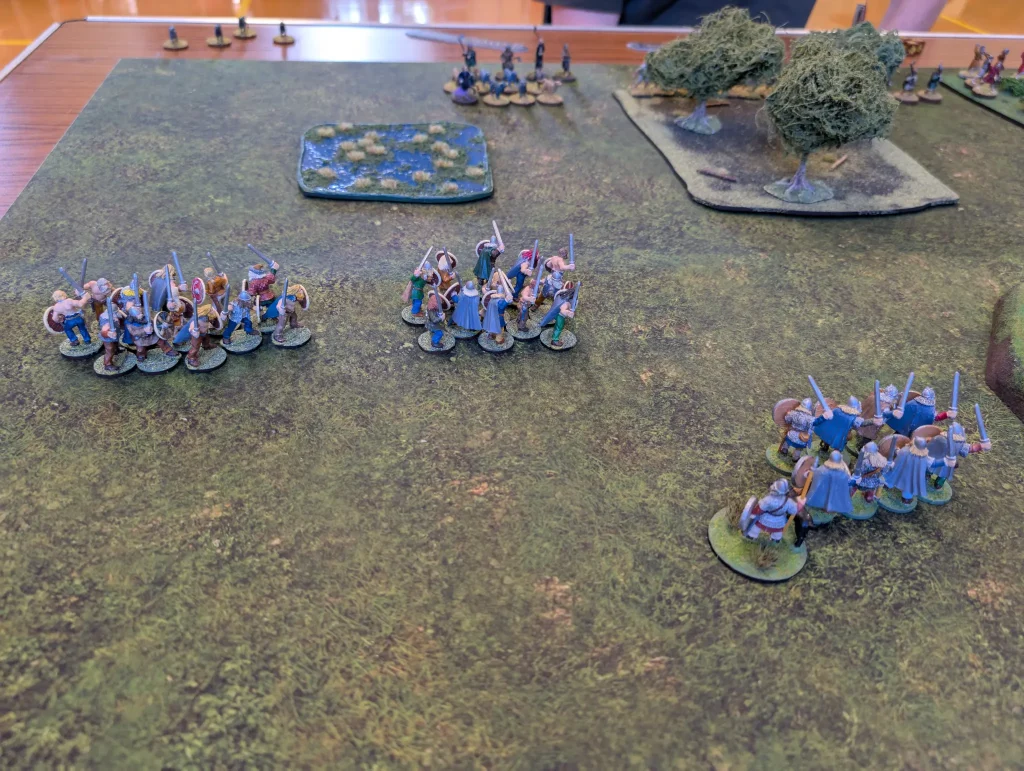
I’d activated Call to Arms this turn to give my Levee the aggression of Warriors, but forgot Valiant Hearts. I used Unison to move up two units of Levee on the Western flank, wanting to charge with one, and then get the second into a position where they could sweep around the rear in later turns.
Taking a fatigue, my Levees charged the wolfhounds. I had 12 attack dice (12 Levee, counting as Warriors), and the wolfhounds had 8. However, I used Clash of Shields to reduce their attack dice down to only 2. They used my fatigue to raise their armour, and I only scored 3 hits, and got a single kill.
The Irish though got no kills on me, so they were forced back across the marsh (since they had hearthguard behind them). It was a win, but not as effective a win as I’d been hoping for.
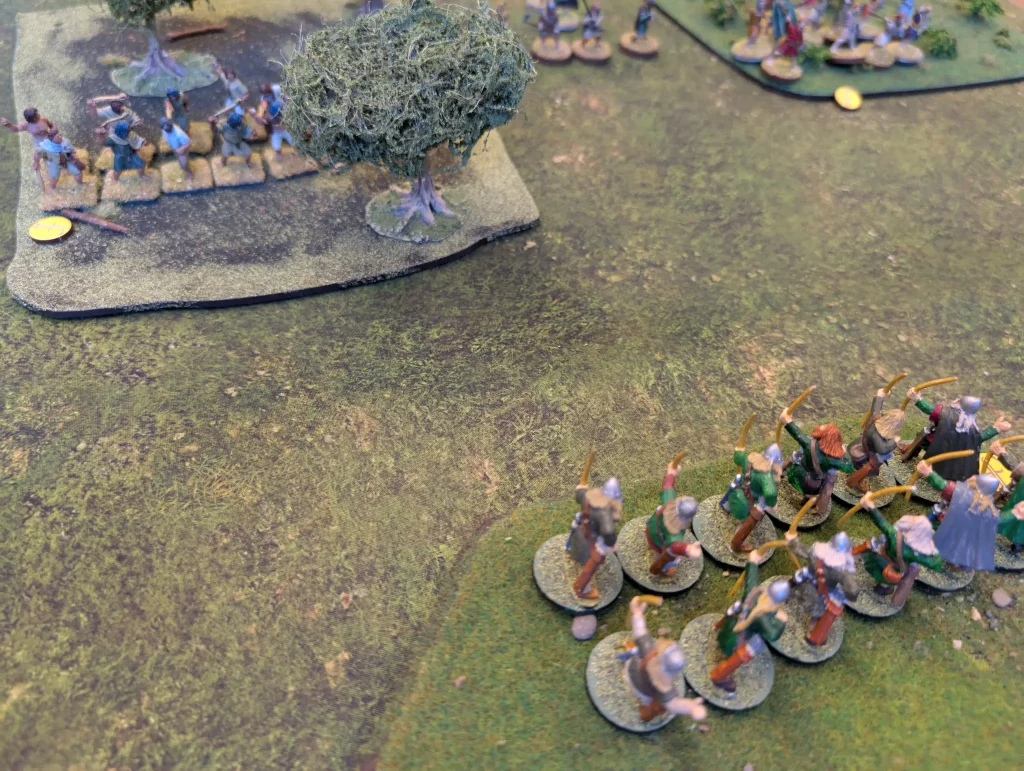
The Irish then used The Old Way to active two units (they had two heroes, the Warlord and the Priest). First they activated their slingers in the field. Only a single figure was in range of my archers, but they used Sidhe which effectively cancelled that attack, but gave them +1 to future shooting attacks against the same unit that turn.
They then activated their slingers in the woods, and took advantage of the +1, getting 4 kills.
The Irish then charged their Hearthguard against my Levees. The wolfhounds had fallen back, leaving the way clear to charge. In defence, my Levees aren’t anywhere near as strong as they can be in attack, so I only had 6 attack dice as a base. I used Closed Ranks though to give me some bonus dice.
I’d activated No Surrender at the start of the Irish turn, which meant their Hearthguard had a fatigue after charging me. Since I also had a fatigue, we both used each other’s fatigue to weaken the other’s armour.
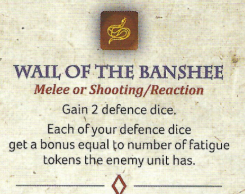
The Irish also used Wail of the Banshee to give themselves some defence dice. Reading the ability now, I see that they should have played Wail of the Banshee first, before using my fatigue. That would have given them a bonus to their defence rolls, since the effect of an ability is calculated at the moment it is used.
The melee was fought, and we both lost three figures. This was bad for the Irish, because it meant they fell back and they’d lost three Hearthguard whereas I’d only lost three Levee. Afterwards, we’d realised that we’d both forgotten that the Irish Hearthguard had heavy weapons. Possibly this would have resulted in me losing more Levee, and the Hearthguards being wiped out (lower armour, but +1 to attack rolls).
Finally, the Irish moved their war hounds back in front of their Hearthguard.
Turn 3
The Anglo-Saxons played Valiant Hearts and Truce to get rid of the fatigue on their Levee. This turn I had a lot planned.
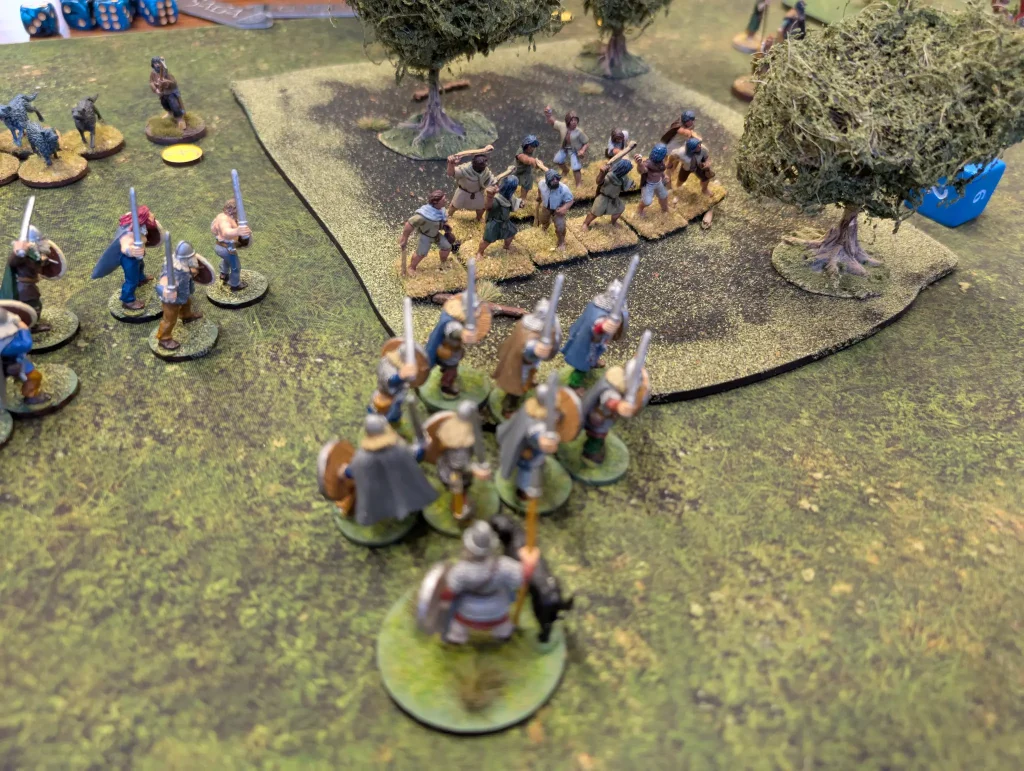
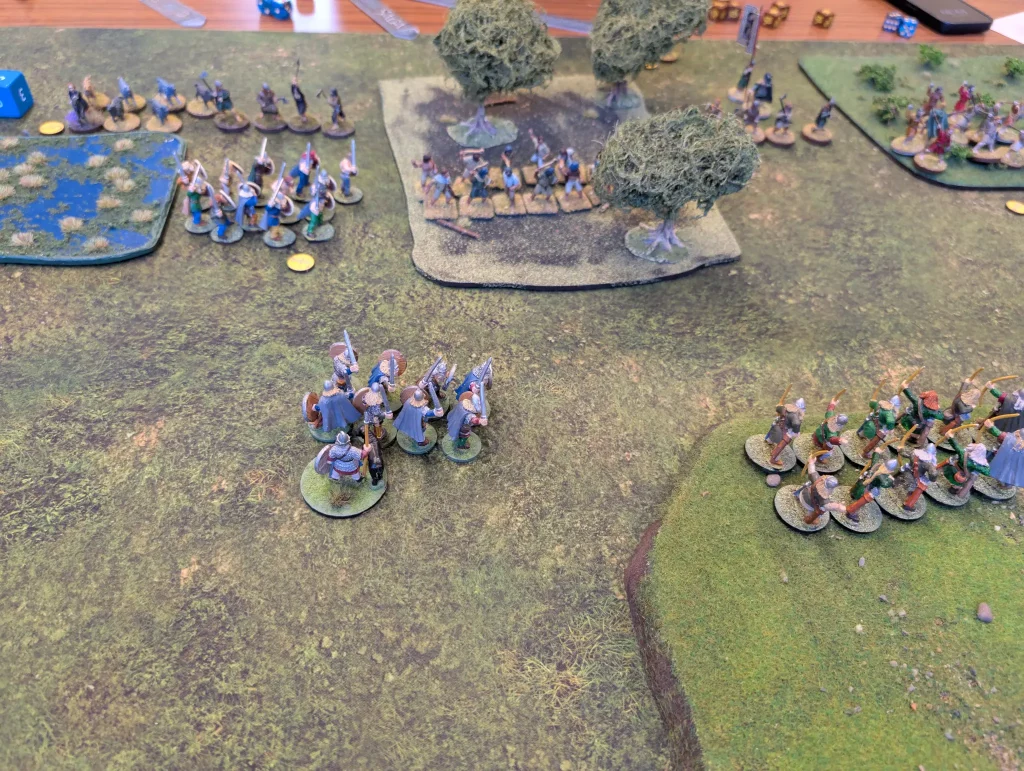
I moved my unit of 8 Hearthguard up into the edge of the woods, then shot at the slingers there with my archers on the hill. I killed one, which was enough to mean that I now outnumbered them with my Hearthguard.
Though my Hearthguard only had 8 figures, and the Irish slingers had 11 figures, the bonus to my effective unit size from Valiant Hearts meant I could use Closed Ranks and count as having a larger unit.
So my Hearthguard charged the Slingers, and they played Closed Ranks (for +3 attack dice) and Overlapping Shields to gain a further 2 attack dice, plus 2 defence dice. This gave me a total of 21 attack dice.
The slingers had only 4 attack dice, and raised their armour to 4 using my fatigue. However, I only got 9 hits (slightly below average), and 6 kills. The slingers got 0 kills in return, and were forced to fall back.
Though we were going to be on mostly equal footing (a fair fight is rarely a good idea), my Levee charged the Warhounds, getting only 2 kills to their 4. My Levee unit was now quite weakened and under half strength, so I was down a Saga die.
The Irish used We Obey to rest their priest, and The Old Way to do soe shooting. Their slingers got some revenge on my Hearthguard, killing one of them with a well aimed slingshot.
Turn 4
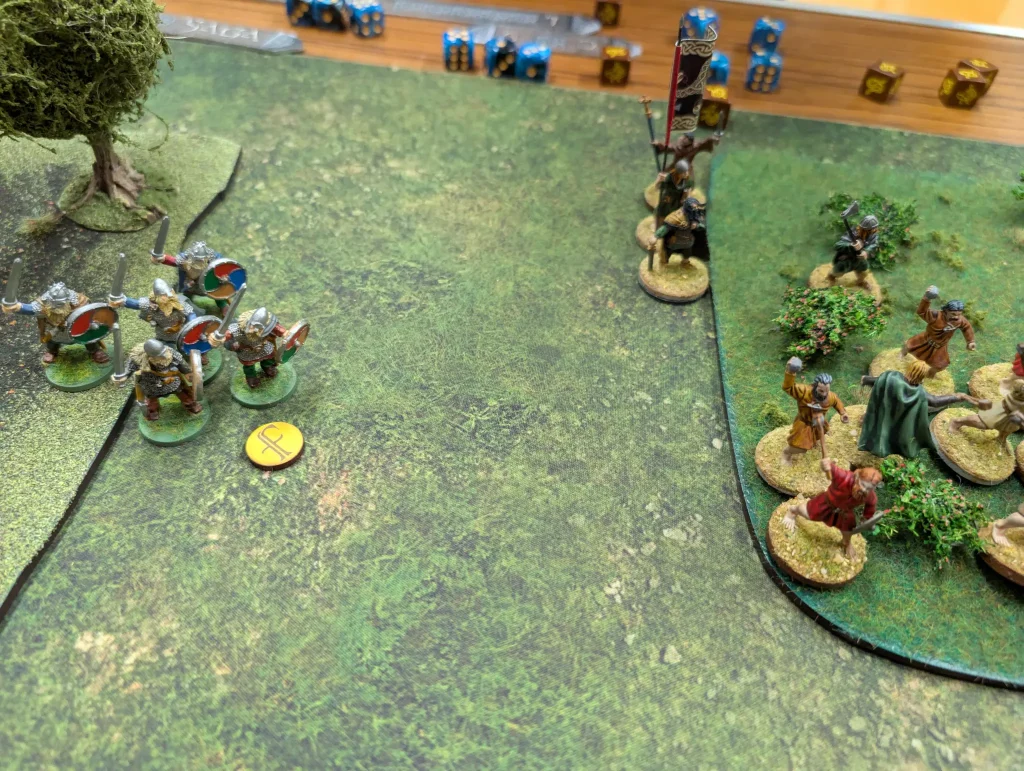
The Anglo-Saxons couldn’t put up Call to Arms this turn, only Valiant Hearts. I put everything I could into getting my Hearthguard out of the woods (a We Obey to rest, then two activations to move and charge) and attacking the Irish Hearthguard. Again, we forgot that the Irish had heavy weapons.
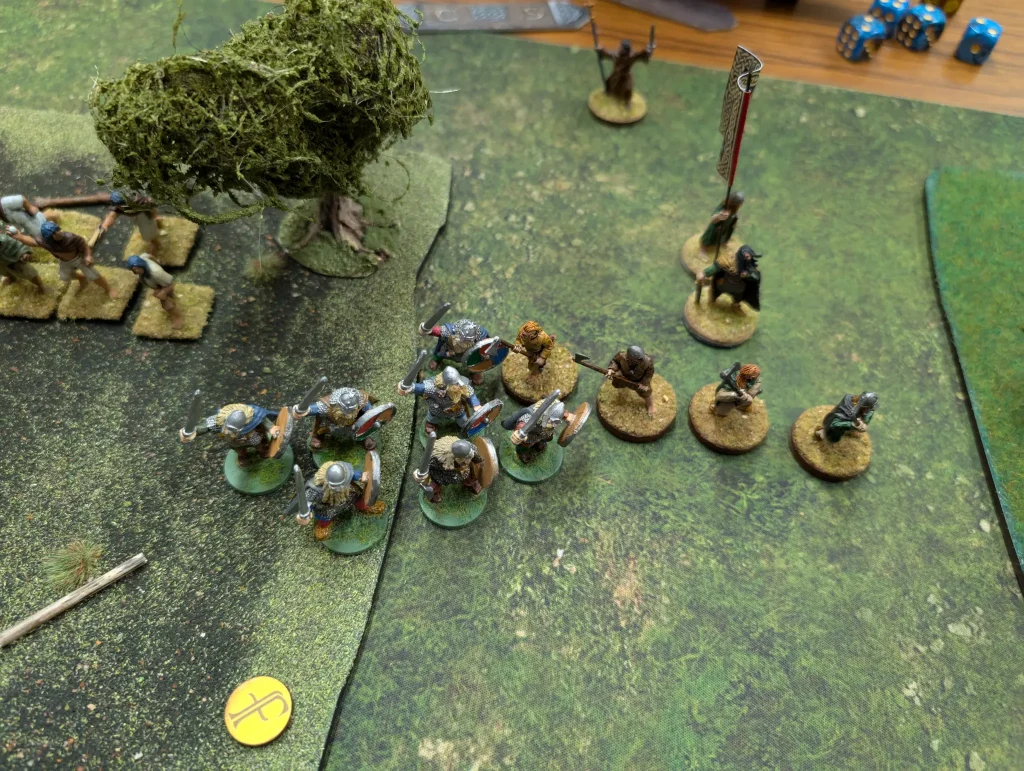
I had 14 attack dice, against the Irish 8, which I took down to 2 with Crash of Shields and the Irish gave themselves defence dice with Wail of the Banshee. The Anglo-Saxons got 3 hits, and 3 kills however, and the Irish scored no hits. So the Irish fell back.
The Irish moved their Warlord to back towards the field to try and find some bodyguards, and used their two units of slingers to whittle my Hearthguards down another couple of figures.
Then their war hounds charged my Levees, getting another 2 kills on them.
Turn 5
We decided this would be the last turn. The Anglo-Saxons tried charged the Irish warlord, but managed to get zero casualties against him. I needed a lot of dice to finish getting out of the woods and charge across to him.
We both forgot Sons of Dana until afterwards. In fact, we’d both been forgetting it throughout the game, so I could possibly have taken more casualties to my Hearthguard whilst they’d been going through the woods.
The Irish made multiple shooting attacks against my Hearthguards, getting another kill.
And then it was the end of the game.
Counting up massacre points, the Anglo-Saxons got 11, and the Irish got 7. There could have been a few more points on the Irish side if we’d remembered Sons of Dana and the fact that the Irish had heavy weapons. But then, they possibly would have lost more Hearthguard due to having lower armour, giving the Anglo-Saxons a couple of extra points as well.
An advantage the Anglo-Saxons have is that a lot of the time they are losing Levee, which aren’t worth many points. Whereas the Irish lost a lot of warriors and Hearthguard.
It was a good game, and only the second time that my opponent has played Saga (his first game was against Vikings, which he’d won), so I think he did quite well. I didn’t make things easy for him by taking a warband that’s quite effective.
I think swapping out the Priest and wolfhounds for units of javelin equipped warriors may have been better, along with Curaidh to make The Old Way really effective. I’ve found wolfhounds useful, but only when the Irish are fighting more aggressively.
Given that we had a lot of combat within a wood, the Irish could have been using abilities such as Heirs of Mil and Spirits of the Land to give themselves extra bonuses or making themselves really hard to be attacked. Since it’s been so long since I’ve fought the Irish, I’d forgotten about these options as well. Saga is very much about knowing your faction’s abilities, and knowing when best to use them and how to chain them together to multiply their effects.
This means that though it’s a relatively simple game at its core, it’s quite complicated to learn to play well since you need to remember your abilities and what they do. Part of the fun though as a new player is learning how to use your faction.
Something that was commented on by onlookers during the game, was that it was unusual for the Irish and Anglo-Saxons to be fighting each other. The battle I mentioned at that point was the Battle of Brunanburh, in 937, which was one of the most significant battles in England’s early history. I’m actually interested in putting together Scots and Strathclyde (Welsh) armies to play out some more scenarios during this time period.
Sam, thanks for the game and for patiently walking me through the rules. I’ve got 24 javelin-armed warriors and a couple of Curaidh in the works—so next time, watch out…
Happy to have a second game at any time.
Good report. And another SAGA player in the club!