The Castle
It was time for another game of Saga: Age of Chivalry at Farnborough Wargames, but this time we went for something slightly different. Since I had a big castle from Battlesystems, I wanted to give the Into the Breach rules from Ne Cede Malis a try. These are a fan made set of rules for handling castles and sieges using the Saga rules. They’re not set for any particular era, but Age of Chivalry seemed as good an era as any to try using them with.
This was our first time using them, so there were a lot of questions that came up during the game. On the whole, they worked, but there’s probably some bits that could do with changing – or at least having a better explanation.
I used my Free Companies, with an eight point army:
- Mounted Warlord
- 3 x Hearthguard on foot (as 2 units of 6 figures)
- 3 x Warriors
- 1x Warriors with Pavises
- 1x Levies with crossbow
I was up against the English in their Castle, with a six point army:
- Warlord on foot
- 2 x Hearthguard
- 3 x Warriors with Bows (as 2 units of 12 figures)
- 1 x Warriors
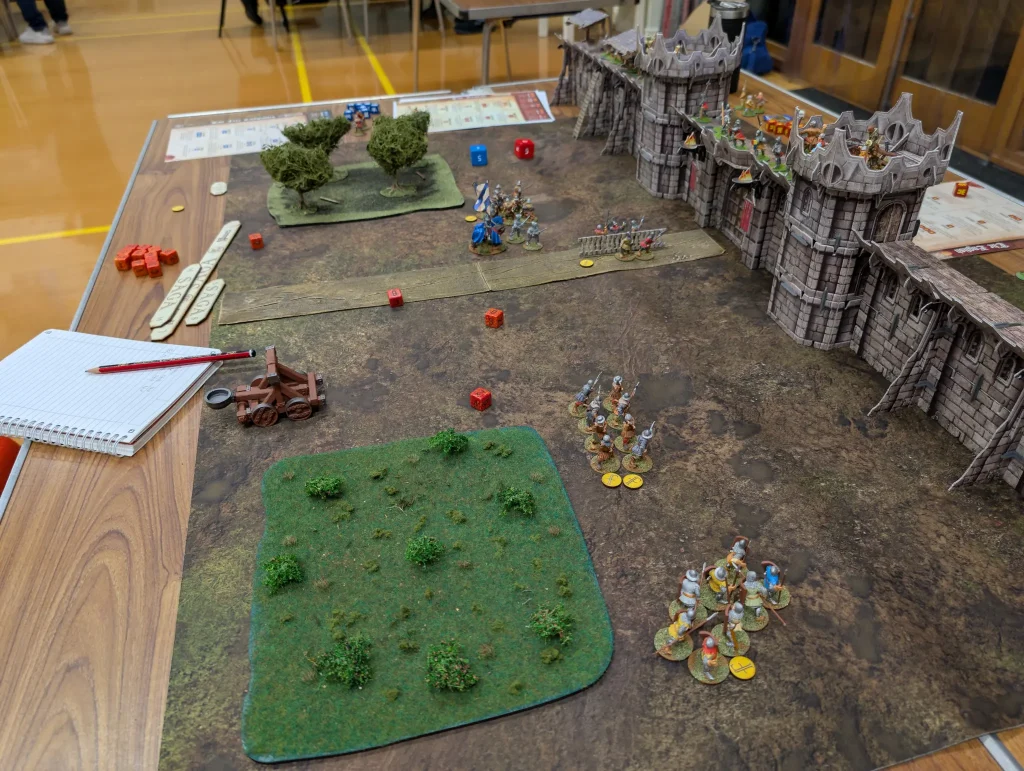
For Siege equipment, I took 2 ladders and a catapult. The English took a ballista and some improvised missile weapons for the Hearthguard. We didn’t take the full complement of siege weapons in order to keep things simple. We also had a fairly open battlefield. I was mostly just wanting to test things to see how the new rules worked. The lack of terrain probably didn’t help the Free Companies.
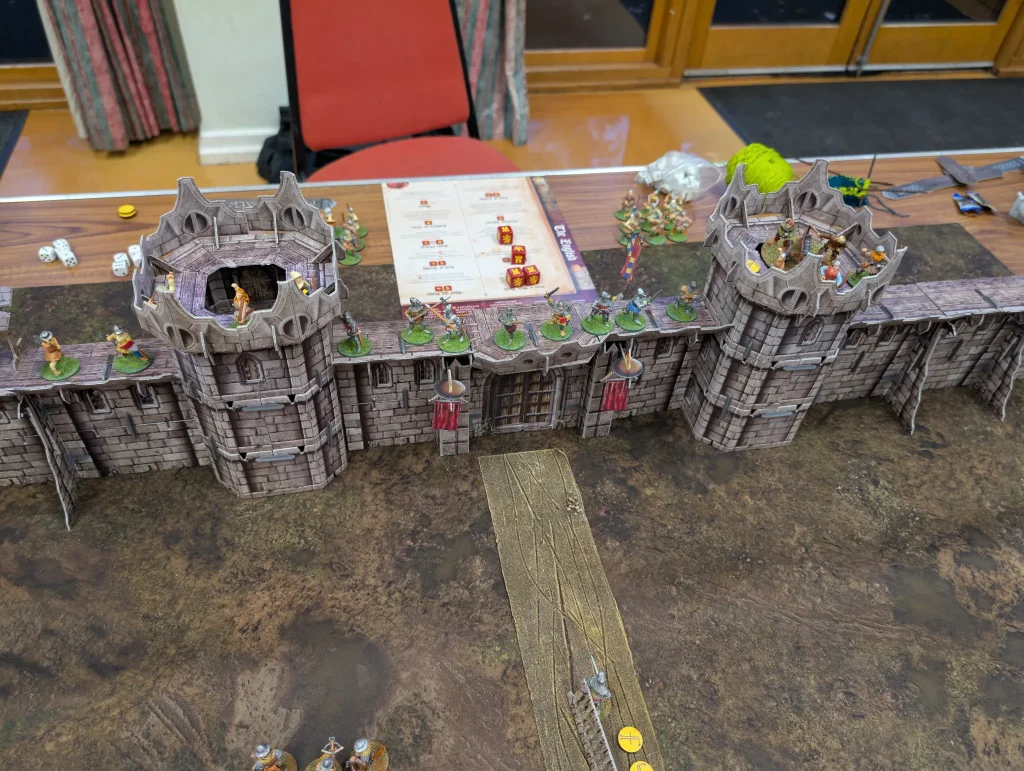
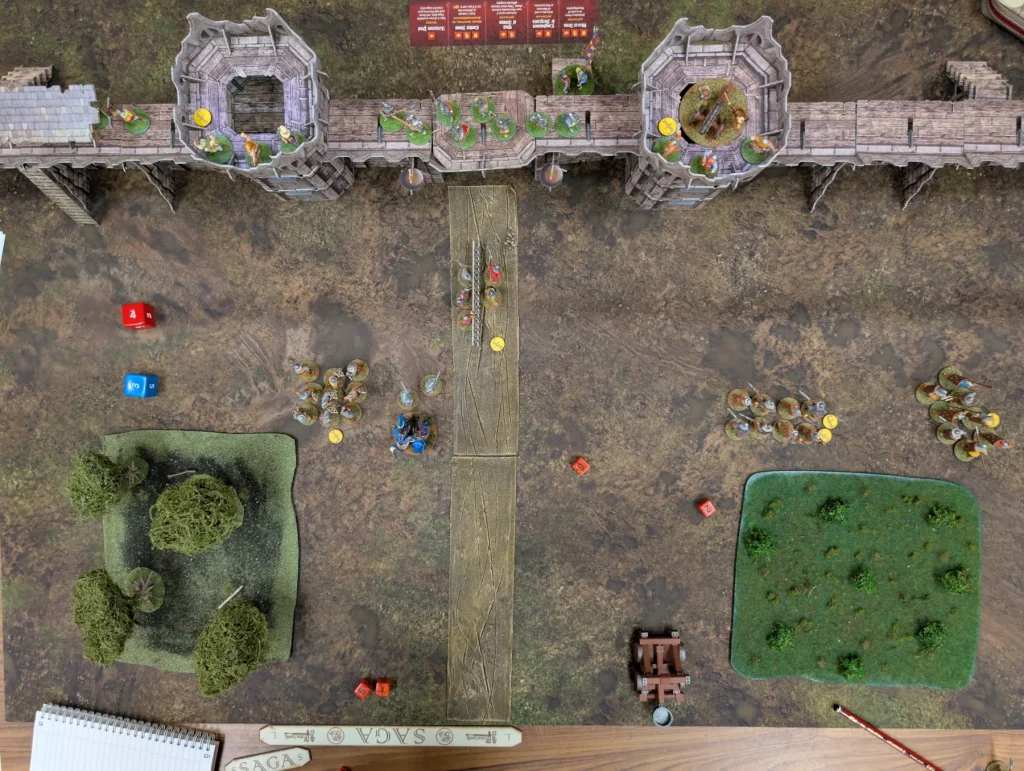
We had a standard 120x90cm table, with the castle walls stretched across one of the long edges. There was a gate, two towers, and then walls stretching to the edge of the table.
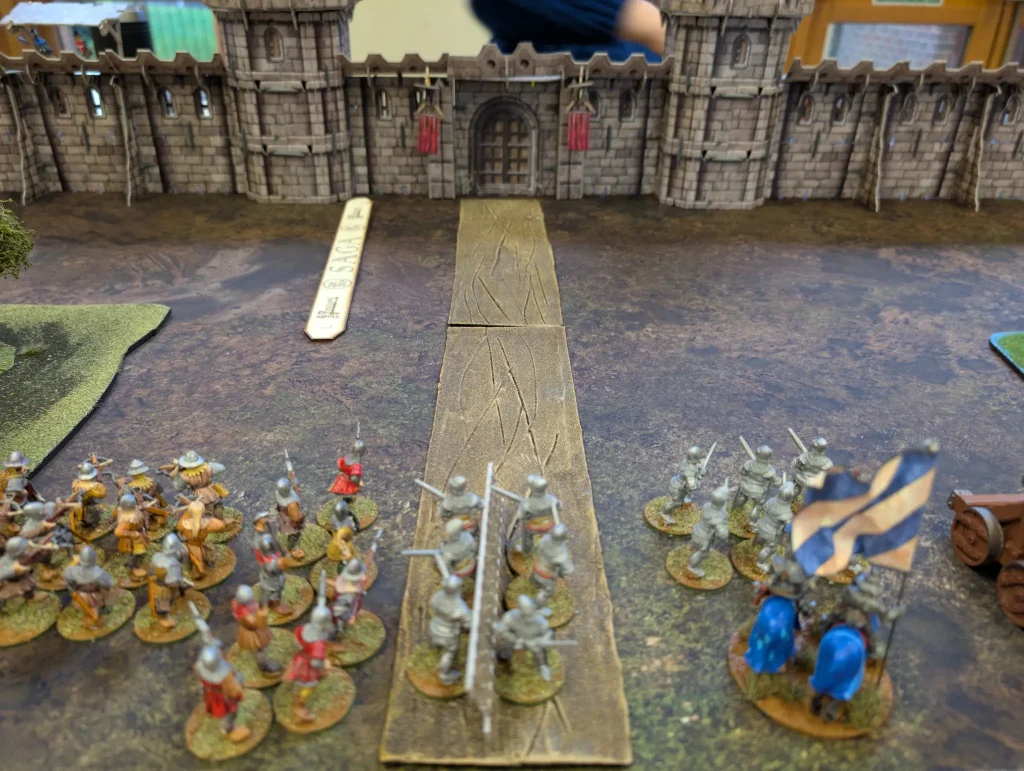
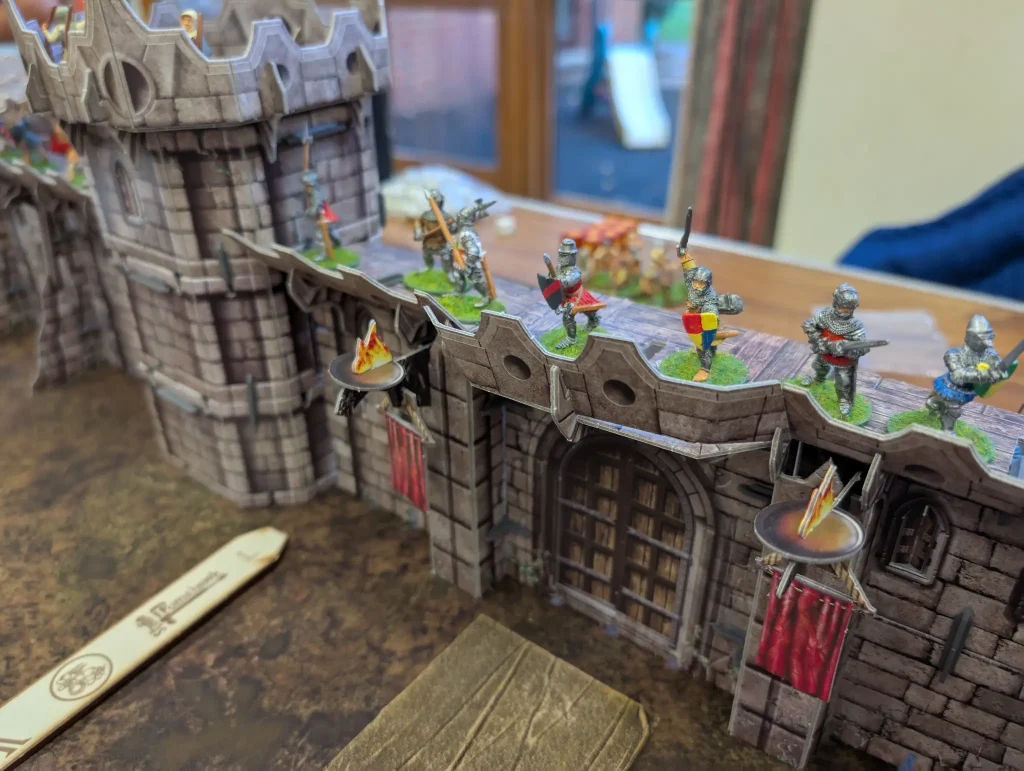
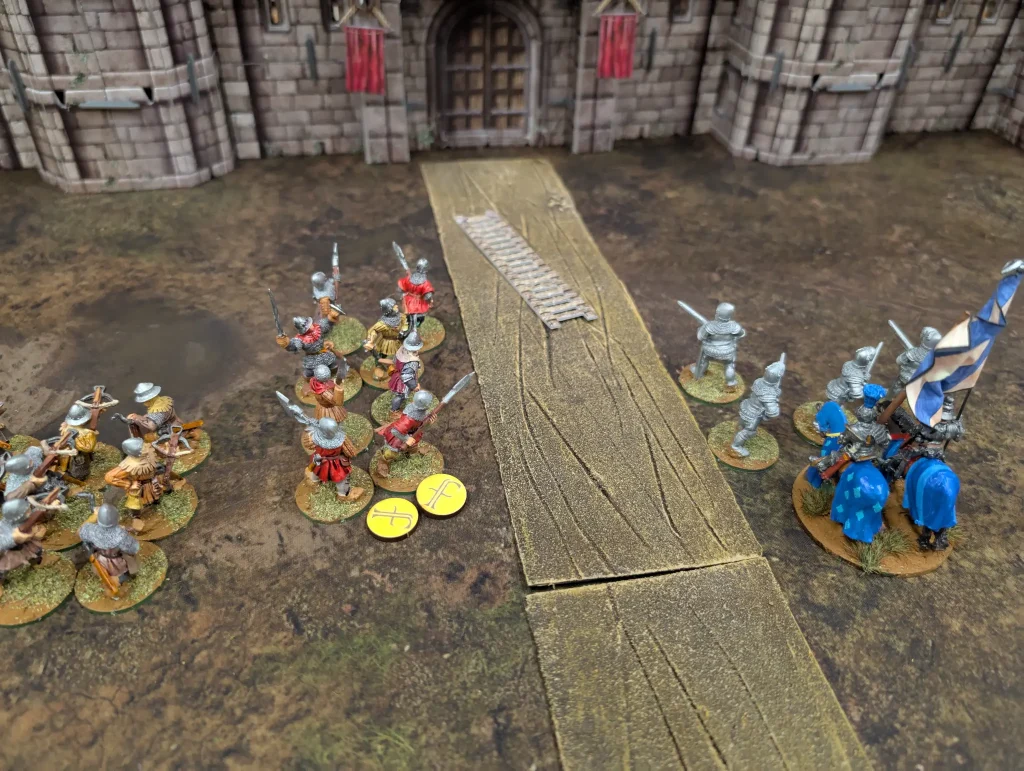
The archers set up in each of the towers, plus the ballista went into the eastern tower. The English Hearthguard held the gate, with the warlord behind them. The other warriors held the western wall.
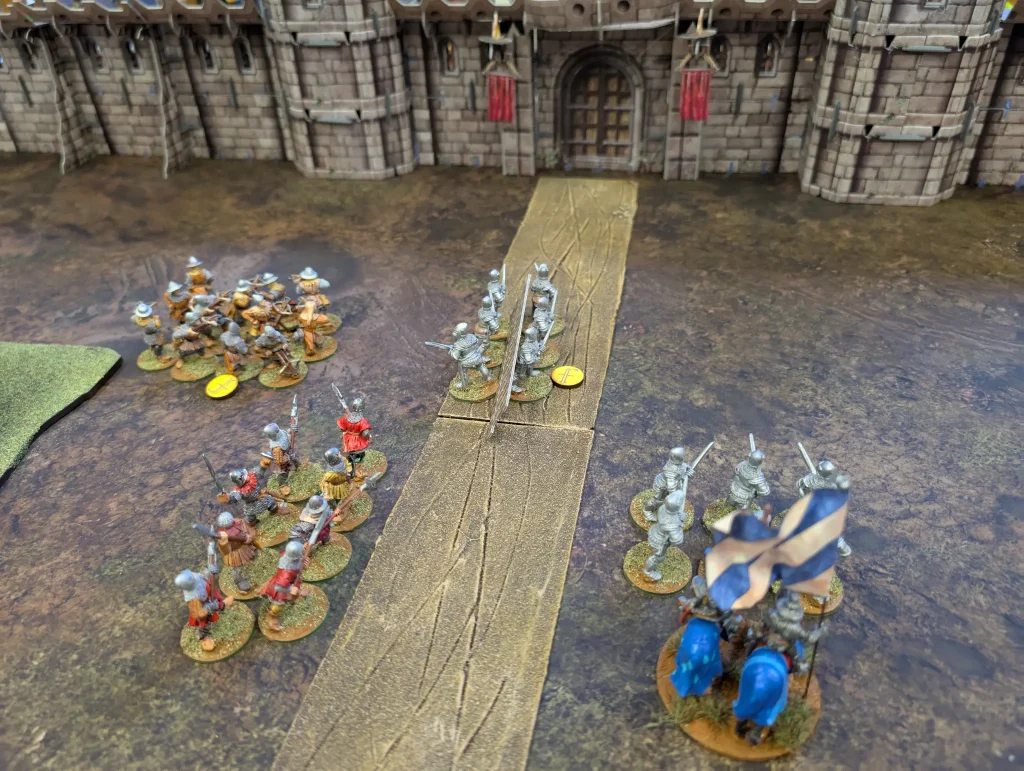
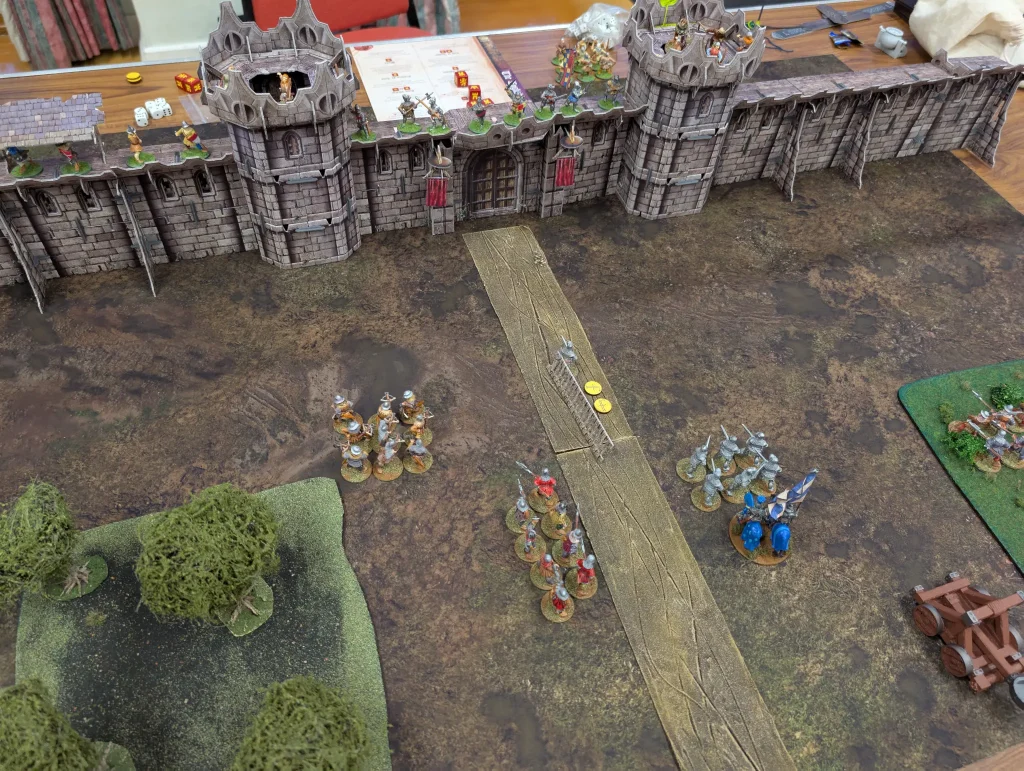
I’d deployed across the whole table, my plan being to take down the eastern tower whilst storming the gate and western wall. Though I had some units in the East, they couldn’t do much until the tower came down. Until then, the plan was that they’d be giving saga dice and acting as somewhere to dump fatigue onto with my Free Companies abilities.
I was expecting that the English would work very well in defence. With all their extra shooting ability, being able to stand back and rain arrows down on the attackers would probably give them an advantage. I was hoping that some of the Free Companies abilities would help me as well though.
Turn 1
The Free Companies stormed forward, picking up some fatigue but not engaging with the enemy – since they were hiding behind their big stone walls. The catapult was used, but it had no effect against the tower. Basically, it gets an Aggression 2 shooting attack once a turn. With no abilities to boost it, it was quite easy to fall prey to bad luck.
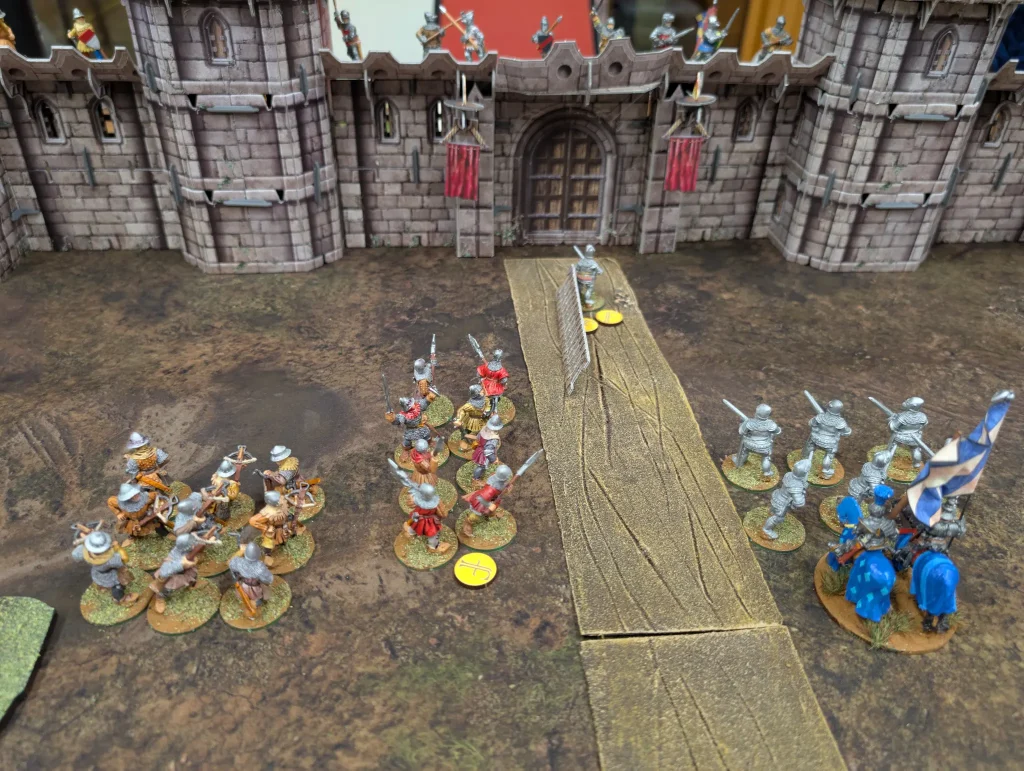
The English started their turn with the Free Companies playing their Orders/Reaction of Den of Thieves, to move some fatigue off their crossbowmen. Then the English ballista opened up on the Hearthguard marching down the road with their ladder, killing one of them.
Then it was Wall of Arrows, activating both units of archers for shooting attacks. The first volley went against the same Hearthguards, and they stacked Hail of Arrows and Rain of Arrows onto the attack as well, giving them 10D6 attack. I completely forgot to use Sneaks and Robbers, and took another 2 casualties.
The other unit of archers shot at my Crossbowmen, who were then able to use Sneaks and Robbers. 3 hits were turned into 1 hit, and 0 kills.
Then Wall of Arrows was used a second time. Another 2 kills on the Hearthguard, taking the unit down to a single figure, followed by 3 kills on the crossbowmen.
I’d expected the English archers to be effective in this scenario, but not this effective.
This then raised the question of what to do with the ladder. The ladder was needed to storm the castle walls, but it was assigned to a unit. The Into the Breach rules don’t mention whether it’s possible to transfer ladders between units. We decided that it made sense to allow this.
Turn 2
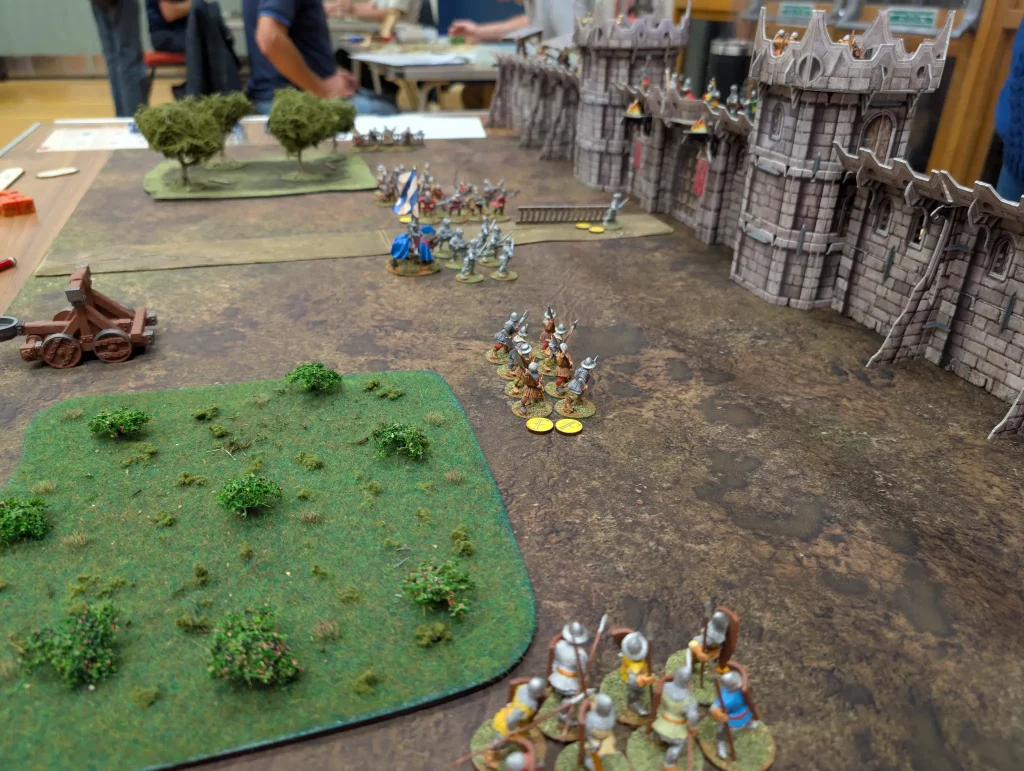
The Free Companies were now hurting, but it was time for another use of the catapult against the eastern tower. Again, I got zero hits. Five hits were needed to take down the tower or walls, which meant it would need at least another 3 turns rolling really well to do any damage.
My crossbowmen were now close enough to shoot at the castle tower, so they did. They shot at the West tower, trying to take out the archers there, but failed to kill any.
I then used Mob Violence and manoeuvre activations to bring more units up closer.
The English repeated their tactic from the previous turn. The ballista shot at the second unit of Hearthguard, killing two of them. They rested their archers, then used Wall of Arrows.
Again they had 10 dice attack due to their abilities, and I remembered to use Sneaks and Robbers (with a Crown!) to cancel up to 2 casualties. However, my Hearthguard only suffered a single hit, and no kills. It turned out to be a waste of the ability.
The second group of archers shot at my warriors at the western end of the table (who were carrying a ladder), killing two.
Further arrow fire failed to do anything (fortunately for the Free Companies). However, the Hearthguard above the gate had improvised missile weapons, and used them to take out the lone hearthguard who was left dragging the ladder by himself. He died, wiping out the unit and putting another fatigue on my warriors.
Turn 3
The Free Companies played Cowards! on the English warriors on the Western wall. They were more than Short away from any heroes or hearthguards, so they fled back off the wall, leaving it undefended. Using Mob Violence and activation dice, my warriors who had been creeping up the western table edge used their ladder to take control of the wall.
The other mob violence action I used to move my hearthguard onto the road, to allow for some planned movement by other units later.
Then my crossbowmen opened up at the English archers, getting 2 kills. The walls provide hard cover, so even the archers had an effective armour of 4. Brought down to 3 by my crossbows, but it wasn’t greatly helping.
Then I went to activate them a second time – and remembered crossbows can’t shoot twice in a row. So I moved my Warlord up, he did a We Obey to move them, and then they activated to shoot. They got another two hits, but no kills.
Finally, my catapult shot at the hearthguard above the gatehouse, to no effect.

The English then counter attacked the Free Companies troops up on the castle wall. It was eight against six and I had no special abilities. The English used Herce, and they got 8 kills, completely wiping out my unit. I got only a single kill.
This combat brought up some interesting questions, possibly brought about because my castle is actually quite complicated. The Into the Breach rules treat walls as obstacles, which are pretty much one dimensional lines. My castle has enough room for to fit several units on though, as well as having several levels.
Should the Free Companies get cover if they are defending the top of the walls from the English below? After the English had won, should they “move in” and take the wall back? We decided that there was no cover, and that the English would just take the wall.
This counter-attack was followed by more arrow shots, which continued to whittle down the Free Companies units, both warriors and hearthguards.
Turn 4
At this point the Free Companies decided that the assault on the castle was not going to work, so fell back. The game was conceded to the English.
However, we’d had enough of a game to get a feel for the rules, and where the pain points were.
Firstly, we probably should have taken the full complement of siege equipment, as well as using more terrain. We kept things down for simplicity and due to lack of suitable models. If I’d had more ladders though on the Eastern flank, that would have made it harder for the English to defend the entire wall.
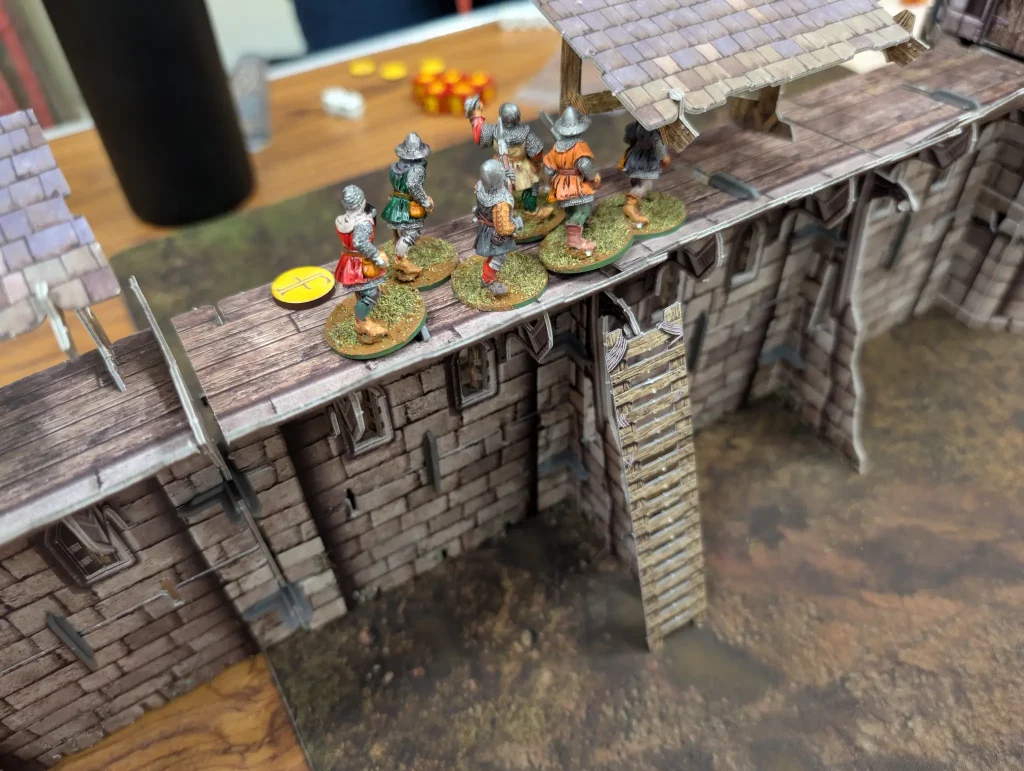
The biggest complication was arrangement of units on the walls. Into the Breach treats walls as obstacles, which are sort of one dimensional lines. However, the Battlesystems castle walls have a notable thickness to them. Units are just on either side of the wall, they can be actually on the walls.
For this reason, I think it might make sense to treat the walls as buildings. To assault a building from the outside, you must have ladders or siege towers. If they win a melee, then they get to push the defenders out and get to occupy the walls.
Attacking walls from inside the castle don’t require ladders. I’d be tempted to give the wall defenders a +1 to defence saves versus melee (not shooting) attacks against attacks coming from inside the castle since the counter-attackers will have to climb stairs. However, attacks from another segment of wall (or from a neighbouring tower) wouldn’t grant that defensive bonus. Against shooting attacks, you have no cover against shooters inside the castle.
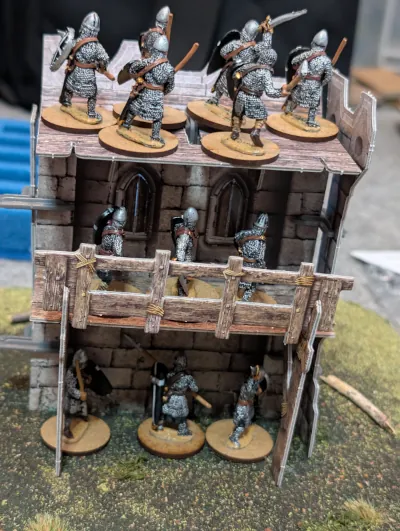
The Battlesystems wall segments are 10cm wide (Short in Saga terms), and have enough room for a dozen figures due to their multi-level layout.
You could treat each wall segment as a different building, allowing fighting between buildings. The issue is that you don’t want to force a requirement to have too many defenders.
So maybe defenders have the option of defending an attack (from outside) against either their segment of wall, or a neighbouring segment of wall. But for purposes of distances (such as using Herce), defenders count as being located in one wall segment.
Once attackers are up on a wall, then they can just fight along the wall, with the defenders no longer gaining bonuses for cover. Assaulting a tower from a neighbouring wall segment would still grant cover. Defenders in a tower wouldn’t be able to defend neighbouring wall segments though. They gain the benefits of the tower’s protection, at the expense of not being able to defend as readily.
Catapult attacks would be against a particular wall segment as well, so if the wall is breached, then the segment is replaced by rubble.
I do wonder whether it would be an idea to have damage to walls or towers causing fatigue or casualties to defenders in that section. Maybe they get Resilience (1) if they don’t already have it versus the attack, so can take either fatigue or a casualty. As it was, the catapult attacks felt like they were doing nothing (even on average rolls, doing one hit per turn, it would take 5 turns to breach a wall). Even if they had done damage, it’s a damage that has no effect until the walls actually fall. So maybe a side effect of being able to suppress the defenders as well would be more effective.
All these thoughts though are based on having played the rules once. Maybe we just need to read them more carefully, and figure out how they should apply and that would solve our problems. I think though that the general thickness of our walls makes treating them as simple obstacles difficult.
Despite the difficulties we had with some bits, and even despite my Free Companies being repelled so effectively, I thought it was a fun game with a lot of potential. There aren’t many 28mm wargaming rules which cover siege warfare. I know Warhammer Historical has Siege and Conquest, but none of the other systems sitting on my shelves cover the subject.
It might be possible to adapt Into the Breach to Lion Rampant, since the systems aren’t too different in terms of how units move and attack.
To play this again, I think I need more siege equipment. My catapult and battering ram was from World War Gaming. I could do with extra ladders, and also some suitable ruins for collapsed walls and towers. I have the ruined monastery set from Battlesystems, but the wall colouring is just slightly different. Given that the terrain is cardboard, I could just get another set of walls and towers, and take some scissors to them to give a ruined effect.
Lastly, another thought we had was to start the scenario with the walls already breached. So the battle becomes about taking advantage of the breach and fighting your way through (or defending it), rather than the run up to this point.
Fighting across the table like we did, even with an 8 point attacking army, the battlefield did feel a bit empty. So a battle with the castle at a short edge might be another option, to allow for a more concentrated attack.
If we had time, and the space, then an Epic Saga battle with multiple armies attacking a full castle could look impressive. How well it would play out though, I don’t know. I think we need to figure out the small battles first before getting ideas beyond ourselves.