Limes I
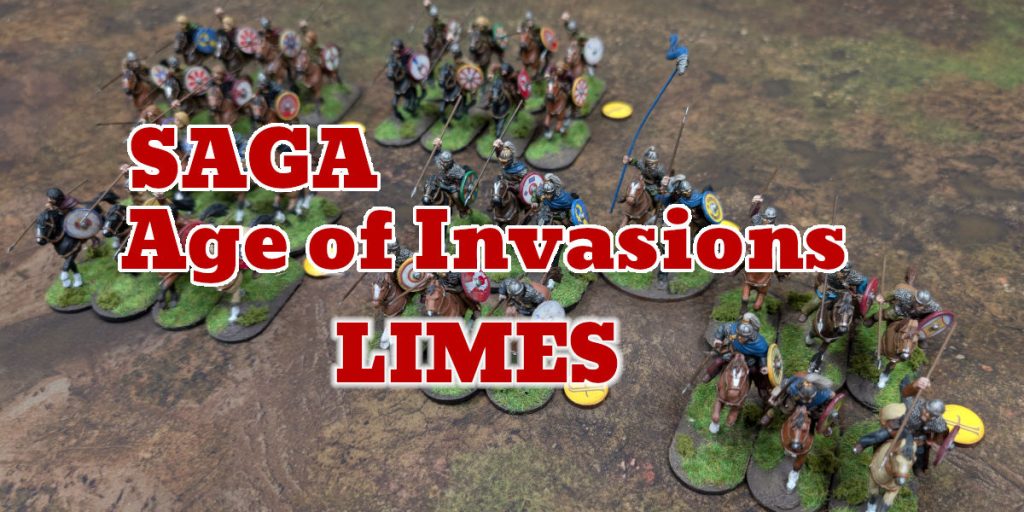
Today was the first our first chance to try the Limes campaign rules in Saga Age of Invasions. It’s a relatively simple set of rules for a campaign between ‘Romans’ and ‘Barbarians’. The Romans can be represented by any civilised faction, and the Barbarians can be any less civilised factions. So it could be done as Anglo-Saxons versus Viking raiders (Age of Vikings) or Great Kingdoms versus Hordes (Age of Magic).
For our campaign, I used the Romans from Age of Invasions, with the Goths as the Barbarian army. Time wise, it’s probably sometime late in the 5th century, when King Theodoric of the Ostrogoths is invading Italy. The last Western Roman Emperor has been disposed by this point.
The campaign spans six years, with a battle being had each year. After each winter, the Barbarians put together a raiding force and try to cross the border. The Romans build their fortifications, recruit new troops, and try to stop the Barbarians.
Because of the way the campaign is organised, only the Romans really need to track much year to year. There are a few things to track on the Barbarian side, but their warband is put together fresh each time. The Romans need to conserve their troops though, since they start the following year with whoever survived from the previous battle. As the Romans win battles, their morale goes up and the Barbarian’s resolve goes down – and vice versa.
This does make it easy for different players to play the Barbarians each time. There could even be a different faction attacking each year.
Preparation
Auguries
First we checked for any auguries for this year. We got Troubles in the Empire. If the Romans don’t win this battle, then their Morale drops by one, in addition to any other results of the battle.
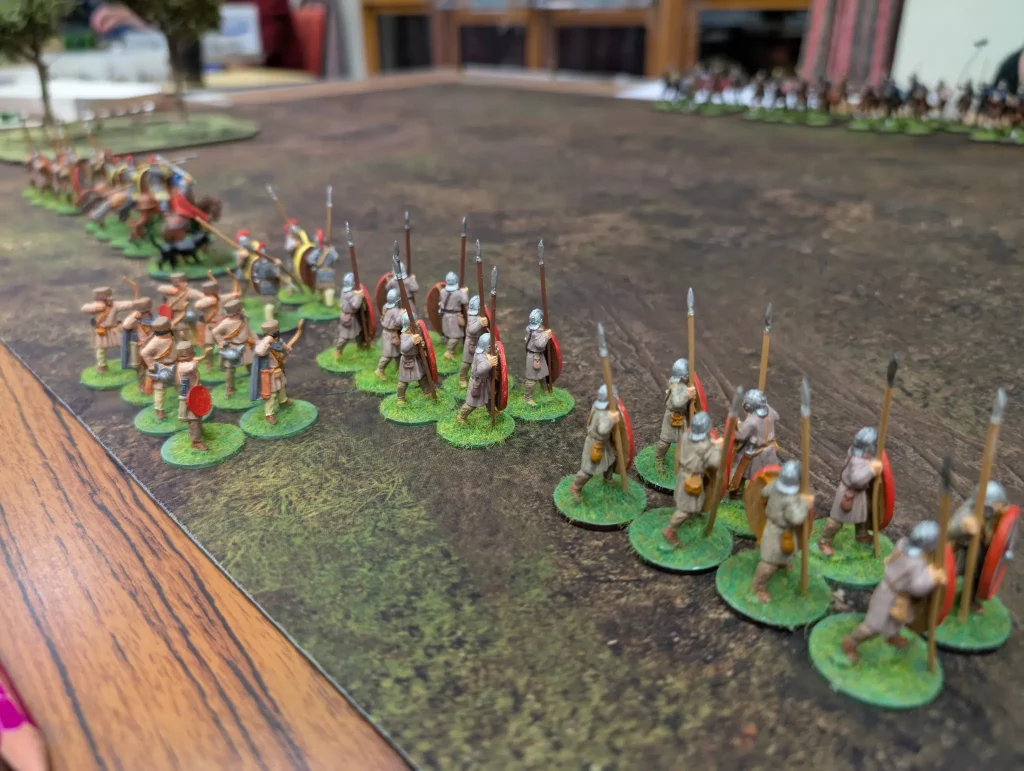
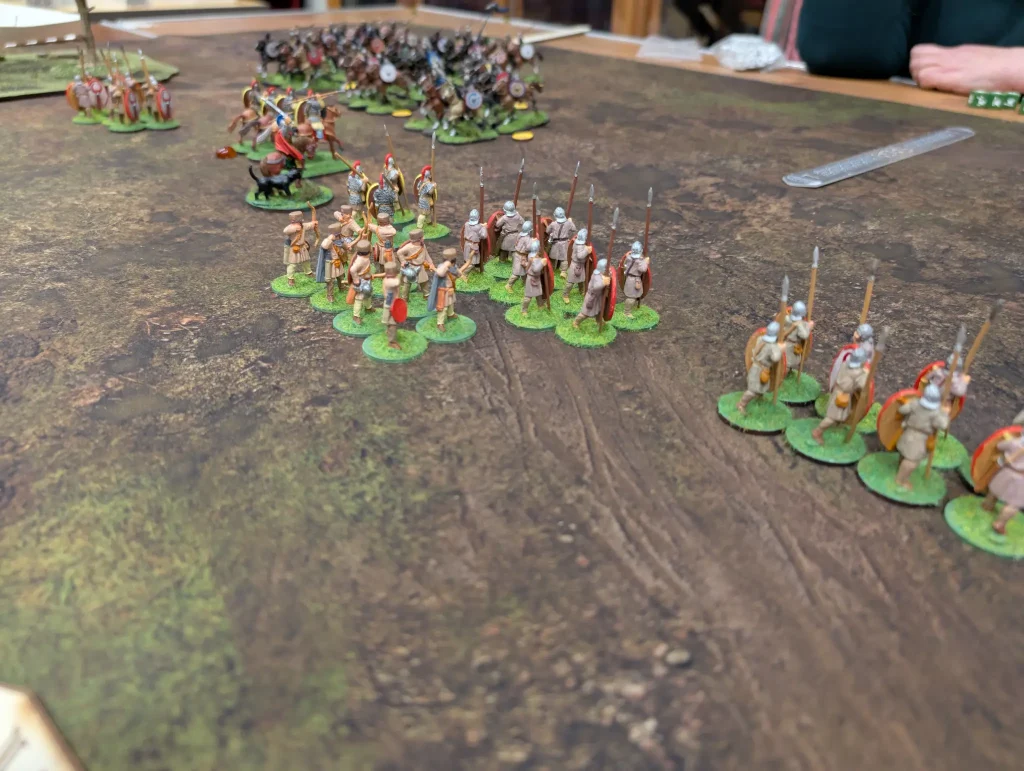
The Romans
The Romans start with a six point warband plus a warlord. I took 8 hearthguard and 32 warriors. For the first battle, this was split between a unit of warriors with bows, 3 standard warriors and 2 units of hearthguard. Romans don’t get to start with any Levies.
After each battle, any Roman casualties are checked to see whether they were actually killed or simply wounded. On a D6 roll of 4+, the casualty survives to come back the following year.
The Goths
The Ostragoths. are a very horse heavy army. Each year plans the same scenario – the Barbarians have to get across the table and off the Roman edge. Barbarians score massacre points for each figure that gets off the table, but this is halved if they are mounted. So though mounted units are a lot faster, and will find achieving objectives a lot easier, they need to do really well in order to ‘win’.
The Barbarians start with a 4 point warband, and no warlord. At the end of Winter, they are a bunch of friends who have decided to go on a raid. They have the option of just heading out, or spending time coming up with a proper plan, gathering a larger war band, and maybe even choosing a proper leader.
The more time they spend doing this, the more prepared they will be, but also the more time that the Romans get to build up their own defences. Every option the Barbarians takes gives the Romans points to spend. So the Roman side is very reactive to what the Barbarians are doing.
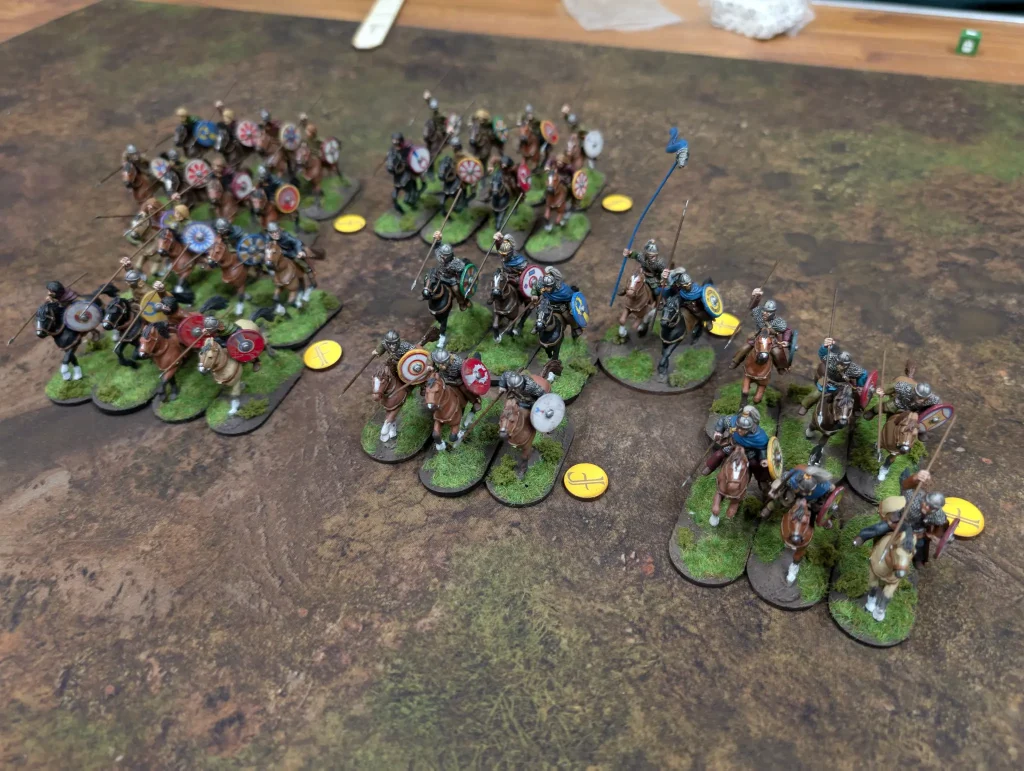
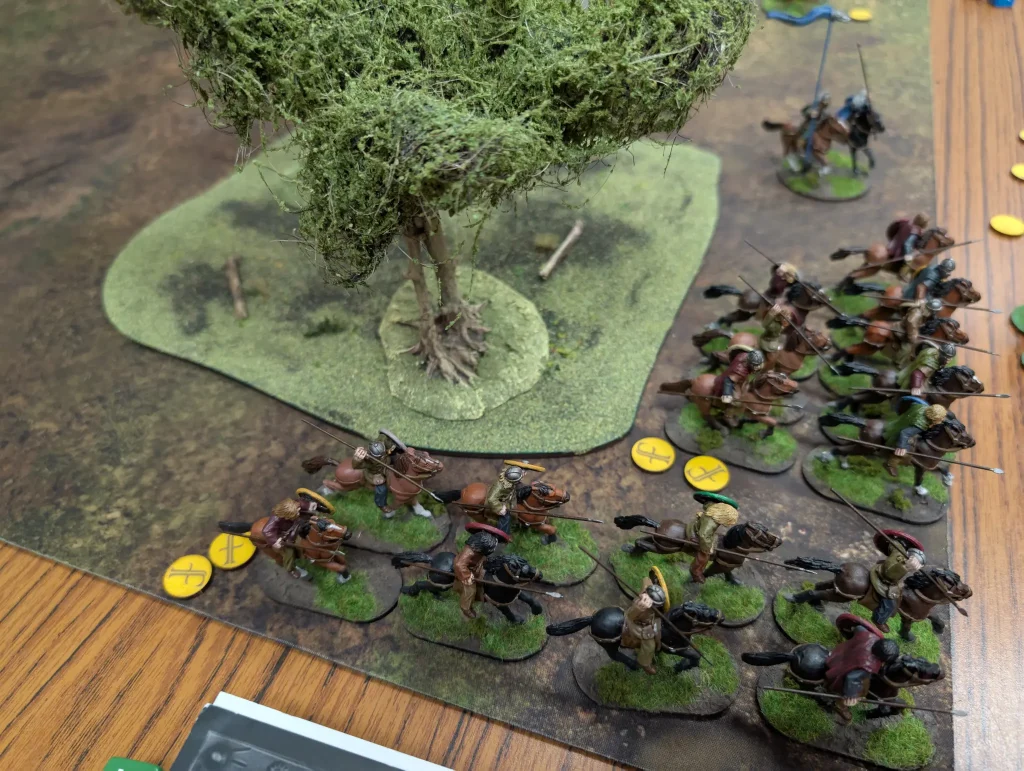
In this first game, the Goths organised a large army of 3 points of hearthguards and 3 points of warriors, plus a Warlord. All were mounted. There were organised into two units of 6 hearthguard, and 3 units of 8 warriors.
However, the Romans don’t know what the Barbarians have chosen at this point – they are simply told the points that they had to build up their forces with. In this case, it was 11 points.
Fortifications
With 11 points to spend, the Romans built an Armoury, which allows them to recruit Levies. They also built some stables, which allowed them to upgrade a unit of hearthguard and their warlord to being mounted. We also started work on some fields (which allows automatic recruitment of levies each year), and hired a Medicus for the year. The Medicus provides bonuses for the survival checks at the end of the battle.
The Battle
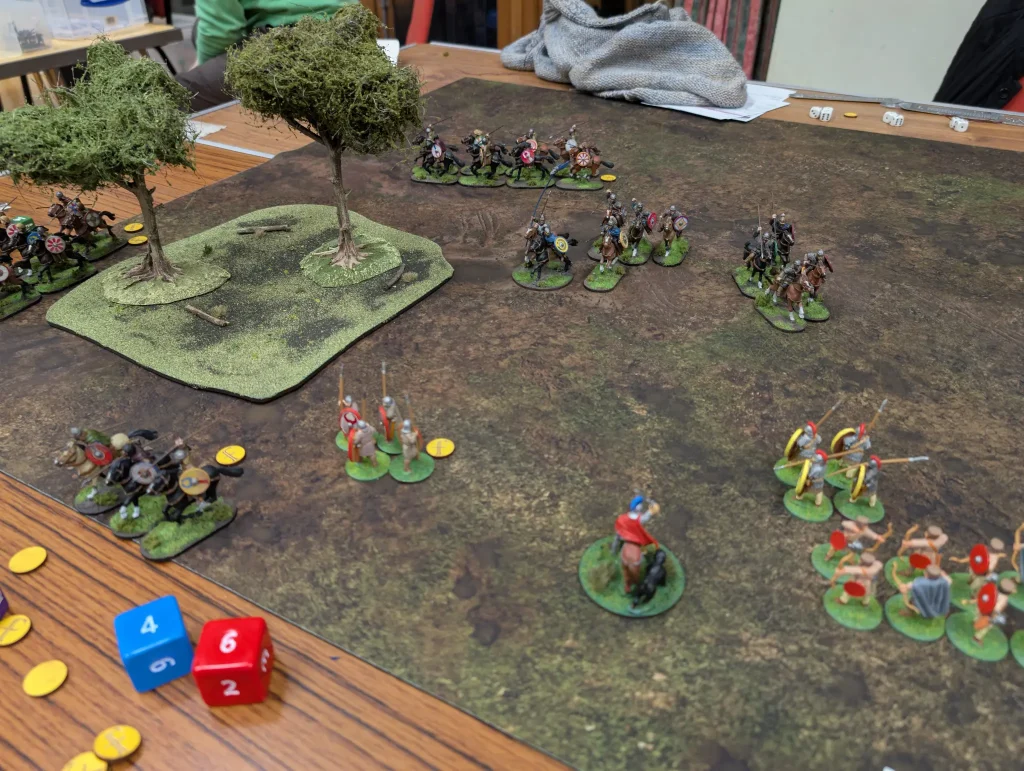
The battle began with the Roman side deploying one piece of terrain. We placed a large wood on our Western flank. The Goths got to place scenery – and placed none, providing a wide open battlefield.
They gave their boast – “Tonight we feast together in the enemy’s walls!”. Each battle, the Barbarians need to select a boast. There are 7 in total, and each time needs to be different. Succeeding on the boasts give bonuses, whilst failing give penalties. For this boast, the Goths needed to have all of their surviving units either off the table, or within L of the table edge by the end of the battle.
The Goths deployed first, lining up all six points of mounted troops at their table edge.
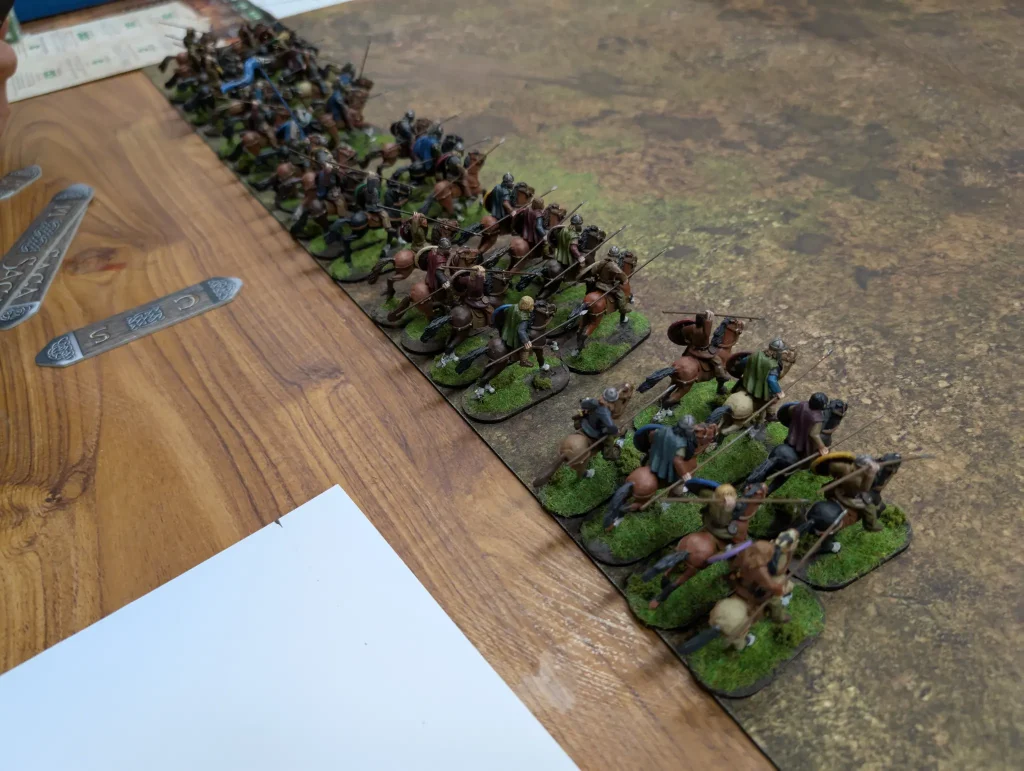
The Romans then deployed facing them, trying to spread out to prevent them coming across.
The Goths had chosen a stratagem that allowed them to roll Saga dice before the battle commenced, so they started with a pretty full battle board. Then, the Romans went first.
It also turned out though that the Goths had played Harassment. They rolled a D6 – and 6 of my units started the game with a fatigue. Plus, I would only get 4 Saga dice on the Roman’s first turn.
Turn 1
The first turn began badly for the Romans. I reached across the table and my jumped caught in my Warlord’s sword. The figure was hurled off the table and onto the floor, where the horse came off its base, and the figure off the horse. Fortunately it just broke at the glue joins, and it balanced together well enough to continue the game with.
I decide to remove as much fatigue as I could. I completely forgot about Signa, which removes fatigue from two units with one die. My entire first turn them was spent resting and trying to move forward.
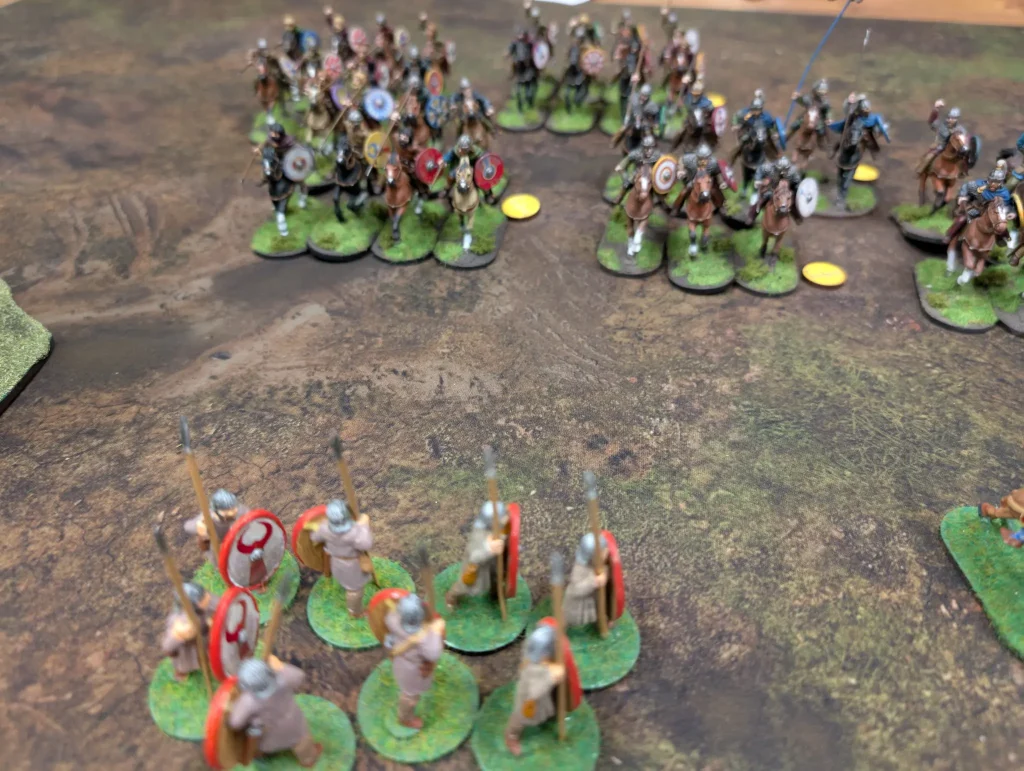
The Goths use Feud against my mounted hearthguard, then use Manoeuvre to move forward.
The Goths were massing near the centre of the table, which left most of my army too far away to be able to do much.
Turn 2
The Romans wanted to try and bring the fight to the Goths, so I came up with a careful plan. For some idiot reason, I stuck a saga die on my Levies activation option. I had no levies, so this was a waste of a die.
However, I was close enough for my infantry warriors to use Plumbatae against the Goth warriors. I got one hit and no kills.
Then my archers opened up using Combined Formations. They fired using line of sight and range from a nearby hearthguard unit. This got zero hits against a Goth hearthguard unit, but got them to use their Immunity ability.
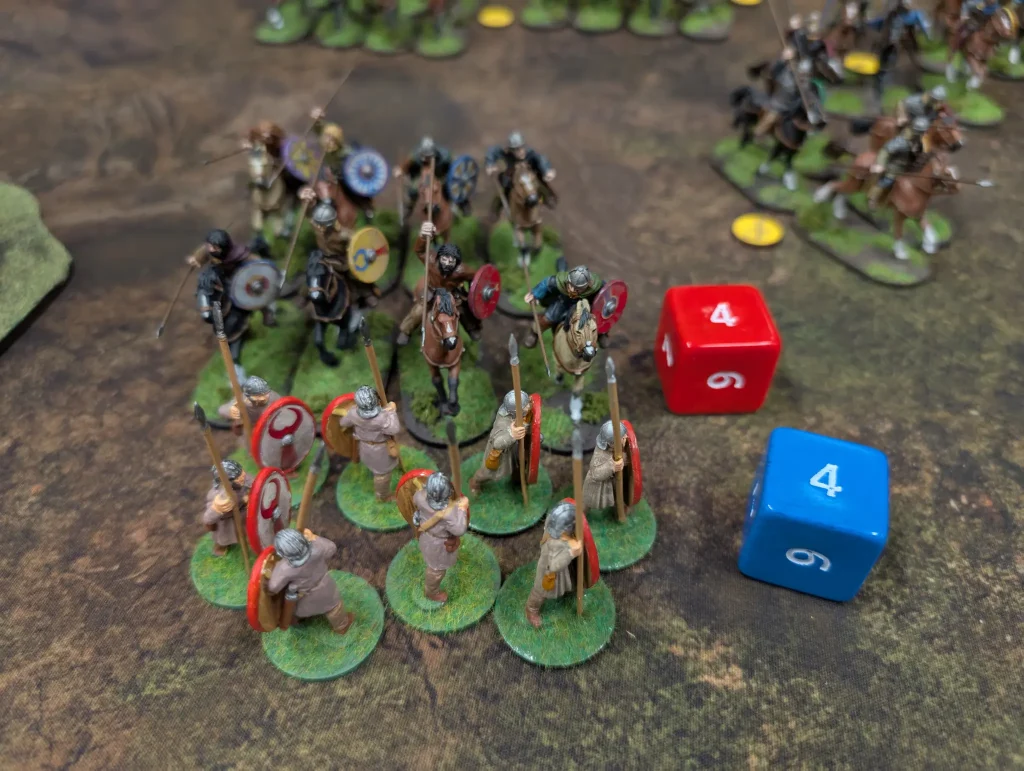
Then my unit of 4 mounted Hearthguard charged their unit of 6 Hearthguard. I used Ardour and In This Sign Conquer, both of which used up some of the Roman’s Impetus. This is a resource (starts at 4) which can be used to give bonuses to some of the advanced Roman abilities. So I came in with an extra 4 attack dice, three of which would be automatic hits.
The Romans scored 7 hits against the Goths, and got 2 kills. The Goths fought back, but killed no Romans. So the Goth unit was forced back, and I claimed 2 massacre points.
I used the Goth’s fatigue as part of this melee, which meant I also had to take fatigue due to the annoying Gothic Weregild ability. I put the fatigue on my infantry unit at the far end of table.
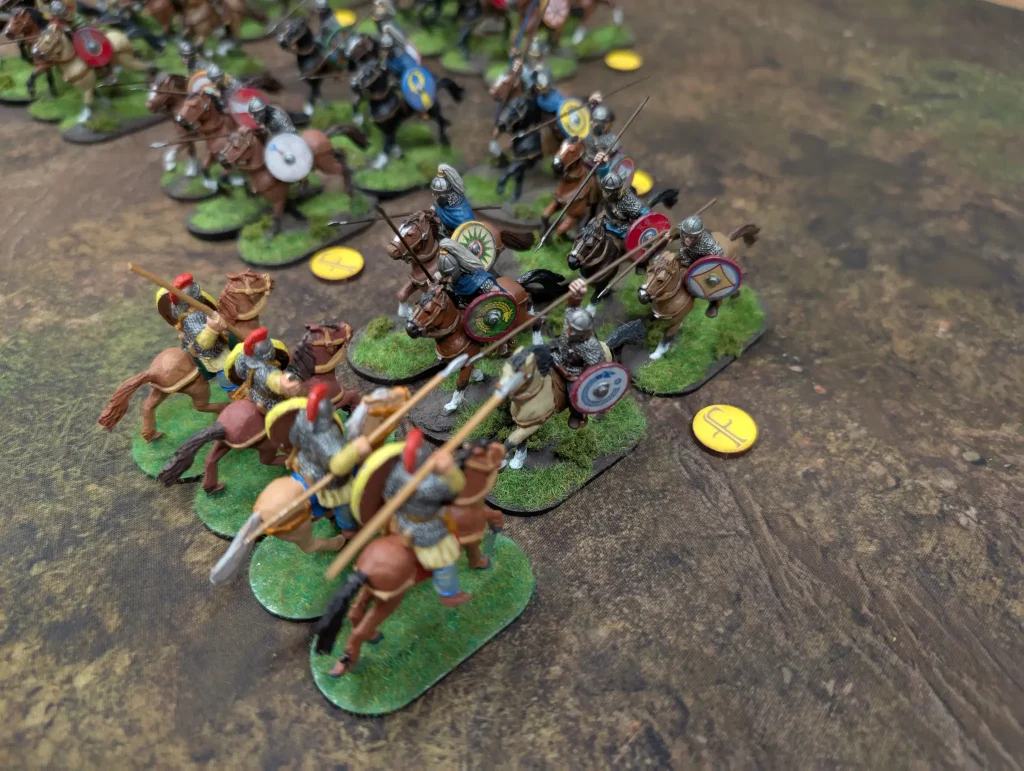
It was then the Goths turn. They rested using a We Obey on their Hearthguard, then used Resolve to active two of their units for charges. The first charged six of their Hearthguard into the Roman’s mounted Hearthguard. With First Blood, they had 15 attack dice against my 8 dice. Since the Roman’s were also fatigued, their armour was taken down to 4.
It was a massacre, and though the Roman’s took down 2 Goths, the Roman unit was wiped out. This put a fatigue on the Roman warlord. However, this gave me two further massacre points.
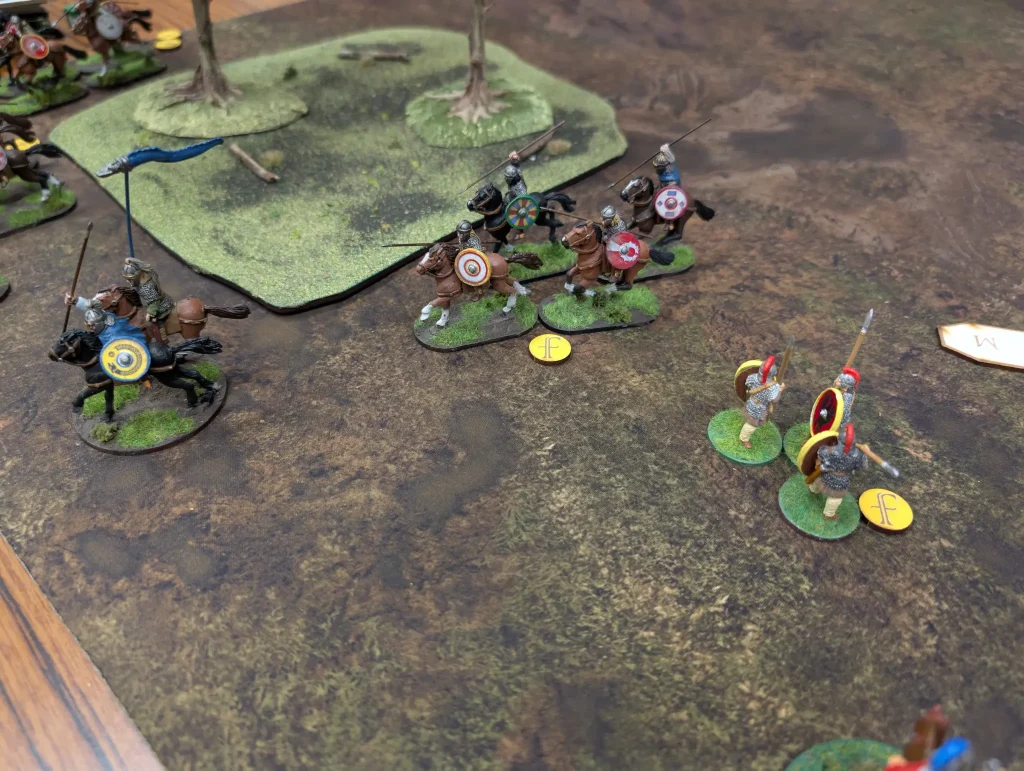
The second unit to activate was a group of Goth warriors, which charged the Roman infantry holding the line by the woods. The Romans closed ranks, but three were killed and forced back.
At this point, several of the Goth units broke off to begin circling around the Woods. The warriors who had forced back the Roman infantry also broke through, making a run for the table edge.

Turn 3
The Romans had the problem that they weren’t in the right place. Too many of them were stretched out towards the Eastern flank. I had considered putting a single unit of warriors over around the other side of the Woods at the start, but decided that I should be able to move there if the Goths went in that direction. I had been wrong.
The rules of the Limes scenario is that once a Barbarian unit has reached the table edge, then they can’t be forced back – so there was nothing I could do to prevent the unit of warriors from leaving at the start of the Goth activation phase. However, I could reduce the size of the unit before it escaped.
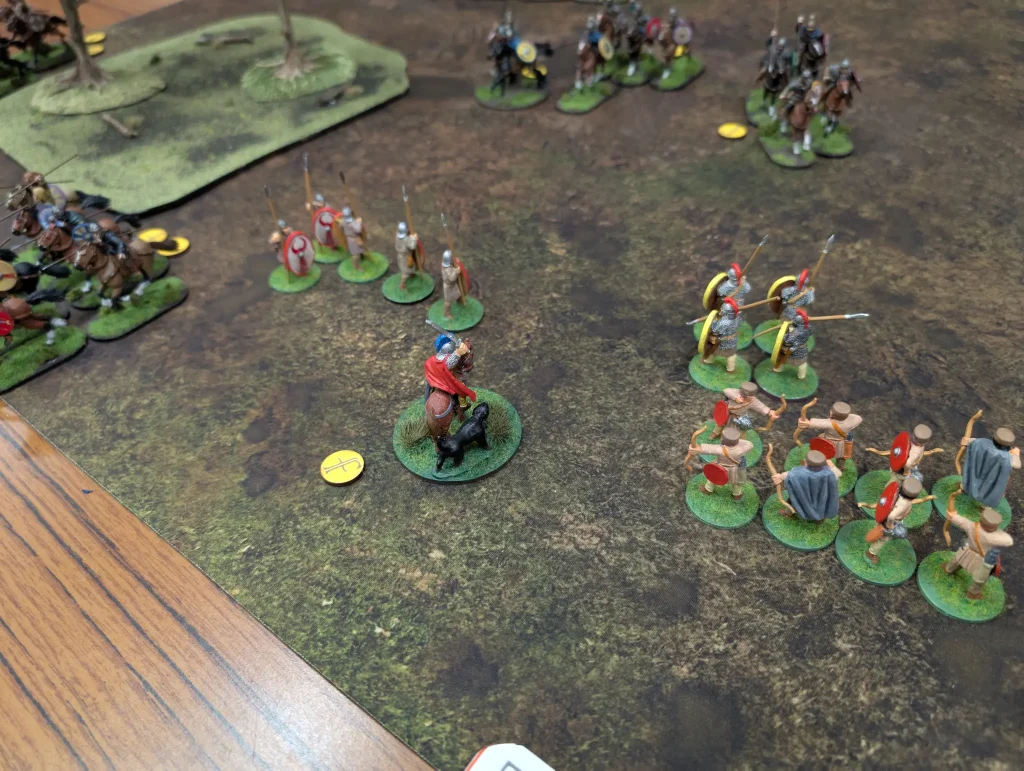
This time I remembered to use Signa to rest two of my units. I moved my warlord and remaining Hearthguard around to try and plug the hole, then tried some shooting.
Using Combined Formation, my bowmen shot at the escaping warriors via my Warlord. They got 4 attack dice, and got two hits and two kills.
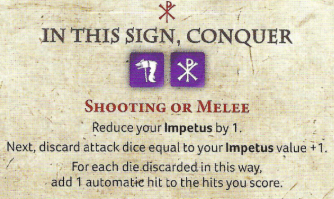
Then my five warriors charged in, using In This Sign, Conquer whilst I had a Impetus of 4. Since the Goths had two fatigue, I used both of them to increase the Roman armour to 6.
Playing a campaign, where you have to think about how many of your troops are going to survive for the next year, means trying to keep your own troops alive becomes a lot more important. It’s not just a case of trading points – you need to think about the long term and not taking too many casualties.
I managed to kill 3 of the Goth warriors, and lost only a single warrior myself. This gave me another 1½ massacre points.
I forgot to use We Obey at this point – I could have tried another round of shooting (though the angle wouldn’t have been great).
The Goths started their turn with Eye of the Hurricane, removing 3 fatigue from my units, and then getting to remove 3 fatigue from their own. They left a fatigue marker on my small unit of warriors though. Then then invoked Feud against my ever decreasing unit of warriors.
Then, at the start of their activation phase, their unit of three warriors were removed from the table to claim some victory points for the Goths.
The Goth Hearthguards then charged my warriors, who closed ranks. All four of the Roman infantry were slain though they took down two hearthguard with them. The Roman Warlord gained a fatigue since he was within short of the wiped unit. Another two points to me, but I’d lost an entire unit.
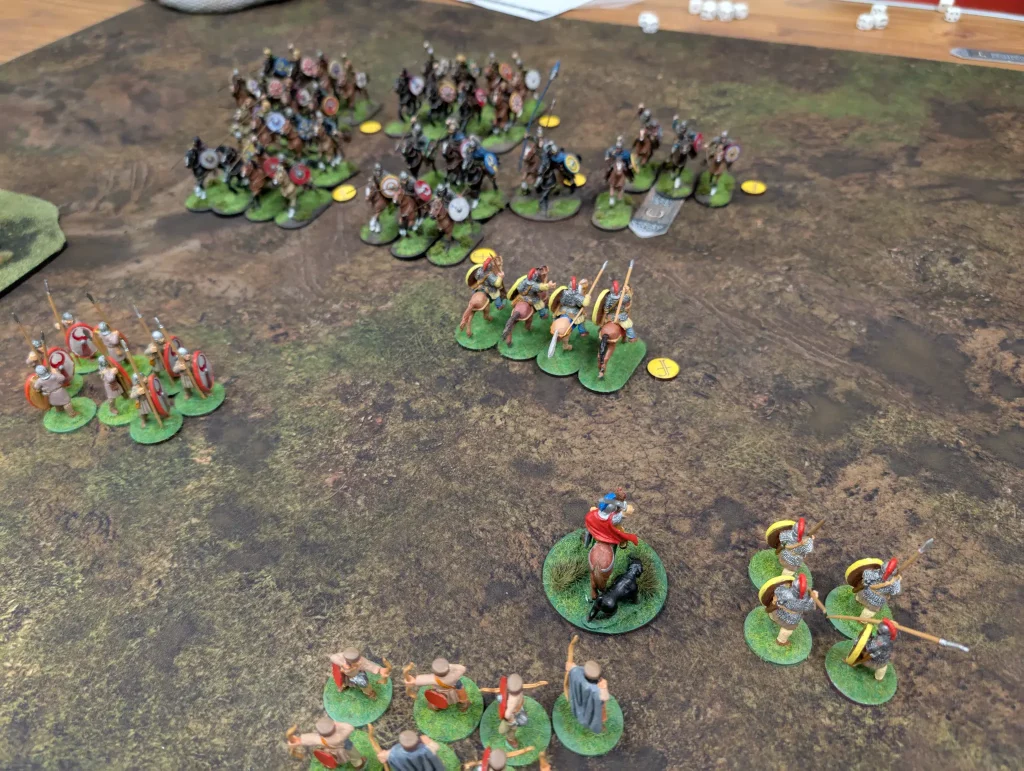
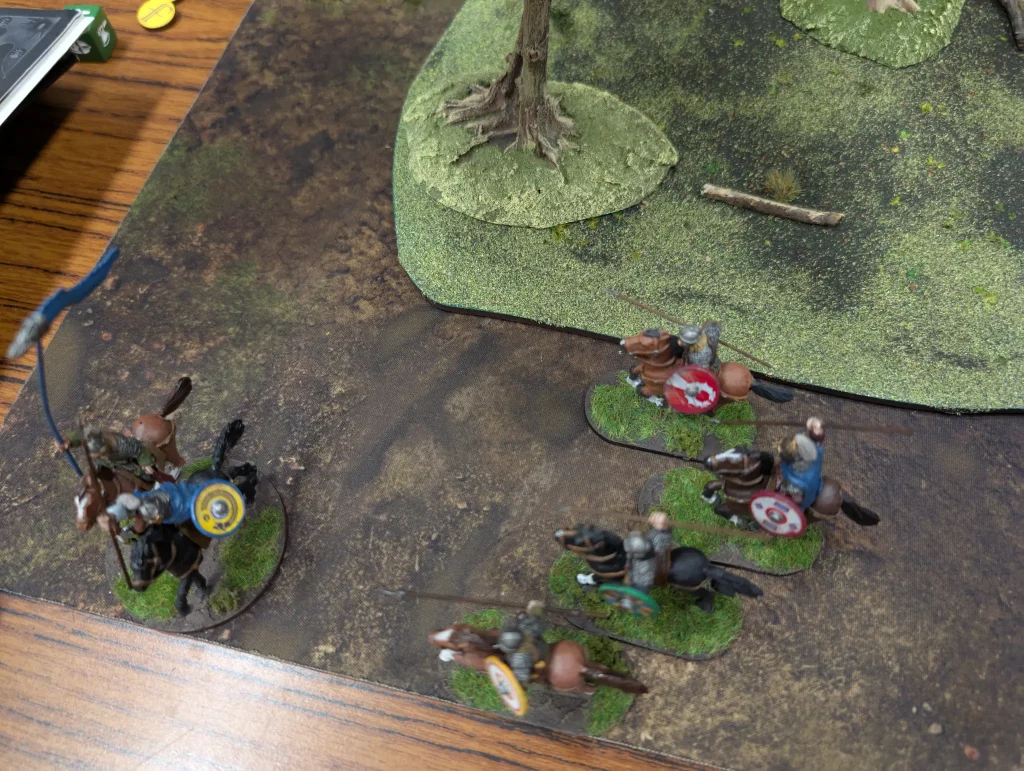
The Goth Warlord and Hearthguard unit moved closer to the table edge, and at the far side of the woods two more units of Goths had reached the edge of the table unhindered.
Turn 4
The Goths invoked Weregild again as their Orders/Reaction, so any fatigue I used on them would give me fatigue. The Romans really needed to try to reduce the number of Goths escaping at this point.
The Roman Hearthguard took on a small unit of two hearthguard, wiping them out and taking a single loss themselves (Scuta allowing me to re-roll defence dice, and In This Sign for some automatic hits were used).
Then again I reverted to Combined Formation to shoot at the remaining Hearthguard, and finally Plumbatae to shoot with my Hearthguard, but neither succeeded in scoring any kills.
The Goths moved their warriors off the table, then their Warlord and Hearthguard moved to the table edge ready to escape next turn.
Turn 5
The Romans tried to get in close to harass the Goths with shooting, but again failed to get any kills.
This allowed the Goths to move the last of their units off the table at the start of their turn.
Aftermath
The battle ended with a lot of Goths having got off the table. However, they’d taken a number of casualties so it was possibly going to be close.
The Romans had lost 5 hearthguard (4 mounted, 1 infantry) and 8 warriors. The Goths would get no points for these – it merely reduces the number of figures they have to fight in the next battle.
In exchange, the Romans had claimed the lives of 8 Goth hearthguard and 5 warriors. This gave them a total of 11 victory points. They don’t gain any points for wiping out whole units.
For the Goths, their victory condition was points for units that had left the table. They got out 19 warriors, 4 hearthguard and 1 warlord, for a total of 18 points. However, since these were all mounted, their score was halved, down to 9 points.
This gave the Romans an edge of 2 points, which mean an Impact of 1. The Romans get to decide whether to increase their Morale (which starts at 10, and can’t go higher) or reduce the Resolve of the Barbarians (which starts at 10). The Barbarian resolve dropped to 9.
The Goths had successfully completed their Boast, which gets marked on their sheet as a success. The next time they get a success, they start to get increases to their Resolve.
End of Year
It was time to roll to see what the long term losses were for the Romans. I got some really good rolls, and along with my +3 bonus from my Medicus, it turned out that only 3 warriors actually died from their wounds.
So it was a close win for the Romans. The Roman garrison at the end of the first year looks like this:
Hearthguard: 8
Warriors: 29
1 Stable
1 Armoury
0 Fields (1 point towards building them)
There are five more battles to be had in this campaign. It might be fun to change out the player on the Barbarian side for some of the battles, or even change the faction. We’ll see how things go, and I may need to bring in some buildings so I can start adding more terrain to try and slow down the Barbarian advance.
The scenario is relatively simple (get across the table), but the Barbarians need to decide whether to go for short term victory (and get many across as possible) or long term wearing down the Romans (by killing as many Romans as possible). After the first battle, the Romans are in a quite good state, and can hopefully build up their numbers next year.
It might be nice if there were more than one scenario for the campaign, but as it is, it’s the same scenario each time. Which might get boring, but we’ll see how things go.
So far, it’s been fun.