Clash of Burgundians
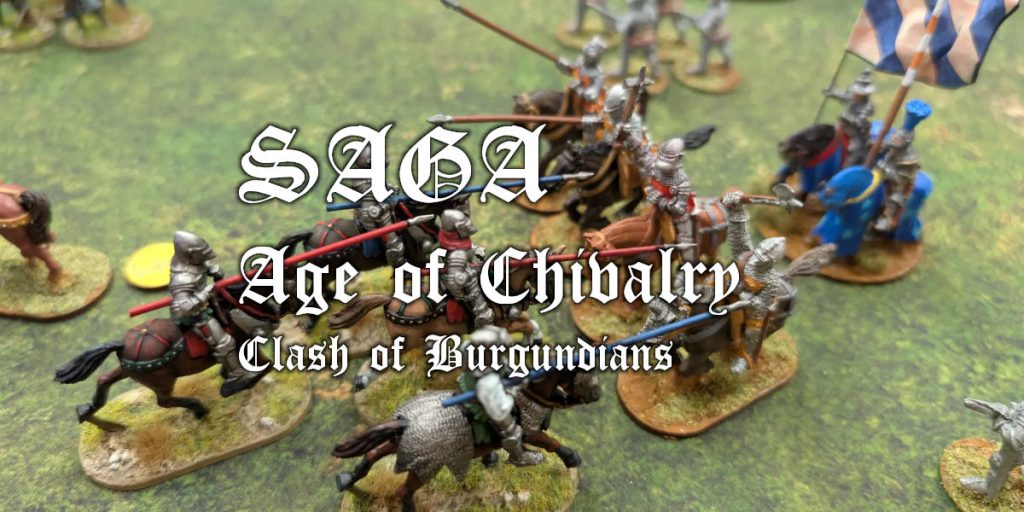
This week’s wargame was a return to Saga: Age of Chivalry, with a battle between my Free Companies and the Burgundians. I’ve played the Free Companies once before against the French, which they lost. I was hoping to maybe do a bit better this time.
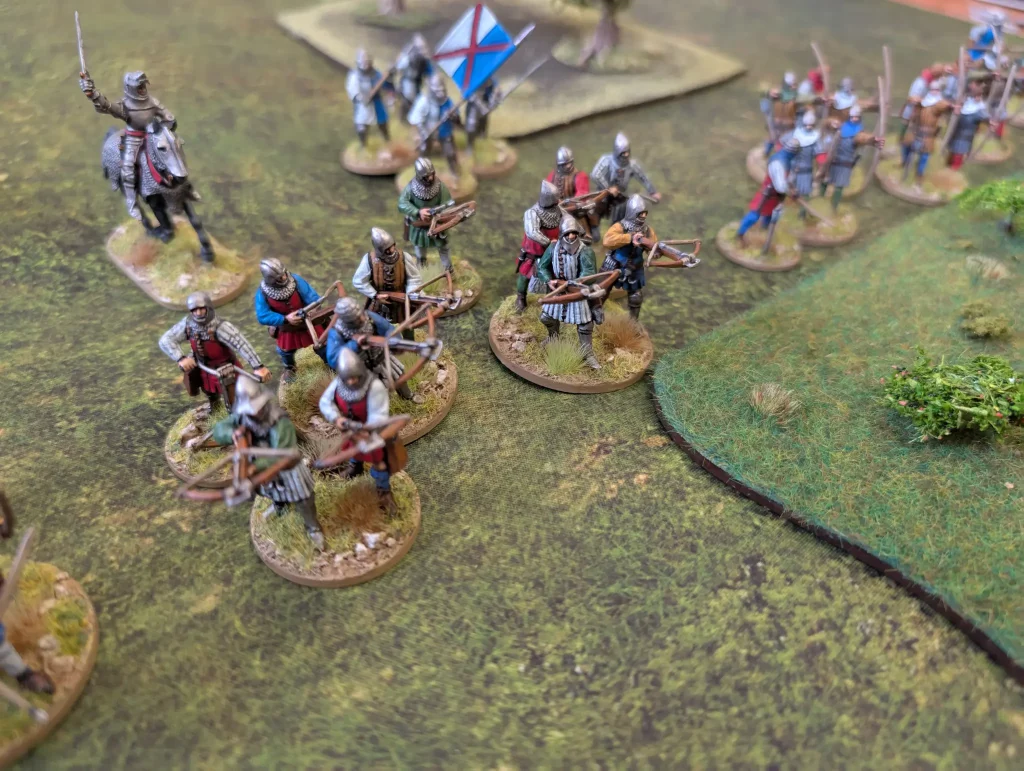
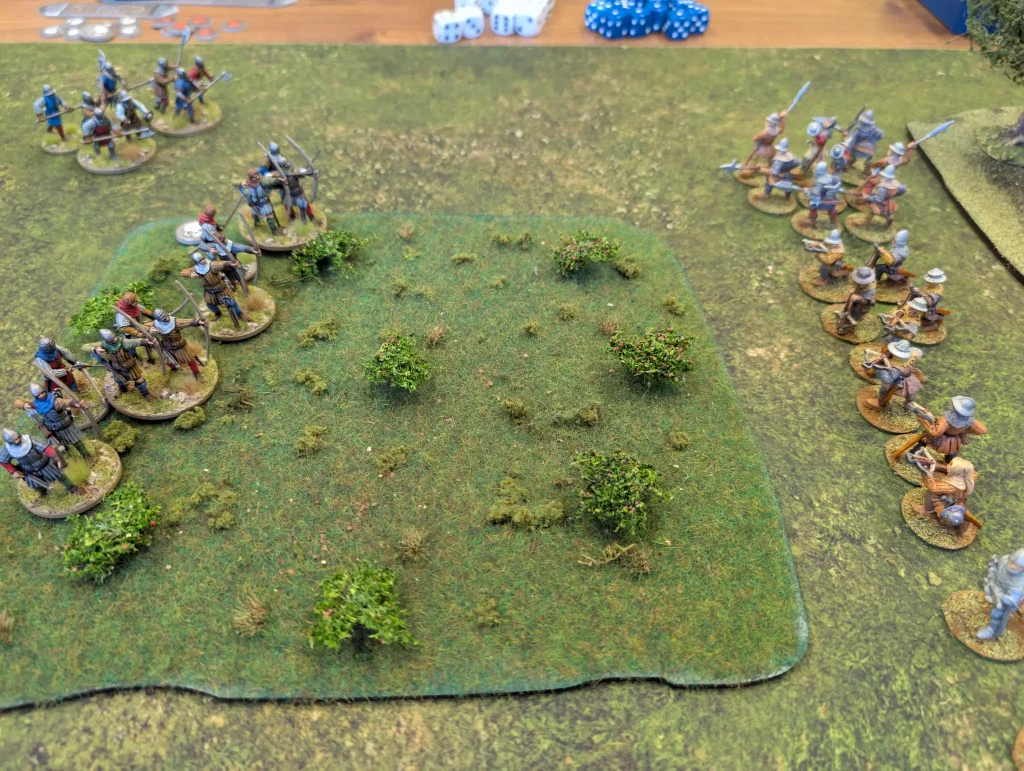
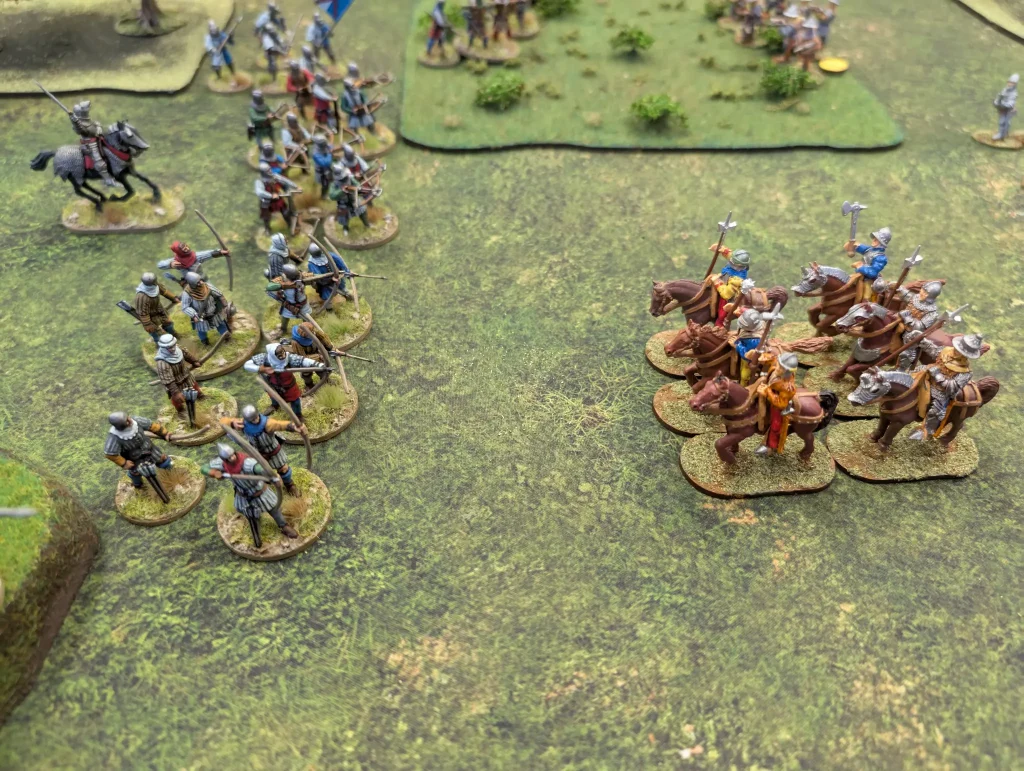
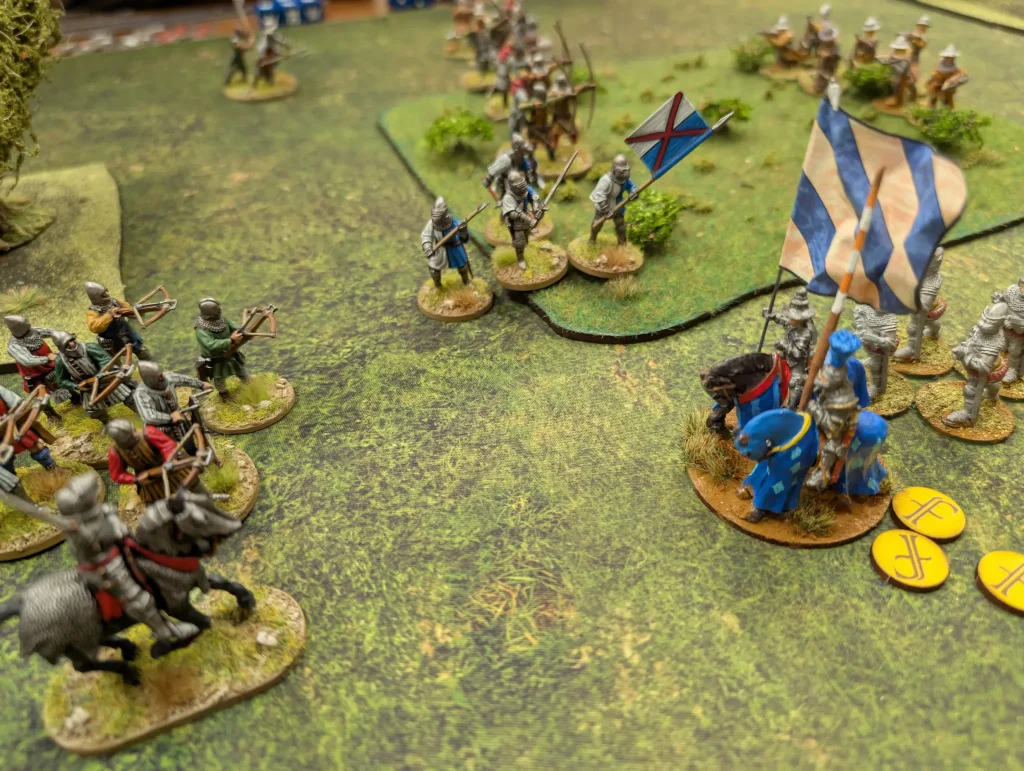
We went for the scenario at the back of the main book, in order to keep things simple. The battlefield was deployed, and I tried to put down some terrain that would block the line of shooting for the Burgundians large number of missile units (two units of bows, plus a unit of crossbows). I had only a single crossbow unit. I did think about taking Pavises but decided that they would be too slow.

Army deployment ended up being across the table, with both sides around Long distance from each other. Since I rolled as second player, it was up to the Burgundians to go first.
Turn 1
The Burgundians warlord used his We Obey to get some crossbowmen to shoot at my crossbowmen. Only a few of them were in range, but they got a single hit which was cancelled when I used Sneaks and Robbers.
Then their longbowmen moved up and shot at the same unit. They had their full 6 attack dice, and got 5 hits and 4 kills. Which was impressive. The other unit of bowmen shot at my unit of mounted warriors, got a hit but no kills.
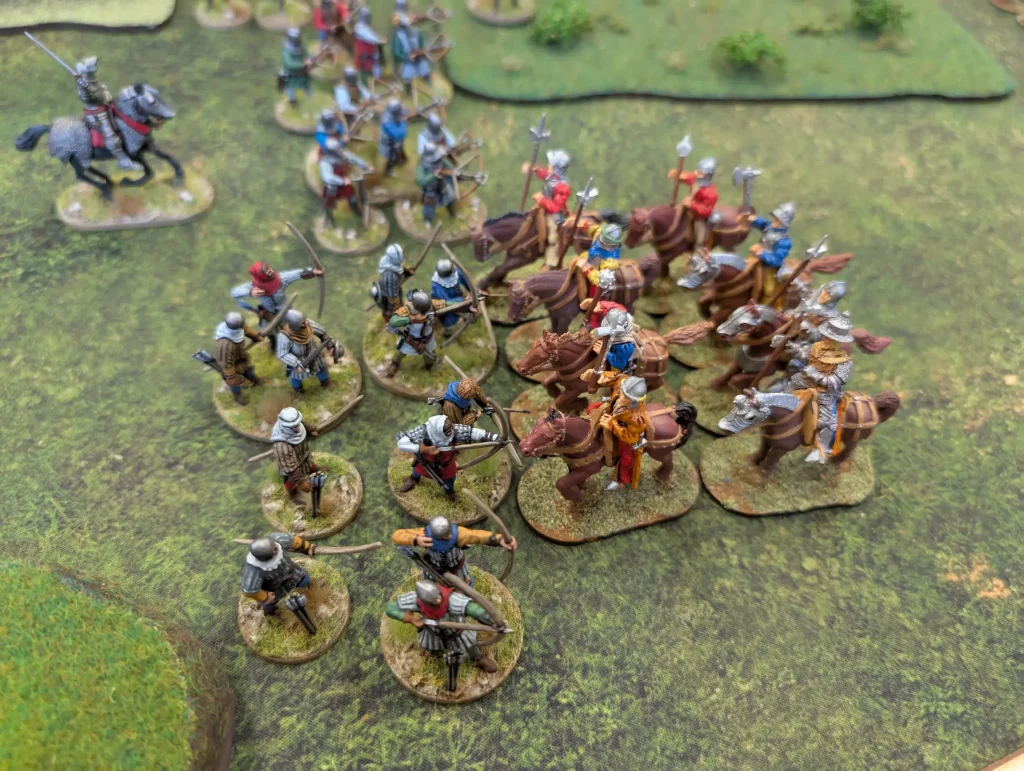
Now it was the Free Companies to move. My plan was to just charge the bowmen out in the open, to try and break up their units as much as possible. I also planned to use Renegade to get back some of my lost crossbowmen. Killing Levies would allow me to ‘recruit’ back some lost Levies of my own.
So my mounted warriors, who were already in Long of the bowmen, charged forward. The Burgundians played Spring the Snare, which would be an ability I was to quickly come to hate. They get to shoot at me before I complete my charge. They got a hit, but I cancelled it with Sneaks and Robbers again.
8 mounted warriors versus 8 bowmen. No special bonuses except Renegade and Trickery, which I was going to use to move my fatigue after the combat onto the Burgundian hearthguard who were close by. Except things didn’t go well.
With 8 attack dice, I just needed to roll 3+. I got only 2 hits, and no kills. The bowmen stood their ground and got 2 hits on me, getting a kill. So my cavalry was forced back – I failed to replace any of my Levies and I now wasn’t close enough to put my fatigue on the hearthguard.
Just to rub salt in the wound, the Burgundians used Crossfire to shoot at me after the melee, getting another kill.
To end the turn, my crossbowmen (who I’d hoped would have more figures at this point) shot at the Burgundian archers in the field, killing 2 of them.
I really should have done something with my Warlord and his bodyguards at this point, but I completely forgot about them.
Turn 2
The Burgundians used We Obey to activate their archers to shoot at my mounted warriors again, getting another kill. Then their other archers shot at my crossbowmen, killing 1 of them. Then their archers shot at my crossbowmen again, and even though I used their fatigue to improve my armour, I still lost one.
Then it was time for Mixed Lances, which allowed the Burgundians to activate for a shoot and a charge. The crossbowmen shot at my cavalry, getting a kill, then their mounted hearthguard charged my men at arms on foot. I closed ranks, and lost two hearthguard. They lost none.
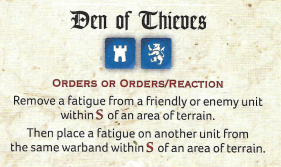
At this point it didn’t feel like things were going well, and I was getting whittled down. So it was time for the Free Companies to try something different. I used Den of Thieves, which transfers a fatigue between units of the same army near uneven terrain. I moved the fatigue from the crossbowmen and put it on the unit of warriors north of the field.
Then I played Mob Violence to activate two units to charge. My warrior infantry charged the now fatigue Burgundian warriors. I used Spiteful Hate which causes fatigue use to both raise my armour and lower the opponents. I spent their fatigue, then it was Cruel Slaughter to give me +4 attack dice (now that my armour was higher) and Renegade to try and recover some warriors.

With 12 attack dice, I got 9 hits and 5 kills. They failed to hit me. This gave me 2 warriors back, which I put on my mounted unit. But the Burgundians used Crossfire, killing 4 of my warriors anyway.
The second part of my activation for Mob Violence was to charge my newly revitalised mounted warriors at the bowmen again. They used Spring the Snare, killing 3 of them – unfortunately I forgot that I had a die on Sneak and Robbers.
So I was now down to 3 cavalry, who got a single kill against the bowmen, but at least they didn’t suffer any further casualties themselves.
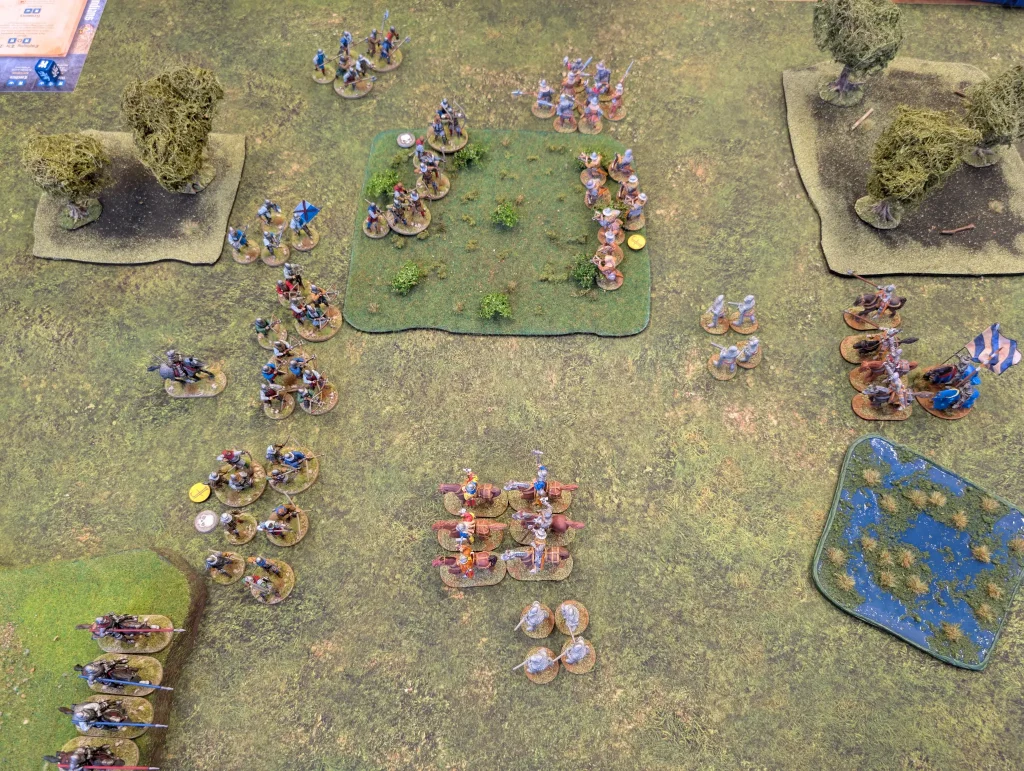
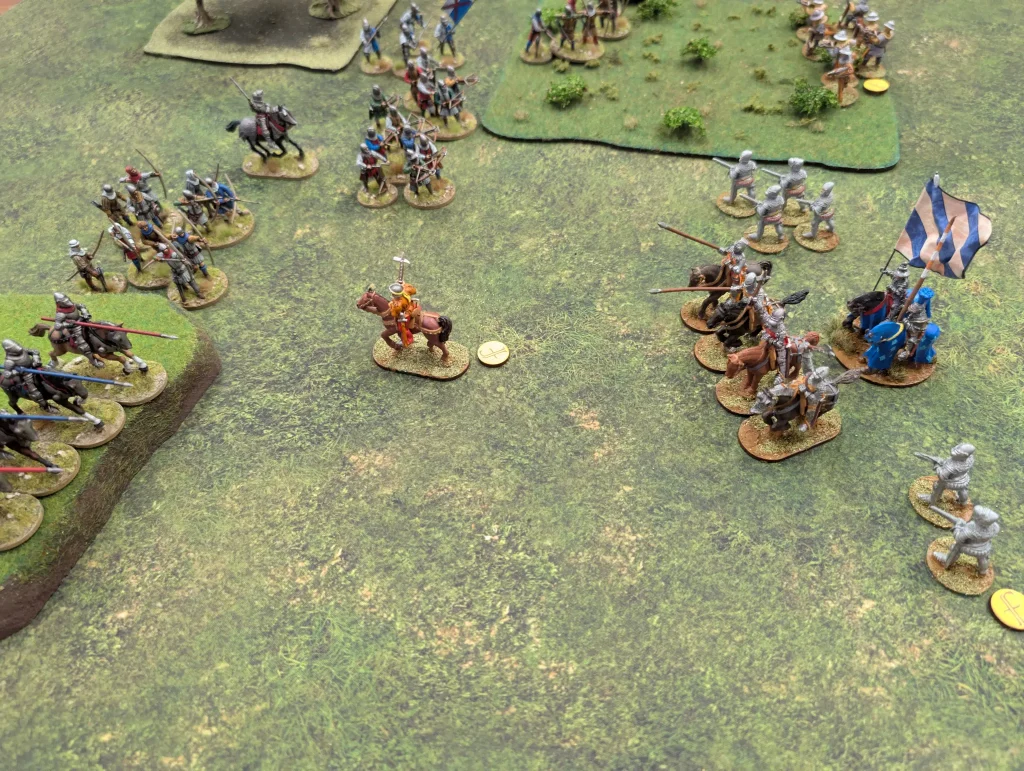
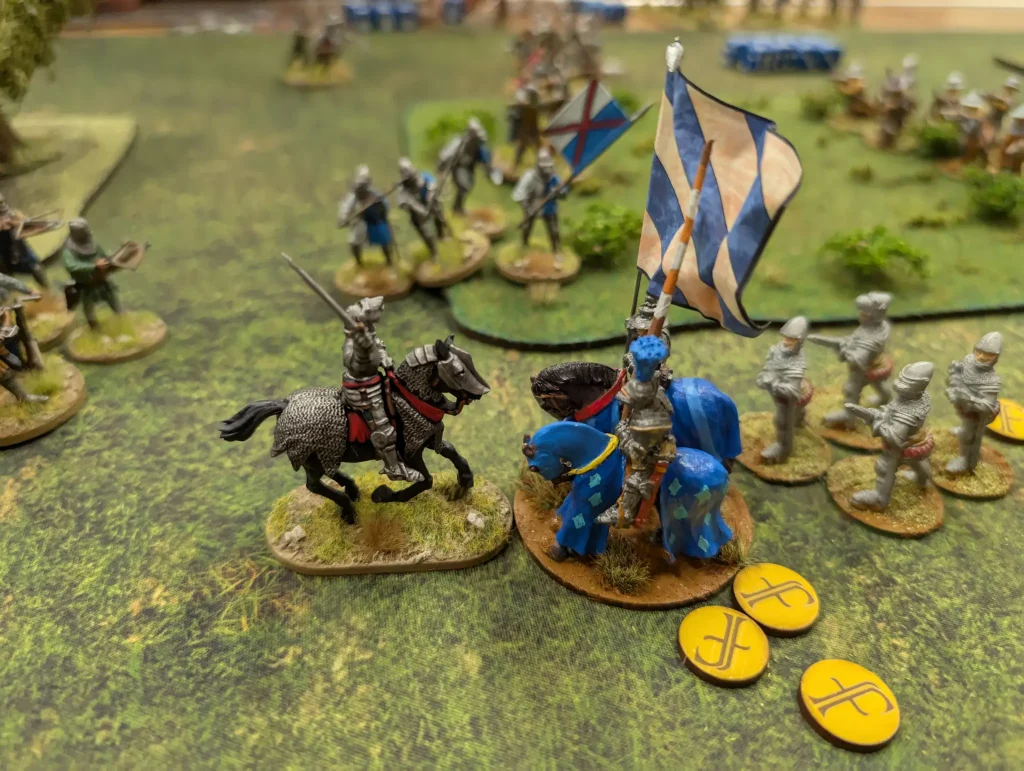
This turn I remembered my warlord, and brought him and his mounted bodyguard forward. My plan was to try and bring the full force of what I had against the lines of squishy shooters.
Turn 3
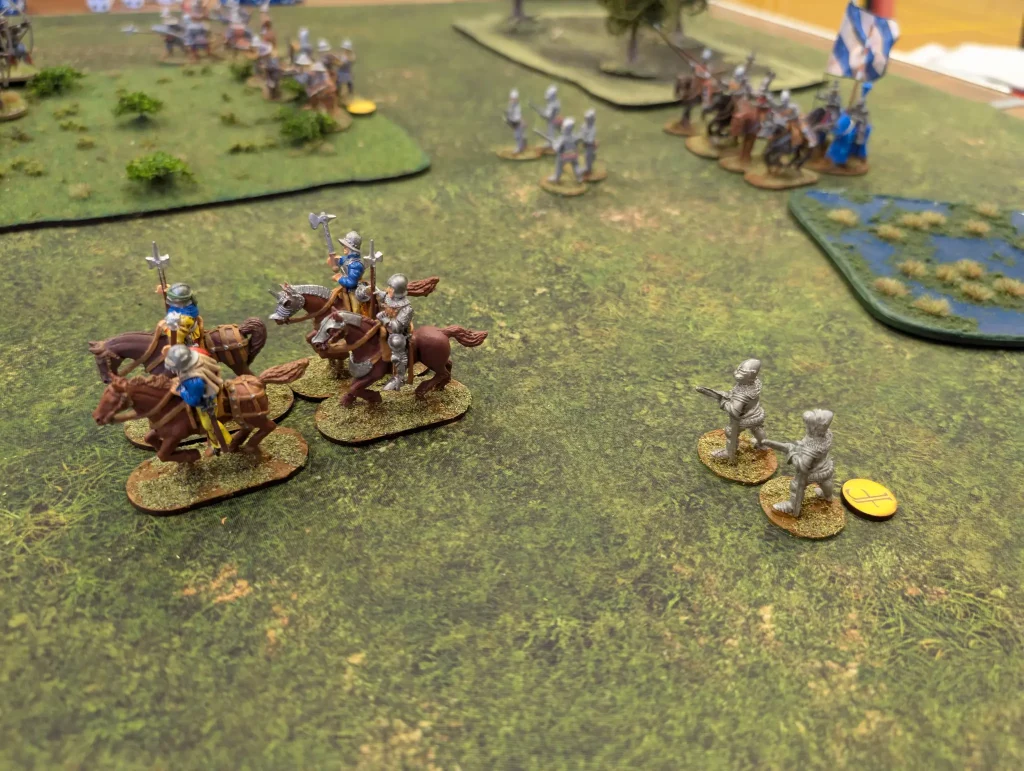
The Burgundian crossbowmen began the turn by shooting at my mounted cavalry. I did remember Sneaks and Robbers, so cancelled the two hits against them. After that, it was Mixed Lance for a shoot and charge activation. My cavalry were shot, taking two casualties.
Then the mounted hearthguard charged my mounted hearthguard. They used Employing the Axe and Burgundy! Saint Andrew. Both are two dice abilities, and both are pretty powerful. Not only did the Burgundians get 3 extra attack and defence dice, they also got 2 automatic hits and got to cancel 2 hits against them.
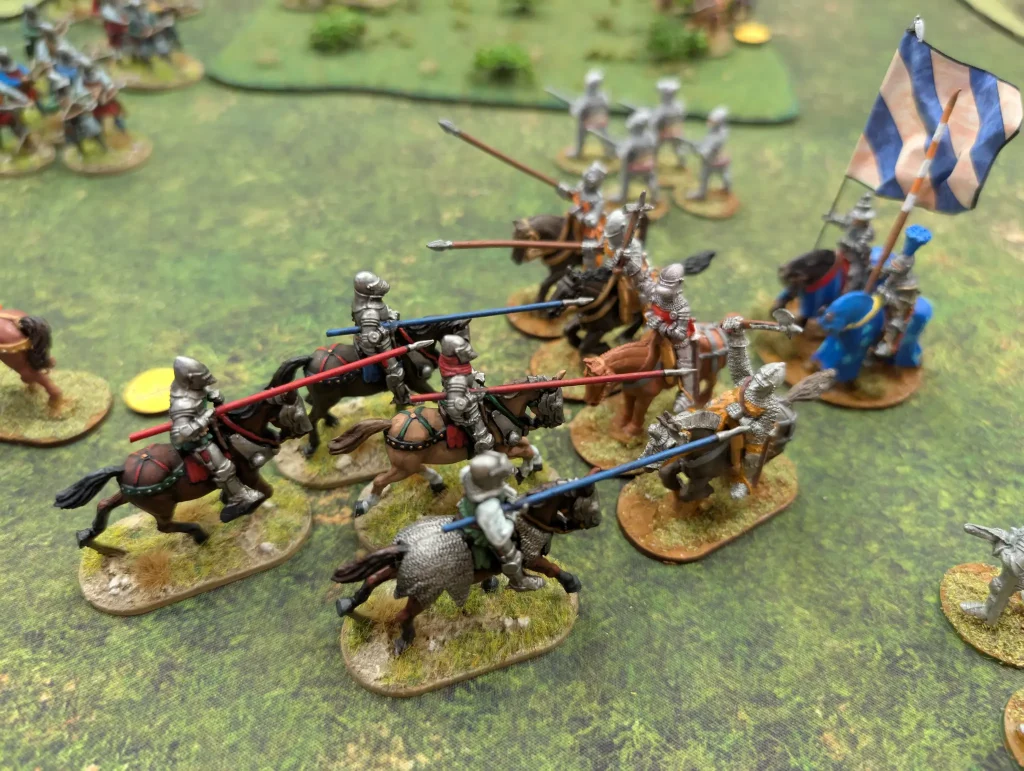
I got 4 hits, 2 of which were cancelled, but the other two got through, killing 2 of the Burgundian mounted knights. However, all four of my knights were killed, wiping out the unit and giving three of my units (including my Warlord) fatigue.
Then the crossbowmen shot again, going for my single remaining mounted warrior. Though my warlord was visible, they just wanted to kill that unit. They failed.
The Free Companies was now missing most of its flank. I used Den of Thieves to move fatigue from my warlord to my crossbowmen. Which was probably a mistake, since that meant when I used my crossbowmen to shoot, their fatigue was used against them. But I killed an archer.
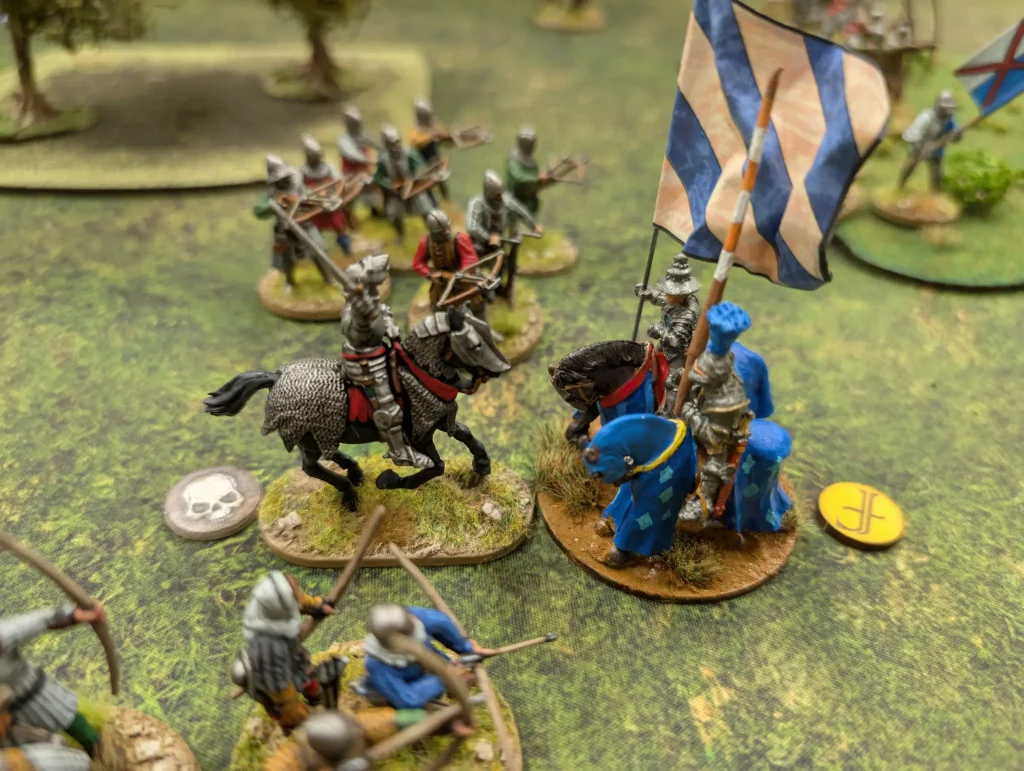
It was then a charge with my two men at arms against the mounted Burgundians. I used Renegades, and managed to get four hits and four kills, wiping out the unit. They got only a single kill against me. This gave me back two extra hearthguard – but I think I forgot to take that advantage.
Then my Warlord charged. He rode in against the crossbowmen, killing 4 of them and driving them back. He was forced to take a fatigue to soak a casualty, and with the fatigue from the melee was now on two fatigue and out in the open. But, I brought up a unit of hearthguard infantry to act as bodyguards.
This probably wasn’t a sensible choice, but I was now lacking anything with heavy hitting power and I didn’t want to just sit back and do nothing.
Turn 4
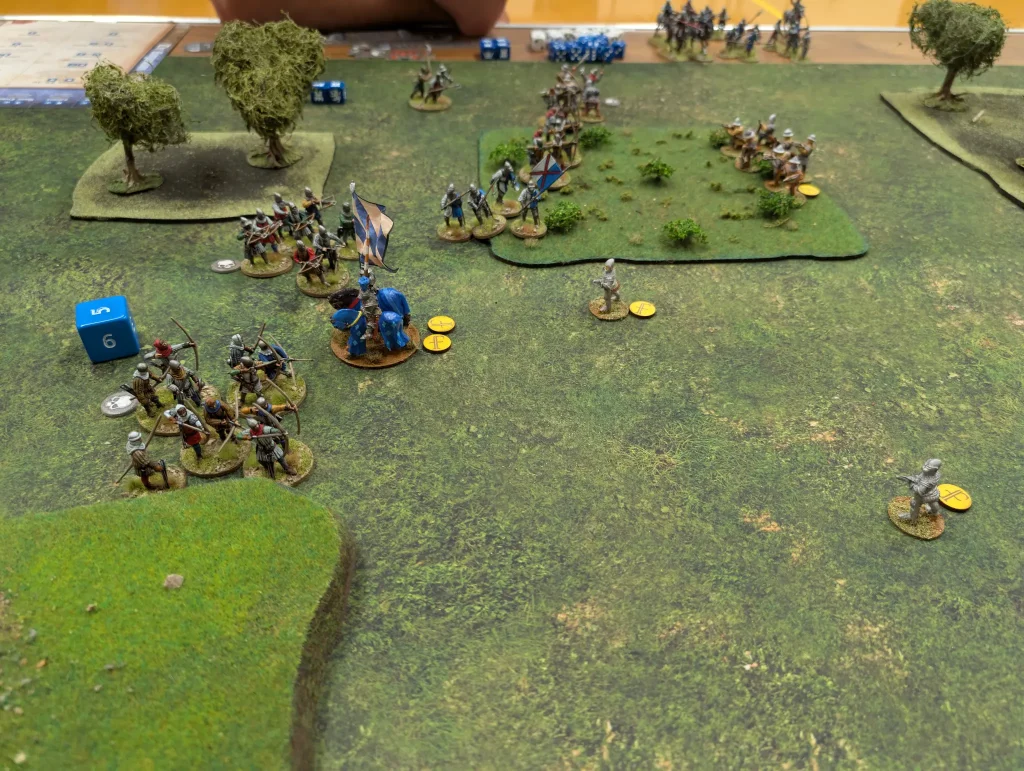
It was time for the Burgundians to try and kill my warlord. Their crossbowmen rested, then their archers opened up on my single mounted warrior. Finally, they killed him, which meant a fatigue went on my warlord, exhausting him. They also moved some infantry hearthguard up through the field. I assumed that they were going to attack my warlord, but in the end they didn’t.
With Mixed Lances, they activated for a shooting attack and a charge. The crossbowmen shot at my Warlord, but failed to achieve anything. Then their Warlord (rather than their hearthguard) charged mine.
The used Employing the Axe, but got only 4 hits. Three were casualties, which I ‘took’ on my bodyguards. Since my warlord was exhausted, he had -1 to his attack dice and failed to get any hits. However, the Burgundian warlord was forced back.
The Free Companies were ready to concede at this point. They had an exhausted warlord, and not much else on the battlefield. However, if they were going to lose, I decided to go down in a blaze of glory.
With a couple of 1 figure units of hearthguards, I was still getting a decent amount of saga dice.
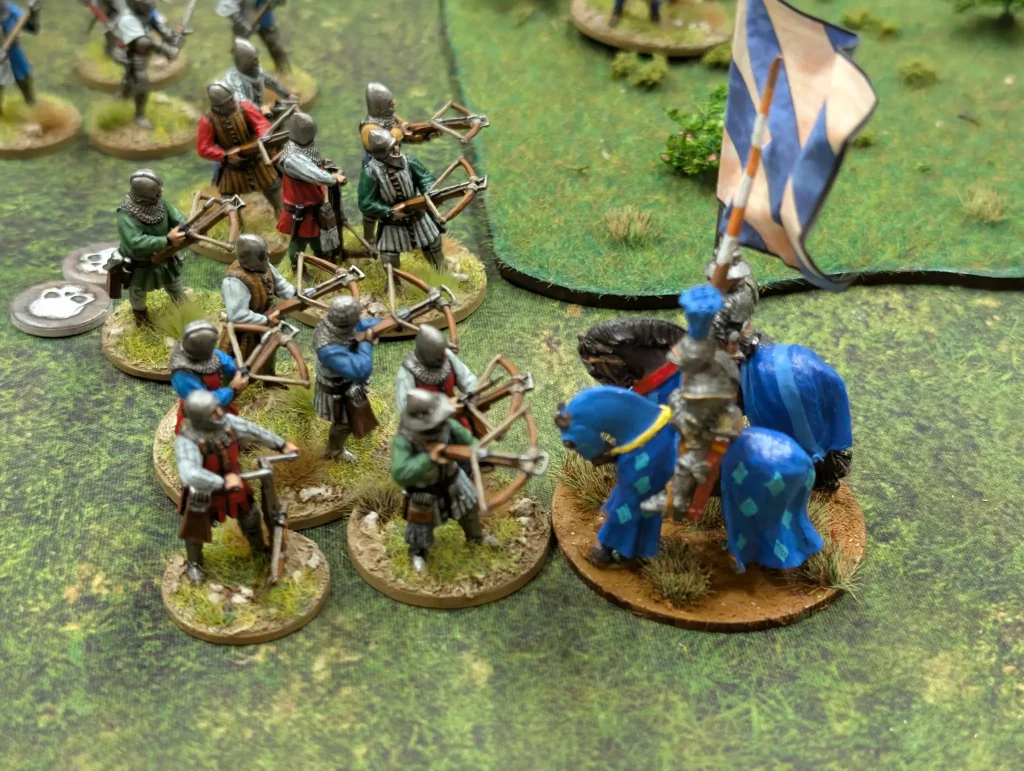
Den of Thieves was used to move a fatigue from my warlord to my crossbowmen.
Determination was used to Rest my warlord. He was now down to 1 fatigue.
I tooled up on Spiteful Hate and Cruel Slaughter, and had two dice on Men at Arms for activation. So my warlord charged his opposite number.
Neither of us had bodyguards, and he used my fatigue to raise his armour to 6. Which was fine, because I used Spiteful Hate to drop his armour back down, and raise mine. The Cruel Slaughter gave me a bonus of 4 attack dice. I scored 6 hits and 3 ‘kills’, which he took on fatigue and became exhausted. He got no hits on me, so I fell back.
But I had a second activation from Men at Arms. So I charged again. He used one of my fatigues to raise his armour, but I dropped it back down again. I got a good roll, and got 5 hits on him, slaying him. He was exhausted, so got only 2 hits on me, and forced me to take a fatigue. I was now exhausted, but alive. And also in the middle of enemy shooter.
Turn 5
Having lost their warlord, the Burgundians were looking shaky, but they still had a lot of options. Their crossbowmen tried to shoot my warlord, but failed. However, their Hearthguard charged out of the field and hacked him down, thereby claiming victory.
We’d both lost our warlords, but my dead made a bigger pile. It was a victory for the Burgundians, but it had been a good battle.
I felt that I managed to make much better use of my Free Companies abilities in this battle. In the previous battle, my opponent (the French) were highly defensive, and didn’t have any shooting attacks (except for a cannon). So a lot of my abilities ended up being useless.
In this battle, I got to make use of Den of Thieves, which allows a fatigue to be transferred to another unit within the same army. This was really useful both giving one of my units a rest, and also being able to weaken an enemy unit.
My Renegades ability to recover troops was very interesting. I think there is an Age of Crusades army that has a similar ability, but it’s not one that I’ve had access to before. As long as you can kill some enemy figures of the right type, it allows you to do a surprise refresh of a weakened unit. This made my unit of mounted warriors really annoying. Not only did they get some good defensive saves, they also kept on coming back from the dead, allowing them to stay around for much longer than the Burgundians wanted. So even though they didn’t do much, they attracted a lot more attacks away from other units.
The Burgundians though had some really nasty abilities. Having to defend against shooting attacks in my turn was really annoying. I think I should have made better use of multiple attacks, because as it was my heavy units against their weak melee units resulted in a lot more casualties on my side than I’d normally expect.
It was an interesting battle, and I was able to perform some interesting ability chains that worked quite well. The Burgundians are a tough faction to fight though. The bad set of attack rolls at the start didn’t help me, and put things on the back foot, but even without that, it would have been hard to break through their lines of levies.
Having said that, I do like the Free Companies abilities as well. They are quite varied, and make it possible for some surprising changes to the status of units.