Limes II

In our previous game of Limes, the Saga: Age of Invasions campaign game, the Goths managed to break through the Roman lines in large numbers, though suffered heavy casualties in the process. It was a narrow win for the Romans, and only 3 of their casualties ended up being fatal.
This week, I played the Romans gain, but another player from the club took on the Goth hordes. The Romans were more numerous this time, having a whole new unit of Levees, plus some mercenaries they managed to buy the services of.
The Goths had a completely new warband.
Preparation
Auguries
The first thing to check for were auguries. I rolled a 6, which is good for me, and my opponent rolled a 4, which meant we had Abundant Harvest. This meant that the Barbarians couldn’t choose Cut the Supply Lines as a stratagem, and the cost of Motivation was halved for me.
The Romans
The Romans were given 12 weeks to prepare for the coming invasion. They spent 3 points on recruitment, gaining a complete unit of Levees. They also put two points into Fields, meaning that they’ll get 4 free Levees each following year. I was now actually up to the maximum of 50 figures for the Romans. I was expecting to take casualties though, so I’d probably still need replacements next year.
We spent 4 points on Auxiliaries, hiring some Foederati. These are barbarians who have been coopted into the Roman legions. They are nicely aggressive, so I was hoping to use them to cause some damage to the Goth ranks, then pull them back. If even one of them survives, the cost to hire them against next year will be only 2 points.
Once again I hired a Medicus to give myself bonuses on healing casualties, and put a single point towards a war machine. When this is completed (8 points), I’ll be able to use a Manuballista.
For terrain, the Romans chose a spot with some uneven ground to slow down cavalry, plus placed their Armoury on the table.
The Roman warband consisted of:
- 1 Warlord (mounted)
- 4 Hearthguard (mounted)
- 4 Hearthguard (infantry)
- 8 Warriors (bows)
- 8 Warriors
- 7 Warriors
- 6 Warriors
- 12 Levies
- 8 Foederati (Mercenaries)
The Goths
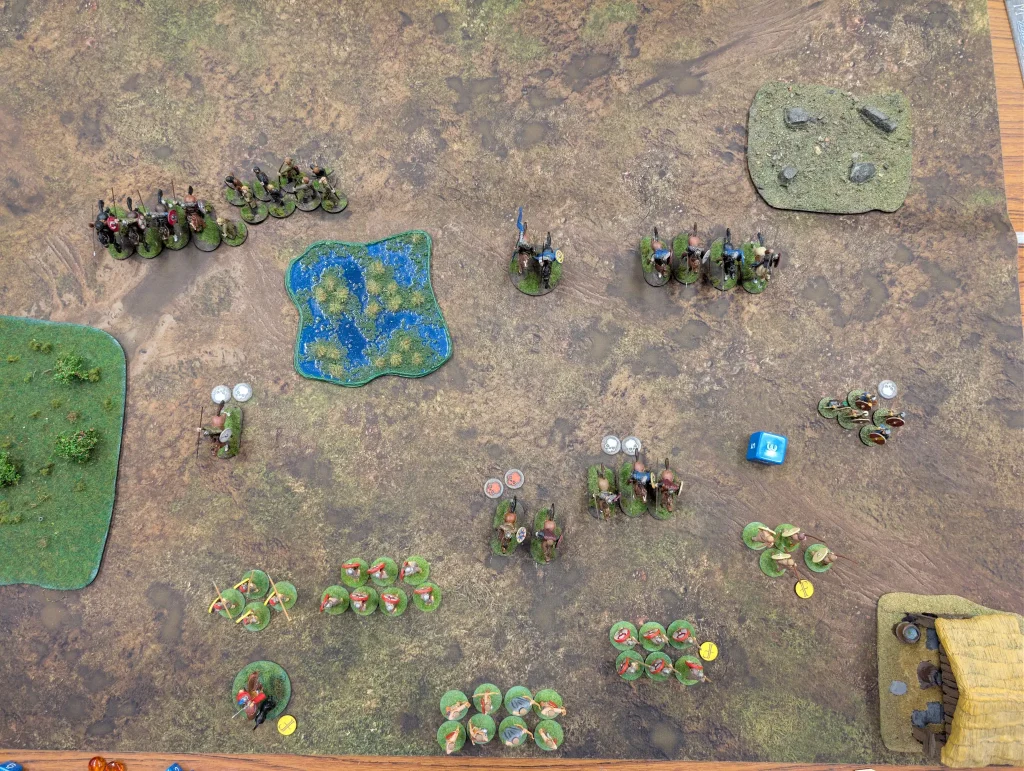
The Goths chose a bit more terrain on the battlefield this year. Some rocky ground and a swamp broke up the landscape rather than the big open fields that they rode across last year. The Goths timed their arrival on the field of battle to coincide with the rise of a mist, so they came into view a lot closer to the Roman lines than had been expected.
As the Romans assembled, the Goths boast could be heard echoing across the landscape: You’ll all come home from this! If more than half of the Goths survive, then they’ll get a morale bonus.
The Goth warband consisted of:
- 1 Warlord (mounted)
- 4 Hearthguard (mounted) x2
- 8 Warriors (mounted) x3
- 12 Levies (bow)
- 8 Roman Deserters (Mercenaries)
The Battle
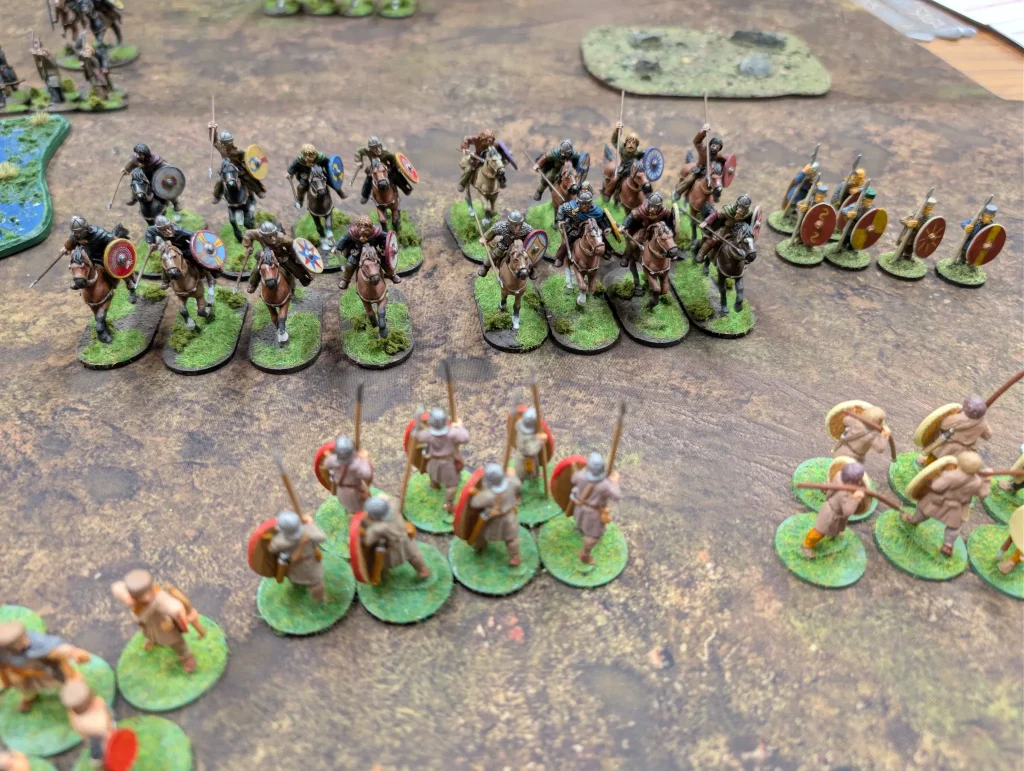
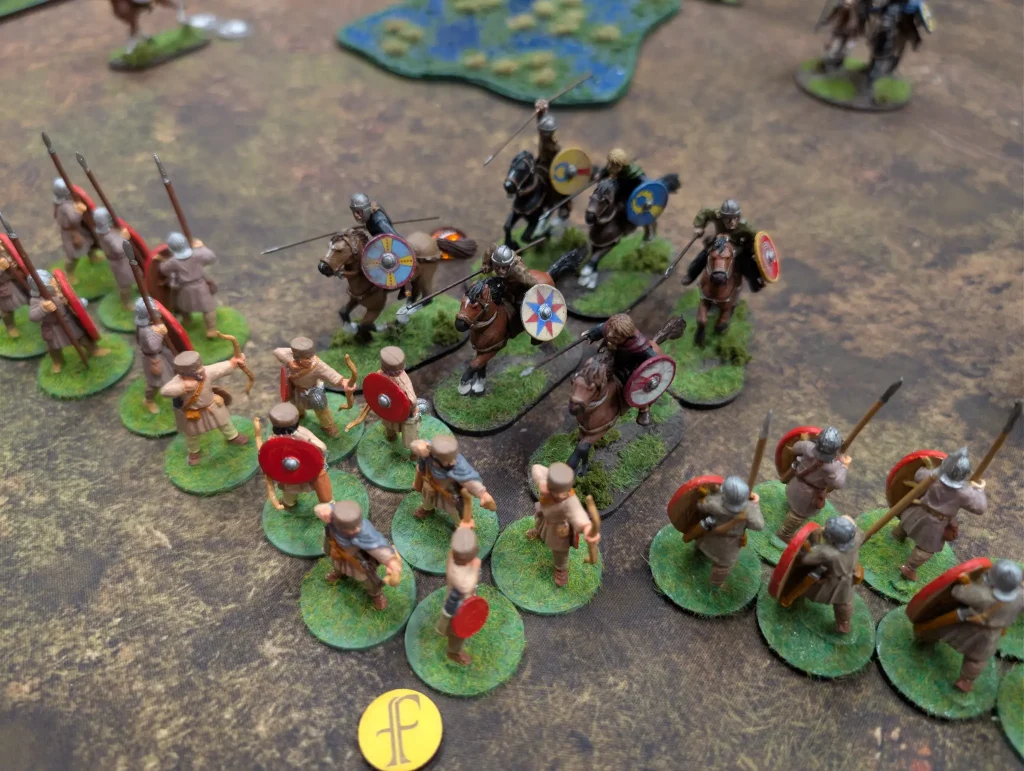
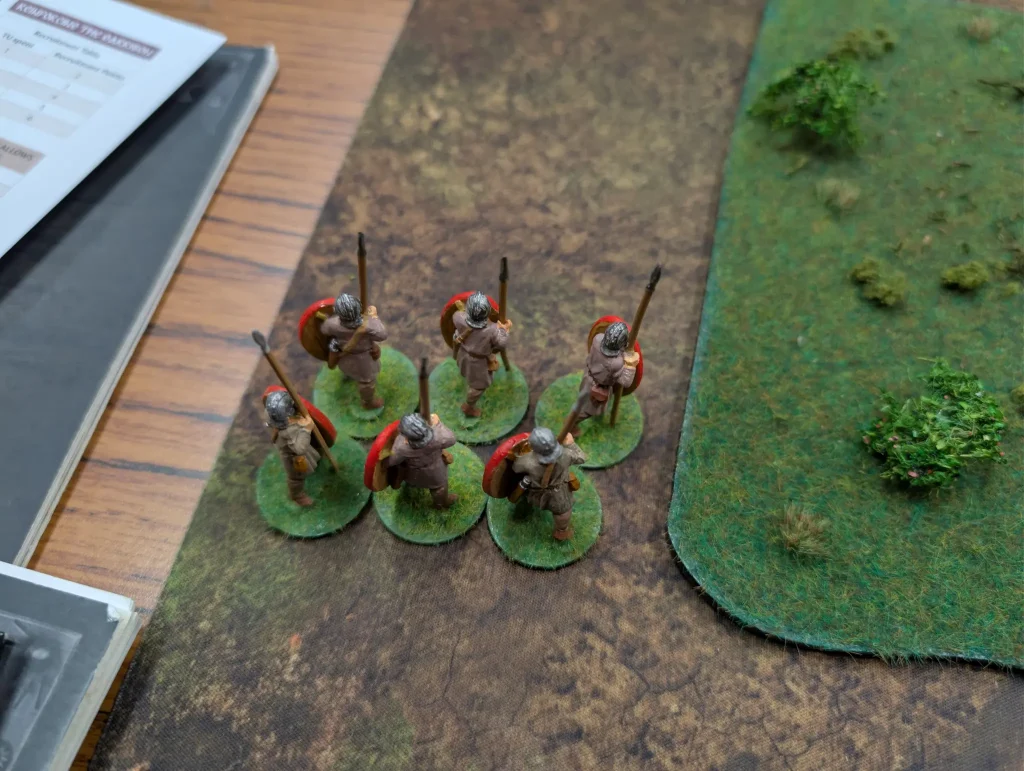
As before, the Romans lined up for defence. They had a slightly shorter line, plus an extra unit of Levees. This allowed them to leave a small unit of warriors at the far end, to block the path down the other side of the rough ground.
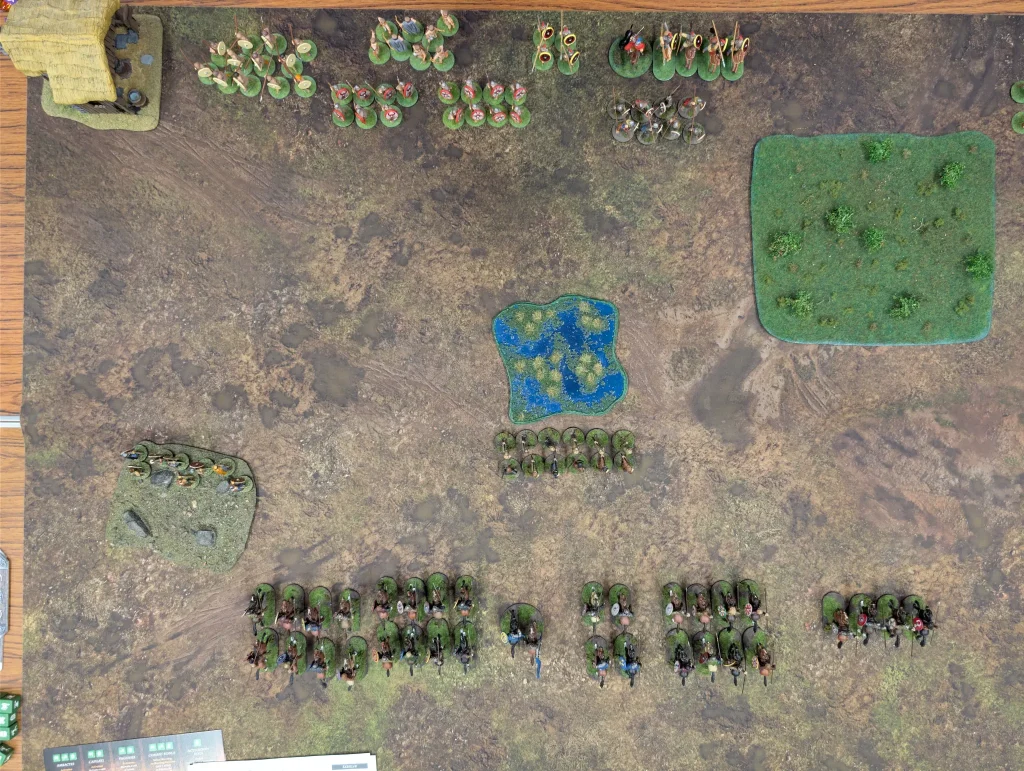
The Goth lines looked impressive. There were 3 units of mounted warriors, 2 units of hearthguards, a unit of levees with bows plus a unit of Roman Deserters as mercenaries.
Turn 1
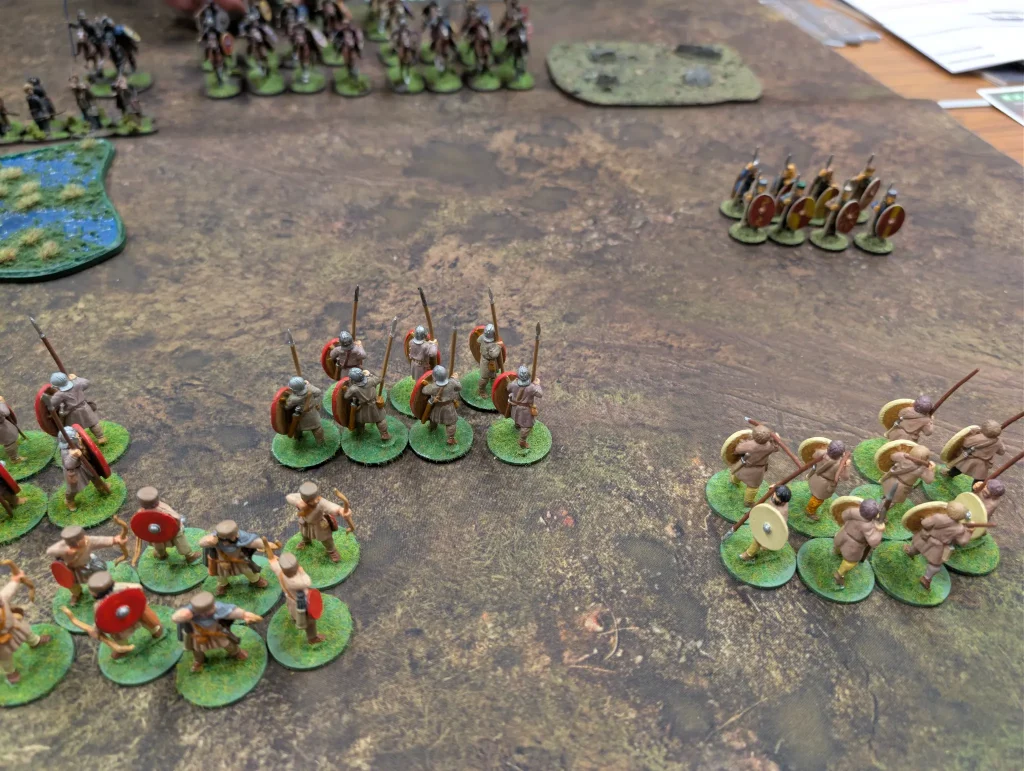
The Romans got to start, but didn’t have a lot to do. This time they didn’t have reason to try and stop the Goths from getting close to the Roman side of the table – they only needed to prevent them from reaching the edge. Some warriors shuffled forward, which allowed me to use Combined Formation to shoot at the archers on the far side of the swamp. Two archers were slain, which was a good start to the battle.
The Goths moved their Deserters out from the rocky ground, and made use of their free shooting attack to shoot at the Roman levees. They killed one, even though I used Scuta for defensive bonuses.

Their warlord then We Obeyed the archers, who shot at my warriors, killing one of them. They repeated their attack, but didn’t get any extra casualties.
Turn 2
The Romans didn’t want to just sit there and take arrow shots from the archers behind the swamp, so sent in their mercenaries to deal with the problem. The Foederatti moved up the table, then used their free charge to attack the archers.

There were eight warriors, who got 4 bonus attack dice when they charged. When they win the melee, they’ll also get to attack again. The plan was to wipe out a good portion of the levee, then flee back to the Roman lines when they undoubtedly got counter charged by the Goth cavalry.
So the Foederatti had 12 attack dice against the archer’s 4. The Goths added 3 more with First Blood, then used Immunity to soak 3 casualties, then Gratia to give further defence bonuses. The Romans got no kills, but suffered 2 themselves, getting forced back.
This was embarrassing.
The Roman archers used Combined Formation again to take more shots at the Goth bowmen, killing another one.
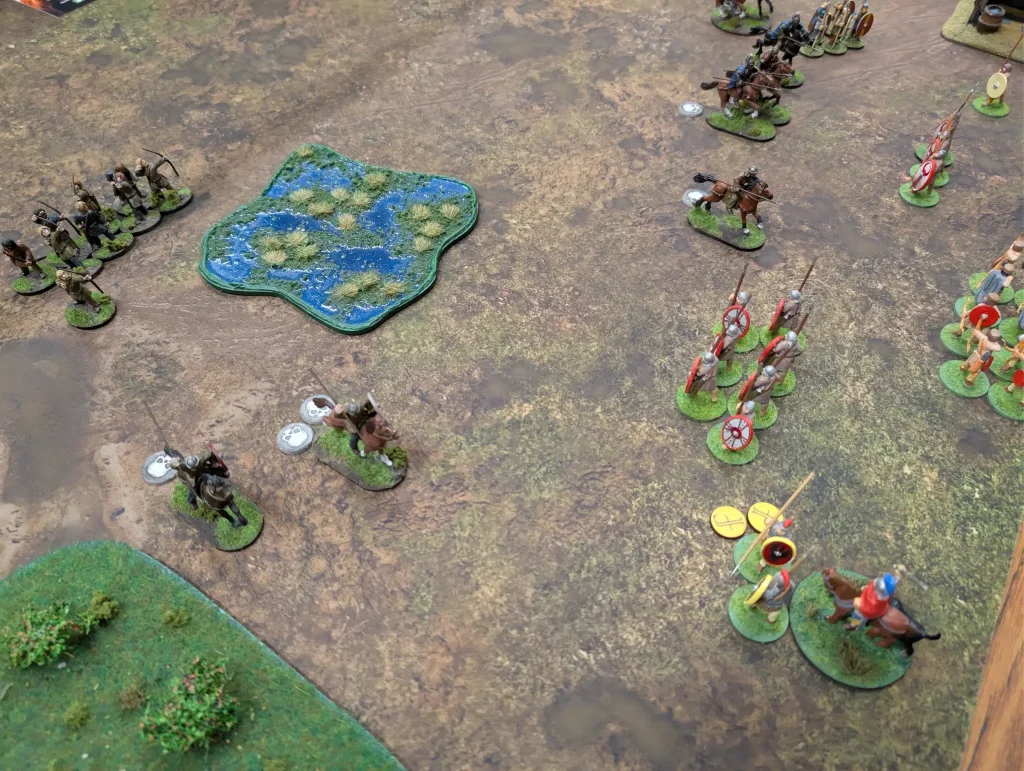
It was then the Goths turn to act. The archers rested, then shot at the Foederatti, killing one of them. As expected, the mounted warriors charged in. With First Blood and Cuneus they got 11 attack dice and scored 9 hits. The Romans closed ranks, and got no kills. But they were wiped out. So much for my mercenaries.
Finally, the Roman Deserters moved in and took more shots at my levee, killing another 2.
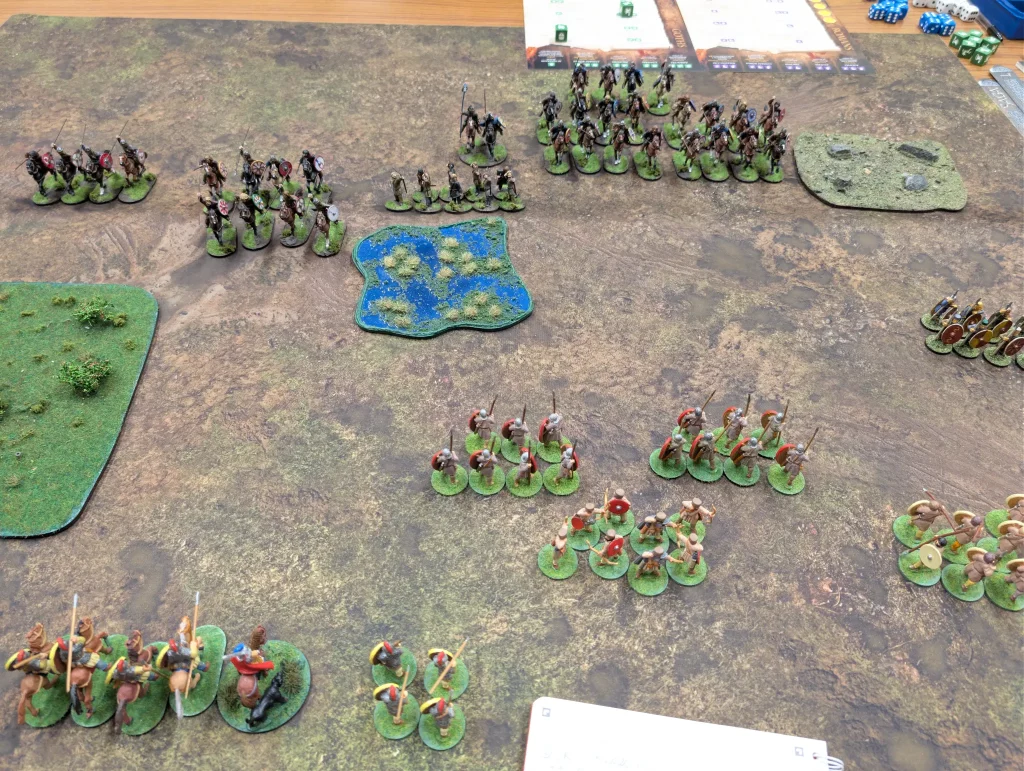
Turn 3
Once again the Romans opened up with Combined Formation. This time they shot at the approaching mounted warriors, but the Goth’s use of Immunity meant they took no casualties. I also shuffled the front line warriors back, to get them out of bow range of the Goth levees. The levees were protected by the marsh, but also constrained from moving forward by it.
In a desperate move, the levees charged the Deserters. It was probably a bad decision, but sitting there and taking missile fire and casualties every turn was also a bad decision. The Romans used In This Sign, Conquer to get 3 automatic hits, which gave them 2 kills, but 3 of them were killed in turn.
The Goths returned the favour by shooting some more, but this time they missed. However, things were beginning to look dangerous for the Roman lines.
Two units of Goth warriors rode up, to well within charge range. They were soon followed by a unit of mounted hearthguard. I was expecting an imminent charge from multiple units.
However, the Goths used Resolve to charge my own mounted Hearthguard. Since they used Resolve, I couldn’t use their fatigue to cancel their movement – or to modify armour in the ensuing melee.
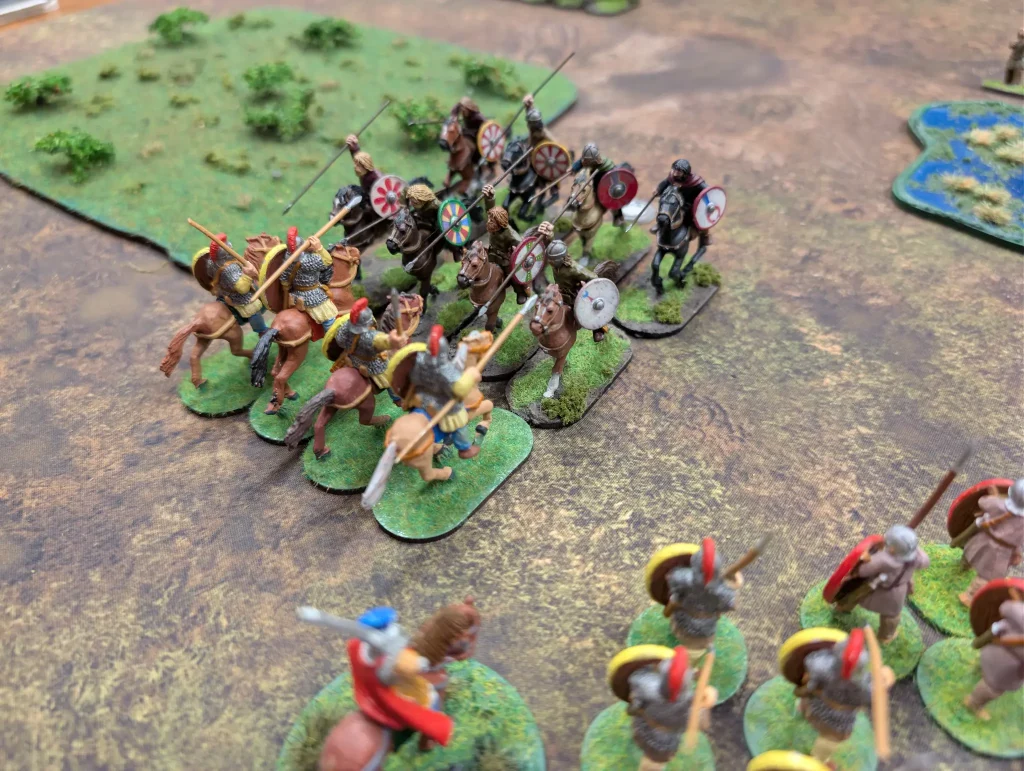
It was eight warriors against four hearthguard. With Gratia (bonus to defence rolls), Cuneus (allowing all attack and defence dice to be re-rolled) and Blood Price (+6 on their attack dice) though, my hearthguard were outmatched and completely wiped out. Even though we used Scuta and Limes. The Goths suffered no losses. Cuneus was especially useful to the Goths, since their first attack rolls were terrible and they re-rolled 10 of the 14 dice.
It was beginning to look bad for the Romans, and the Goth cavalry was ready to break through.
Turn 4
So the Romans were now down to 7 saga dice, so I needed some creative dice rolling. I also had no Impetus (and had been struggling with it all game). I put two dice on Rally Cry to get myself up to 2 Impetus, then used Adversity to re-roll three dice to give myself some extra options.
Sigma allowed me to rest two units, but I was facing off against a lot of cavalry. Fortunately, the Romans had the Goths just where they wanted them.

Once again, Combined Formation came in useful. I got four hits on a unit of warriors, but only one kill.
Then Plumbatae allowed a unit of infantry to use a short range shooting attack, which killed two more of them.
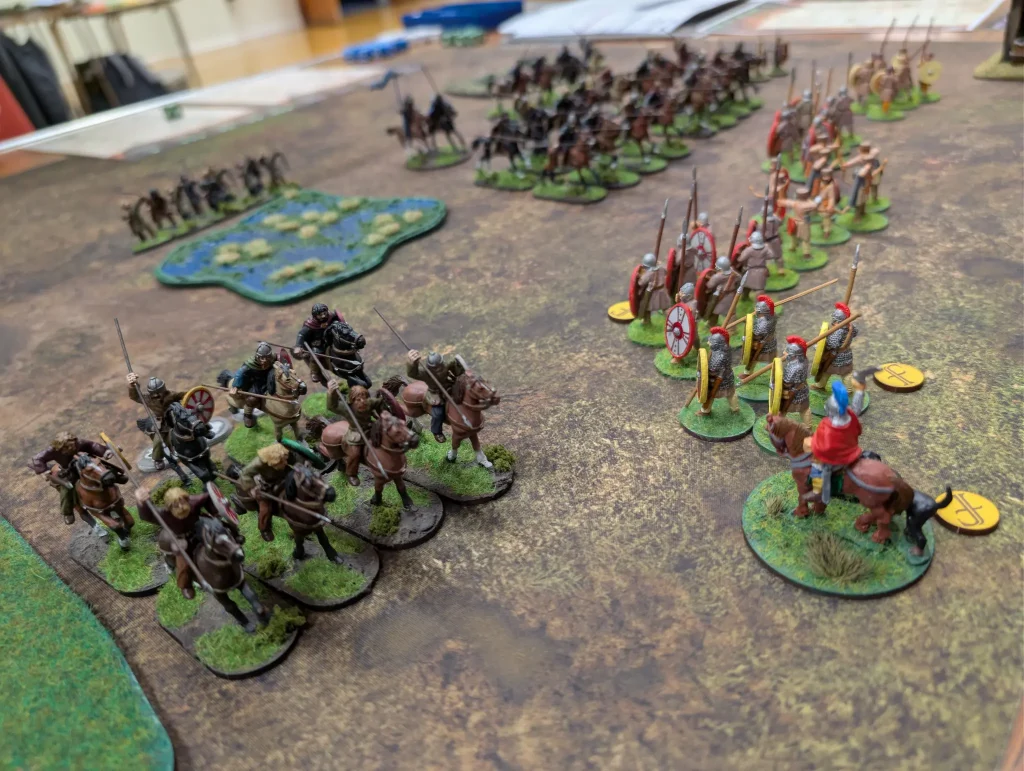
The Goth cavalry who had broken through the Roman lines were exhausted, so I charged them with my Hearthguard infantry. They had -1 to hit me, and since I already had an armour of 5, I used one of their fatigues to raise my armour to 6 – making it impossible for them to hurt me. They tried using Immunity, which gave them an extra fatigue (back up to three), so I dropped their armour down to 2.
We got 4 kills, forcing them backwards, and suffered no losses ourselves.
Finally, my archers shot again (using a normal activation this time), and killed another 2 mounted warriors.
The Goths rallied for some charges, but the Romans used Foedus as an Orders/Reaction to mark the two cavalry units that were facing the line of Roman warriors. If they charged, they would gain an extra fatigue after the melee.
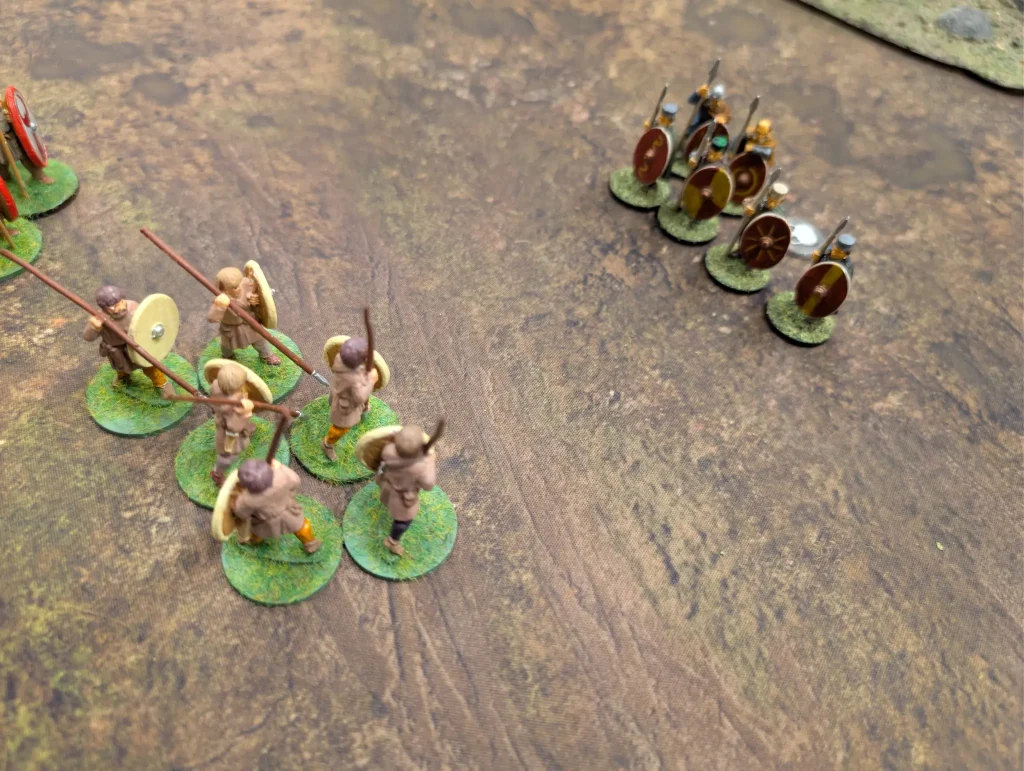
The Deserters shot and charged my levee, killing another two of them, but were forced back when the Romans closed ranks.
The Goth cavalry then charged the Roman archers, forcing them back but taking casualties themselves. The second unit of cavalry also charged in against the other warriors, forcing them backwards but taking another casualty. We were both losing men, and it was again looking bad for the Romans.
Turn 5
So this was likely to be the last turn of the game. The Goths hadn’t yet managed to break through, but they were close and the Roman lines weren’t looking all that solid.

The Romans used Rallying Cry again to get some Impetus, and Sigma to recover some fatigue. Then their luck turned.
Plumbatae against a unit of warruir cavalry killed three of them. Combined Formation killed another two and a final shooting activation killed a further three. The Goth lines were beginning to thin out.
The Goths shot at the Roman levees, failing to kill any, and even with a charge couldn’t finish them off. But the levees were down to a single man.
The Goth Hearthguard, who until now hadn’t done much, charged in against the Roman warriors. It was a disaster. They killed three warriors, but suffered three deaths themselves as the Romans defended with Ardour and In This Sign, Conquer.
The second unit of Goth hearthguards moved down past the rough terrain towards my own remaining Hearthguard. They then used Eye of the Hurricane to remove the Roman’s fatigue, but also their own.
Still, no Goths had made it to the table edge, and it was up to the Romans to dice to see if there would be a sixth turn. On a 1-4 this was the end of the game, on a 5+, there would be another turn.
But the Goths had timed things well, and chosen The Longest Day as a stratagem. So instead there would be an extra turn on a roll of 2+. I rolled a 2.
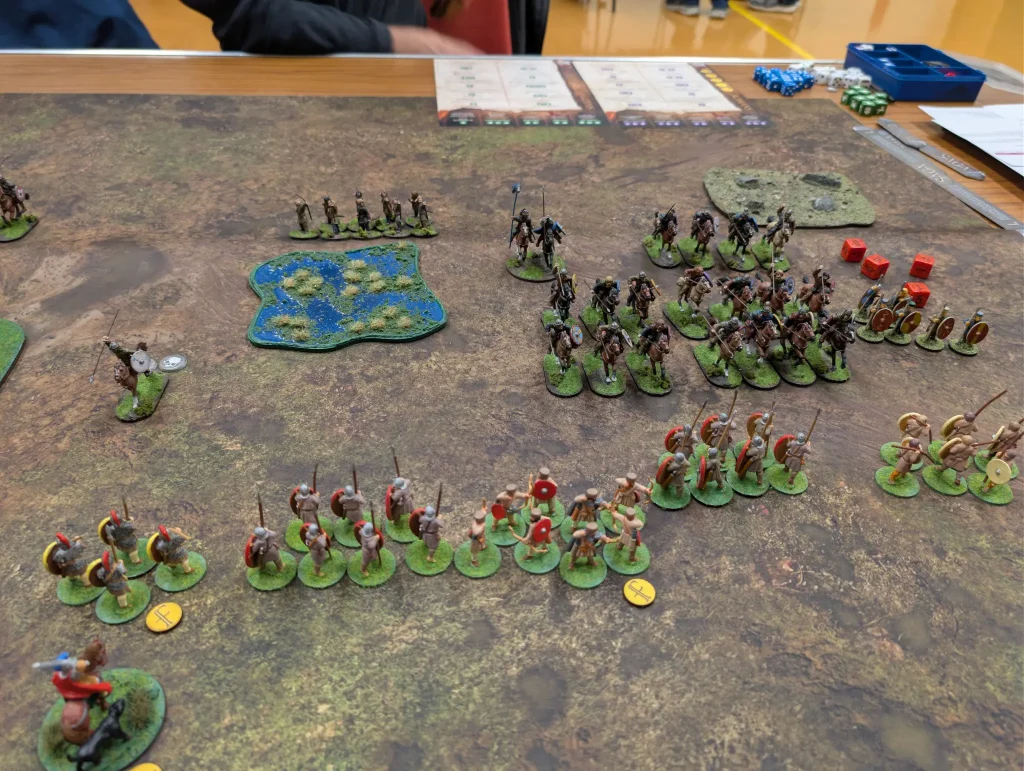
Turn 6
The start of the sixth turn would see two very tired armies try to fight each other.
The Romans were now making heavy use of their missile attacks. Combined Formation, Plumbatae and two standard shooting attacks killed another 2 Goth warriors. Not great, but every little bit counted.
The Goth battleboard was clear, but the Goth unit of 4 Hearthguard had fatigue. So I decided it was worth my own Hearthguard charging in. It would be 8 attack dice against 8 attack dice, with the Romans having an advantage with armour. We killed 3 Goths, and 2 Romans fell.
As a final action, the Roman Hearthguard moved back towards their Warlord, to ensure that the Goths had a safe passage through. I didn’t want to risk losing any more soldiers.
As a final action, the Goths managed to wipe out the Roman unit of Levees using their Deserters. The rest of the Goth army tried to make a dash for the table edge.
However, a lot of them were heavily fatigued, so I cancelled or shortened their movements, preventing them from getting to the table edge.
Only a single hearthguard, and their warlord managed to make it.
And that, was the end of the game.
Aftermath
The Romans had mostly held the line and prevented the Goths from crossing the border. Having a single unit of warriors on the far table edge I think helped force the Goths to fight rather than seek a way around. However, it had potentially come at the cost of a lot of Roman lives.
- 12 levees (all fresh recruits)
- 5 warriors + 8 mercenaries
- 6 hearthguard
Fortunately, just because they were casualties in the battle didn’t mean they were dead. I now got to roll to see who recovered. For each non-mercenary figure, I roll a D6 and on a 4+ they recover.
It turns out 3 of my Hearthguard, 4 warriors and 5 levees were set to recover.
On top of that, I get +3 to spend from my Medicus, to split amongst boosting the rooms. I could gain an extra of each type, but I decided to give one Hearthguard +1, and another +2, bringing my Hearthguard survivors up to 5.
So total Roman losses: 1 hearthguard, 1 warrior and 7 levees. Plus 8 mercenaries, but they don’t count, and I guess it just means I don’t have to pay them. However, since I lost the whole unit, I won’t get them back again next year for cheap.
The Goths had not fared so well. They had lost 6 Hearthguard, 20 warriors and 3 levees. Total massacre point value was 17 points. This would be the score for the Romans. The Goths had also lost some mercenaries, but the Romans don’t get massacre points for them.
For the Goth victory points, they get massacre points for units they get across the board. They got 1 warlord and 1 hearthguard, for a total of 5 points. However, since these were cavalry, the point value gets halved, to 3.
This gives a total difference of +14 for the Romans, which translates (pg. 87 of Age of Invasions) to an Impact of 5. I can use this to modify either the Roman morale upwards (but it is already at 10, which is the maximum) or the Barbarian resolve downwards. Their resolve is 9 after the slight Roman victory in the previous game, so I decide to drop them down to 4.
Not only that, the Goth warlord swore an oath to bring at least half of their warband home. This they failed to do, so they also lost their boast. This doesn’t give them any penalties yet, but will start to give penalties if they lose further boasts.
End of the Year
The second battle of Limes ended with a resounding victory for the Romans. Our eventual losses were mostly constrained to levees, and since the Roman garrison now has a field, I get 4 levees ‘for free’ every year from now on anyway.
The Goths are a difficult warband to play (they are rated 3 stars (out of 3) for difficulty in the rules), and it was my opponent’s first time playing them. I think it was also his first time playing against the Romans. At various points in the battle, I thought that the Goths were going to crush me.
Having two extra units on the Roman side really helped though. The two shooting units (levee archers and mercenary Deserters) were a real nuisance. The Goths made really good use of their advanced abilities to cancel the attack of my mercenaries early on, and the deserters managed to wipe out my levees.
However, the levees stuck behind the swamp put them of moving forward (they could have, and would have just taken a fatigue in the dangerous ground), so once I moved by warriors back out of range they were no longer effective.
The Goths were close to getting a lot more across though. If I hadn’t been able to reduce their movement by spending the units’ fatigues, then they would have got quite a few more points. Not enough to win, but it would have reduced their losses.
Something I noted in the Osprey book on Goths (The Goths AD 200-700) I’m currently reading, the Goths apparently did really badly when they were up against Roman missile troops. This seemed to be the case here – my warriors with their shooting attacks probably did more harm than anything else. In Saga, cavalry have a lower armour against shooting, so can be quite vulnerable.
Possibly I should get some cataphracts (heavy cavalry) for the Goths, but that would require getting them painted.
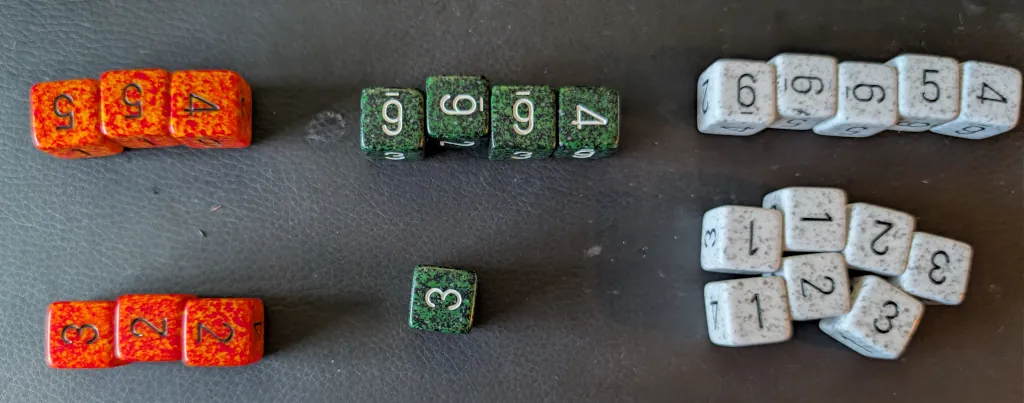
End of year garrison figures for the Romans:
- Hearthguards: 7 (down from 8)
- Warriors: 28 (down from 29)
- Levees: 0 (unchanged)
It was a fun game, with a lot of back and forth in terms of who looked like they were going to win. Though the Romans got a huge victory, and really hurt the Barbarian’s morale, such a victory is really risky for the Romans. With so many losses, they really need a good set of recovery rolls to avoid being crippled. For these first two battles, the Romans have been lucky in their rolls.
If they’d rolled slightly lower, then they could be greatly weakened for the next battle. So far though, they are a bit weaker, but not too bad. We’ll see how things go next time.
Interesting report!
Interesting report!