Picts and Britons
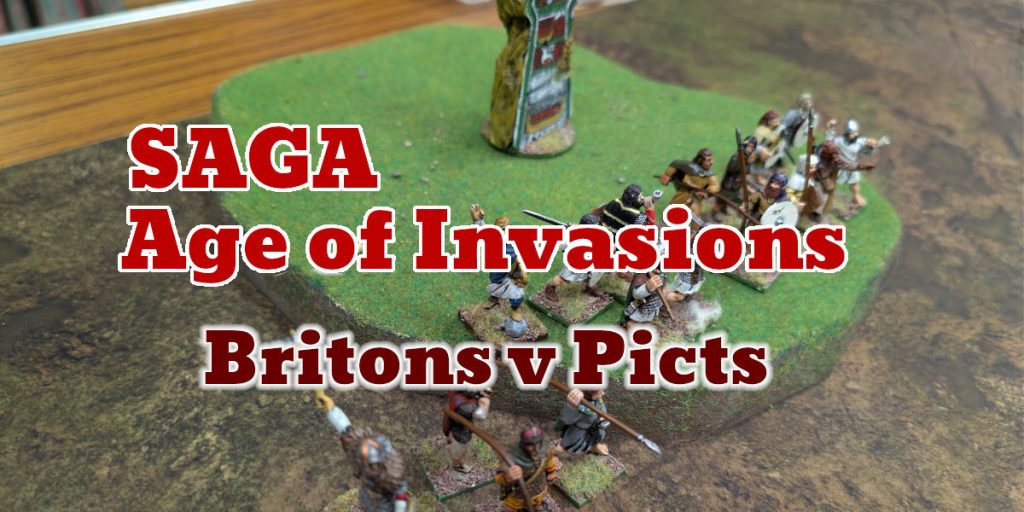
Our Saga game this week was Age of Invasions, with the Picts and Britons going head to head. I haven’t played or fought the Picts before, so it was hopefully going to be an interesting game. I was expecting the Picts to be a bit like the Irish – making heavy use of uneven terrain to make annoying and unexpected attacks.
We went for a Battle of Heroes games, rolling to see who got to choose each of the options. I got to pick 3 of the 5, so was also first player.

- Rough Ground: I chose a hill and two bits of small rough ground, which the Picts placed on their side of the table. I shifted the rough ground to the edges of the table, to get them as far away as possible.
- Deployment: March Column, so that the Britons could deploy as one group.
- Length: Under Pressure, allowing either side to end the game early. This had the practical benefit of allowing a short game if we ran out of time.
- Special: Night Fight. This forces each army to stick together since lone units gain fatigue. Since the Britons had to stick together anyway, it would disadvantage the Picts more than the Britons.
- Victory: Carnage. You get points for surviving.
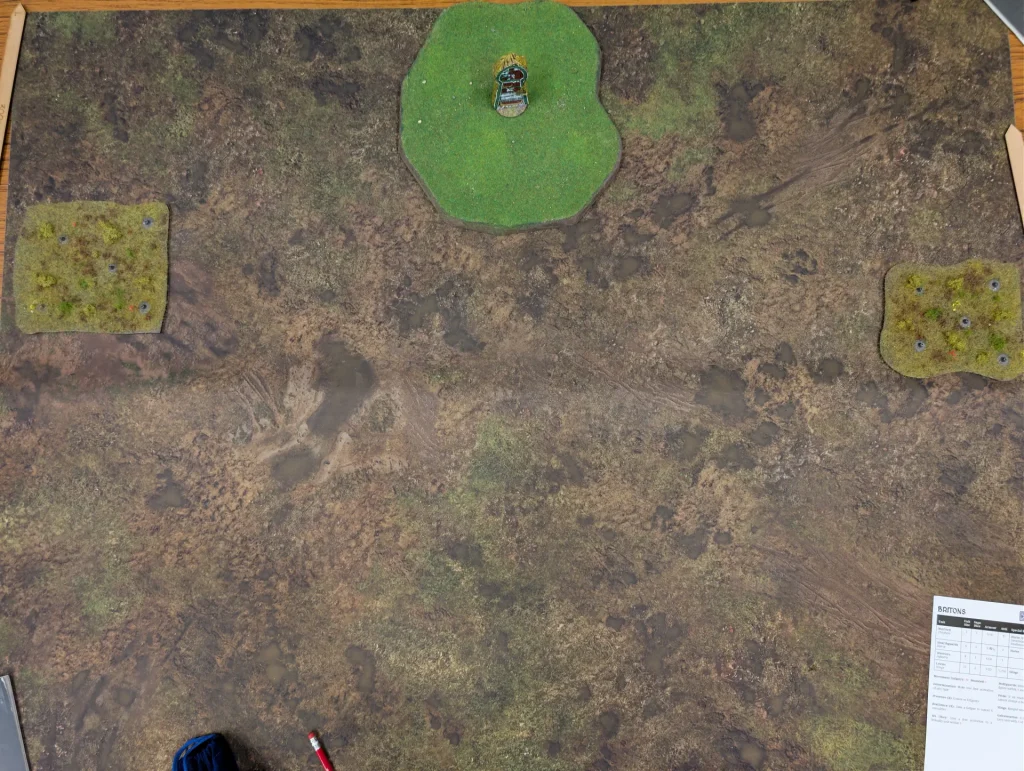
What we ended up with was a relatively open battlefield, which should hopefully benefit the Britons. I deployed my forces central to the table, keeping everyone close to the Warlord.
My Warlord had two companions, forming a heroic unit with a war banner to allow him to get rid of a fatigue each turn. Whether this would be worth the loss of 3 dice of Aggression I didn’t know. I had two mounted companions, along with a unit of 6 hearthguard.
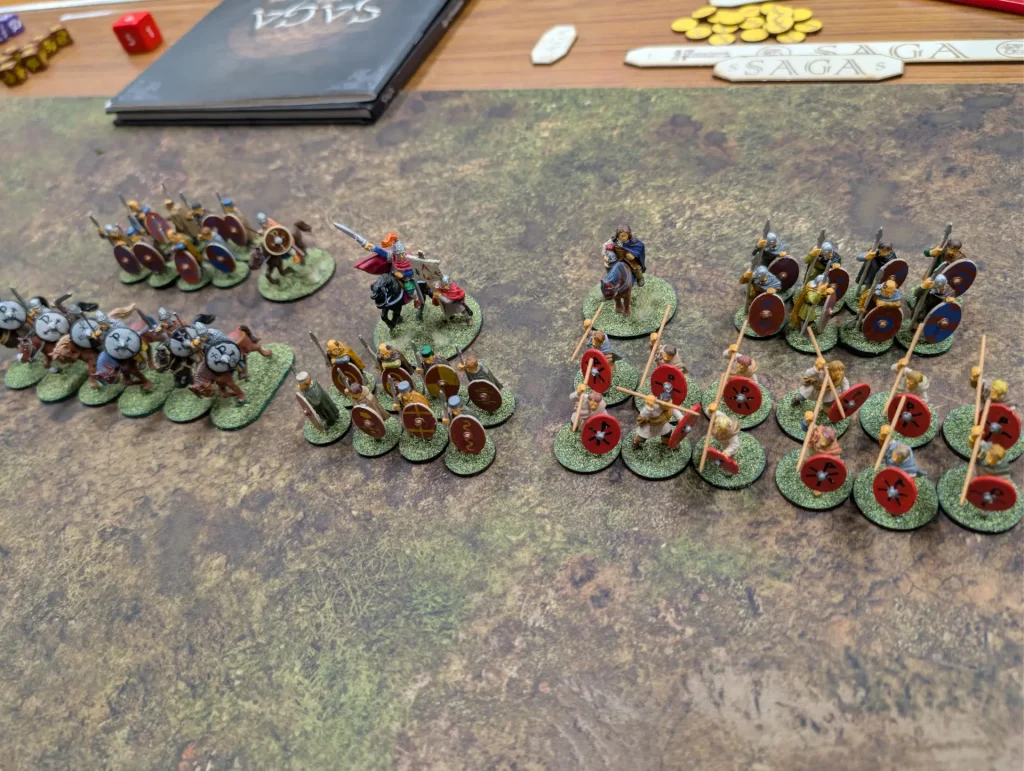
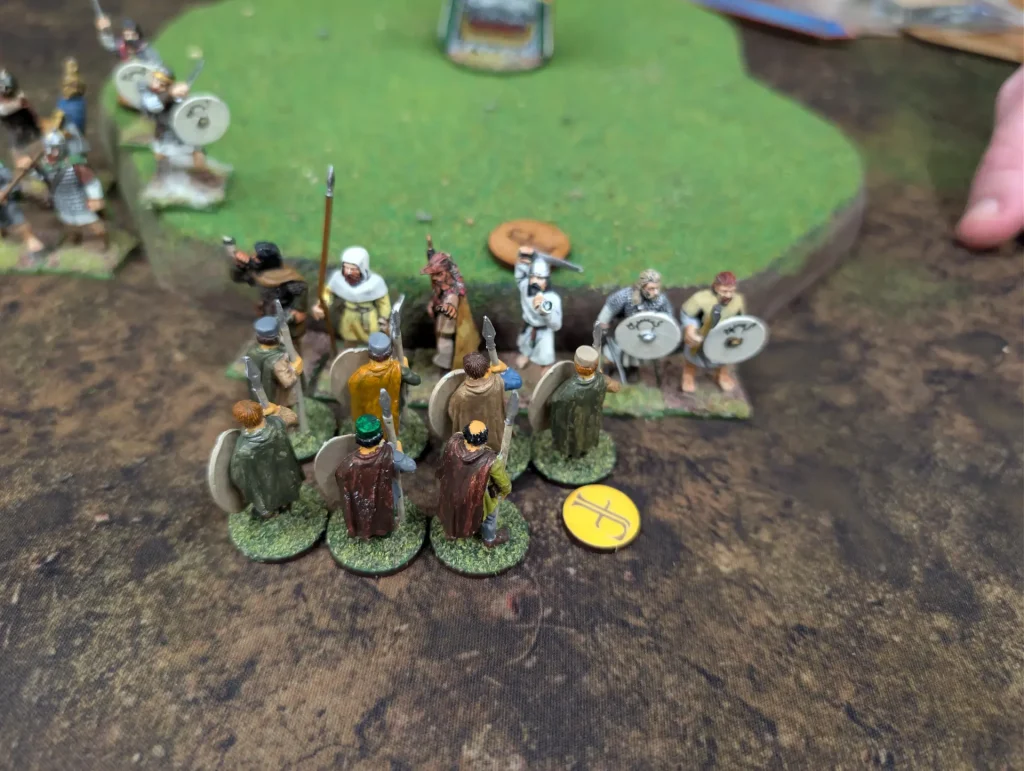
I then took a unit of levee javelins, and three units of warriors.
The Picts had a warlord on foot, and mounted hearthguard. They had a unit of levee with javelins, and also some levee with crossbows. The rest of their units were warriors.

Whilst I deployed my Britons in the middle of the table, the Picts spread out, with units to the sides, and a small group in the middle. My plan was to try and smash the central units with my entire warband.
Turn 1

The Britons began the game shuffling forward. I needed to keep everyone together so that we wouldn’t gain fatigue, but also to gain the Galvanisation bonus. If units are within S of the Warlord unit, then they are Galvanised, and gain bonuses on some abilities.
The Picts started by using Swift as the Wind to move their crossbowmen into the unit of rough terrain, then Scouts to move their javelins around the other side. So I was being flanked quite early on, but not too seriously.
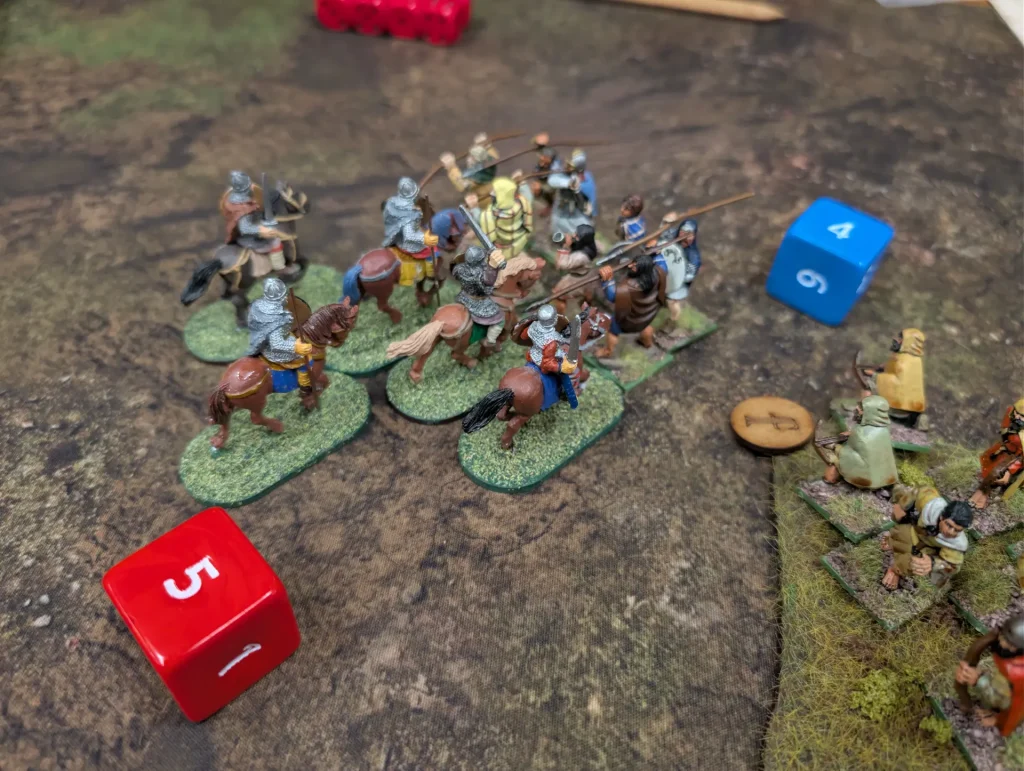
Their hearthguard moved forward, and threw javelins at my levees. They used Stalking, and I used Shieldwall to give myself a defensive bonus. This turned out useful, and the Picts got no kills.
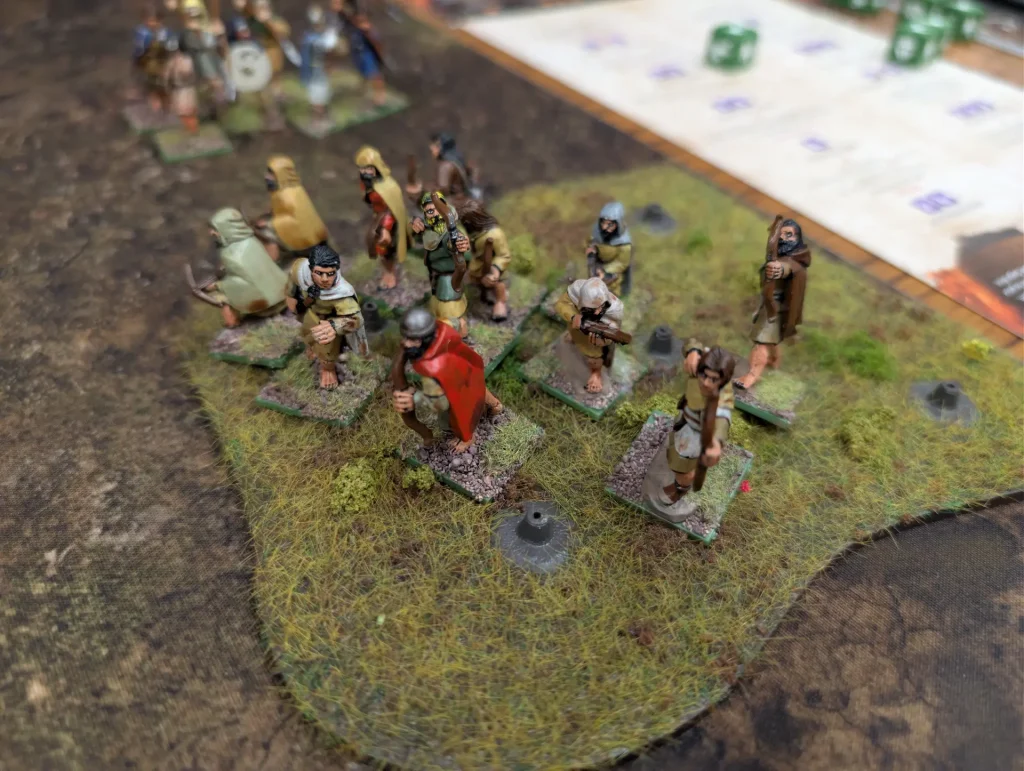
Their crossbowmen then opened up on my hearthguard, getting a hit and a kill. Since I’d used Shieldwall to protect my levee, I didn’t have anything to protect my hearthguard.
Turn 2
The Britons rolled their Saga Dice, and got no dragon standards. Which meant that the various things they had been planning they couldn’t do. However, I could charge my Hearthguard into the Pictish warriors on my Eastern flank. I got two kills, and forced them back, but lost a Hearthguard myself. This wasn’t quite the result I’d been hoping for.
I activated my hearthguard again to bring them back to the main lines, since I didn’t want to leave them sitting out by themselves. This left them with two fatigue.
Next up, I charged my levee at the hearthguard. Charging levee at heathguard is rarely a good idea, but the Picts had an empty battleboard, and I didn’t. I used Pitiless to give a +1 bonus to my attack dice, and Impenetrable Defence to force a re-roll of any enemy attack dice which scored hits.
With another +1 for having javelins in a charge, I got 4 hits and 3 kills, forcing the hearthguard unit back. It was almost dead, but not quite. I lose two levees. At this point I forgot that I also got a free javelin shooting attack, which in hindsight was annoying. But despite this, it was a good result.
The Picts used their javelins to shoot mine, using Stalking to gain 3 attack dice because they were close to uneven terrain. I used Shieldwall again, but lost two levee.
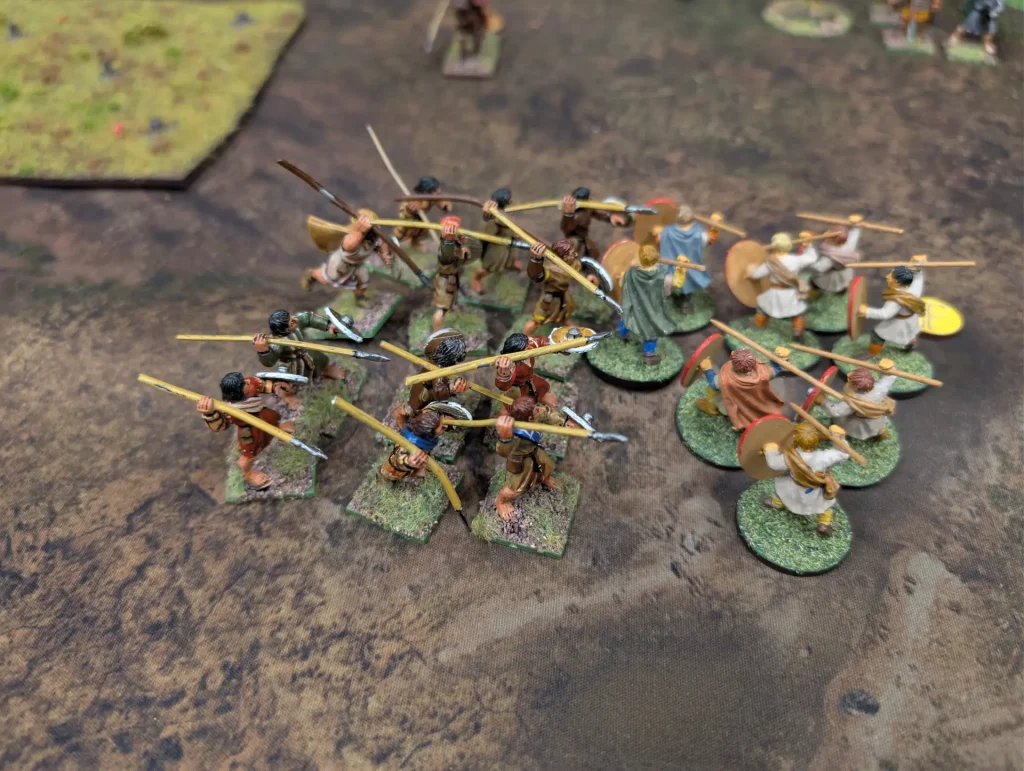
Then they used Swift as the Wind to active their levees for a charge, killing 3 more of my levee, and I only managed to kill two of theirs. The Picts then used Scouts to run away.
This left things with my levee weakened, but their hearthguard almost dead. My hearthguard had lost a third of their number, but were still quite strong.
Something I noted was that their warlord wasn’t protected by hearthguard, and was on their front lines. Getting to him though would be tricky.
Turn 3
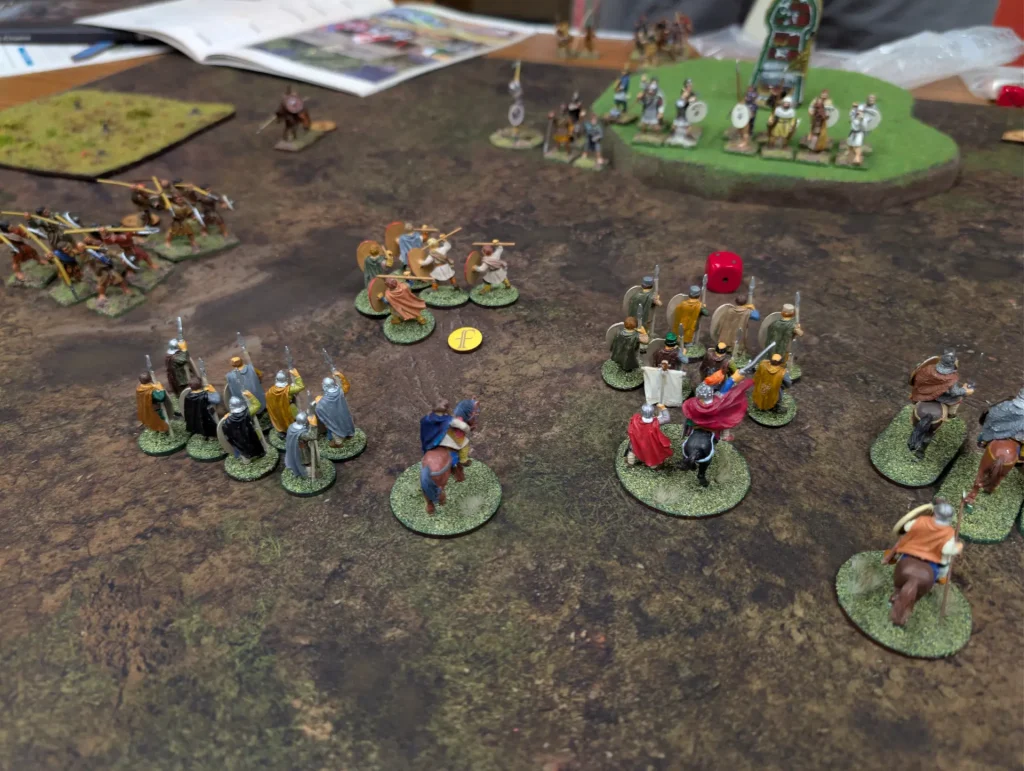
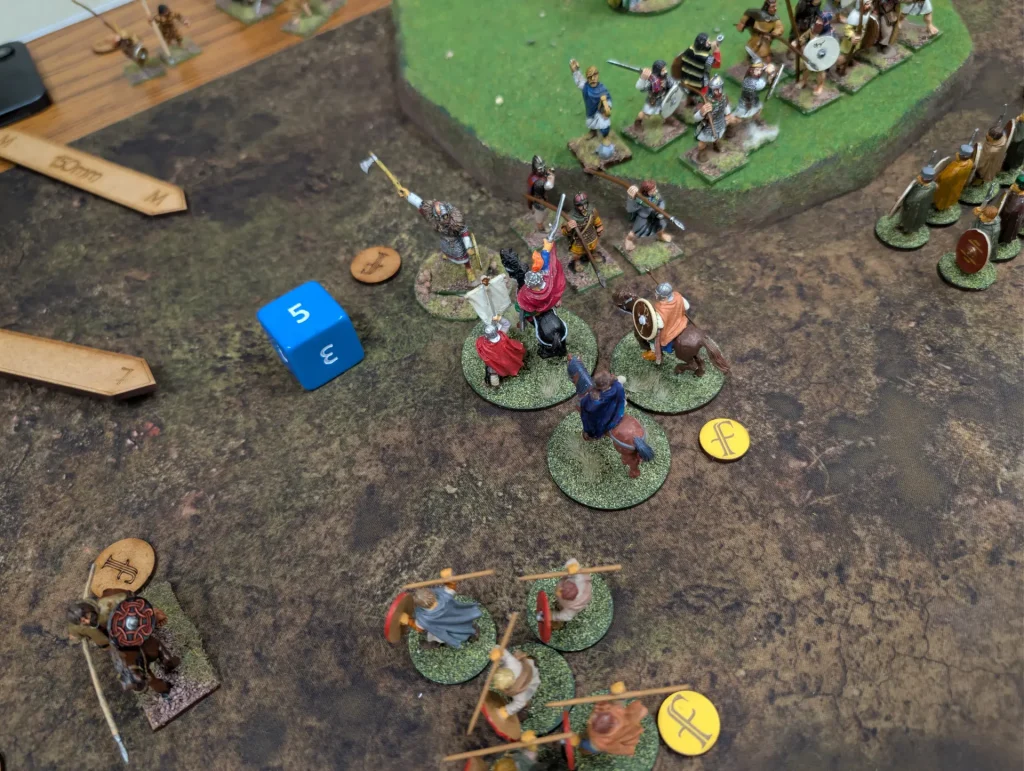
This turn the Britons got some useful saga dice, and took Dux Bellorum to give my warlord Resilience 2 until my next turn. I moved my levees out of the way, and shunted my warriors forward. They would be unprotected, but I wanted to go for the kill.
I then moved my Warlord unit to where he could charge the Pict warlord, and then charged in for the kill.
However, with the warbanner, my Warlord only has an aggression of 5, so even with the two companions, the units full aggression is only 9. I used Pendragon to remove my fatigue before it could be used against me, and Pitiless to give myself an attack bonus.
Something I was surprised to find out at this point, is that the warlord’s unit doesn’t count as being galvanised. This seemed an odd rule, and it means that the warlord doesn’t gain many of the full benefits of the faction’s abilities. It means that the warlord is forced to be in the front line, near to his other troops, in order to give them the galvanised bonus, but not quite fighting the enemy himself. I had assumed that the battle board was all about the Briton warlord getting into the fray himself alongside the other units.
The Picts used Feint for a bonus to their defence dice. I got 5 hits against their Warlord, but only a single ‘kill’ which was cancelled with fatigue. They got a single ‘kill’ against me, which I also cancelled with fatigue. So I was forced back.
My levee unit then remembered its free shooting activation, and shot at the lone hearthguard, killing him. I’d actually deliberately waited until after the Warlord fight. If the Pict Warlord had been on three fatigues, it would have been worthwhile shooting at him instead. With the Warlord only down a single fatigue, it wasn’t really worthwhile – better to deny the Picts a Saga die by removing their hearthguard unit.
The Picts at this point were in a position to return the aggression. The crossbowmen got six hits against my four remaining hearthguard – but they saved against all of them. Which was impressive.
The javelin levees, who were exhausted by the destruction of their nearby hearthguard unit, rested, then used swift as the wind to charge into my levees. I used their remaining two fatigue to raise up my armour, and took no hits.
The Pictish warlord sent his warriors in against my warlord unit, and I took another two fatigues to soak the attack, and killed only one of them. My warlord was now exhausted after the combat ended.

There was further warrior on warrior action at the edge of the hill. My warriors closed ranks, but still managed to kill two of the Picts, taking a single casualty themselves.
Finally, the Pict warlord wanted to charge my warlord, but couldn’t due to his warriors being in the way, so charged my levees instead. He killed four of them, and I got a hit on him, giving him another fatigue and making him exhausted.
So, by the end of the two, we had two exhausted warlords not far from each other, and lots of dead people on either side.
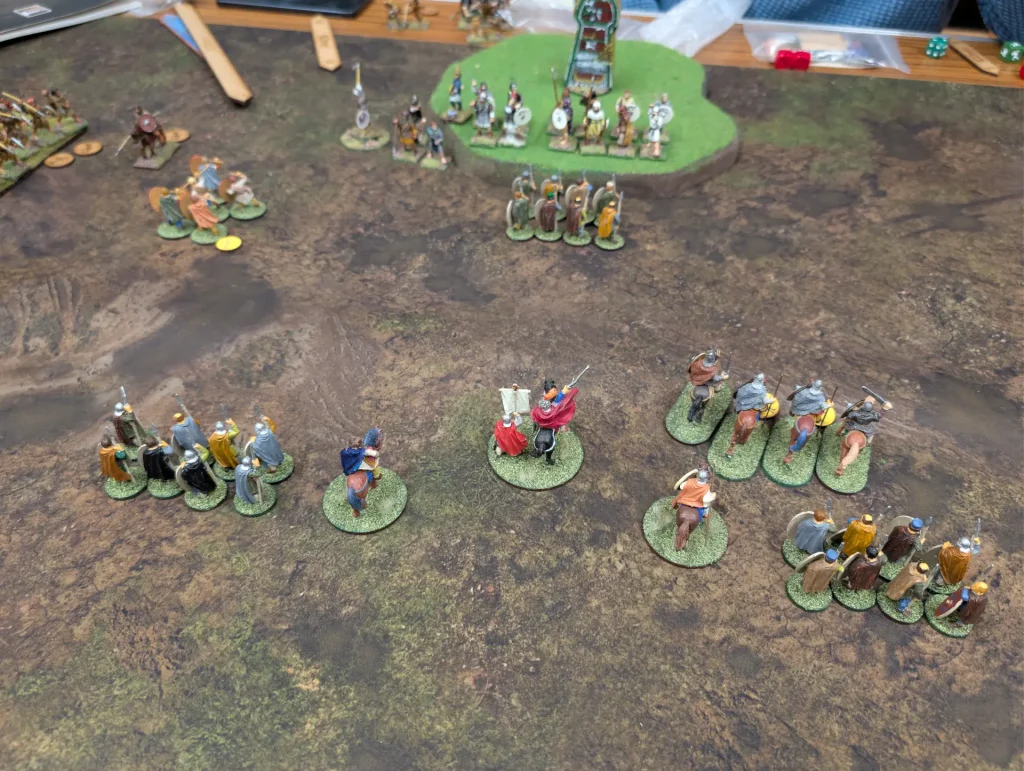
Turn 4
Once again, the Britons used Dux Bellorum to increase their resistance. Having resistance 2 means that I can soak 2 casualties with a single fatigue, but if all you’re taking is a single casualty every time it doesn’t make much difference.
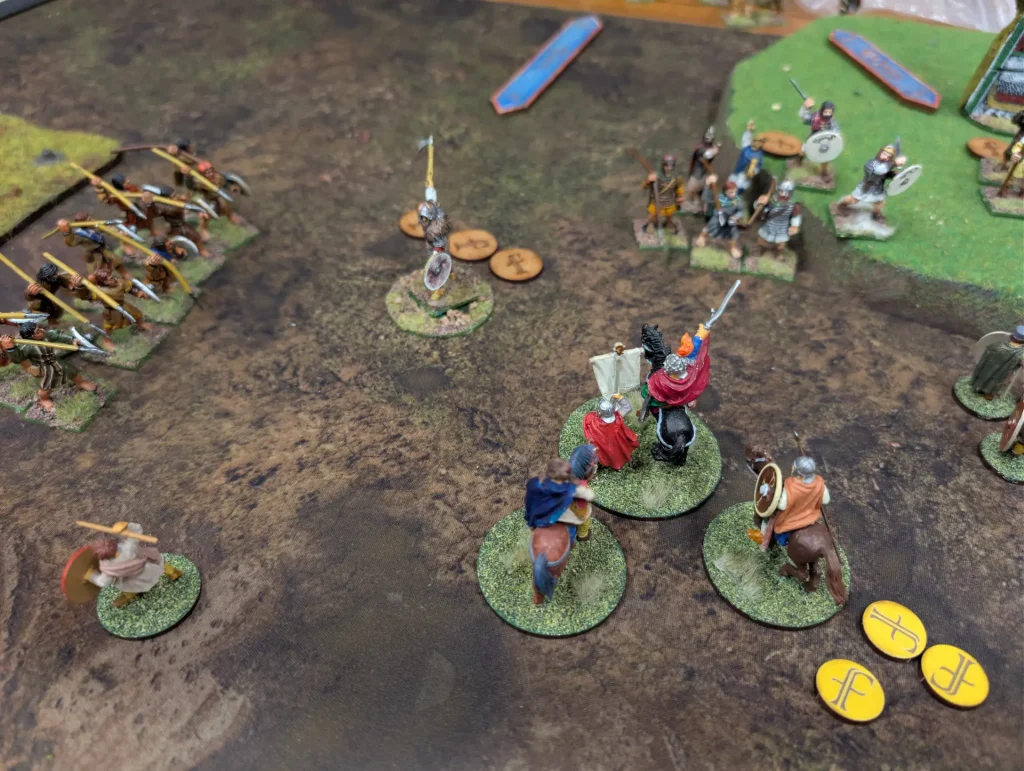
I used the war banner to remove a fatigue, and I had a plan to try and kill the Pict warlord with my single Levee, and if that failed, use my warlord. My warlord then had a remaining activation to run back to safety. In hindsight, this was a bad plan.
My levee charged in against the exhausted warlord, and was killed. Because this killed a unit, it added a fatigue on my warlord unit again, making him exhausted. So I had to use his Determination for a rest activation, and use the spare activation die for the charge.
With Pendragon, I removed fatigue at the start of the combat, and the Pict warlord used my remaining fatigue to raise his own armour to 6. I then used Pitiless to give myself +1 on my attacks. I got 3 kills, which he couldn’t use resistance on since he was exhausted, and he was slain. I got one casualty against myself, which I resisted.
At this point, I declared an end to the battle. The Picts would get to fight one more turn. I wasn’t sure who had the upper hand, but with the enemy Warlord dead, I hoped the advantage would go to me.
The Picts used their crossbowmen again against my Hearthguard. They got four hits, and I rolled four 1’s on my defence dice, so they were wiped out.
The levees went against my warlord, but bounced off, and the warriors tried coming down off the hill again, but took a casualty when my warriors closed ranks and forced them back.
Finally, the second unit of Pictish warriors went against the same unit, and got two kills, taking only one casualty themselves.
And that was the end of the game.

Aftermath
So it was now time to count up the points. We got survival points for any figures still on the table, plus 2 points for each unit more than L away from their own table edge.
The Britons counted up 21 points… the Picts got 24. So the victory went to the Picts.
My two units of warriors at the back weren’t quite the required distance from the table edge. This was something I’d known for a couple of turns, but had never had the dice to move them, and they hadn’t been able to manoeuvre (I had measured every turn). This would have given me an extra +4 points.
If I hadn’t lost all my hearthguards in the last turn, it would have also been an extra couple of points. The hearthguards hadn’t been doing much – just sitting there taking damage from the crossbowmen. Again, the Dice economy had meant I’d never been able to do much with them.
I’d also been against using them when I could, because moving them for a charge would have meant losing their galvanised bonus, and I’d rarely had the right ability to allow me to charge and keep it.
It was a good game though. The Picts were interesting to fight, though they’d been hampered by the lack of good terrain for them to make heavy use of.
For me, keeping everyone galvanised had been the tricky bit. You have to be within VS of the heroic warlord unit, which means keeping everyone together. As soon as you move away from that, even if it’s for a charge, you lose the bonus. There’s only one ability that allows you to charge and keep the bonus, so it rarely came into use except when I was defending.
So maybe the Britons are meant to be a defensive faction, not charging into combat themselves. Having to keep their warlord close to combat, but not in combat, had been a limiting factor throughout the game.
The Picts hadn’t been too bad. The crossbowmen had been the most annoying opponents, repeatedly showering my hearthguard every turn. They were hidden in rough ground making them hard to charge, plus it was never quite worthwhile to spend a die to either charge them or move out of range.
Overall though, it had been a good game. It had been close, and maybe I would have been better waiting another turn before calling an end. But I was worried that another couple of turns would result in a lot more losses on my side.