Limes III: The Chosen One
This is the 3rd session of my Saga: Age of Invasions Limes campaign at Farnborough Wargames. Each round (year) of the campaign, I’ve pitted my Roman garrison against a different player running the B.
I’d taken a lot of casualties in the previous game, so I was hoping for some time before the next invasion attempt to rebuild my forces, and maybe get some defences built. This time, I was graciously granted 15 TU – enough to finish my war machine, or even relocate behind a river. Though it was tempting, I decided not to go for the river option, and instead recruited some levies and a Hearthguard, along with another attempt at mercenaries.
I also decide to get God on my side, and went for the High Mass option, which would allow me to re-roll a saga die each turn.
The auguries for this year had promised a quiet year. And it seemed that apart for my usual defensive terrain catching fire and burning down (Scorched Earth) there were no signs of the G. So my Romans were out on a nice patrol (Surprise Attack) when the Goths came charging out of the Mist much closer than I expected.
The Battle
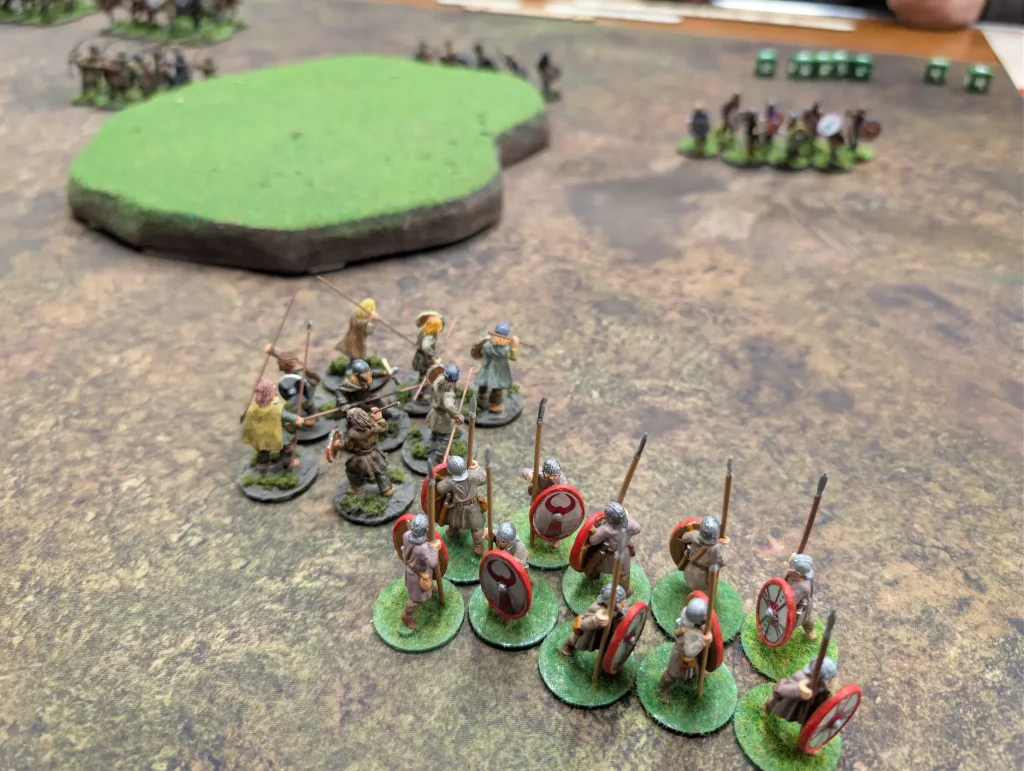
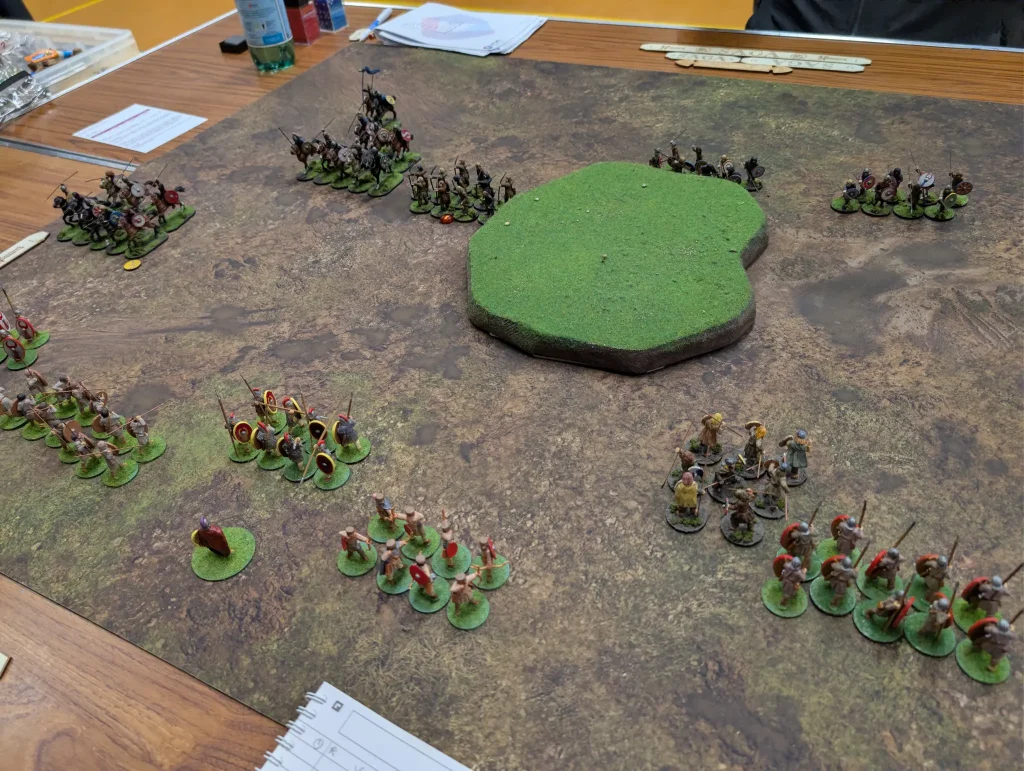
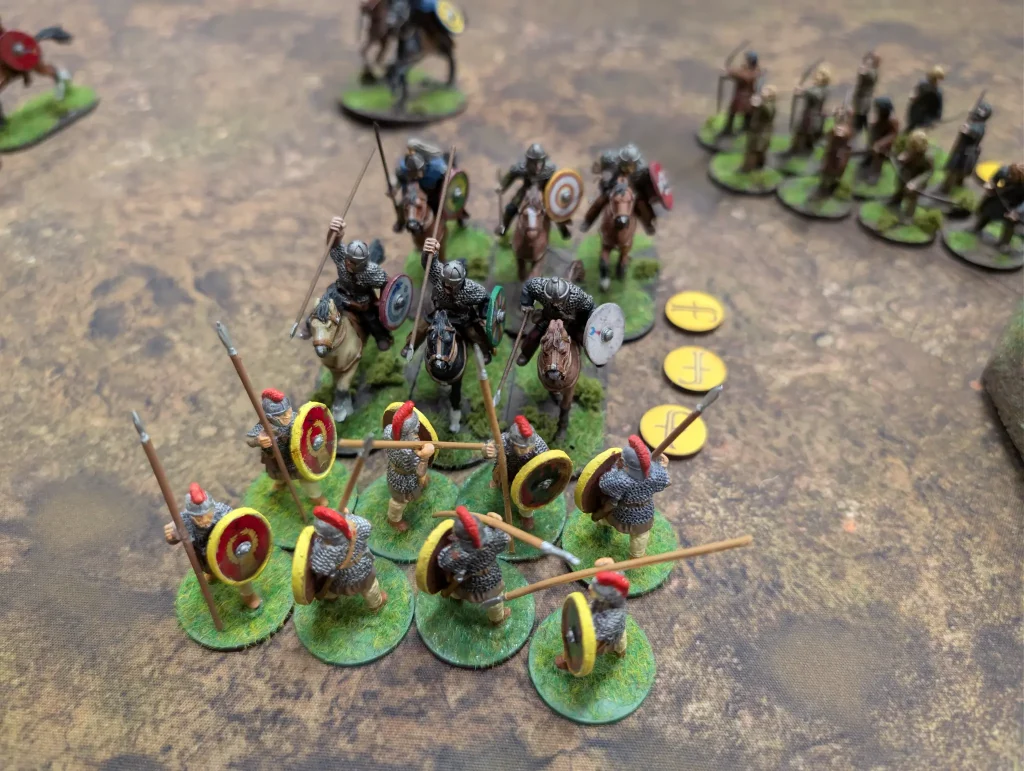
On the Roman side, I had a unit of eight infantry Hearthguard, 2 units of 10 warriors, a unit of 8 warrior archers, 12 levies in a unit, and a unit of Foederati mercenaries. I had the entire length of the long table edge to defend, so I was quite spread out.

Facing me was a Goth warlord (The Chosen One – granting an extra saga die, having amour 6 and an aggression of 10), a unit of 8 mounted Hearthguard, a unit of mounted warriors, a unit of bow equipped levees, and two units of infantry warriors.
The Goth warlord boasted that he would pave a road of corpses to lead you to victory!. This meant that the Warlord had to eliminate 6 massacre points of Romans himself.
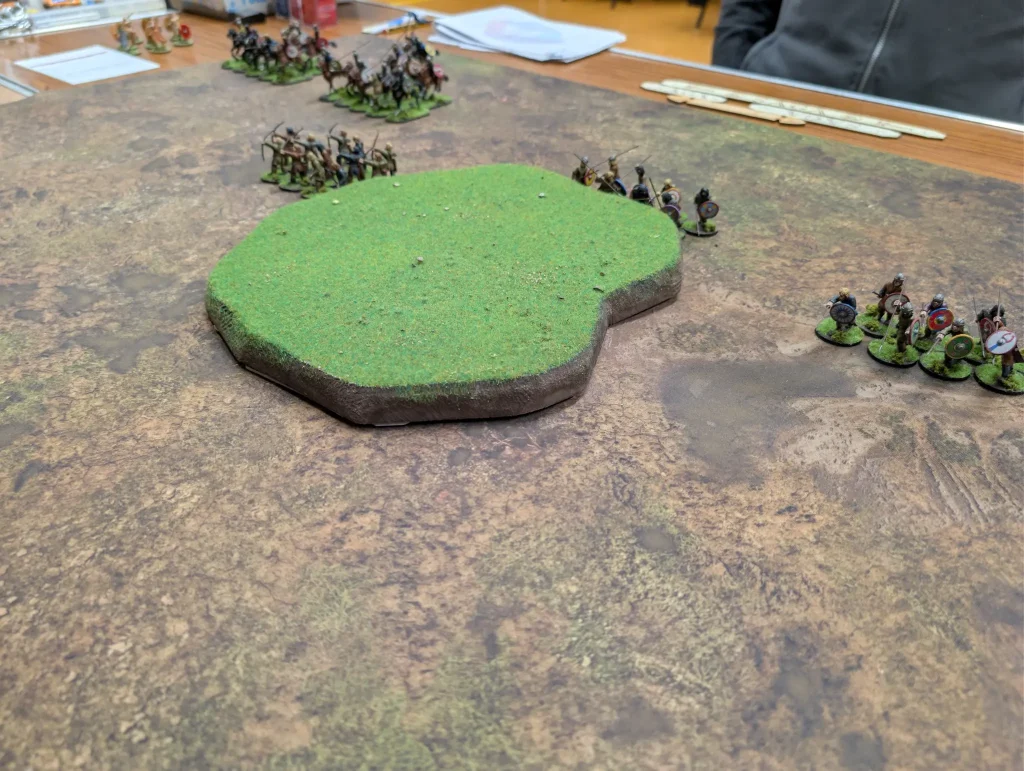
Turn 1
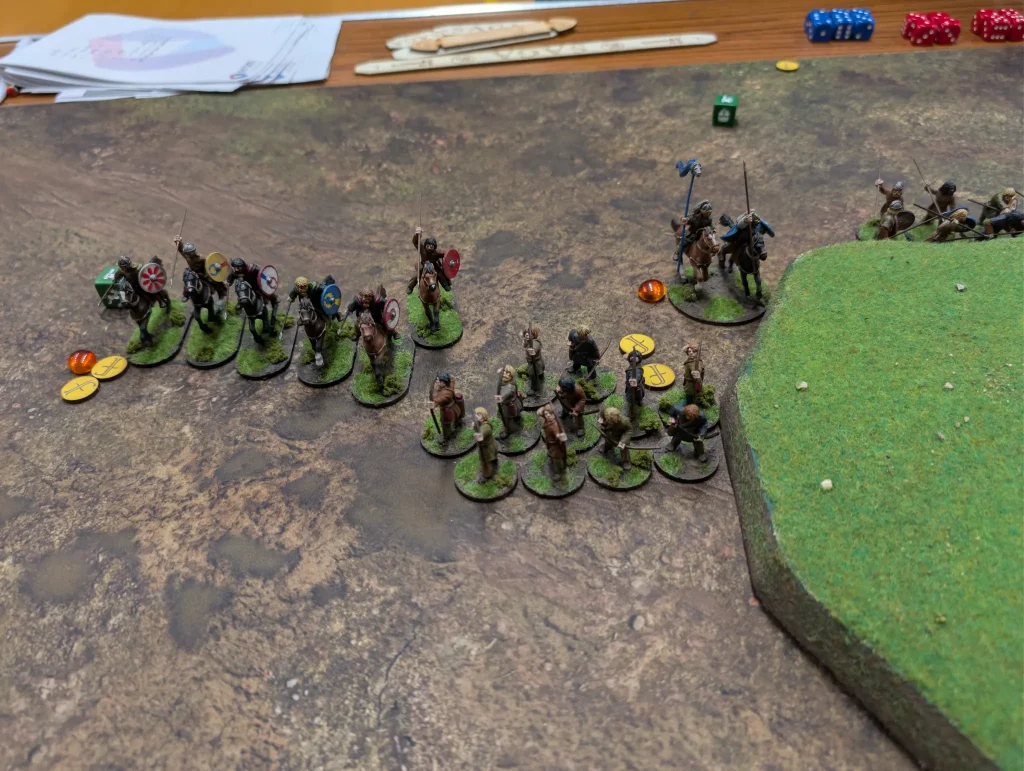
The Romans started the game. They had been forced to deploy first, so the Goths had set up concentrated on out Western flank, where my levees were. I was expecting them to try and charge through my levee unit, so shuffled my hearthguard forward a bit so if they did, I could then charge in from the side.
This also allowed me to use Combined Formation to make a shooting attack via the Hearthguard against the Goth bowmen. I rolled badly, getting a single hit, but managed to get a kill.
I also started moving my Foederati forward. I could afford to lose some, as long a I didn’t lose the entire unit. My plan was to try to score some points against the two units of warriors. I could back my Foederati with a unit of Roman warriors, so they wouldn’t be completely alone.
After the Goth order phase, I played Foedus, marking the Goth archers so that they would take fatigue if they did a shooting action.
The Goths made use of manoeuvre to shuffle up their mounted troops, but didn’t do anything too aggressive, though their mounted warriors then we obeyed up to within Medium range of my infantry. Their infantry on the Eastern flank then fell back, trying to avoid combat.
Turn 2
The Romans had expected the previous turn to be a bit more aggressive, given that the Goths had formed up so close to me with Mist. The Goths played Weregild which meant if I used their fatigue, I would take fatigue myself. My mercenaries moved forward a bit again, and my Hearthguard marched forward as well. Again, I used combined formation to shoot through my Hearthguard, this time targetting the Goth hearthguards. With In this sign, Conquer, I turned my four attack dice into automatic hits. The Goths played Immunity and Gratia, and all my hits were cancelled.
With their Immunity used up, I targeted the mounted warriors with Plumbatæ. I rolled well, getting 5 hits and 2 kills.
After the Goth orders phase, I again use Fœdus, this time spending Impetus to target two units – the archers again and also the mounted hearthguard.

The Goths played Weregild. Their archers shot at my Hearthguard, but I used Scuta to re-roll defence dice and took no casualties. The archers took a fatigue.
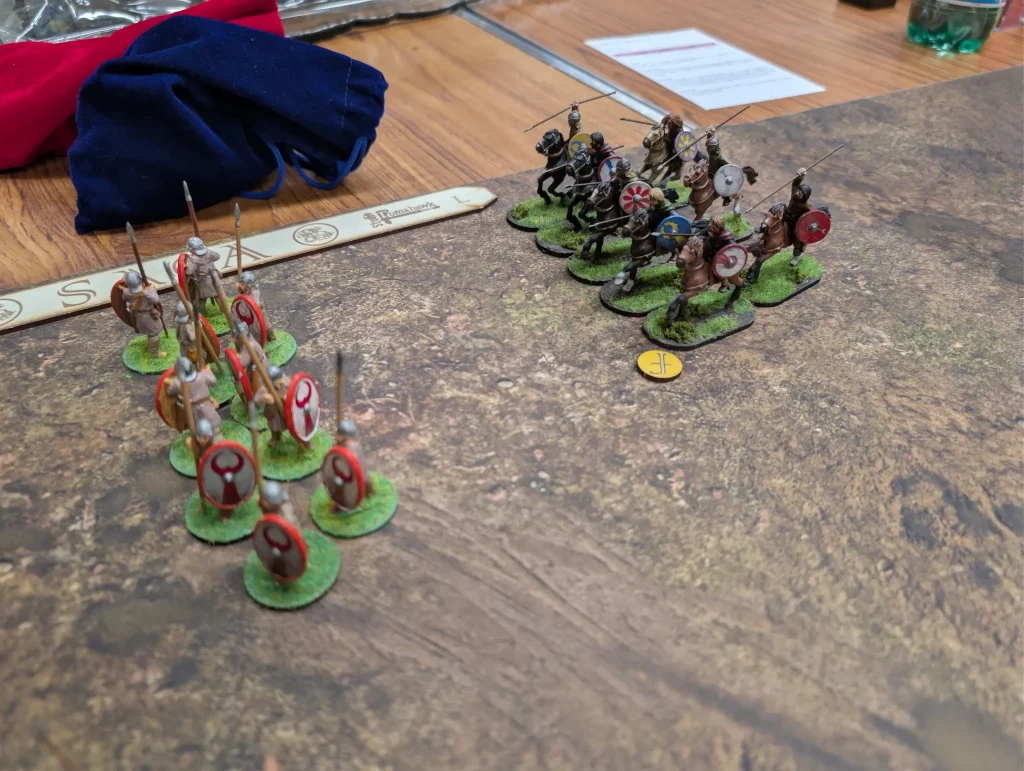
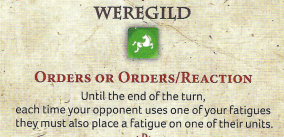
Then their Hearthguard charged directly into my Hearthguard. It would be 16 attack dice for both of us, but I decided to close ranks, cutting my attack dice down to 8.
I played Limes, the Goths played First Blood getting 3 extra attack dice and Attack to gain a fatigue and 2 automatic hits. There were a few moments in this battle, where I rolled really well at crucial moments. This was one of them. I got 4 hits, and 2 kills. The Goths got 8 hits, but with me closing ranks (+1 to defence rolls) and Limes (another +1 to defence rolls), they got 0 kills.
So the Goth hearthguards fell back, with two of them dead. Attack had given them a fatigue, they took a fatigue from the melee, then took another fatigue due to Fœdus. They were exhausted.
Turn 3
The Romans used Signa to remove fatigue from a couple of units, and then Combined Formation once again against the Goth hearthguard. They defended with Gratia, and took no casualties.
Then it was Plumbatæ against the warriors again. 8 attack dice, and I got 4 hits and 0 kills due to them using Immunity. Which was what I actually wanted them to do, since for once I had a plan and seemed capable of executing it correctly. Even so, I turned out to be really lucky again.
The exhausted unit of Hearthguard was now a really tempting target, so my hearthguard charged in. It was 16 attack dice verses their 12. The first thing I did was use one of their fatigues to raise my armour. They then used Bloodprice to give themselves bonus attack and defence dice (based on the number of fatigues they had). Then I used their remaining fatigue to drop their armour by 2.
What we did forget, was that the Goths should have had -1 to their attack rolls due to being exhausted. This would have prevented them from hurting me (since they now needed to roll sixes). As it happens, this benefited me, because the Goths split their bonus dice between attack and defence. They probably would have put everything into defence if we’d remembered the -1.
They got 2 kills against me, but I got 10 hits and 6 kills, wiping out their unit. Their warlord and their archers each took a fatigue from being within short of a unit that had been wiped out.
I moved my Hearthguard back to the Roman lines, so they wouldn’t be quite so exposed.
But this was a major change to the battle in my favour. I had been expecting the Goths to use their cavalry to smash through my warriors and levees. Cavalry aren’t any more effective in melee in Saga than infantry are (unless your battle board gives you bonuses), but they are fast, and can press an attack before reinforcements can get in. With the Goth hearthguard wiped out, the Warlord was vulnerable, and they only had their mounted warriors on that flank now.
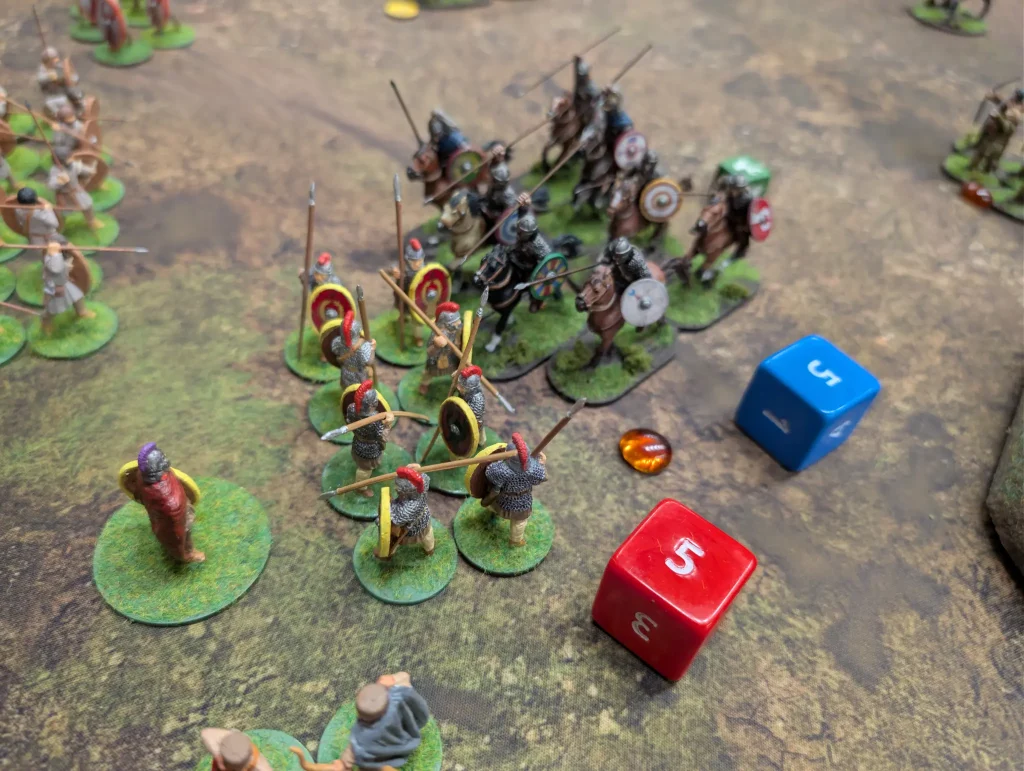
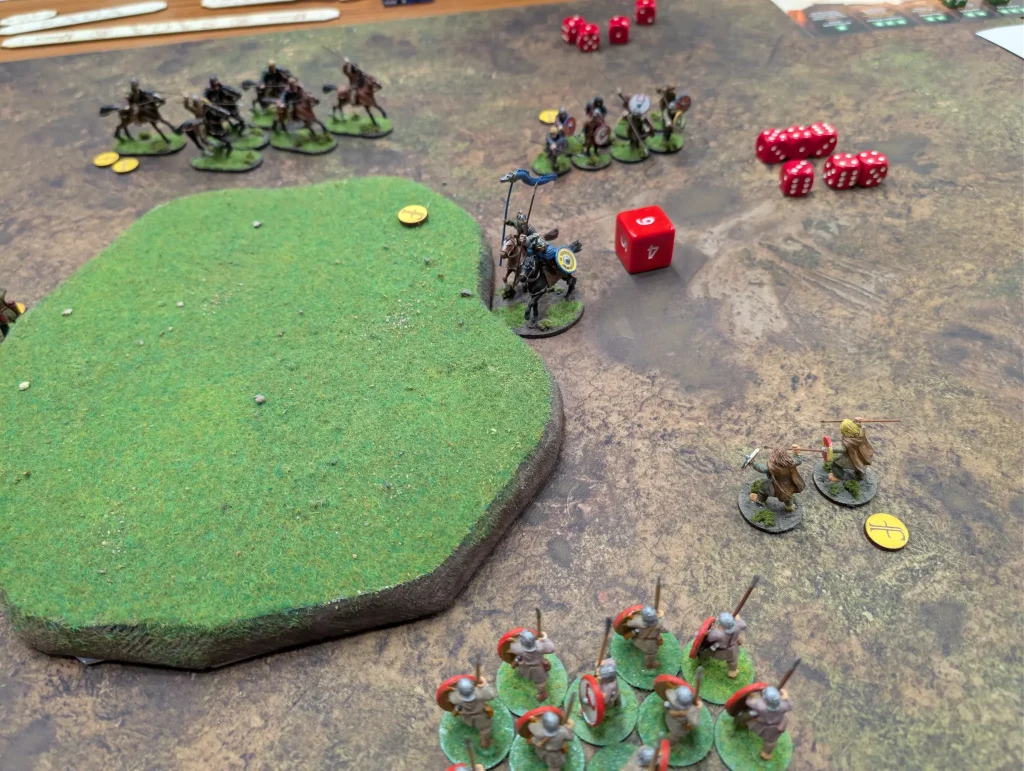
The Goths took a Fœdus again (this time on their Warlord and mounted warriors). They were down a saga die, but then I remembered they should have been getting an extra one from their Chosen One.
Their Warlord rested, then moved up onto the central hill, threatening my Foederati. Their warriors moved up, and were then we obeyed into my Foederti. I closed ranks, and we both failed to cause any casualties. This forced the Goth warriors back.
Turn 4
The Romans used Rallying Cry to boost their Impetus, and then my Foederati charged in against the warriors. Foederati get bonus attack dice for every two figures, giving them a total of 12. We got 7 kills, taking 3 ourselves. The second ability of the Foederati is that they then immediately make a second attack before anyone retreats. The Goth warriors were wiped out.
I moved my Foederati back, since I didn’t want to lose the entire unit. As long as one survived, I could re-purchase them in the next game for half cost, and at full strength.
I tried to use Combined Formation, but got zero kills.
At this point, things were looking really good for the Romans. I had killed 8 hearthguard, 10 warriors and a levee. This gave me a significant number of points, and the Goths so far had none. If I could prevent them from getting off the board – which seemed possible at this point – I would actually win enough points to win the entire campaign.
The Goths began to manoeuvre their mounted warriors back around to my weaker flank, where there was an opening off the table. Their warlord charged my Foederati, killing 3 of them. This was important, since their Warlord needed to get 6 massacre points himself in order to win his boast. This only gave them 1.5 points though.
Turn 5
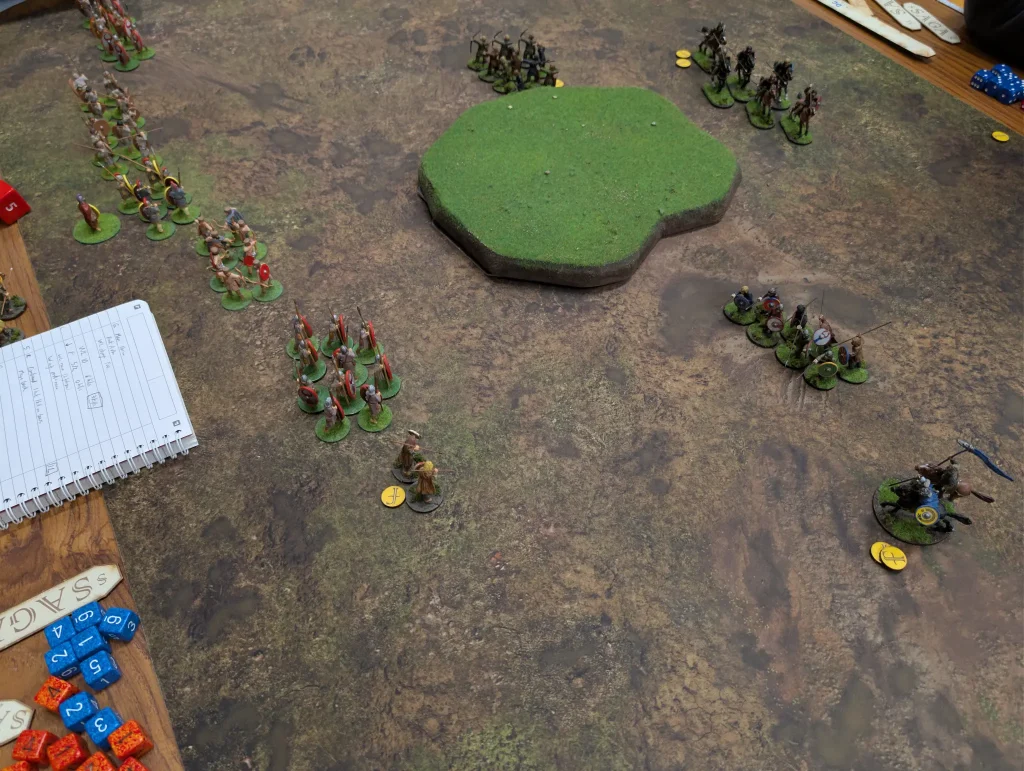
For the Romans, this was probably their last turn (on a roll of 5+, there would be a sixth turn). Combined Formation got me another kill against the Goth archers, but other than that I was moved back to try and ensure I didn’t take any more casualties.
The Goths tried hard to move their units through the gap in my Eastern flank, but I used their fatigue to slow them down. None of their units made it to the table edge.
And then, the game ended.
Aftermath
With the massacre points that the Romans had achieved, I was on track to get an Impact of 5. The Goths got no points from getting off the table, plus their warlord had failed his boast. This gave me an extra point of Impact.
After the previous game, the Barbarian resolve was down to 4, so this took them negative. The Barbarians had been defeated, and the Romans had won the campaign after only 3 turns.
Whether the campaign is meant to go like this, I don’t know. The Romans are a good defensive faction. The Goths look tough on paper, but they are also quite hard to play. Having a different person play them each turn meant that the players weren’t getting the experience with them, which was possibly a disadvantage. Maybe it would have been better to use a simpler Barbarian faction, such as Saxons.
Our first battle had been well balanced, with the Romans edging in a 1 point victory. However, this was against a player who I’ve normally lost against. In the dozens of games I’ve played against her, I’ve only won a few. So to win, even only slightly, was an impressive victory for me.
For the other two players, I hadn’t played much against, and I think we’ve been more balanced. When playing Goths v Romans though in this campaign, the Goths had lost badly in both cases.
So was this an unfair fight? It’s difficult to know. I was planning on playing the next battle against my original opponent to see whether she could get in a victory having now had experience with the Goths. Since the campaign was now over, this won’t happen. Previous games we’ve had with Romans and Goths have ended in a draw, so I think the factions are balanced. It’s quite a different style of game though playing in a campaign, with unequal objectives.
Apart from the overwhelming victory of the Romans, it was an interesting campaign. With only one player needing to track things, it made things a lot easier to arrange. For the Age of the Wolf campaign in Vikings, or Diádokhos in Alexander, it requires a group of players to all agree to be around for multiple battles, which is much harder to organise.
I did wonder how well it would work for the Barbarians not to spend any points in the first game. Just go for killing Romans. They’d lose, but if the Romans take enough casualties then they’ll be a lot weaker for subsequent games. If the Barbarians continue to take no or minimal preparations, the Romans are limited in building up their warband, making it easier for the Barbarians to get across the table and score points.
Whether that would work in practice I don’t know.
Currently though, I don’t have plans to try this again in the near future.