A Fight
In our Pendragon campaign, we are at Sarum, planning our attack on the Saxons. We hear further news that the Saxons have made their way up the Ebble River, and may be laying siege to Ebble on the edge of the Camelot Forest. Ebble is only about 10 miles from Sarum, which puts them within a day’s march of us.
They have also raised other villages, but Ebble is a fortification. They could come up the road, or they could come up the river. We have multiple maps, which don’t quite match up with each other (which is probably really authentic). There are rumours that that there are Saxon coming up the Avon, as well as the ones at Ebble, and also Saxons raiding Farnham.
Our final decision is to head to Ebble. Lord Salisbury says that he is obliged to send troops to Farnham to help the king, but we point out that he can do that – just going via Ebble first.
So Sir Robert will accompany us, but will need to head off at some point for Farnham. That will leave myself, Sir Madog, Sir Lupinus and Sir Tristram and his companions. We also have 12 archers and 4 men-at-arms with us.
As well as Sir Robert, there is also Lady Ellen who was the regent for the land for a long time, so she has a lot of knowledge.
So we head off. We pass Wilton, which is a walled city that still belongs to us. Though they haven’t seen any Saxons, they have taken in peasantry who have fled the raids.
We stay the night at Wilton, and then head to Ebble. There is no sign of a siege, but there is smoke coming from the castle. We send our scouts ahead and find that Ebble has not fallen though there has been an attempt to burn the gates down. It wasn’t as effective as was hoped, so the gates are still standing.
Most of the livestock and some peasants have been taken by the Saxons, who are thought to have headed back to Bishopstone, probably going back along to Bodenham.
There were several knights and quite a few warriors last seen driving peasants back to the Saxon camp.
The the four of us (including Tristram) and six mounted serjeants head off to harry the Saxons. They are on foot, so we should be able to catch them on horseback. If we can slow them down, then the archers should be able to catch up with us. We bring a couple of archers with us though, to act as scouts and runners, letting them ride our horses.
We encounter the saxons at a t-junction, where the road runs through some hills.
I am overcome with my hatred of saxons (+5 bonus to horsemanship), as the Saxons come into view. They spot us as we begin our charge, and begin trying to organise themselves into a battle line.
We get +5 to all our skills due to being mounted against foot soldiers, and they get -5.
Sir Lupinus rides in, and is knocked from his horse. I get a lucky strike against a Saxon warrior, wounding him and knocking him to the ground. Sir Madog strikes at his Heorthgeneat, giving a very solid strike and also knocking him down with a major wound.
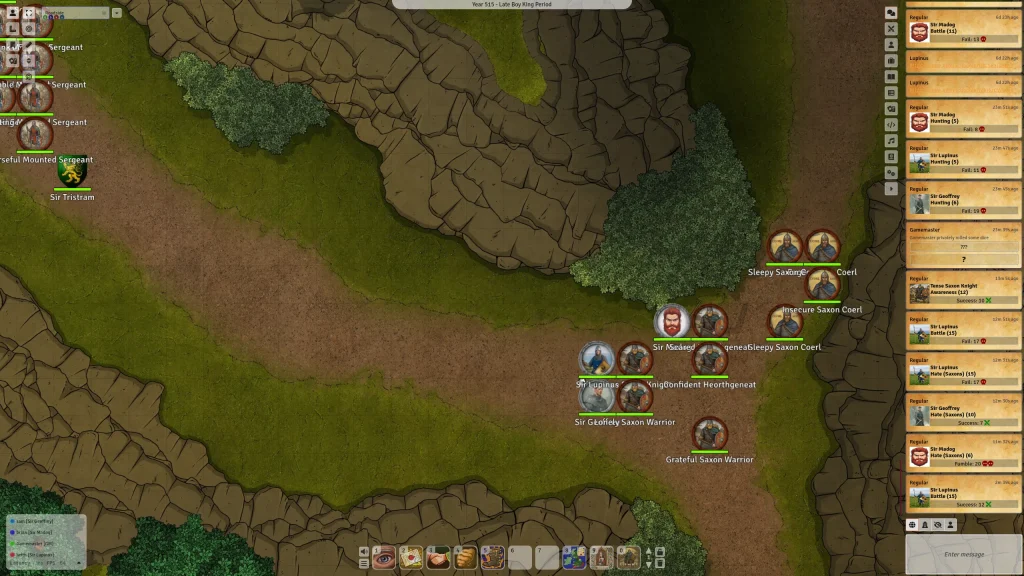
One of our serjeants rides in to try and help Sir Lupinus, but he also falls from his horse. Our other serjeants move around to the south to block the road.
Sir Madog tries taking on two of them, killing one but losing his sword against the second.
I strike at the one in front of me as he gets to his feet, killing him. Sir Lupinus gets to his feet, fighting off his attackers.
I urge my horse forward, threatening both Saxons fighting Sir Lupinus and Sir Madog. Lupinus, myself and one of our serjeants strike him from all directions, but he soaks most of it in his armour. However, he is wounded.
Sir Tristram slays the one he is fighting, with help from the other serjeants.
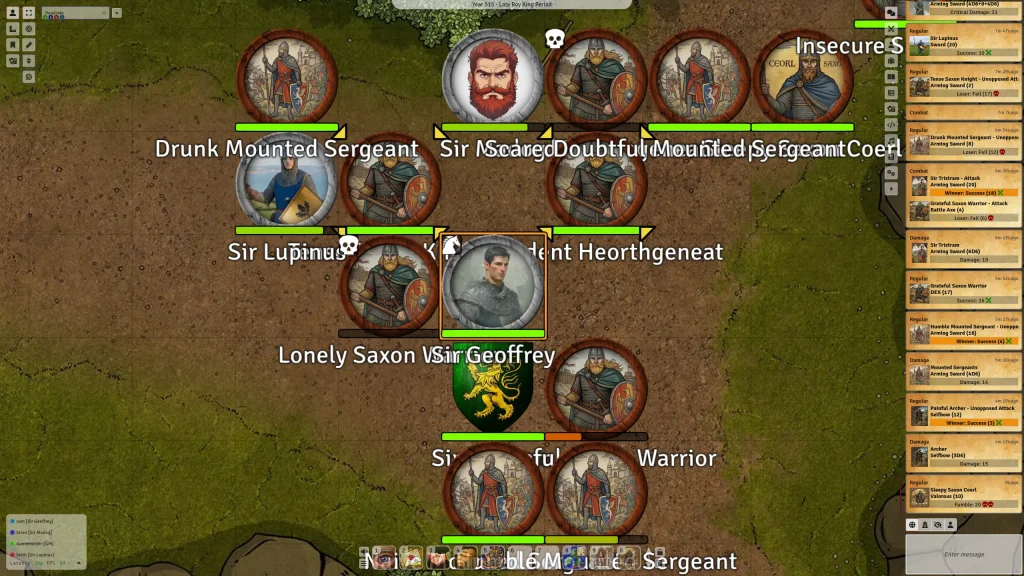
I strike at the second Heorthgeneat that was attacking Madog, and wound him.
With Sir Tristram now freed up, he and the other serjeants come in and start picking on the Saxons that myself, Madog and Lupinus are fighting, seriously outnumbering them.
The Saxon fighting Madog ignores the two of us behind him, getting a solid strike on Sir Madog, though Madog remains standing, There are four of us now fighting the Saxon in front of Sir Lupinus. This us all distracting him, Sir Lupinus takes him down.
Meanwhile, our line to the south is faltering, and the Saxon Hearthgeneats are driving back our Serjeants. So Myself, Sir Tristram and Sir Lupinus charge down that way to reinforce our men.
I cut the head off the one in front of me before he can do anything. I move around to encircle the knight, whilst three others also gang up on him. I wound him, the Sir Lupinus runs him through and Sir Tristram beheads him. There is one Saxon remaining on the line, but not for long.
We are able to chase the peasant prisoners, eventually slaying the Saxons guarding them. Eventually Madog and his serjeants are able to kill the Hearthgeneat they were fighting, but it takes a while.
The peasants are very happy to be rescued, and there is much stuff to be looted. Fortunately the two combine nicely, giving us some pack people to help us take the stuff back.
I get £6 worth of cymric jewellery. Others also find jewellery, and we discuss distributing it to the peasants who have had their homes destroyed. But it is mentioned that the jewellery possibly belongs to the Lady of Chalke, who has been taken by the Saxons.
The peasants also tell us that they were going to be sold overseas to the Saracens.
This was a very combat heavy session, with some very extreme die rolling. I got lots of 20s, whilst Sir Lupinus kept on failing or fumbling his rolls. For what is quite a simple system, it actually took a long time to get through the combat. I’m not quite sure why that was. There are no special abilities or game mechanical tactics that need to be handled. Pendragon combat just seems to go slowly. It may be because people in armour are quite durable, so it takes several rounds for a combat between two people to resolve.