Battle of the Humber
In our Pendragon campaign, we recently fought some battles at the Humber River. As Knights of the Round Table, fighting against the Saxons. It seemed like a good idea to try and recreate one of those battles in Saga: Age of Invasions. Britons versus Saxons.
In Pendragon, we had captured the Saxon standard, and killed the local Saxon warlord. So for this Saga scenario, I came up with something similar. The Britons had to kill the Saxon banner bearer, and also the Saxon warlord.
If they did both of these things, then they would get a major victory. If they did one, they would get a minor victory. Otherwise the Saxons would win.
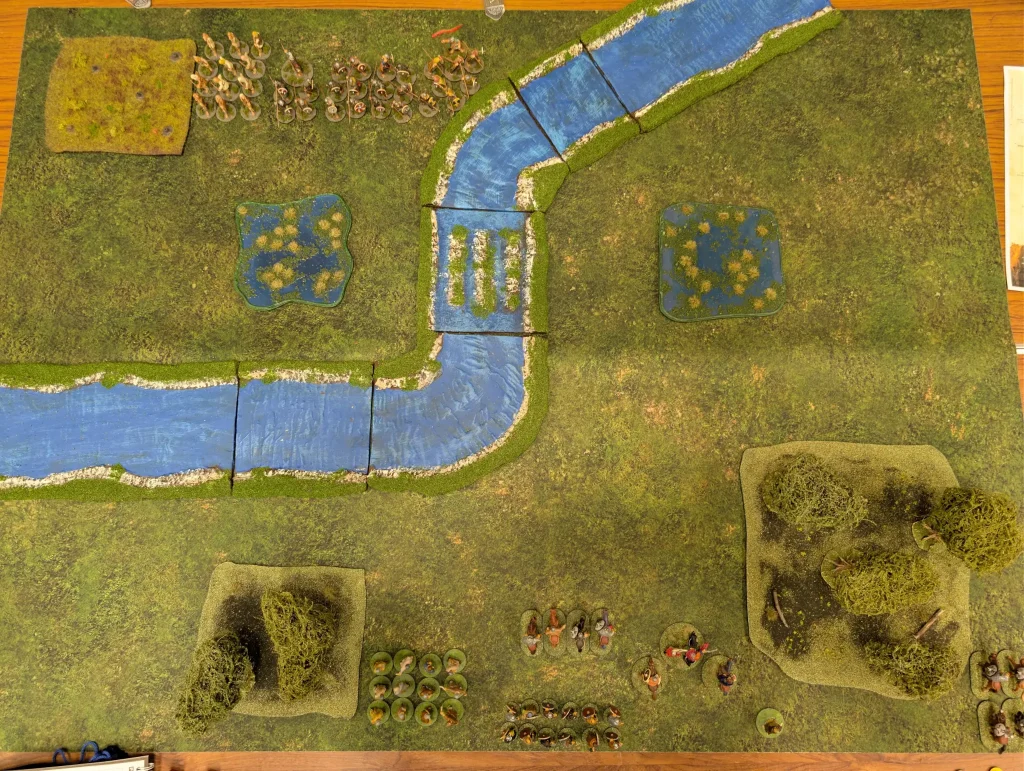
About a quarter of the table was cut off behind a river, and the Saxons started in that quarter. The river was dangerous terrain, apart from the ford, which was uneven. For the Saxons to win, their Warlord and banner bearer (their warrior unit with a warbanner) had to be over the other side of the river. So the Britons could win if the Saxons just stayed in their corner.
Obviously, the actual Humber is an estuary and is a lot wider than what’s on the table, but this is a game.
The first two turns were misty, where ranges and movement were limited to M. At the start of turn 3, the mist would lift on a roll of 4+. By turn 4 it would automatically lift. At the end of turn 5 we would continue to a sixth turn on a roll of 4+. This gave a bit of unpredictability to the game.
Both of us deployed within M of our table edge, and the Saxons went first with their full dice. The terrain – rough ground, two marshes and two woods – was pre-planned to try and match the sort of terrain we’d been in during our Pendragon game.
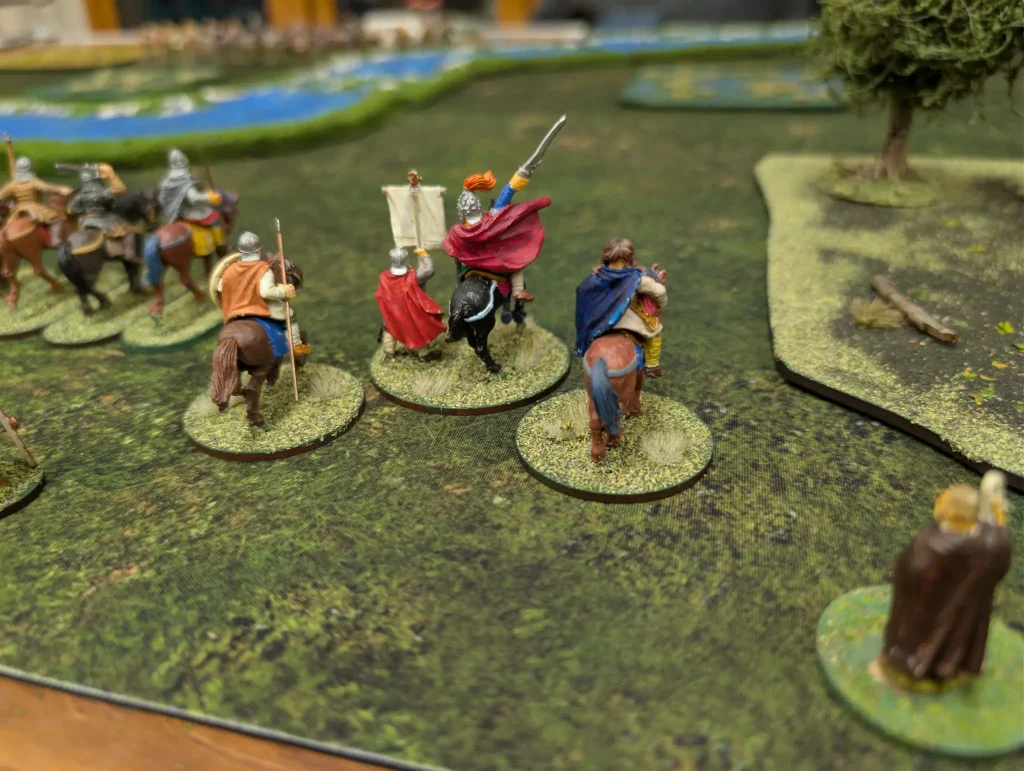
The Britons had their Warlord and his companions mounted, plus they took a Seer to represent Merlin who had been present in our battles. Whilst we’d been unmounted in Pendragon, my Briton warband is mostly mounted, so that’s what we went with.
The Saxons had two units of six hearthguard, plus a unit of four hearthguard. They also had a unit of levee archers and a unit of warriors with a war banner.
This was also our first time using the new 2026 versions of the Age of Invasions battle boards.
Turn 1
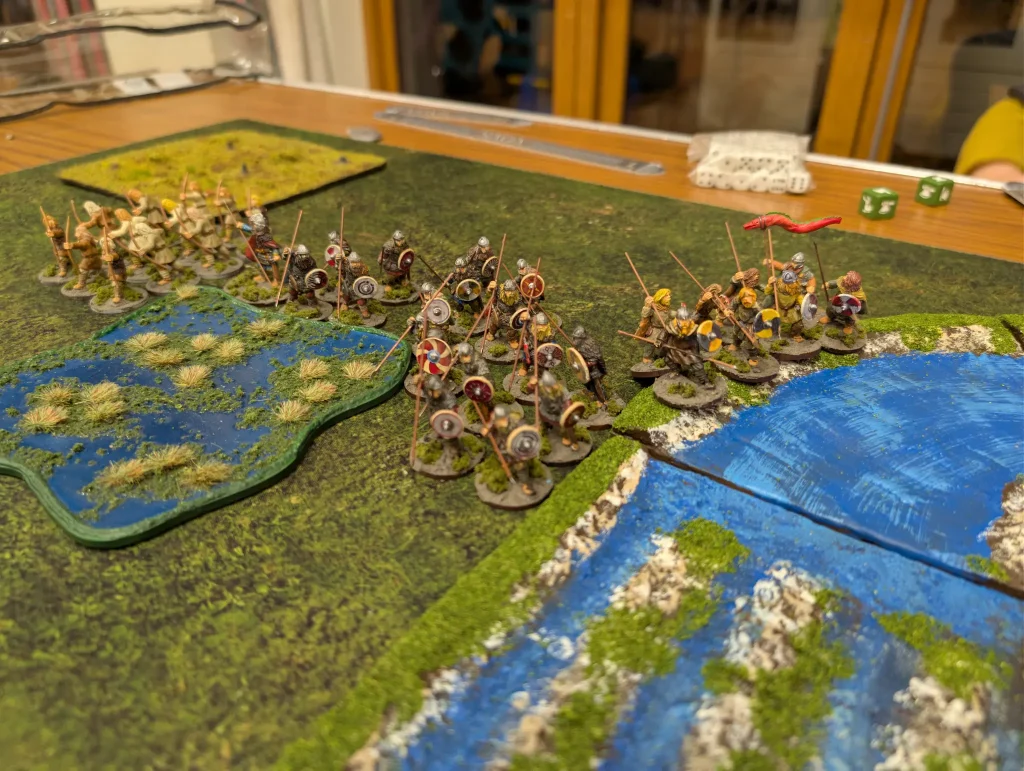
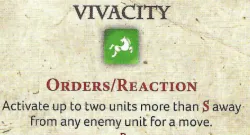
The Saxons manoeuvred up towards the river, but didn’t do much else during their turn. Instead they used the opportunity to put Saga dice on advanced saga abilities.
The Britons turn started with the Saxons playing Vivacity to move during the Orders/Reaction phase to start crossing the ford with their hearthguards.
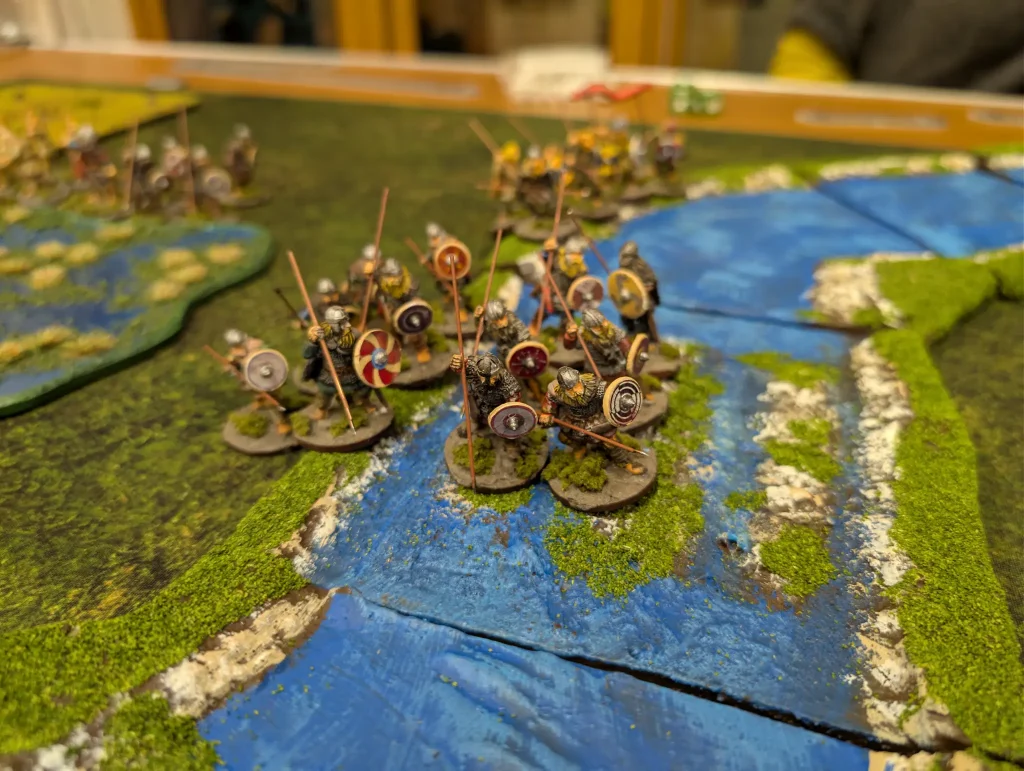
The Britons moved their slingers up to the river edge, with an intent to use them to harass the ford once the mist cleared. Ideally, I wanted to get them into the river so that they could attack the Saxons whilst still under the mist.
I had a unit of mounted hearthguard move up the table edge to try and get some flanking in, though with them limited to a move of M, they moved slowly. The rest of my army moved up around the Warlord, trying to keep everyone Galvanized. This meant sticking close to the Warlord and his Companions (they formed a single heroic unit) in order to get some bonuses.
Turn 2
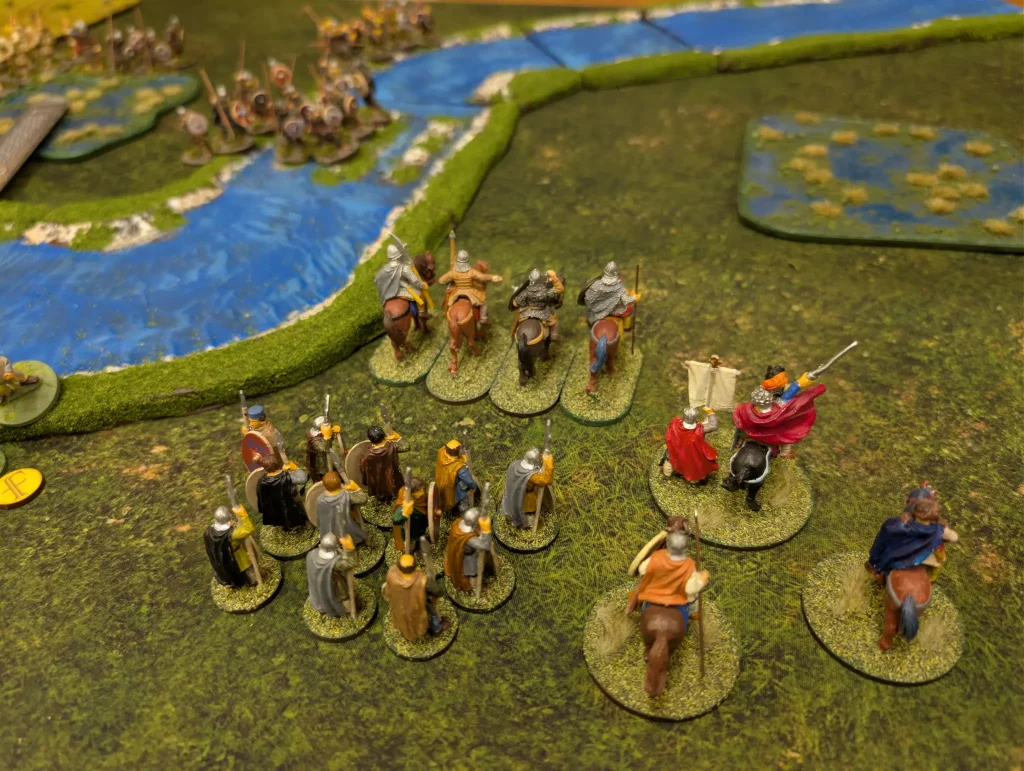
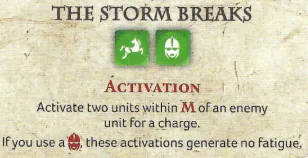
The mist continued to hamper vision, so the Britons used Forced March to move their main units a bit further forward (Short) at the beginning of the Saxons’ turn. The Saxon hearthguards finished crossing the ford, and then they played The Storm Breaks to charge my hearthguard. Which was pretty much what I was expecting.
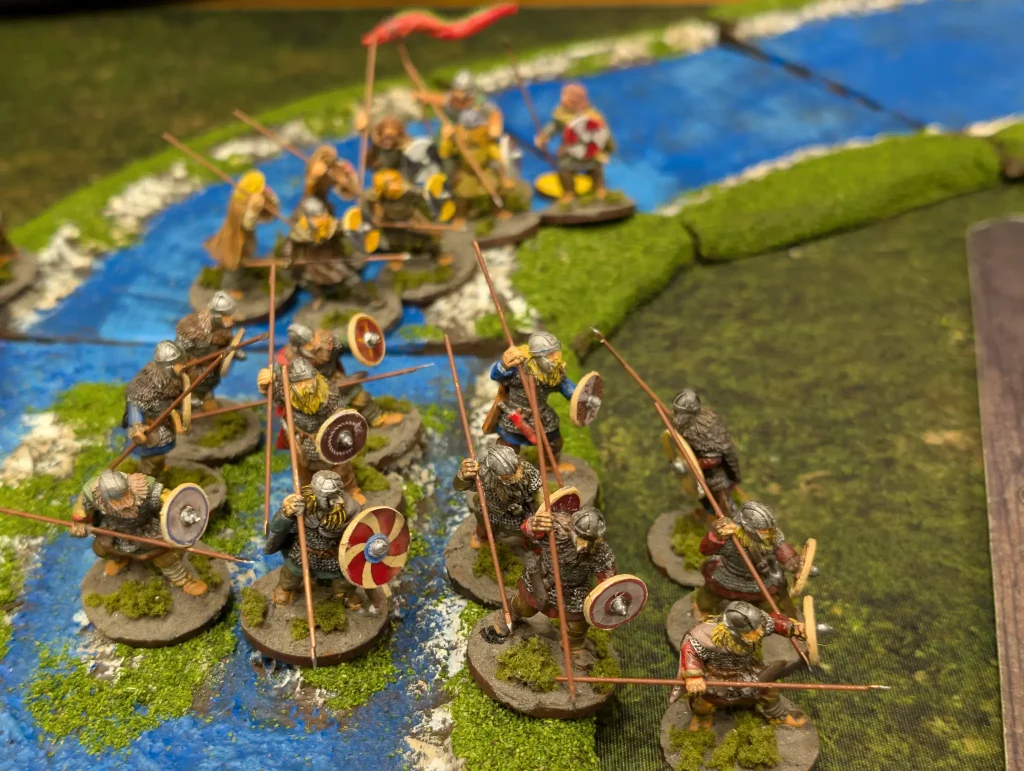
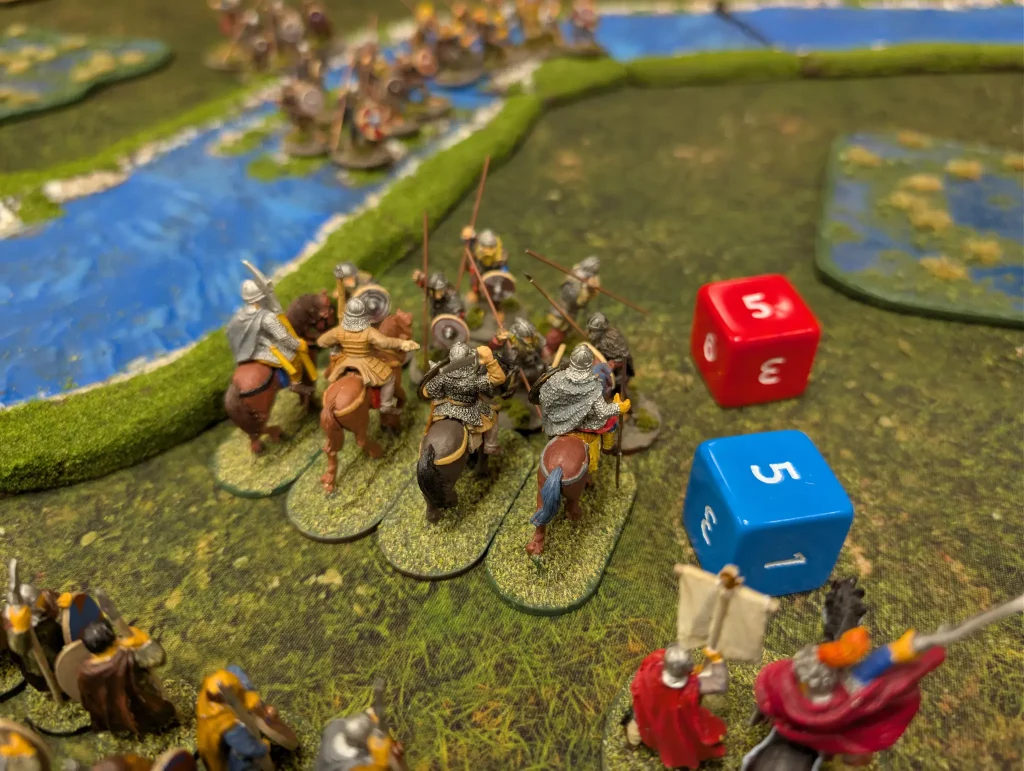
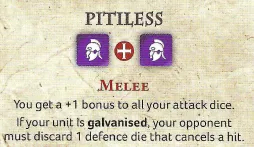
The hearthguard unit consisted of six figures, against my unit of only four mounted hearthguards. However, I played Pitiless, which not only gave me a +1 to my attack rolls, but also meant that because I was close to the Warlord, the Saxons would have to discard one of their defence dice which cancelled a hit.
I only got four hits, but all of them were kills. The Saxons got five hits, but only killed two of my figures. So the Saxons fell back.
The Britons used their Seer to change one of their Saga dice to something more favourable, and then the Saxons used Vivacity again to bring up their archers.
I rested by slingers, and that was the last thing I did with them for the game. From that point on, I never had a spare die to activate them with. Their use from that point on was to soak up attacks from the Saxon archers, and give me a saga die.
My main plan in this turn was to finish wiping out the Saxon hearthguard unit. I charged in my two horsemen using Britannia!, also using Pitiless and Tenacious. I had five attack dice in total, with +1 on each, against four attack dice for the Saxons. I wiped them out and took no casualties. This also gave fatigue to the two Saxon units behind them.
Turn 3
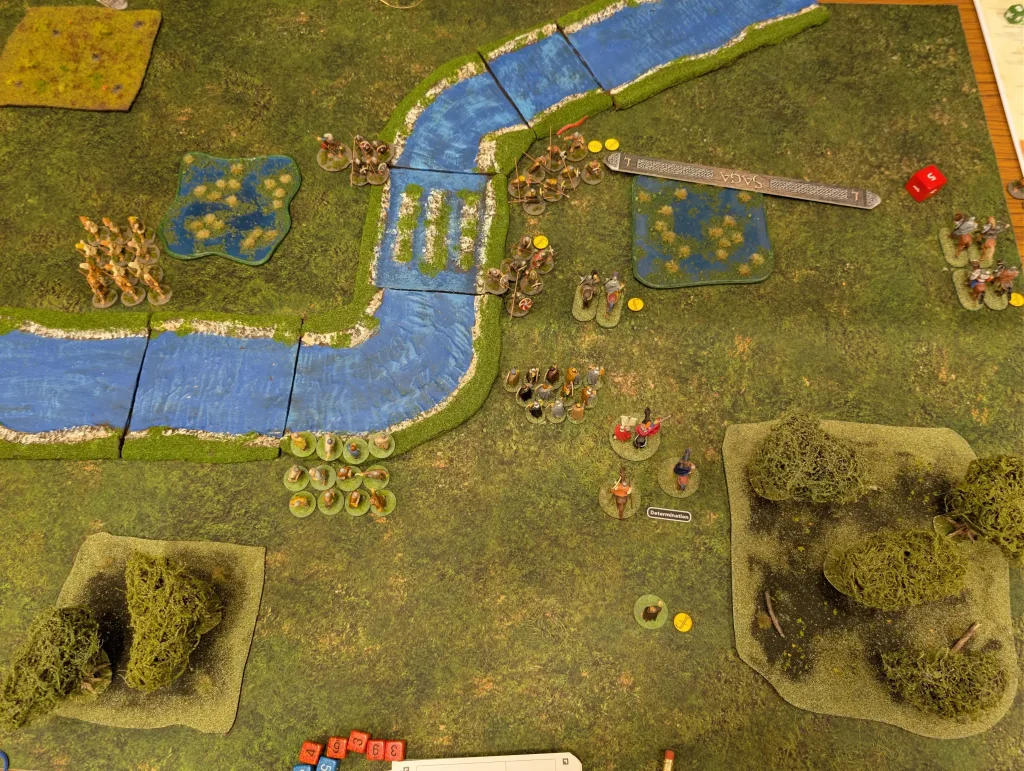
The mist lifted at the start of this turn. The Saxons again played The Storm Breaks. I was expecting them to go for my mounted unit, but their hearthguard went for my warriors. My warrior unit had twelve figures, so 12 attack dice. The Saxons had, once they’d added in all their bonuses, 23 attack dice.
Eight of my warriors fell, and the unit was forced backwards. However, it was still a valid unit. The Saxons lost three casualties.
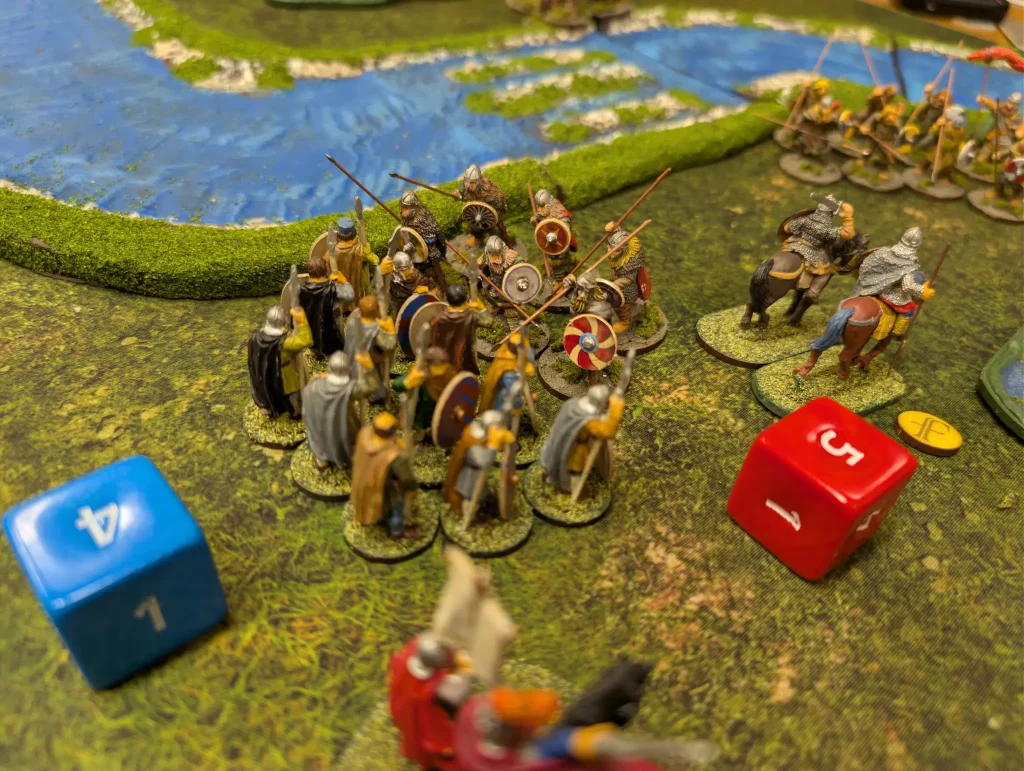
The Saxon warriors then charged by mounted hearthguards, wiping them out and taking two casualties themselves.
It was turning out to be a bloody morning at the ford.
It was then the turn of the Britons. We used Dux Bellorum (which gave my heroic unit a resilience of 3), and then moved the warriors back out the way, and then my warlord and his two companions charged at the Saxon hearthguards. We had 12 attack dice, plus re-rolled any 1s or 2s and had +1 to their rolls.
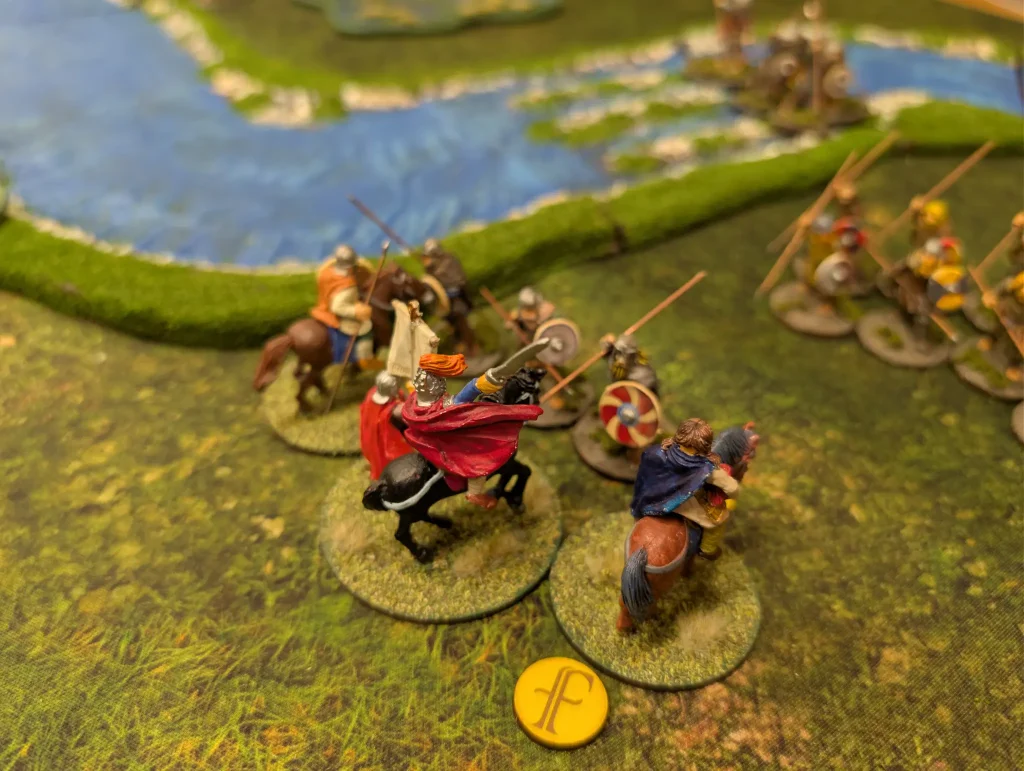
We wiped out the Saxon unit, but took three casualties ourselves. Dux Bellorum though meant we could cancel all three casualties with a single fatigue.
I was feeling that things were in a pretty good position for the Britons at this point.
Both sides were being pretty aggressive, with both of us trying to finish off whole units. However, the Britons were doing slightly better at this, having now wiped out two six figure hearthguard units. From this point on neither my warriors nor levies would do anything.
Turn 4
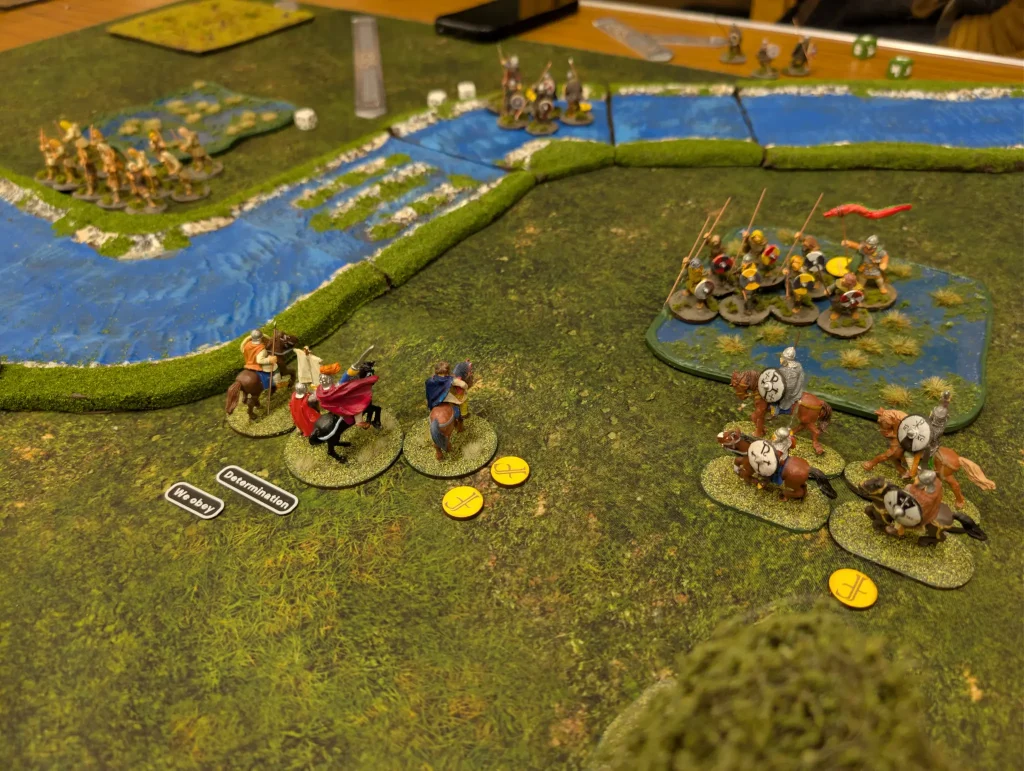
The Saxons moved their warriors with the standard into the marsh, where it would be difficult for my newly arrived second unit of hearthguard to attack them.
Their warlord also fled down the stream, making it hard to chase them. Further, the archers came up close enough to threaten the Briton warlord when they used Vivacity during the Briton’s Orders/Reaction phase.
So the Britons rested their Warlord and hearthguards, then moved their warlord out of range up to behind the hearthguard. From there, they could get them galvanized, and Britannia! could be used to charged into the marsh.
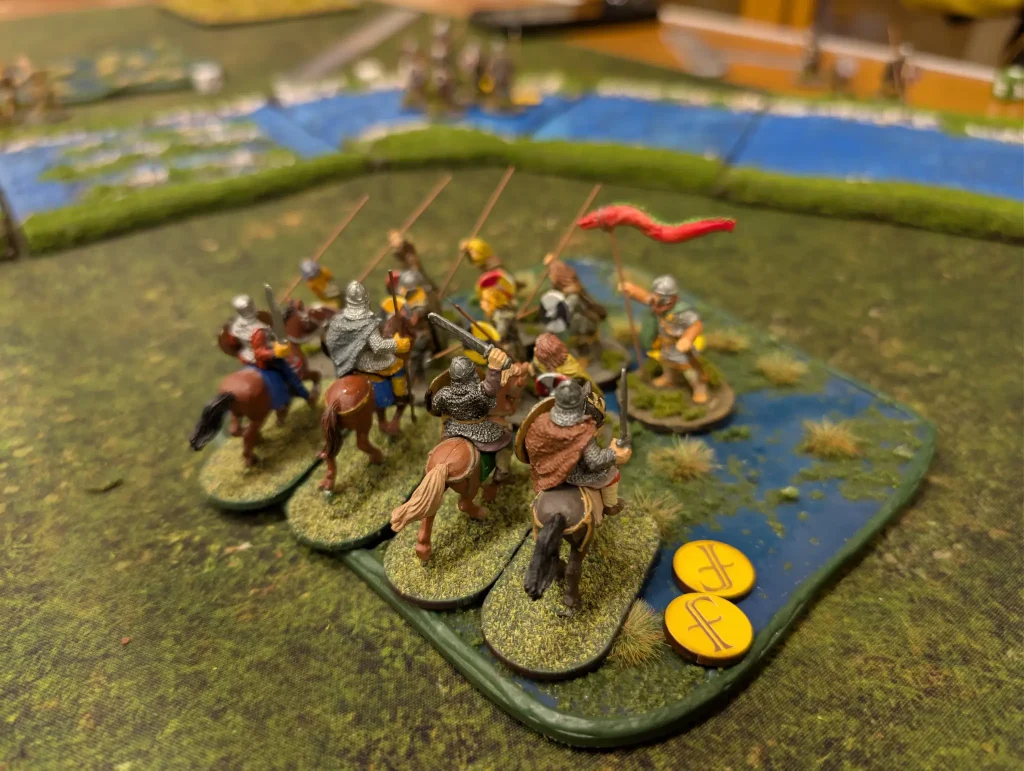
Again, Pitiless was used, and also Wall of Steel to give some defence. Finishing our charge in the marsh meant that the horseman gained two fatigue, which the Saxons used to raise their own armour. We killed five of the Saxons, driving them out of the marsh, and took no casualties ourselves. But we were now stuck in a marsh.
The Saxon warrior unit was now down to three men – one of whom carried the war banner.
Turn 5
At this point, the Saxons were down to three saga dice, but the Britons hadn’t achieved either of their objectives. The Saxon warriors fell back out of charge range of the Britons, and their Warlord fled down river.
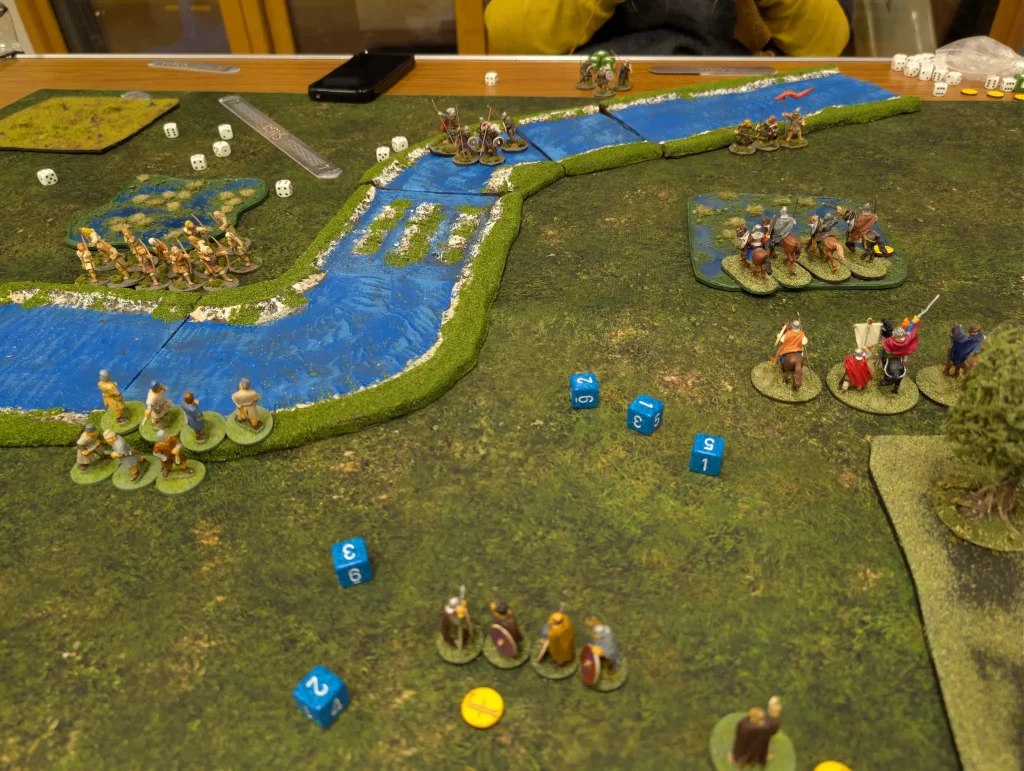
The Saxon archers shot at my slingers, killing four of them.
A this point, if there was no turn five, then the Saxon Warlord would count as a victory point for the Britons since he was no longer across the river.
The Briton plan was to use my Warlord to go around the marsh, and charge the standard bearer. They could do that with a move and a charge. However, the Saxons used Vivacity to move their warriors into the river. This was a risky action. Now neither of their units which counted for victory were on the right side of the river. If the game ended here, it would be a major victory for the Britons.
The Briton warlord played Dux Bellorum and moved up to where the warriors had been anyway, so as to at least threaten the standard bearer.
It was then possibly the end of the game, unless a 4+ was rolled on a die…
Turn 6
We went into an extra turn, and the Saxons now had a chance. The Saxon hearthguards came out of the river, and charged the Briton warlord. It wouldn’t give them any victory points, but it would give them a moral victory if they managed to kill him.
They had a whole 15 attack dice, and the warlord had 16 with re-rolls of 1s and 2s. However, the Britons only got 8 hits and 2 kills, whilst the Saxons managed 9 hits and 5 kills. Fortunately, with Dux Bellorum still playing I was able to resist it with fatigue, leaving the warlord and his companions exhausted.
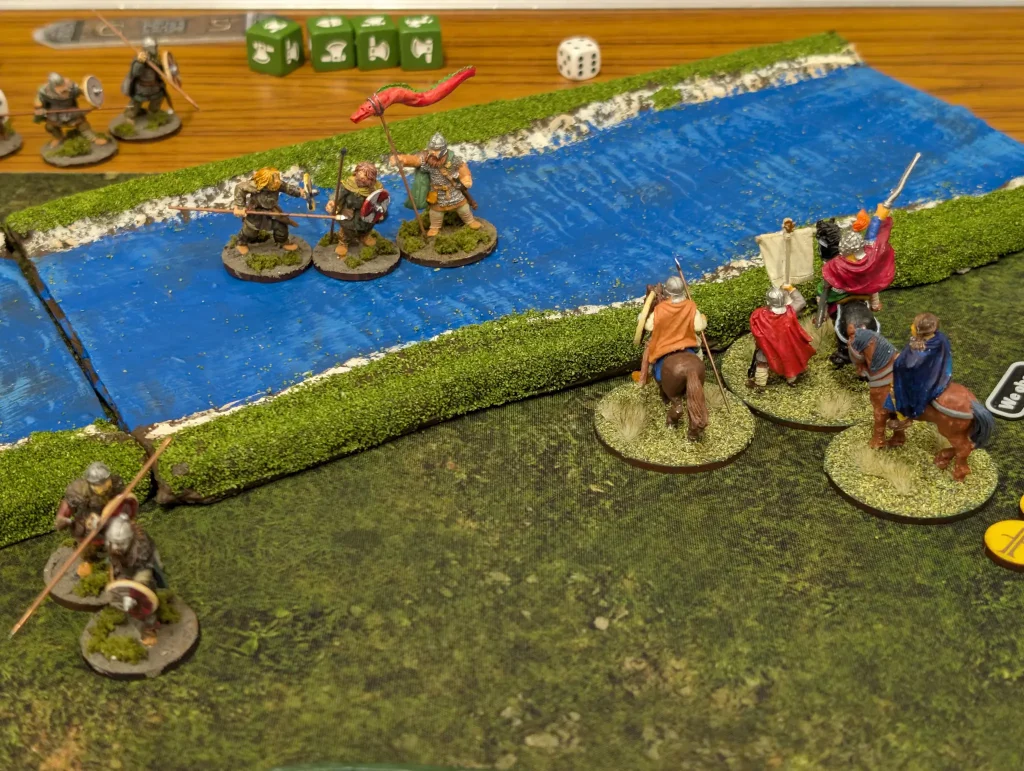
It was now over to the Britons. At this point though, there wasn’t really anything that the Britons could do to change things. They could attack the standard bearer, but he was already in the river and therefore counted as a victory for the Britons.
Getting to the Saxon warlord might be possible for the hearthguard in the marsh, but they’d probably have lots of fatigue doing so, and not much in the way of bonuses.
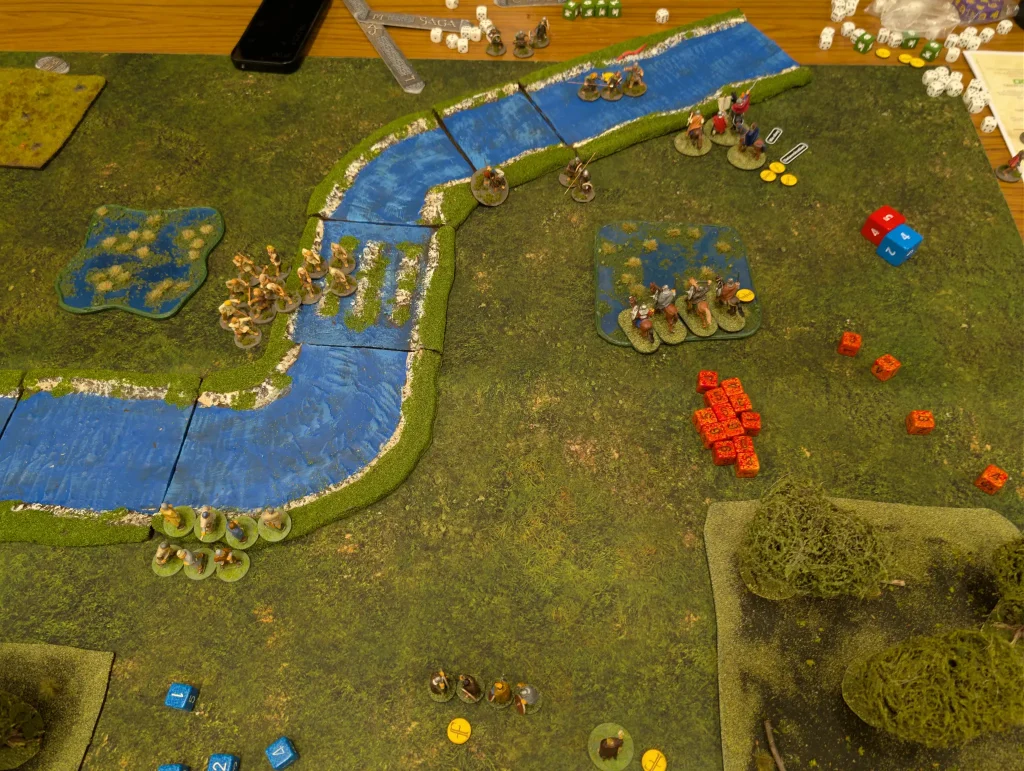
So we decided to call it at that point, with a minor victory going to the Britons.
It had been a fun game, and reasonably close. Not a huge amount of thought had been given to the victory conditions, but they had made for a fun game. Since the two target Saxon units counted as defeated if they weren’t across the river, then it encouraged them to come forward rather than cower at the back.
Possibly we could have added in massacre or survival points, but that would have complicated things.
For a recreation of our RPG session, it worked quite well. As a Saga scenario, it also seemed to work. The Saxons had been played quite aggressively, in order to stay in keeping with how the RPG battle had gone. It may have been possible to do a lot more running around to get the two Saxon target units across the river, avoiding engagement with the Britons. But that didn’t happen.
So a good game, and quite a quick one as well.