Feasting and Pillaging
Having just (mostly) finished painting a Strathclyde army for Saga: Age of Vikings, it was time to get them out onto the battlefield. I had the starter set from Gripping Beast, so a warlord, two units of mounted Hearthguard and two units of mounted warriors. To fill them out, I used two units of javelin levee from my Irish warband. In first edition of Saga, Strathclyde had their own battleboard. In this edition, they were a variation on the Welsh army.
They were up against the Anglo-Danes. After the Danes had done so badly last week under my leadership, it would be interesting to see how well they fought with someone else leading them.
We went for the Feasting and Pillaging scenario from the Book of Battles. This would actually be bad for my Welsh. There were three objectives along the centre line of the table, and we had to grab them and take them back to our table edge. Getting to the objectives would be quick on horse, but carrying an objective counts as uneven terrain, so I’d then be moving Short, and also taking fatigue each time I moved.
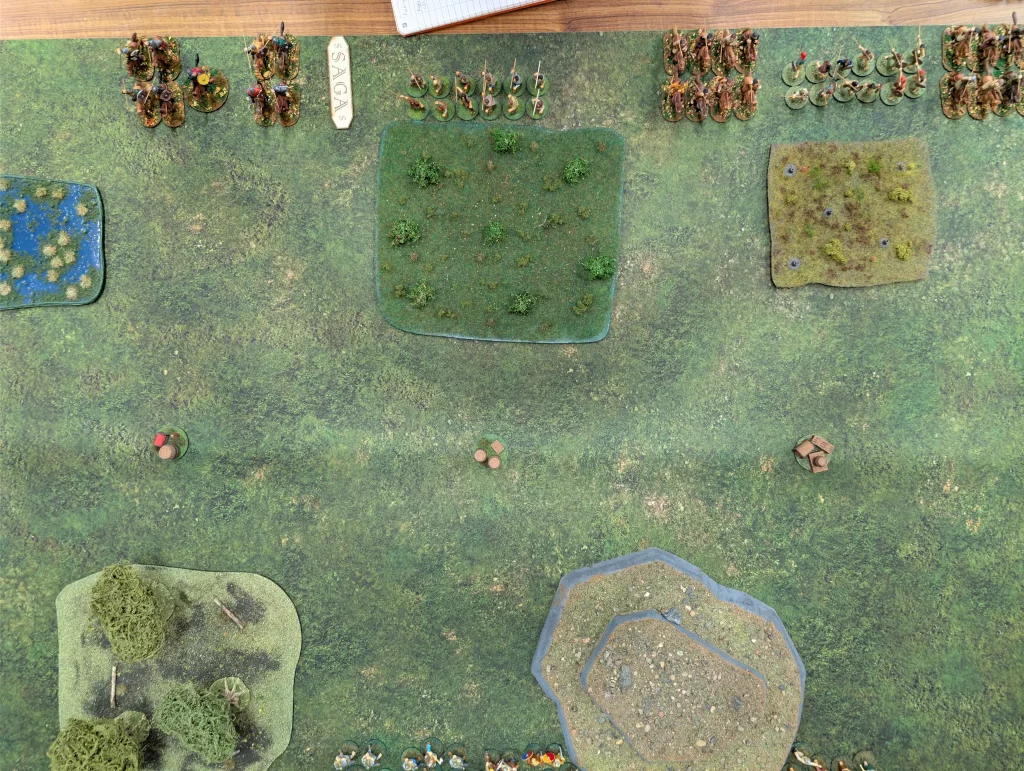
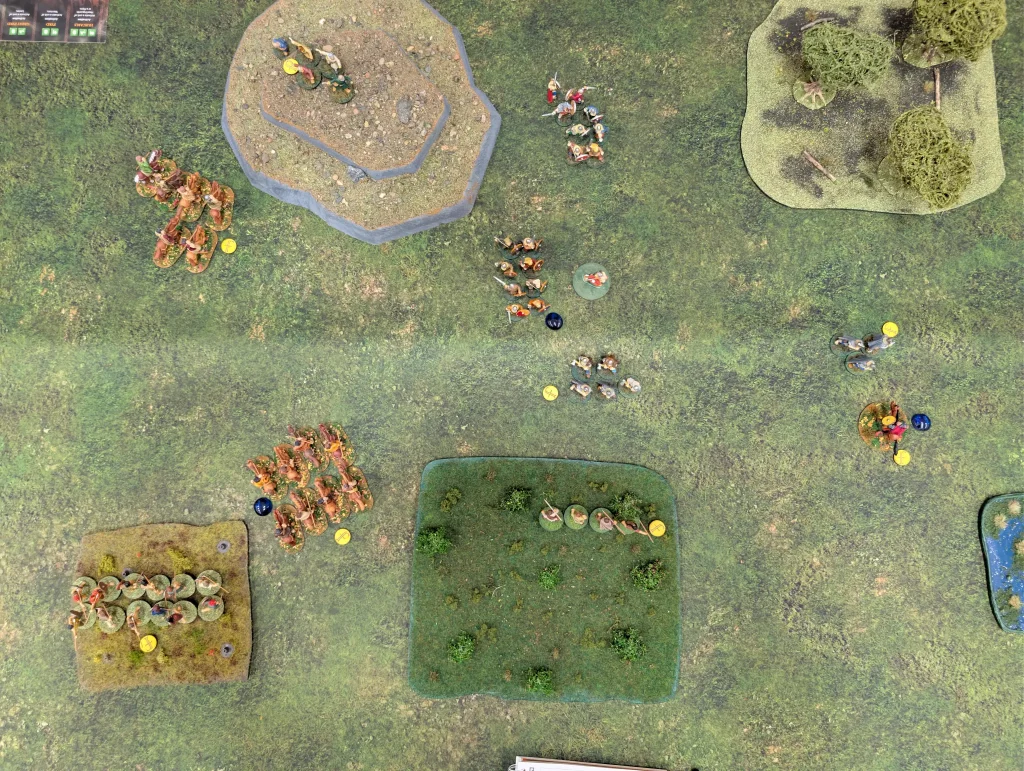
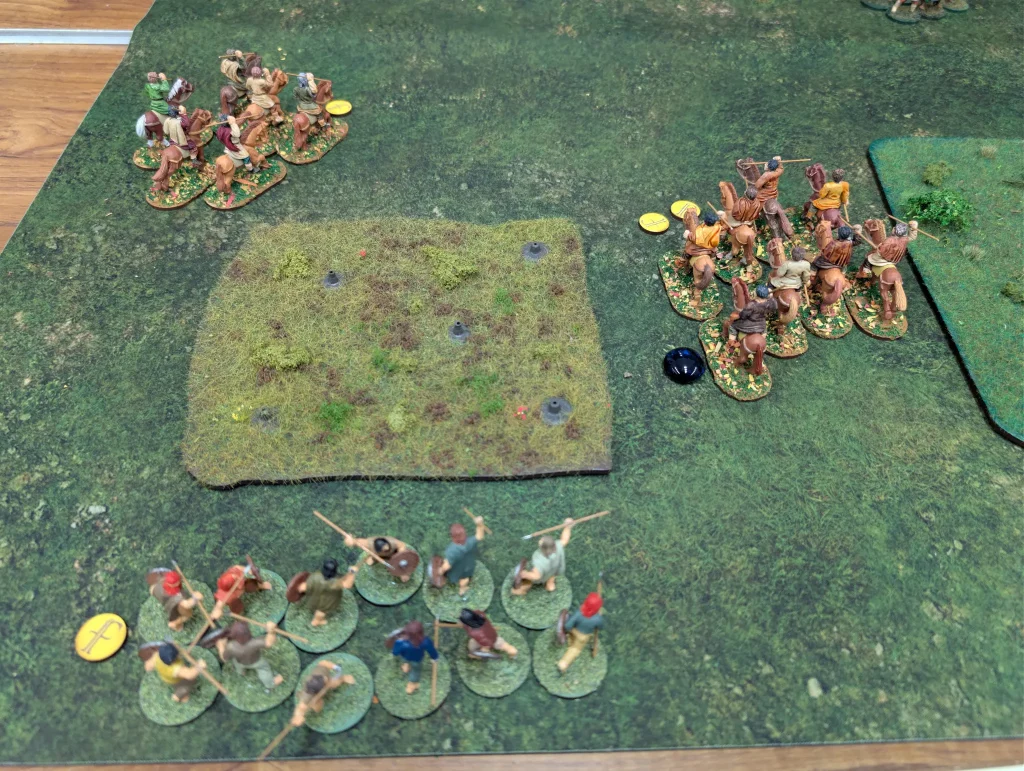
The table got setup with quite a bit of terrain, and both the Anglo-Danes and the Welsh lined up ready to do battle.
Turn 1
The Anglo-Danes went first with three saga dice. They didn’t do much other than move forward. They didn’t quite grab the first objective with a unit of six hearthguard, but were close to it, taking control of the middle of the table.

The Welsh started, and the Danes used their Intimidation Orders/Reaction ability to give fatigue to the first of my units that activated. I played Children of the Land so that my infantry could move across uneven and dangerous terrain without slowing.
My levee are able to move up and chuck some javelins at the Danes trying to dominate the table centre , killing a hearthguard. One of my own hearthguard units moved up and grabbed the eastern most objective. Being mounted made it easy to grab, but getting it back was going to be slow.
Turn 2
The Anglo-Danes played Exhaustion, giving a unit of Levee, a Hearthguard and Warlord a level of fatigue. Then they used Shock to charge my levee. Using Crush the Weak, they got 11 hits and 8 kills. I tried using Evade to avoid the fight, but the Danes used my two levels of fatigue to cancel my movement. I got 2 hits in response, but no kills.
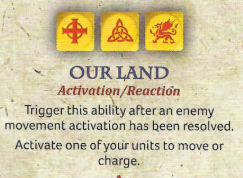
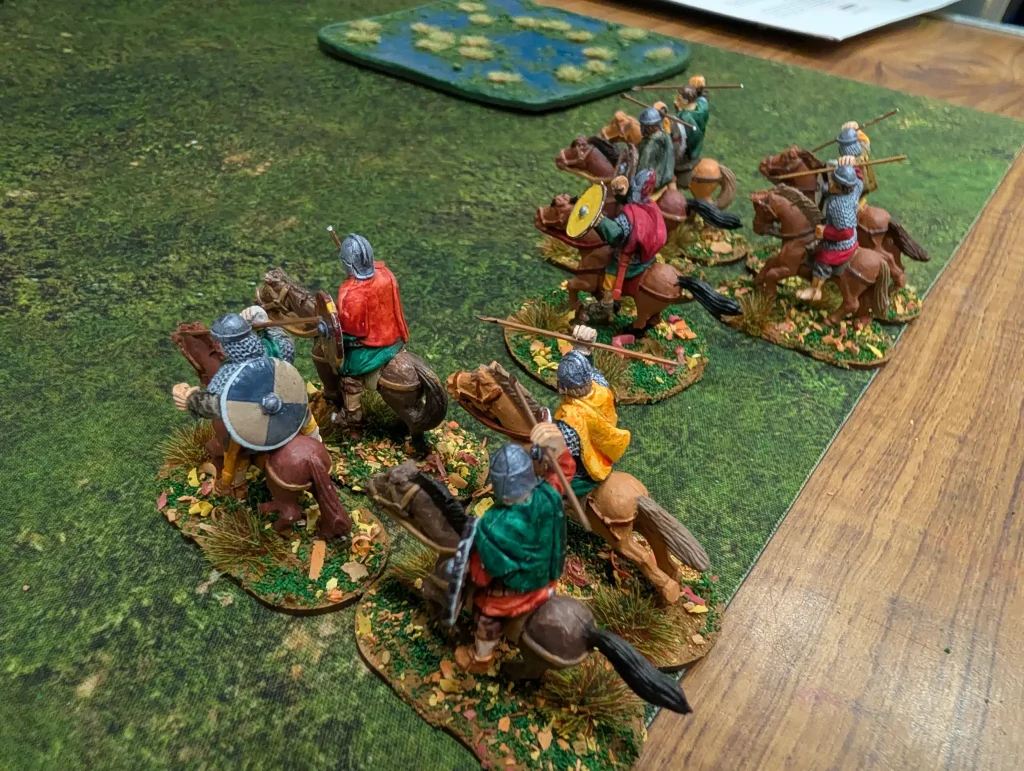
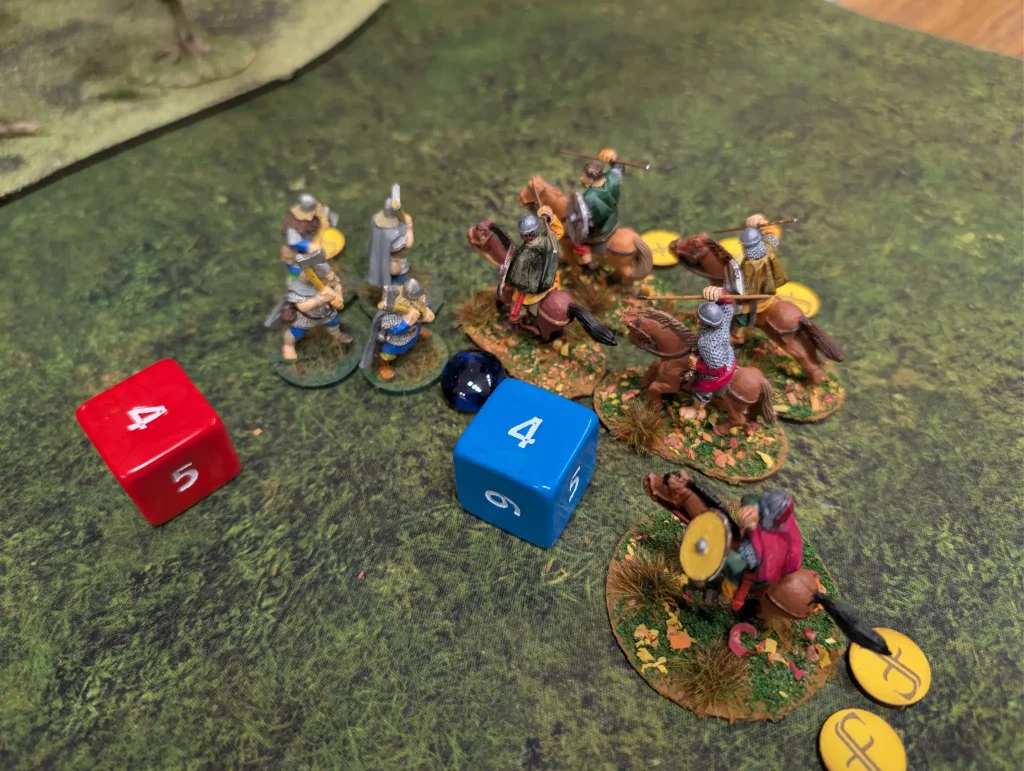
Another unit of Danish hearthguard moved up, threatening my Hearthguard unit with the objective. My Welsh, all equipped with javelins, are better in attack rather than on defense. I played Our Land as a reaction, and charged in my second unit of Hearthguard. It was my four Hearthguard against their six, but at least I had +1 to my attacks – but then again, so did they.

I got 2 kills, they got 7 kills, wiping out my unit. This gave fatigue to my hearthguard with the objective (exhausting them) and my Warlord.
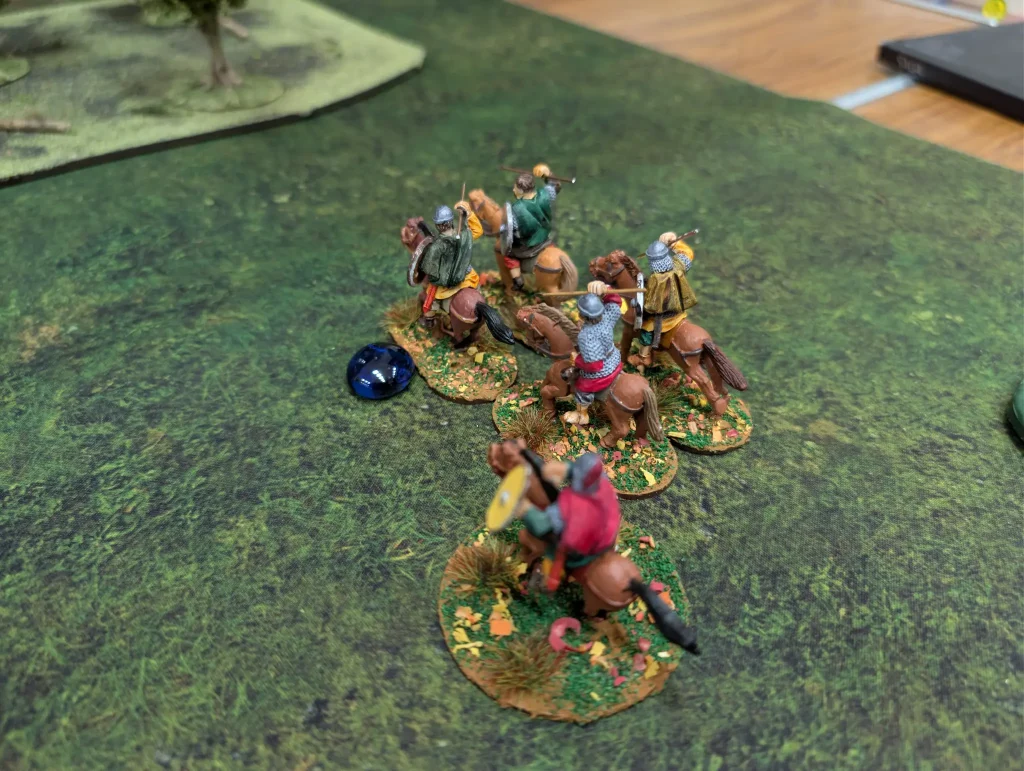
The Danish Hearthguard then charged my remaining Hearthguard. They used Determination, which gave them extra attack dice due to my fatigue. I was exhausted so had -1 to hit, then they used my fatigue to raise their armour to 6, so I couldn’t hurt them. My unit was wiped out. My warlord got another fatigue, and was now exhausted.
It was now the Welsh to act. The Anglo-Danes played Intimidation, meaning my first two units to act would gain fatigue. We had to call in a neutral third party to check the rules on this. Determination states you get Fatigue at the start of your activation. I activated my Warlord to rest. Since he already had three fatigue, he couldn’t gain another so the extra fatigue went nowhere. I then rested and lost a fatigue. We all ended up agreeing that this seemed to be the right way for things to work.
I then used The Horsemen to move all my mounted units. The first unit to activate also got a fatigue.
Then my Warlord moved, and the Danes used one of their fatigues to make the Warlord move short. Instead of running, he moved in and grabbed the objective. He followed this up with a free javelin shot at the Hearthguard, killing one.
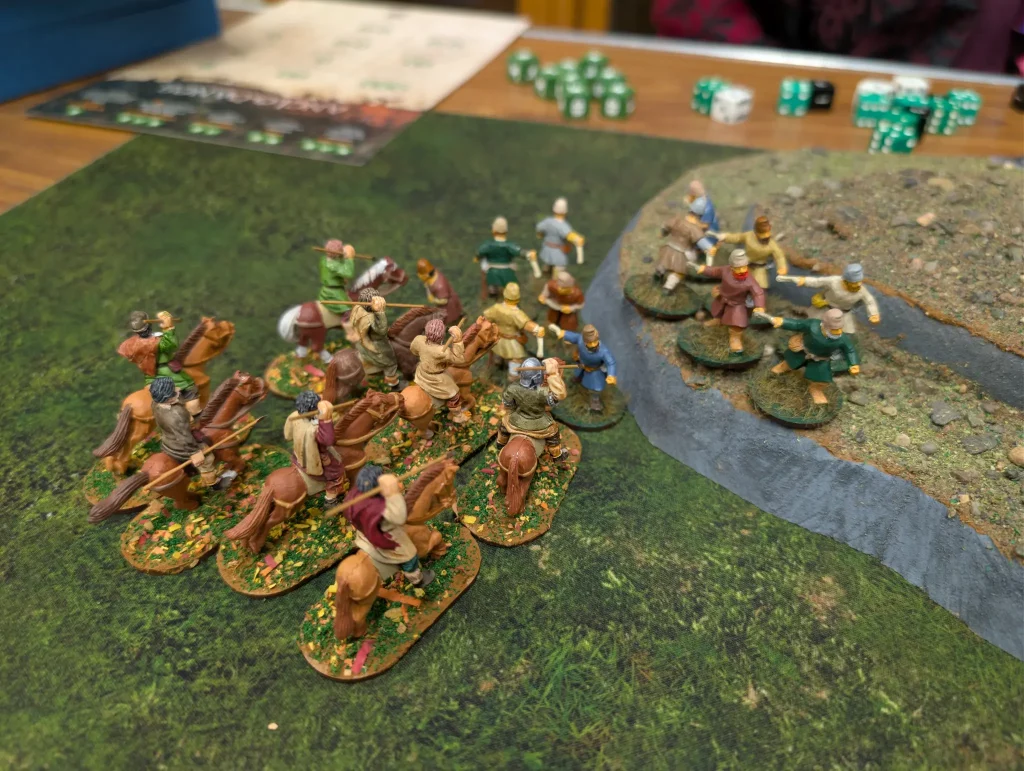
A unit of warriors used Wild Charge to charge the Danish levee on the hill, killing 7 and losing two themselves.
At the end of turn 2, things really weren’t looking good for the Welsh even though we had two of the objectives.
Turn 3
At the start of the Anglo-Danes turn, I used Our Land to move my Warlord, trying to get him away from the Danish Hearthguard. However, slowed by carrying the objective, it wasn’t far enough. The Hearthguard charged after him, killing him and grabbing the objective for themselves. One Dane died in the melee.
The Welsh played One Land One King to remove a fatigue from all units, the Danes played Intimidation to give the first unit to activate a fatigue.
One unit of Welsh warriors moved back with the objective, one threw javelins at the levee, killing another couple. At this point the Welsh were in retreat, trying to gain points with what they had left. Which wasn’t much.
Turn 4
The Anglo-Danes played Exhaustion, giving three of my units fatigue, and started trying to move their two objectives back to their table edge.
The Welsh had a similar idea, though they only had a single objective.
Turns 5 and 6
The final two turns went quickly, since we were both just trying to get ourselves home. The Anglo-Danes were dumping fatigue on the Welsh, who were trying their best to rest and move with the few saga dice that they had left.
It was obvious that victory was going to go to the Danes, but the question would be how much.
At the end of the game, the Welsh had a single objective marker returned home. They had suffered massive losses, and got a total of 19 points.
The Anglo-Danes also got one objective home, but also had a second in their possession. They still had a warlord, and most of their hearthguards, so their total score was 33 points.
It was a very decisive victory for the Anglo-Danes.
The Anglo-Danes did a lot better in this battle than they did against the Scots. In this scenario, the Welsh were very susceptible to fatigue. They had to move, which meant having to spend activations to move rather than rest, plus the cavalry was taking fatigue from simply moving an objective.
Since we had to fight over objectives, it forced both sides to get into melee, which meant more fatigues.
I didn’t get to use abilities such as Guerrilla, which allows all my units within range to shoot at an enemy unit during the enemies turn. My levee units weren’t really in position to provide support, and my cavalry weren’t taking good advantage of their speed. So all in all, it wasn’t a great first outing for the Welsh.
Part of the problem was using the Feasting and Pillaging scenario. Since I chose it, it’s all my fault.
The Anglo-Danes very effectively used their fatigue generating abilities, and remembered the +1 they get from having heavy weapons. With units of 6 hearthguard, they completely massacred my Welsh units.
It was a good game, and taught me a little bit about the Welsh. They have an interesting battle board, I just didn’t have the experience in this game to really make use of it. Maybe next time.