Goth Rampant
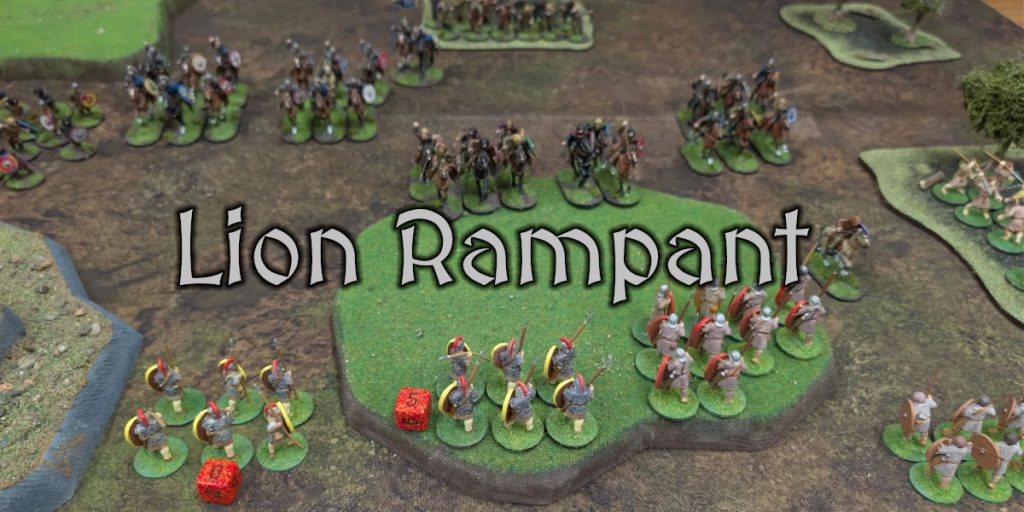
For our first game of the year, we decided to try Lion Rampant, with Goths and Romans for a similar scenario to what we’ve done recently in Saga. Since I have two quite large armies for these two factions, I ended up putting together two 52 points Lion Rampant armies.
24 points is the standard size of army for Lion Rampant, so these are quite large, and I was interested to see how well it played. As it turned out, it was still quite a fast game.
On the Roman side, we had:
- 1 Leader as Elite Infantry
- 2 units of Elite Infantry
- 2 units of Heavy Infantry
- 2 units of Light Infantry
- 2 units of Skirmishers
Many of the Roman units were equipped with javelins, and considered veterans.
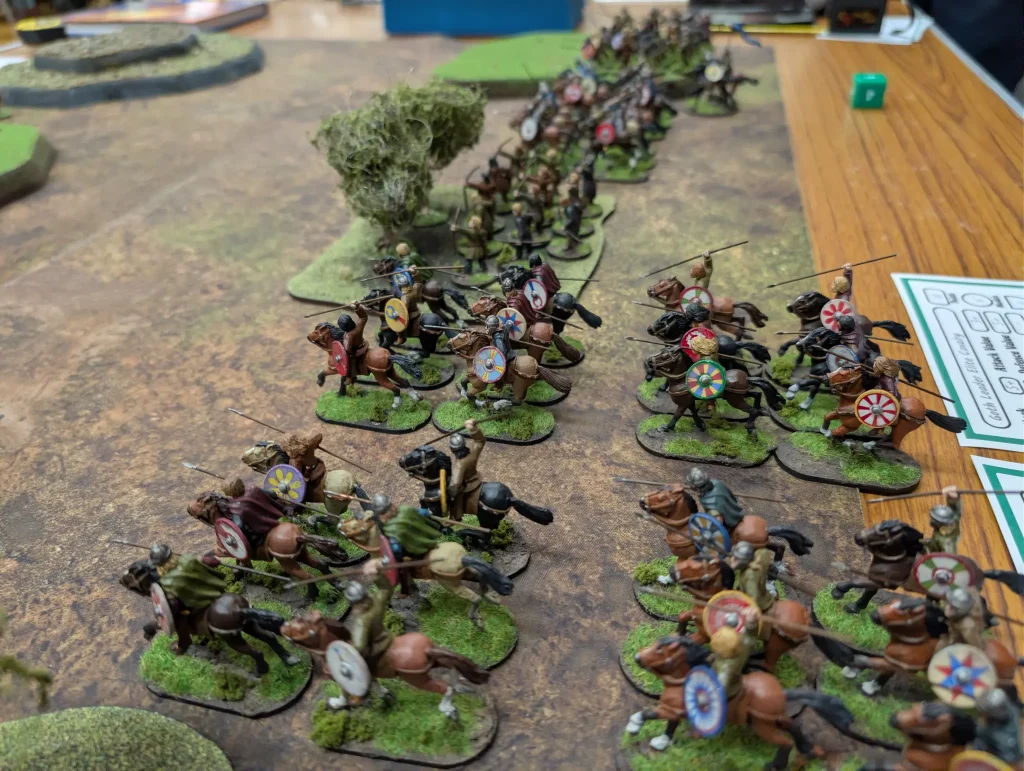
On the Goth side, there were:
- 1 Leader as Elite Cavalry
- 2 units of Elite Cavalry
- 4 units of Heavy Cavalry
- 2 units of Light Infantry
- 1 units of Light Missile
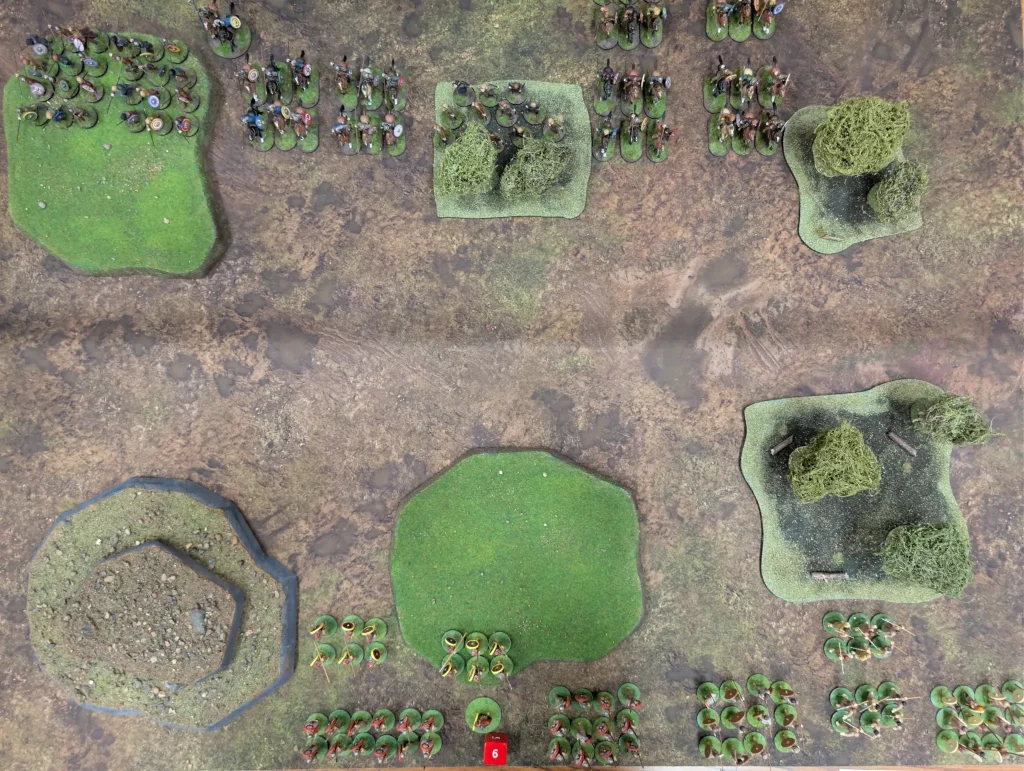
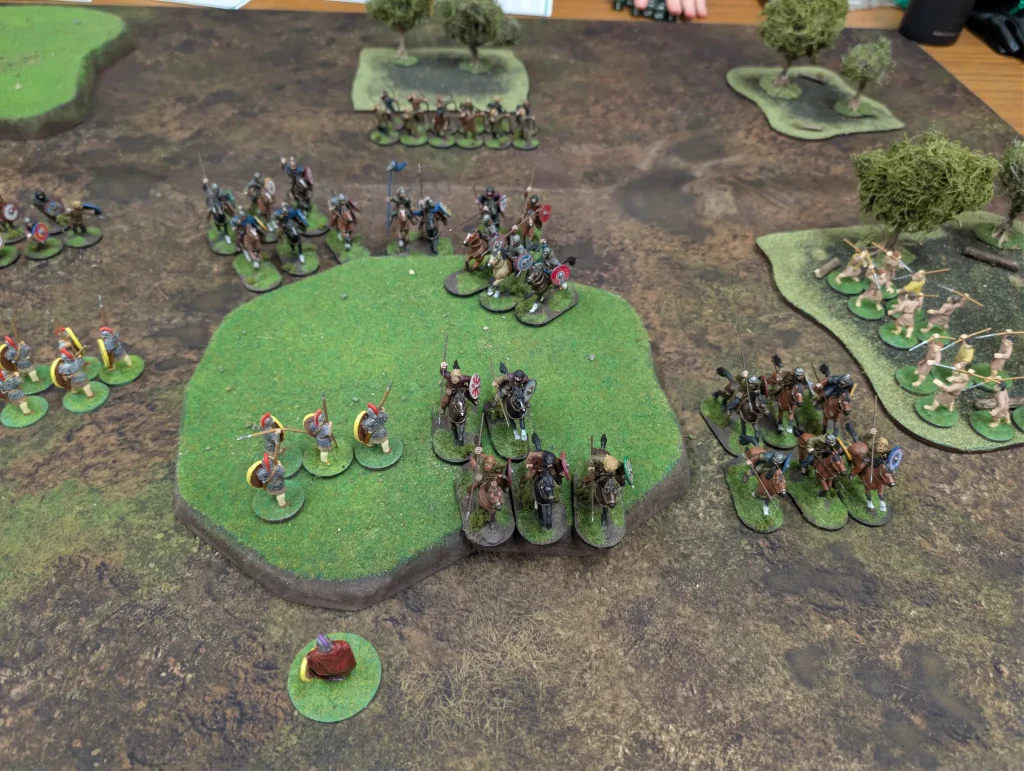
The hills we treated as open ground, apart from the two layer hill which was rough ground. The woods gave cover and were rough ground. We lined up along the long edges, and the Goths had to try and make it across the table.
On the first turn, the Goths moved forward, getting a good way across the table. The Romans shuffled forward a bit, with the Skirmishers moving into the woods so that they could hopefully use their shooting attacks against the cavalry as it came in.
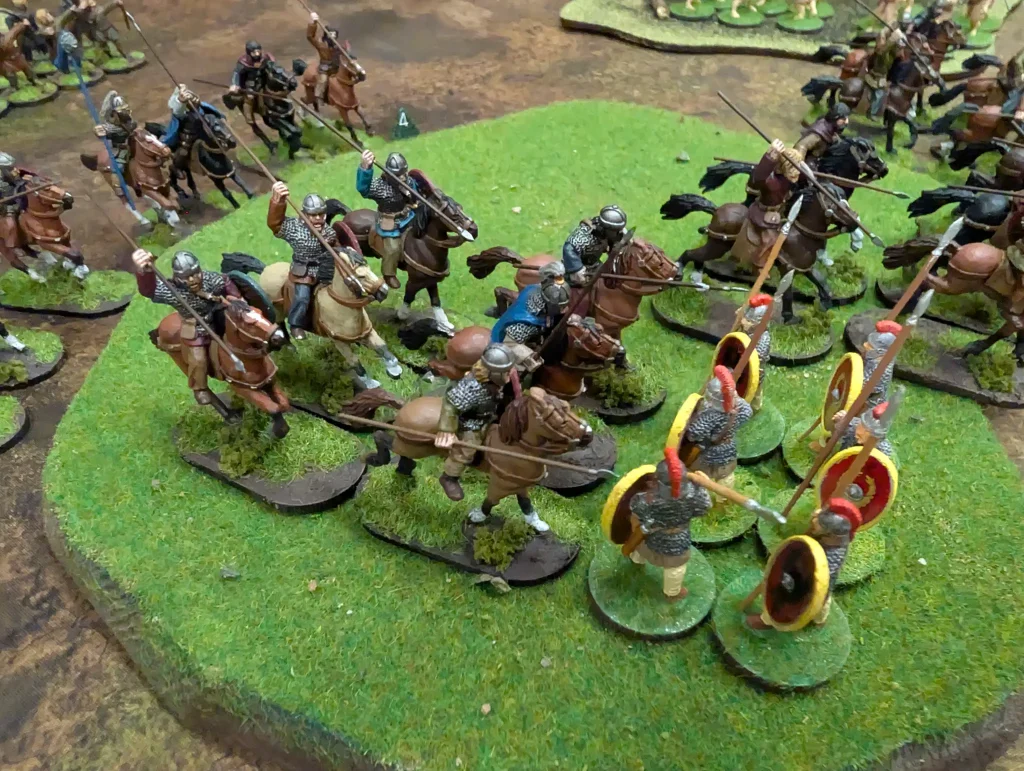
By the second turn, the Goths were just in charge distance, so two of their heavy cavalry units charged forward to attack the Roman lines.

Against the Roman heavy infantry, the didn’t do so well. They had to come up the hill, so the Romans got a bonus to their armour. We got two kills on both sides, both made their courage checks, and so the Goths fell back.

For the second charge, the Goths went for the light infantry. They took two casualties again, but killed four Romans, forcing the Romans to fall back and causing them to fail their courage test.
On the Roman’s turn, the Roman unit failed to rally, so lost another man. The heavy infantry on the hill used their javelins on the cavalry, getting a kill. The two skirmisher units then shot at the Goths in the valley between the hill and woods, killing four goths between them. The Goths became battered.

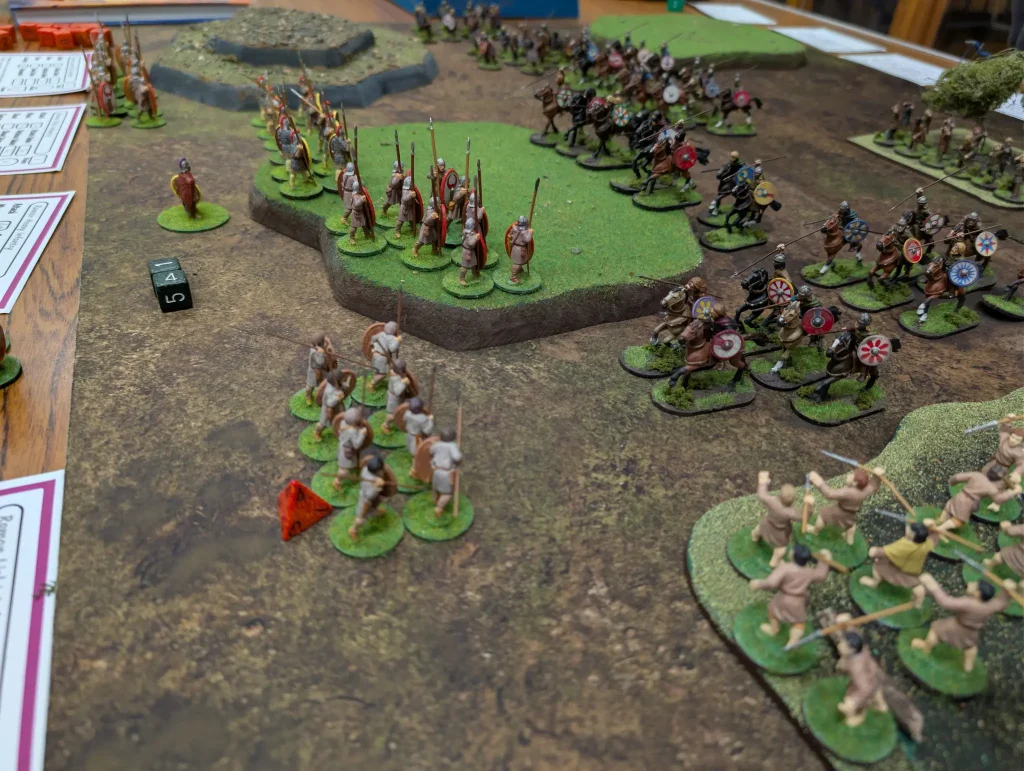
Most of the Goth cavalry were now in charge range, so charge they did. The first unit charged the Roman infantry on the hill, killing 3 of them and taking a single casualty themselves. However, both sides failed their courage tests and became battered.

A second change by another unit of cavalry charged the already battered unit of Roman light infantry, wiping them out. Then a fresh unit of cavalry charged the Romans on the hill, who were also battered. They killed 4 Romans, routing that unit as well.
The Roman line was beginning to collapse, though it was costing a lot of Goth lives to achieve this. The other Romans had formed a shield wall, but decided offence was the better tactic. So the Elite infantry charged the Elite cavalry, who counter charged.
The Roman Elite had Bloodthirsty, allowing them to get two hits on a roll of 6. They got 13 hits, killing 3 of the goths, and lost two themselves. The Goths were forced back.
Against the weaker Goth infantry, the second unit of Roman elite charged in, and got a much worse roll, only killing 4 of the Goths there, and suffering a casaulty themselves.
With things back to the Goths, they went for an all out attack.
The cavalry bypassed the Romans on the hill, and charged the Roman leader (a single figure unit). He stood firm, killing four of the Goths and taking two hits himself. According to the rules, when you retreat you have to go off a table edge if you can. This meant that the Goths fell back, and had to flee off the table since the fight was right on the table edge. I’m not sure how this rule should be interpreted, but it does make fighting near a table edge a big risk.
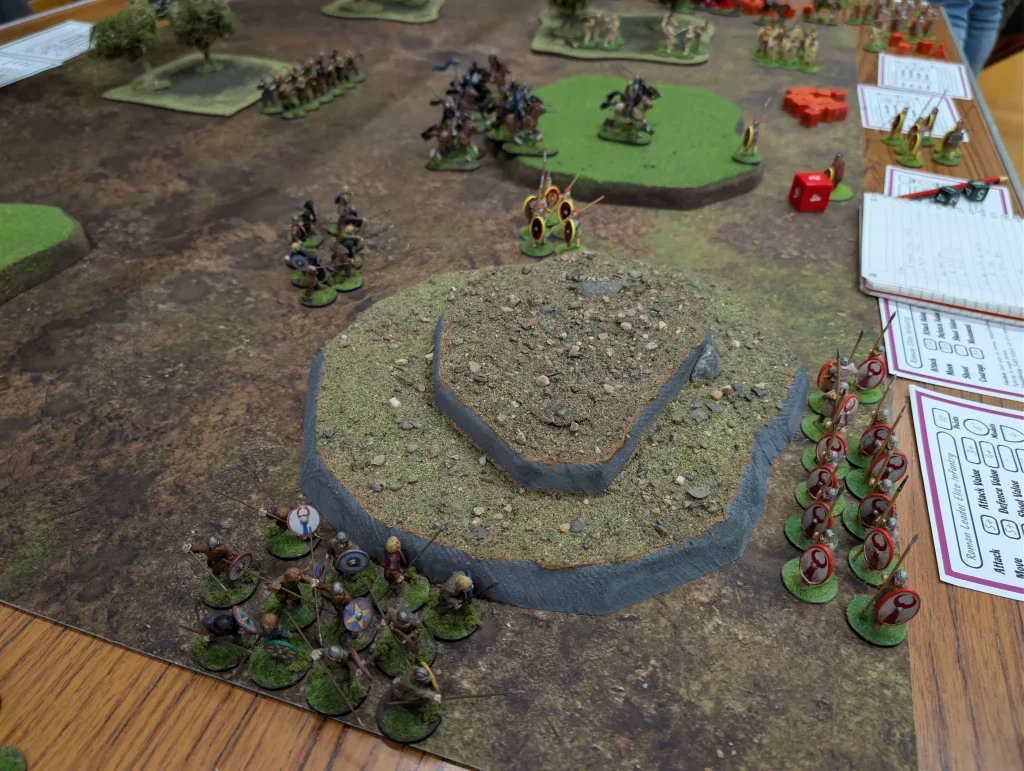
Gradually, the Roman centre though was destroyed. Most of my heavy infantry were destroyed, apart from those who had been sent to shore up the western flank by the steep hill. The other flank had some skirmishers and light infantry, who were now being shot at by the Goth archers who had finally come within range.
Looking at what was left, the Romans decided that there wasn’t anything to be served by staying and dying, so they fled.
Both sides had suffered terrible casualties, but if the Goth desire had been to break through the Roman lines, then they had pretty much achieved it.
The whole game took just over three hours, including setting up and putting things away. Compared to Saga, this is pretty quick, especially for such a large number of figures.
However, putting the armies together took an awful lot longer. In Saga, the 1 pt = 1 unit makes it really easy to create two armies of equal size. In Lion Rampant, it’s a bit more tricky due to needing to play around with more complicated point values for units. You can’t just swap one unit for another, because they have different values.
Lion Rampant is much faster to play though, and there’s less of the analysis paralysis that you can get with Saga, especially within the Orders phase where you are trying to decide where to put your Saga dice.
I still prefer the extra in-game complexity of Saga though, because I find it more interesting. But Lion Rampant is good when you want a lot of figures on the table.
It was a good game, and a bit of a change to start the year off with. We probably got a lot of the rules wrong, but I think we were close enough for most of it.
Great report of a BIG game, there, Sam.
How did you handle activation/leader range? Was there ‘fail an activation, move on to the next unit’ or ‘fail = turn over’ , for example?
We did the standard rules. You fail an activation, your turn ends. We allowed a single re-roll if a unit was within 12″ of the leader.
However, we got very few failed activations. The couple which were important, we were able to reroll. The other failures were just units at the edge which didn’t have a big effect on the game.