Raiders and Pillagers
It was time for another game of Saga: Age of Chivalry. I brought out my Free Companies again, and they were going up against the Flemish. We were once again going for the Feasting and Pillage scenario from the Book of Battles. We had to grab three objectives and get them back to our side of the table.
I had two units of mounted troops (plus the Warlord), which meant that I’d be able to move fast and grab two of the objectives, but then carrying an objective counts as being on uneven ground – so not only would I be moving Short, but I’d get Fatigue every time I moved.
However, what I didn’t account for was that the Flemish pike units had a movement of Short, so they would also be moving very slowly.
Free Companies:
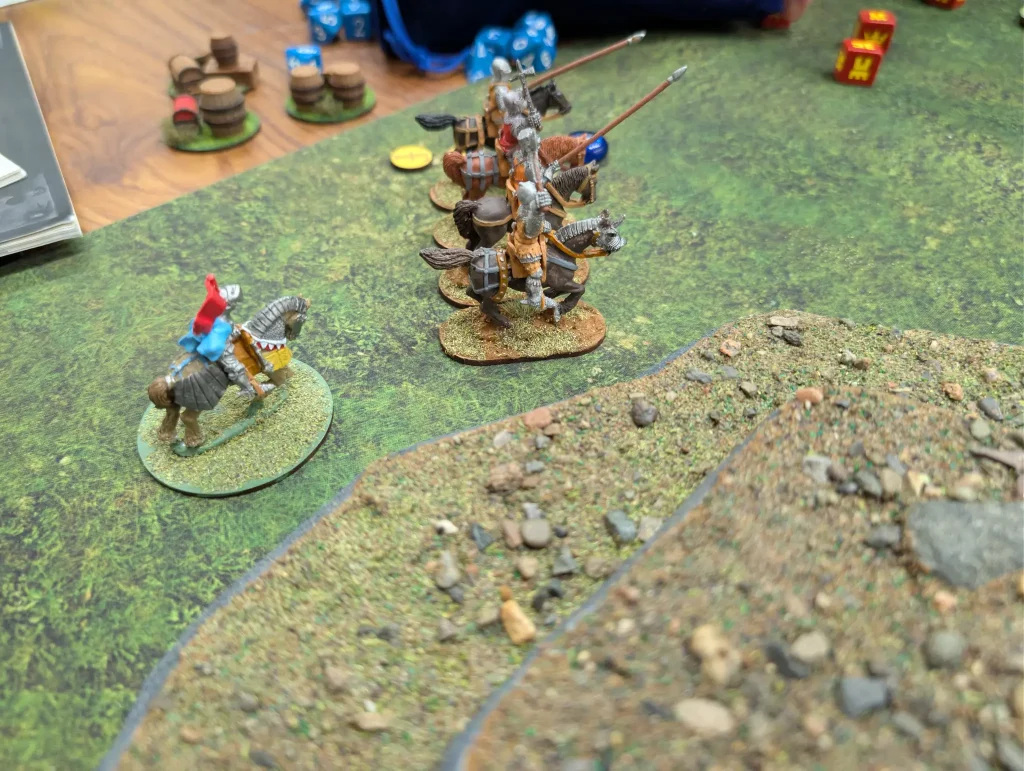
- Warlord (mounted)
- Hearthguard (mounted)
- Hearthguard
- Warriors (mounted)
- Warriors x2
- Levies (Crossbow)
Flemish:
- Warlord
- Hearthguard
- Warriors (Crossbow) x2
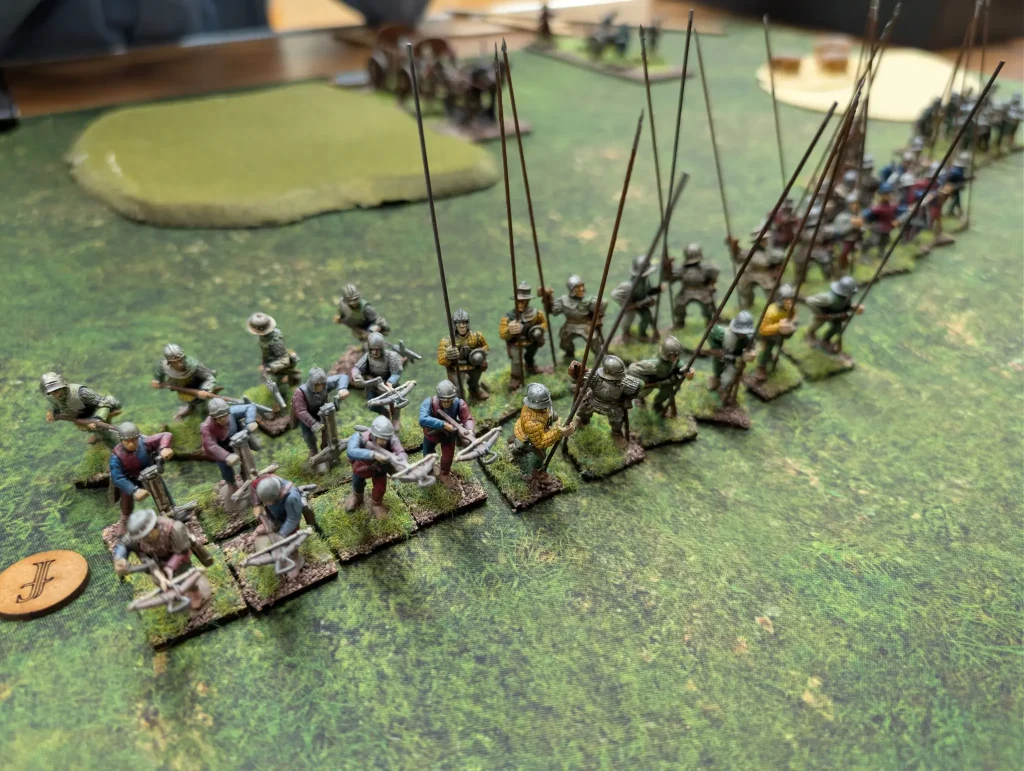
- Levies (Pikes) x2
- War Wagon
- Cannon
Turn 1
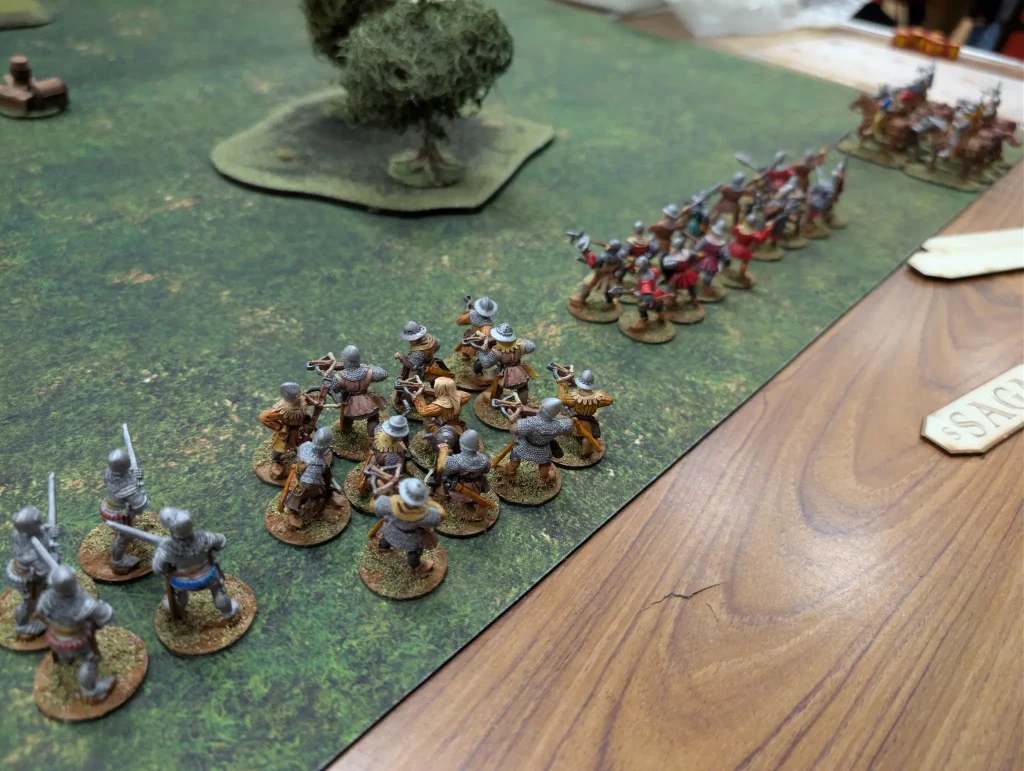
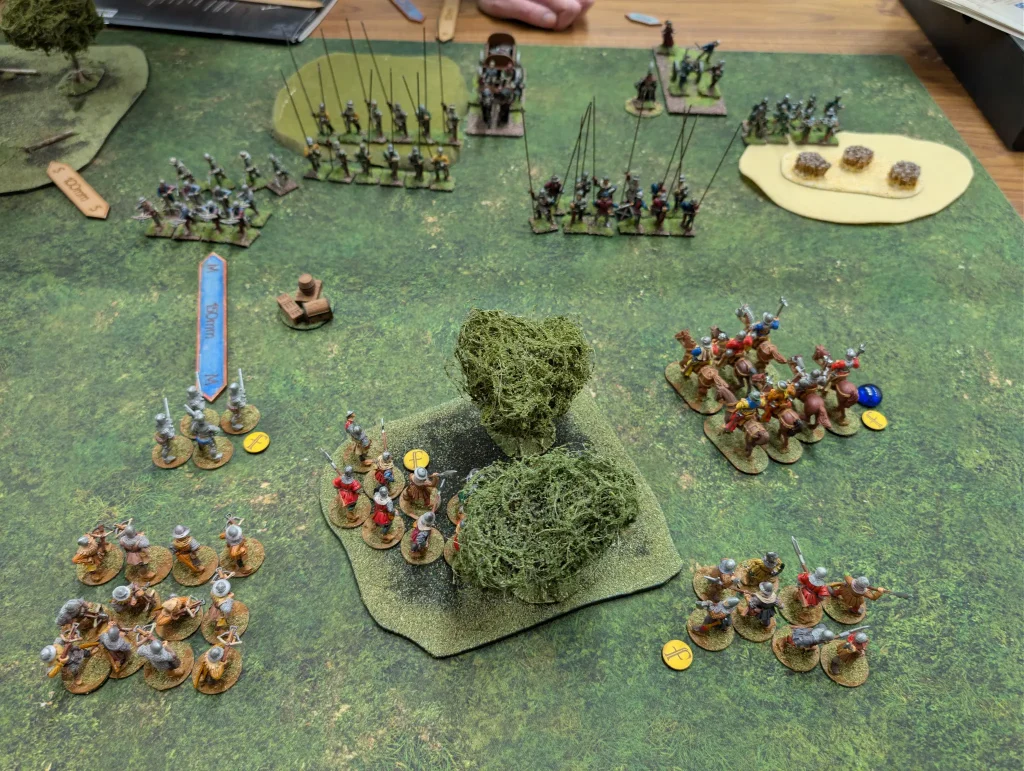
We set up with as much terrain as I could fit on the table, with the Flemish preferring an open battlefield. I put down a steep hill on one side to cut down line of fire of the Cannon (which has infinite range), as well as a Woods towards the other side to again cut down lines of fire.
This meant I ended up splitting my army. My Warlord and mounted Hearthguards were on the West behind the steep hill, my mounted warriors were on the Eastern flank, with some foot warriors nearby. All the rest were in the middle. This gave me three groups to target all three objectives.
The Flemish were mostly arranged on the central and Eastern side of the table, in a single line. They started the engagement by opening fire with their cannon, causing fatigue on my mounted horse. Then their pike formations shuffled forward.
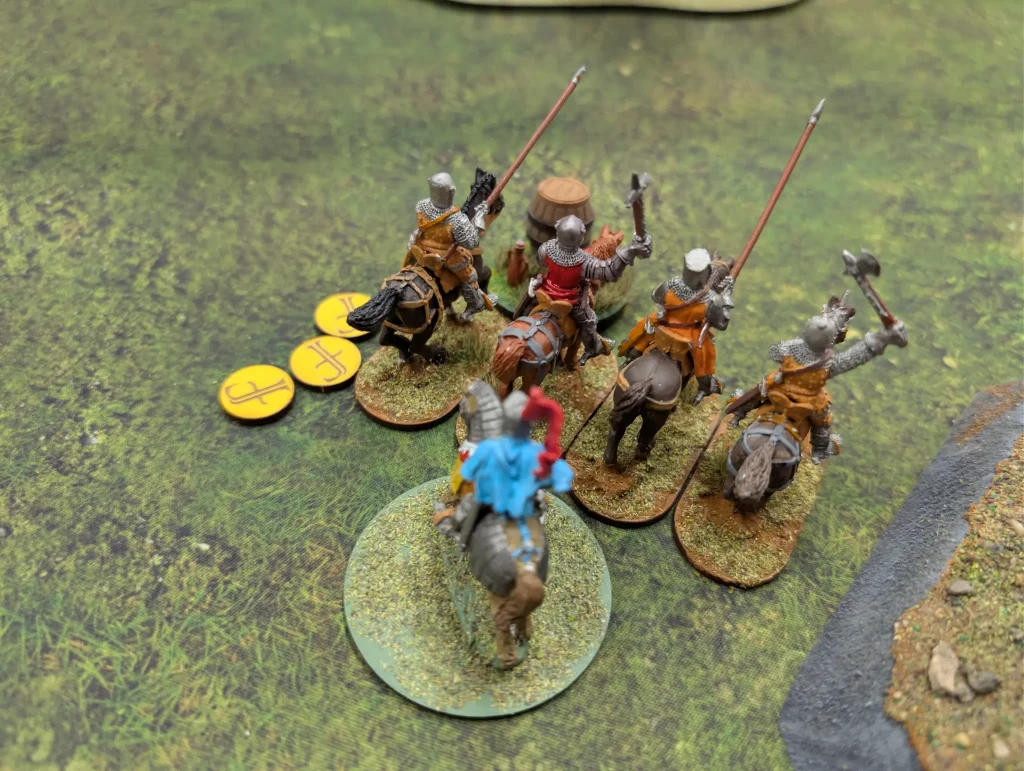
The Free Companies rested their horse, which meant they couldn’t use manoeuvre for that unit, but the rest of the army moved forward as best it could. I then played Mob Violence to move two units, and both my cavalry units (Hearthguards in the West, and Warriors in the East) grabbed their corresponding objective tokens. The Hearthguard started moving back, and became exhausted.
This is my usual tactic when going for objectives – take fatigue to get to the objectives early, then hope I can deal with it later.
Turn 2
Before the Flemish could act, I played Den of Thieves as an Orders Reaction, transferring a fatigue from my mounted warriors to another unit of warrior infantry. Both were within Short of some uneven ground, so could do that.
The Flemish used their crossbowmen to shoot at my mounted warriors, playing Overrun which would allow them to move a unit afterwards. I played Sneaks and Robbers (with a Rare die) which would allow me to cancel two casualties. Their crossbowmen got 3 hits, and I saved none of them, meaning I took a single casualty.
After that, the Flemish pikes shuffled forward.
The Free Companies played Cowardice on one of the pike units, forcing them backwards. It would be the only time in the game where I could do this, since from that point on the Flemish kept their hearthguard and warlord close to their frontline troops. I also used Den of Thieves, and the Flemish used The Watchmen Watch to give two of their units Resilience (2). However, I had no intention of attacking, so it was actually a wasted die. Not that the Flemish knew that.
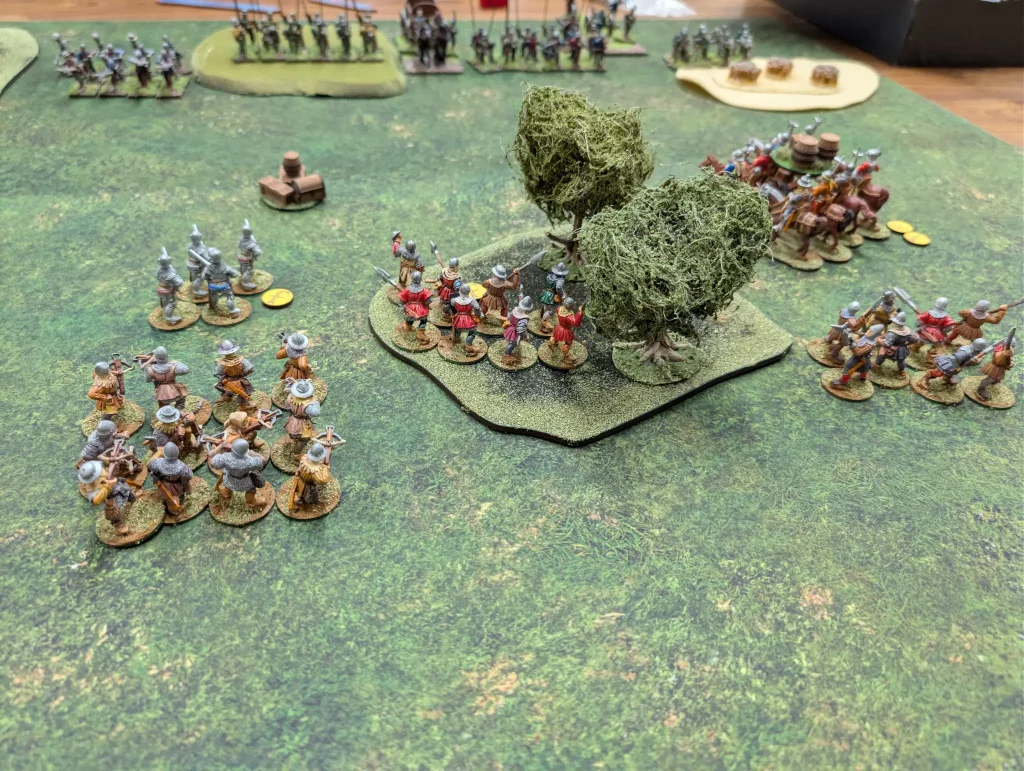
My two mounted units started bringing their objectives back, and my infantry hearthguard in the centre grabbed the third objective. At this point I was in a good position, and the Flemish weren’t moving quickly enough to engage me. However, my two flanks were exhausted due to trying to move fast, and carrying the objective markers. If the Flemish were to catch me, I’d probably lose a unit.
Turn 3
The Flemish continued to use crossbow shooting to harass my troops, but any hits got cancelled with the use of Sneaks and Robbers. The cannon shot at my mounted warriors, exhausting them.
The Free Companies played Den of Thieves again to move fatigue off their exhausted warriors, and the Flemish against used The Watchmen Watch. I started with some Rests, some movement, and then Mob Violence to move two units. My mounted units were moving the objectives back, but were again exhausted.
At this point it was very clear that the only sensible tactic at this point for the Free Companies was to get all three objective markers off the table. I also needed to avoid conflict. If I got all three objectives off, that would be +18 points to me, and nothing to the Flemish. Then it would go on survival points. The best result I would get from melee would be a bigger victory – which I didn’t need. However, it could go wrong, which could cost me a victory. So melee was to be avoided if at all possible.
Turn 4
The Flemish continue to move their lines forward, shooting at the Free Companies with their crossbows. They get one kill with their crossbows, and their cannon causes another fatigue on my mounted warriors. Since they are already exhausted, this does nothing though.
The Free Companies use Den of Thieves to move around fatigue, and the warriors try to move towards their table edge. Their move activation is cancelled though by the Flemish by using two of the fatigue. However, I still have Mob Violence to play, so move my two mounted units closer to the table edge. My infantry hearthguard, I move off the table with their objective markers, scoring me +6 points.
I have a die on giving me bonus to shooting attacks – but don’t have any dice to activate my crossbowmen, so that is wasted.
Turn 5
The Flemish use manoeuvre on their battle wagon for the second time in the game. It’s been sitting at the back not doing anything for most of the game. Their crossbowmen get a couple of kills – which are cancelled because I used Sneaks and Robbers.
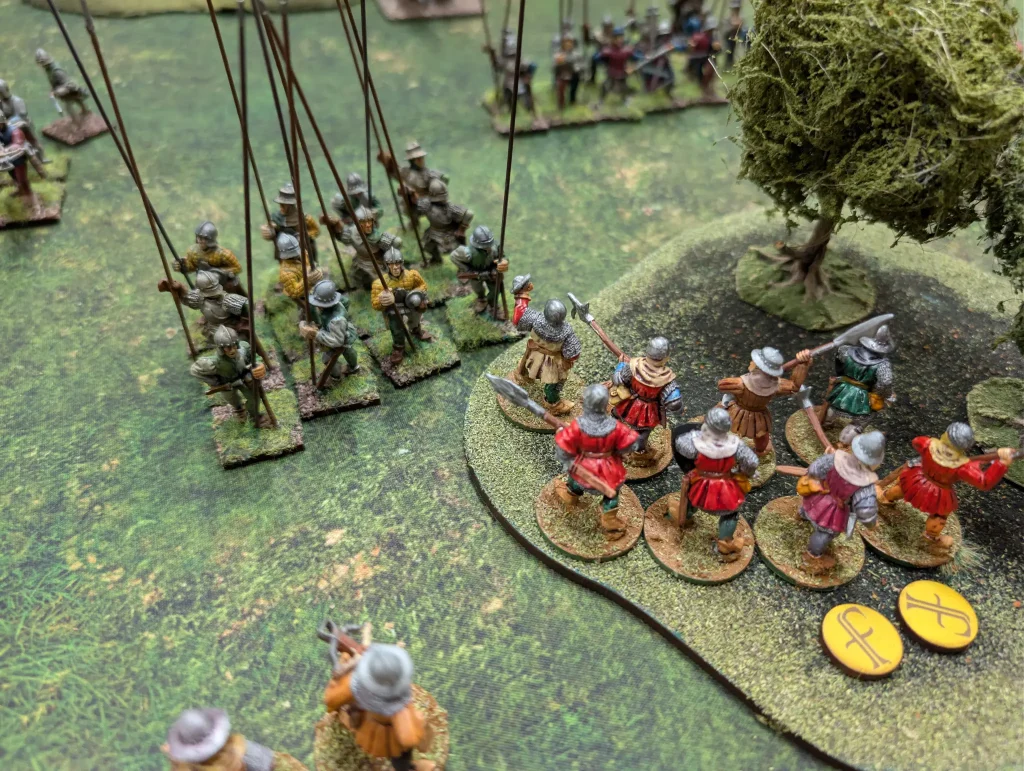
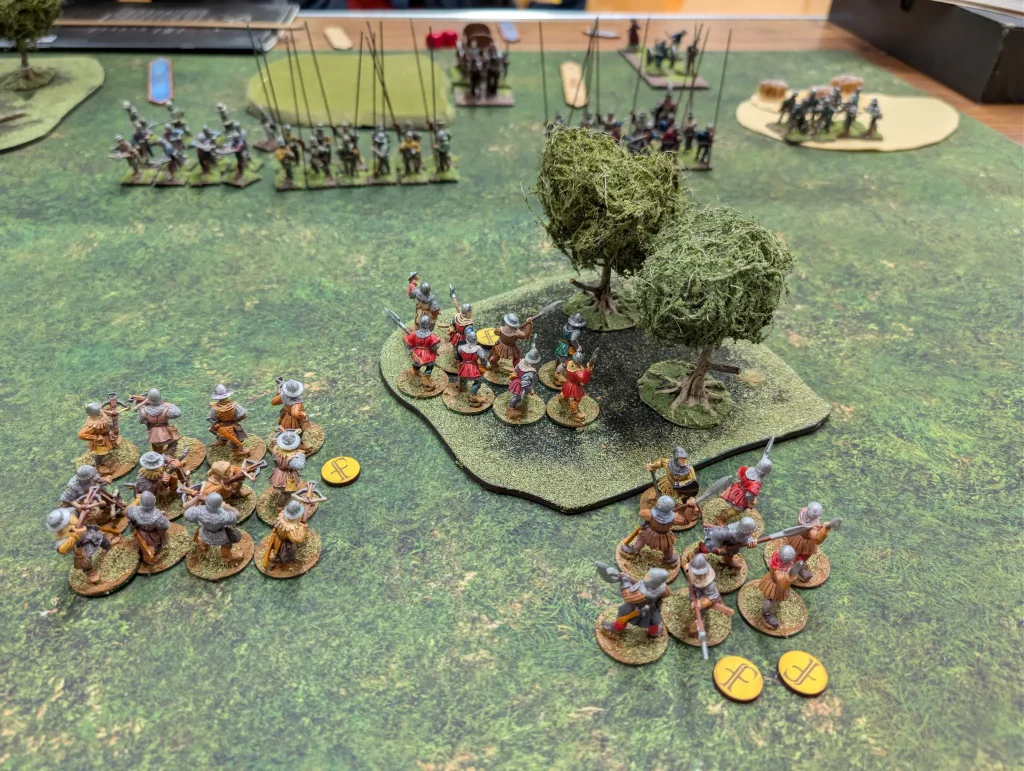
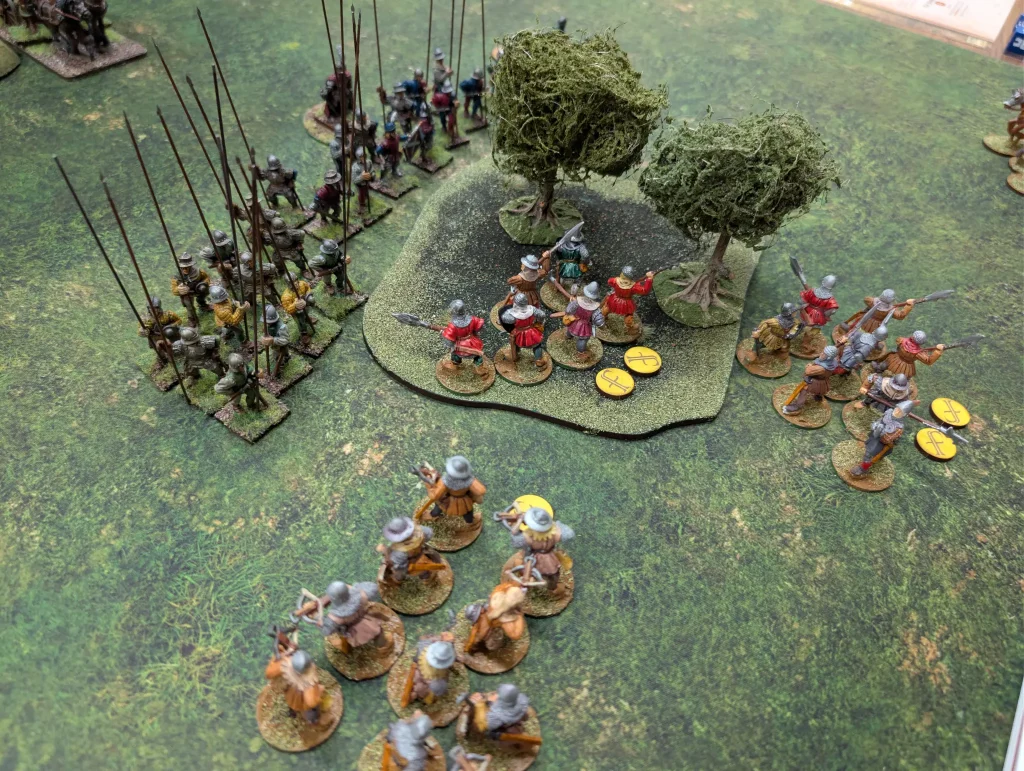
Their cannon fires for the last time, giving my mounted warriors another fatigue. Finally, their pike formations reach my units hiding in the woods. The pike equipped units have an attack range of short, poking through the trees and get a total of three kills against my warriors.
A final shooting attacking by crossbowmen kills one of my crossbowmen.
The Free Companies roll their saga dice, and get enough activations to get the two final objective markers off the table – ending the game.
The Free Companies have taken a few casualties, but not enough to cancel out the 18 points they gain from getting all the objectives.
It turned out to be a pretty one sided battle. The War Wagon didn’t achieve much during the game, mostly sitting at the back. The cannon was annoying, but didn’t cause any casualties. The most useful Flemish units were the crossbowmen, who inflicted a constant trickle of casualties against my Free Companies.
Having mounted troops was an initial advantage to the Free Companies, that allowed them to grab two of the objectives quickly. After that though, it was a slow slog. The Flemish kept their own hearthguard at the back, to prevent me from using Cowardice against the pikes. However, since I had no intention of fighting the pikes, they may have been better off using them to try and contest the central objective.
Given that I had no shooting units on the Eastern flank, it may have been worth risking their warlord to engage my mounted warriors. They were exhausted for most of the game, so it wouldn’t have been hard to charge them whilst they were exhausted, and grab the objective away from them. As it was, with nothing actually engaging my units in melee, there was nothing to pin them down and allow the slow pikes to get into combat.
It does feel though that the Flemish suffer from a similar problem to the Britons. The Britons have the Galvanized property, which units get if they are close to their warlord. This greatly encourages keeping the warband in a tight formation, preventing single units from charging off and achieving objectives.
Flemish units are emboldened if they are close to the war wagon or a unit of pikes. Both types of units are slow, so can’t be used aggressively. In order to keep the emboldened state, other units end up being pinned down as well. So you either have to hope to be able to fight a defensive battle, or accept that you’re not going to be making full use of your battleboard which requires the emboldened state.
So it was a clear victory to the Free Companies, and a demonstration that this was a bad scenario for the Flemish – especially for their first outing.
The pike formations did look very nice though.
I think the Flemish would have a good chance in any battle that did not involve advancing quickly across the board. While any battles that did not involve moving, and let them play to their static strengths, would be too advantageous for them.
Battles that are fair for the Flemish:
Battle of Heroes, Claiming Territory, A Tale of Challenges, Guard the Loot, Desecration, Old Feud, The Crossing, Change of Plans,.
Unfair to the Flemish [Boooo!]:
Prized Possessions, Feasting and Pillaging 🙁 , Ambush!.