Return of the Flemish
After the Saga Age of Chivalry battle between the Flemish and Free Companies last week, it was time for a rematch. The Free Companies had won previously due to their higher manoeuvrability. They were able to rush in, grab the objectives, and rush out before the slow Flemish pikes could do anything.
This week, we were playing the Claiming Territory scenario. It was still about claiming objectives, but in this case we had to hold those objectives. That meant that the Free Companies would have to actually fight the Flemish, and I wasn’t looking forward to that.
I had the same warband as in our previous battle. I had considered taking a Cannon, in order to give fatigue to the pike units, but in the end I decided not to.
The Flemish had only one pike unit this time, but also had a unit of mounted hearthguard, which gave them a bit more manoeuvrability.

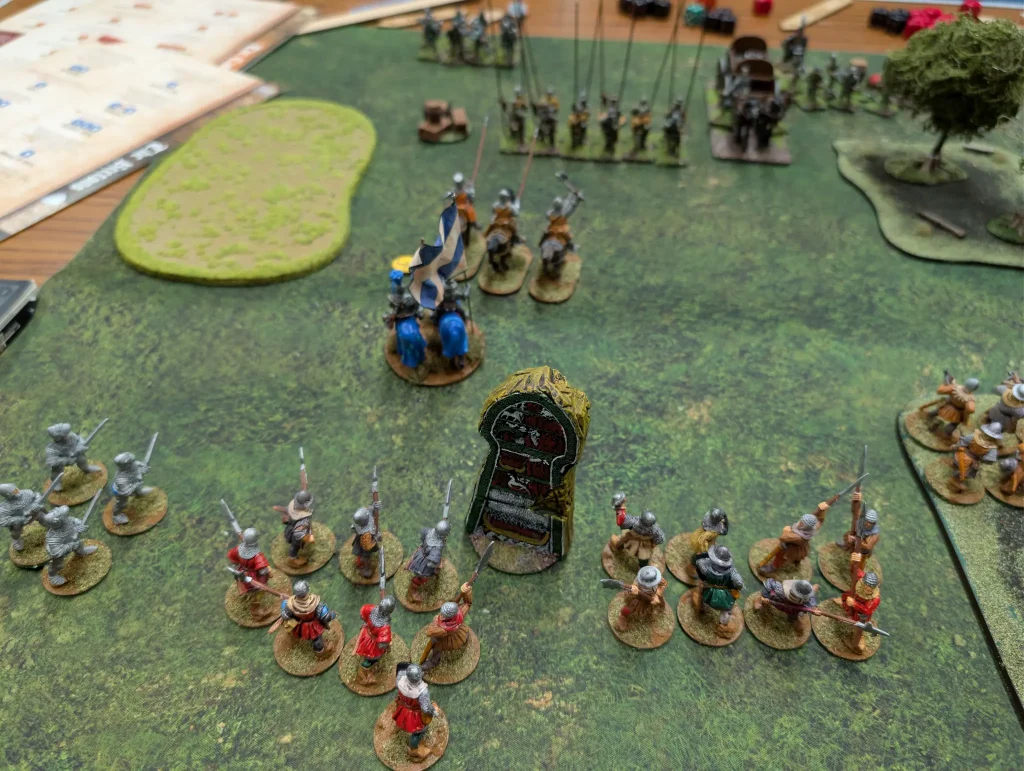
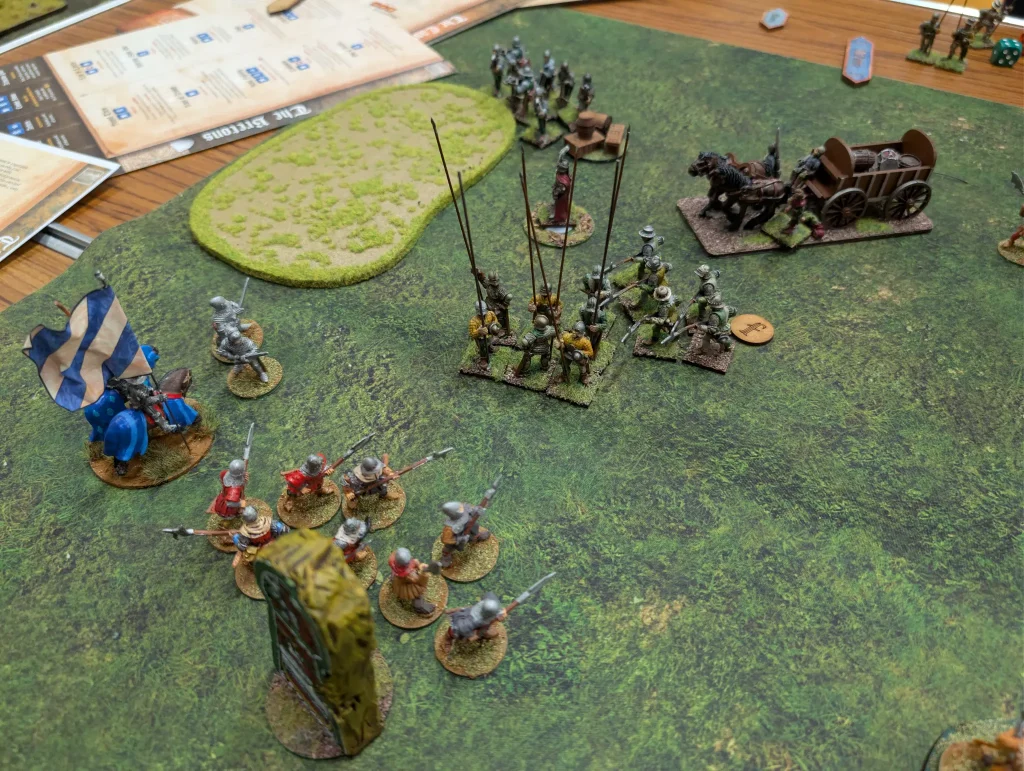
We laid out the terrain – I added some woods to break up the Flemish lines, and also as a place to hide my crossbow men in. The Flemish added a flat hill and a marsh on the two flanks. We each placed two objective units on the opposing side of the table. We would gain half points if we held the objectives on our side, and full points if we held the objectives on the opposing side. So this pretty much forced us to cross the table, though we could gain small numbers of points by holding our own side.

The deployment of my Free Companies had a single unit of mounted warriors on the eastern flank, and the rest of my army on the western flank. My plan was to try and force my way through to the two objectives on the far side.
Turn 1
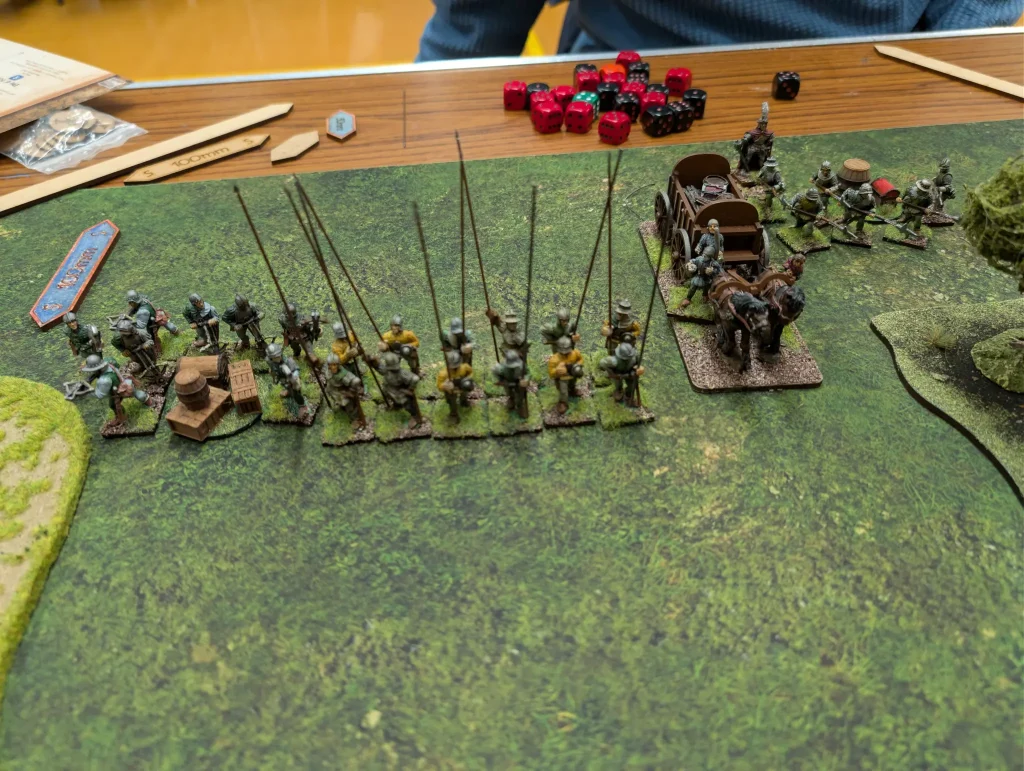
The Flemish moved forward using manoeuvre, and grabbed one of the objectives on their side of the table. This gave them a maximum of three points. All their dice (which was limited to three) they kept on their battle board.
The Free Companies had a full set of dice to play with. They used Cowardice to push back the unit of crossbowmen off the objective marker. My plan was then to try and force my way through the Flemish lines. I moved my crossbowmen forward through the woods so they could control the central table, then moved both units of cavalry forward.
Then I used Mob Violence to chance both cavalry units. In the east, my warriors charged the crossbowmen. I didn’t use any special abilities for this, and relied a bit on luck. I was expecting the crossbowmen to have lower armour – I’d forgotten that they were warriors rather than levee.
Things didn’t go well . The Free Companies got 3 kills, but lost four horsemen themselves. So they were pushed back. Ultimately, I had wanted to force my way through, and then move the unit around the back of the woods to go for the objective marker there in a turn or two.
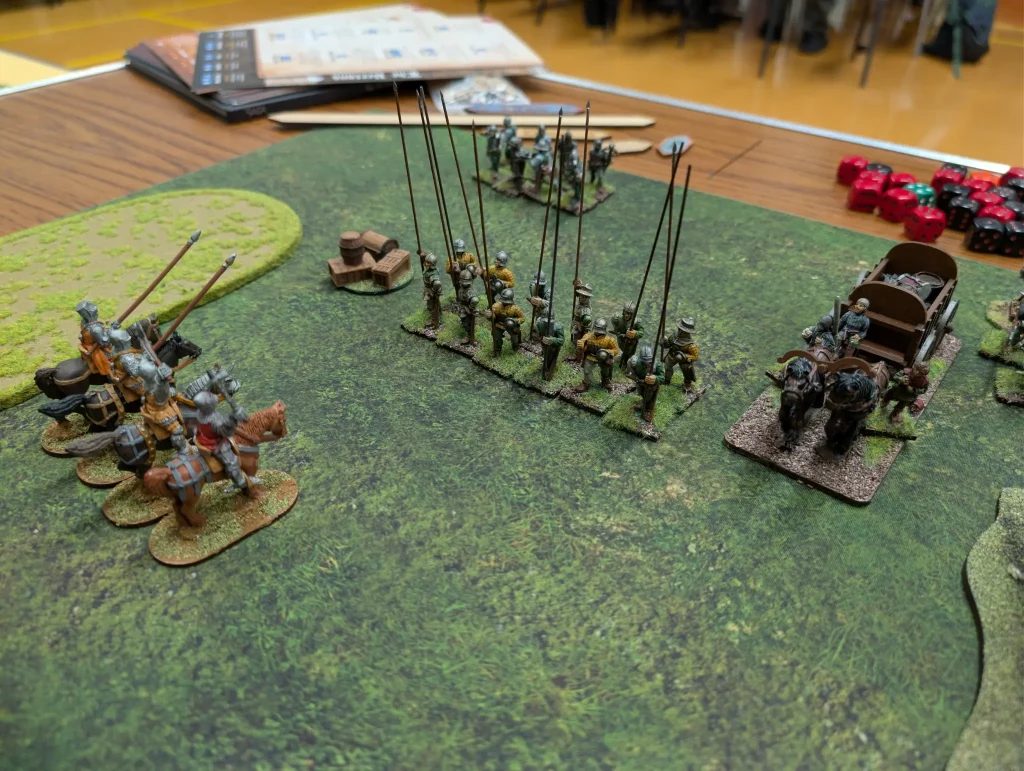
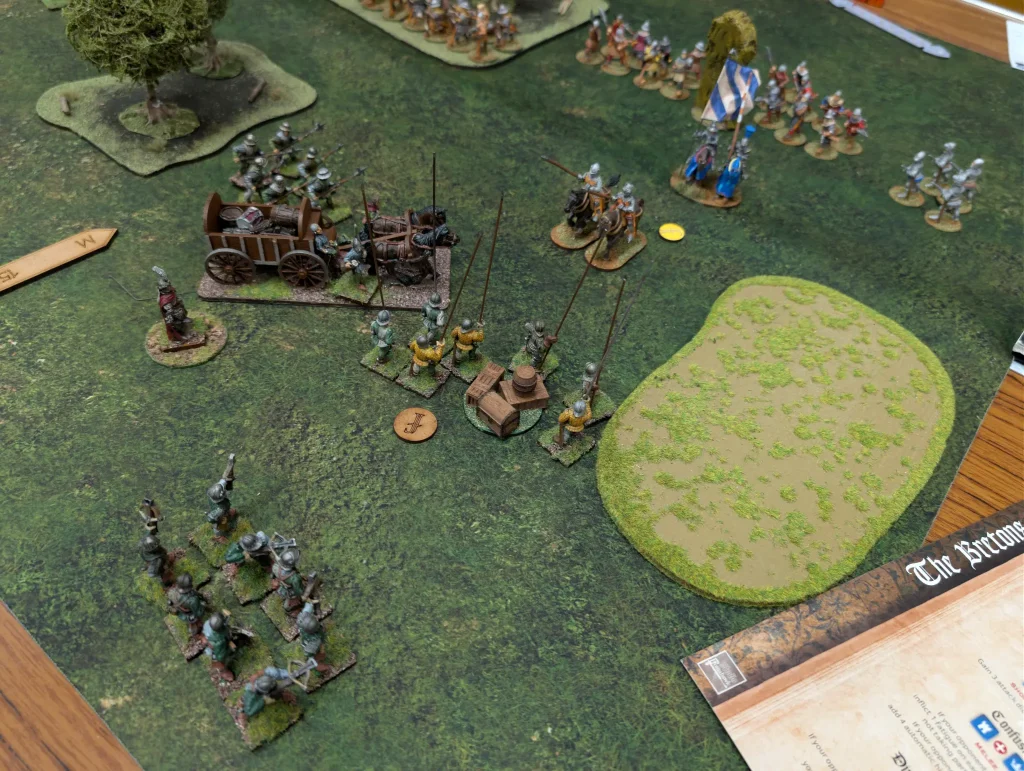
On the western flank, my Hearthguard charged the Flemish pikes. It had to be done at some point, so I figured why not do it as early as possible. I used Cruel Slaughter and Villainy whilst the Flemish used Great Mass of People to give themselves extra defence dice. They also closed ranks, and used my fatigue to raise their armour.
We got zero kills, and they killed one of my Hearthguard, forcing the unit back. So my attack plan had pretty much failed. The rest of my army used manoeuvre to shuffle forward, but didn’t really achieve much else.
However, I was holding onto one of the objectives, so got two points.
Turn 2
The Flemish were to go, but I played Den of Thieves to remove a fatigue from my hearthguard. This was good, because the unit of Pike came forward and poked my hearthguards with their pikes. However, they didn’t manage to kill any.
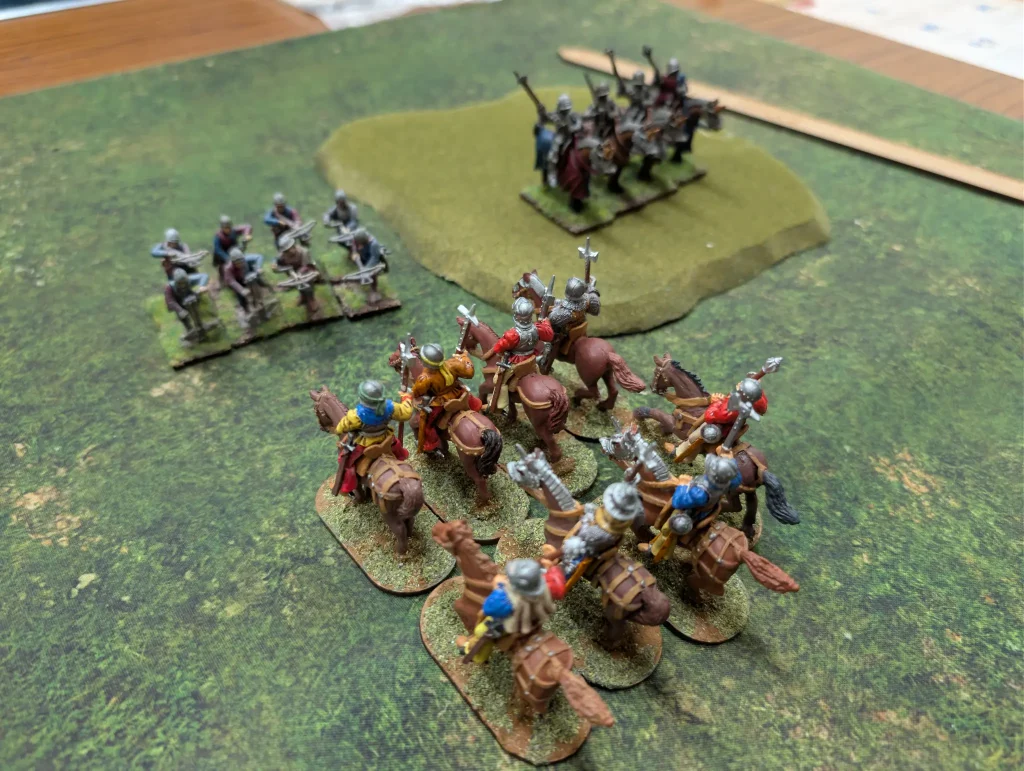
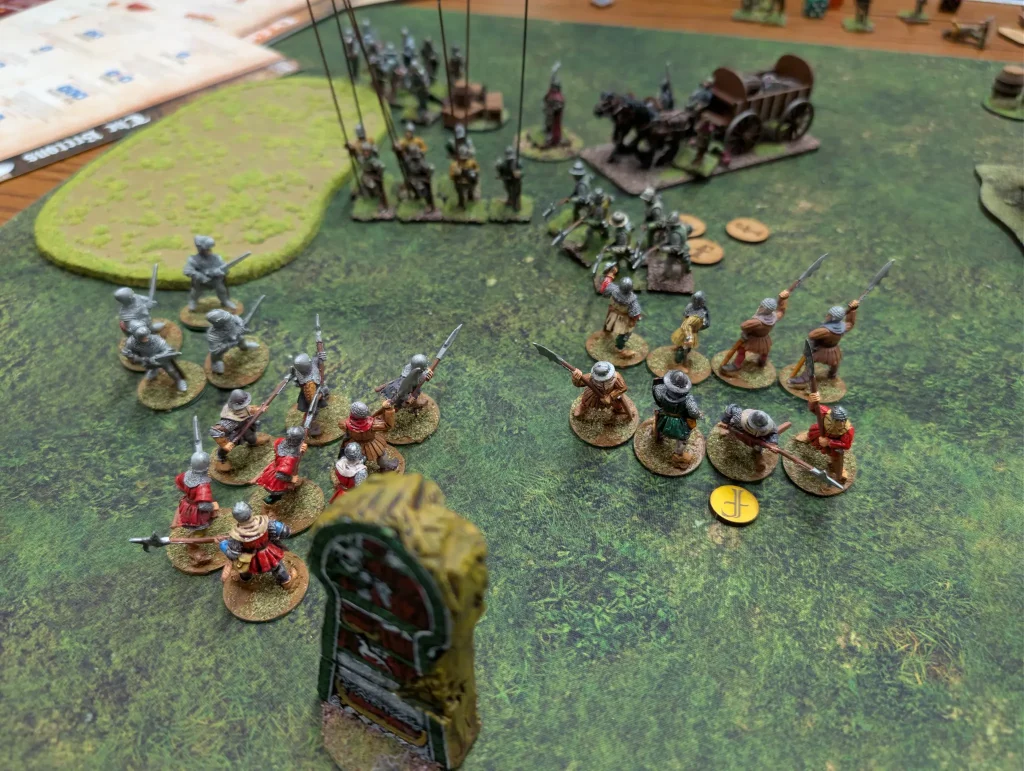
The crossbowmen on the eastern flank shot at my warriors getting two hits and a single kill, taking my unit down to just three figures.
Then, the Flemish mounted hearthguard charged in. They got seven hits against my warriors, and I managed no hits in return. However I saved six of the hits, so only took a single casualty. However, that left me a pretty useless unit of 2 warriors. And they were facing a unit of crossbowmen, and a full unit of hearthguard.
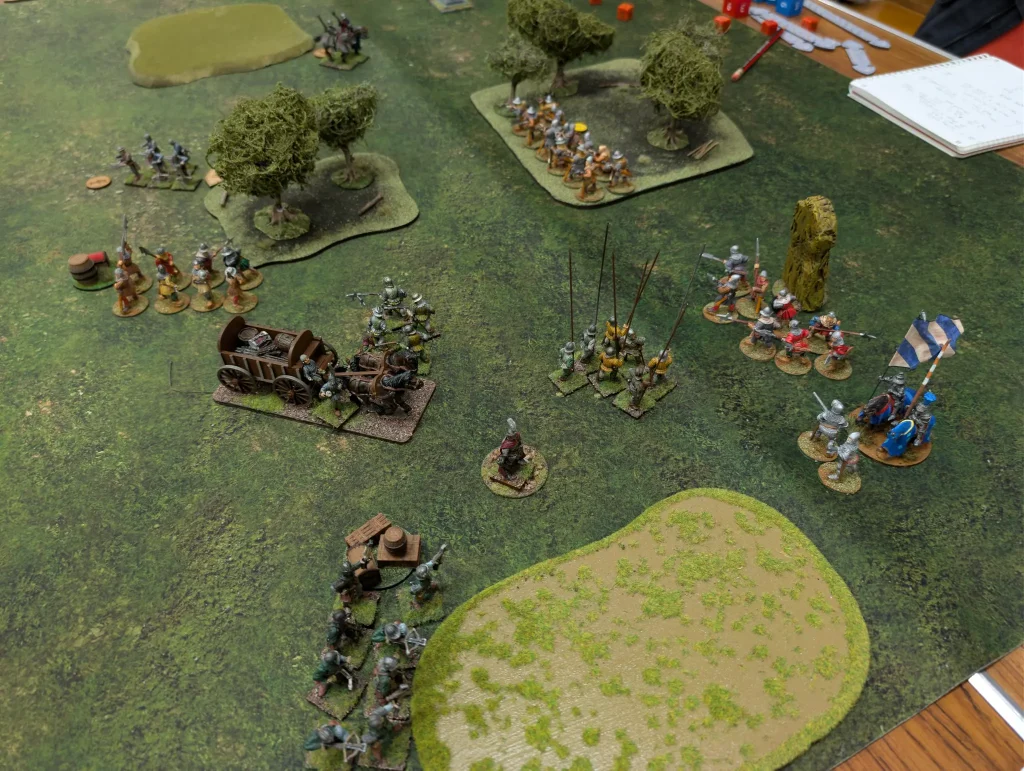
Despite all that, the Flemish failed to reclaim the objective that I had pushed them back from when I used Cowardice. I think this was due to a misunderstanding on who objectives are claimed. You have to stay near the objective – it’s not the last unit that was close to it. They had also moved their unit of six hearthguard infantry forward to reinforce their front line, which mean that they were no longer gaining points from the second objective at their rear.
So the Flemish gained zero points this turn.
The Free Companies played Den of Thieves again. This is a really useful ability for shuffling around fatigue between units, since it can be done twice a turn (both as an Orders, and as an Orders/Reaction).
I used it to remove fatigue from my unit of warriors. There were only two of them, and they were no longer giving my saga dice, so I planned to throw them into combat and see them die. Hopefully I might take someone down with me though.
First, my crossbowmen opened up on the unit of 6 infantry hearthguard that were supporting the Flemish western flank. I was rather surprised that they used Great Mass of People to give themselves bonus defence dice. Surprised, because I was expecting to encounter that when I charged later. So though I killed none of them, it used up a saga ability they could have used later.

It was then Mob Violence again to charge in two of my units. First, my two warriors heroically went in to their deaths. I used Spiteful Hate, which meant when I used their fatigue I would get both effects – my armour would go up, and theirs would go down. I also used Renegades, which (as well as giving a bonus attack die) meant if I did happen to kill any enemy figures, I would be able to reinforce one of my depleted units of the same type.
So if I killed a hearthguard figure, then my own unit of hearthguards which was down a figure would be back to full strength. It was unlikely to work, but I figured it was worth a try.
So my warriors charged in with 3 attack dice, against the 8 attack dice that the Flemish had. I managed to get 3 hits, and surprisingly 2 kills. A much better result than I was expecting. Definitely worth the loss of my two warriors. Except… the Flemish didn’t get a single hit against my warriors. So my unit was still standing, and the Flemish hearthguard were in retreat.

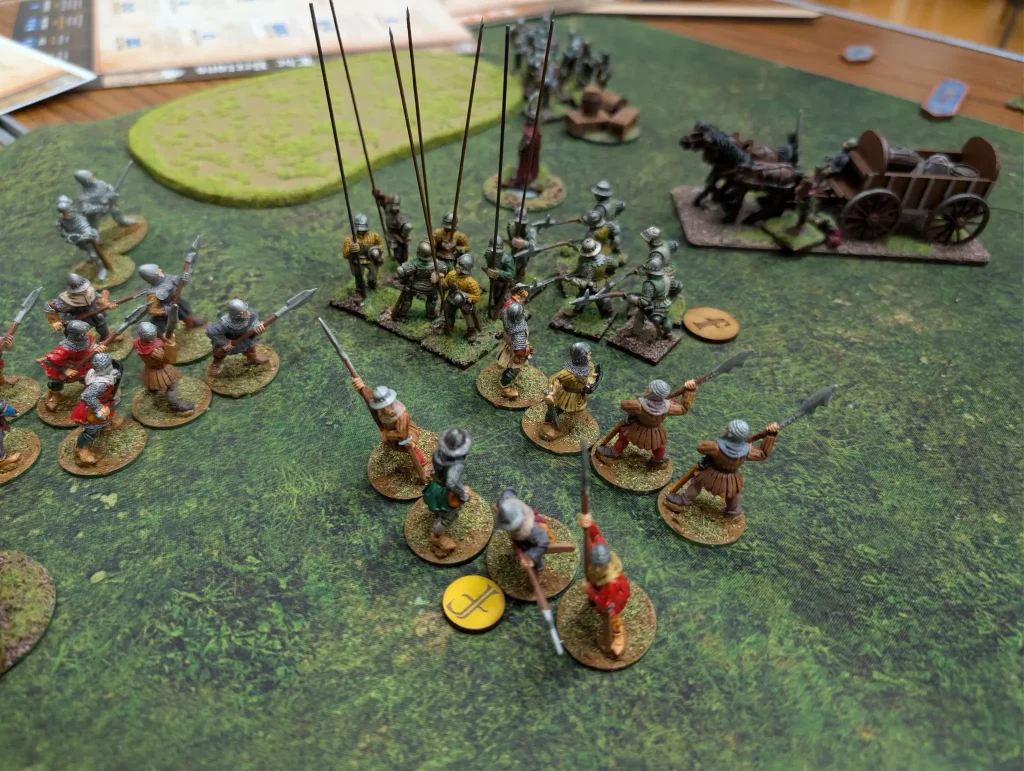
Over on the western flank, my hearthguard were back up to full strength and ready to charge the pikemen again. The plan this time was to go in once with Mob Violence, and then go in a second time using a We Obey action. I used Cruel Slaughter to give myself +4 attack dice, and also a rare die on the combat bonus to give myself another +2.
The pikemen didn’t have fatigue, so had +1 on their dice rolls against my cavalry. I got 10 hits. They closed ranks, and only got 2 hits against me. Five Flemish pikemen were killed, and two of my hearthguard were killed. Somewhat worse than I was hoping for.
I wanted to then charge in a second time, but the pikes had fallen back, which exposed their war wagon. The thing about the war wagon is that if I can charge the war wagon, I have to charge it in preference to anything else. Since charging the wagon wouldn’t be productive, I didn’t bother.
I hadn’t managed to claim any extra objectives, so just gained two points again.
At this point, the objective in the east was completely unprotected, and wasn’t being claimed by either side. Both our horse units were two small (you needed at least 3 figures) to be able to try to claim it.
Turn 3
The Flemish pikemen advanced forward, and again use a ‘shooting’ attack with their pikes to attack my hearthguard cavalry. They got +1 to their rolls due to having pikes against horse, plus it counted as a shooting attack, so my armour was one lower. They got 3 hits, and killed another of my hearthguard.
Their hearthguard infantry then charged my remaining horseman, easily wiping him out. I did manage to kill one of them however.
Back on the eastern flank, the crossbowmen killed one of my two remaining warriors, then the hearthguard charged in, wiping them out. They had fought bravely though.
The Flemish were back to claiming an objective at this point, so again got two points.
The Free Companies weren’t in a great state at this point. The Flemish crossbowmen could claim the eastern objective, plus they had claim over the two objectives on their side of the board. Though they were only controlling one, they could easily fall back and claim the other.
All I had was one objective which was giving me half points. It was a consist half point, but it wasn’t much. I was thinking of conceding the game at this point, but decided to push on so not to waste half the evening.
The Flemish played The Watchmen Watch to give two of their units Resilience (2). I wasn’t planning on charging either their pikes or hearthguard though since I was in too poor a state. Instead my units got some rest and used Mob Violence to fall back and regroup.
I did however activate my crossbowmen twice, for two shooting attacks on the hearthguard infantry. I managed to get in some hits, but any kills were soaked up with fatigue. At least this left the hearthguard exhausted.
Turn 4
The Flemish moved their line forward, playing Secure to remove a fatigue from their hearthguard and attacking my warriors. They got no kills though. However, their crossbowmen who had now returned from the rear of the table took some long shots at my infantry hearthguard, killing two of them.
At the end of their turn, they got two points.
The Free Companies didn’t quite know what to do at this point. The Flemish line was really tough to break. Though they had taken some casualties, they had some really powerful offensive and defensive abilities. The Free Companies didn’t have much in terms of killing power.
But then I realised that where the Flemish had moved forward, they had created an opening past their lines towards their table edge. Which was where one of my objective markers was. There was nothing there guarding it.
So I used Den of Thieves to rest my warriors, and the Flemish played Watchmen again. But I wasn’t interested in fighting. I just moved my units of warriors twice to the back of the woods and claimed the objective.
This gave me six points. I didn’t know what the totals were, but this really put the Free Companies back in the game.
Turn 5
This could be the final turn of the game. There would be a 50% chance of a turn 6, which would probably benefit the Flemish.
The Flemish started with a We Obey to rest their hearthguard, then moved their unit back towards where my warriors had broken through their lines. As expected, they then charged.
Five hearthguard against 8 warriors. My warriors closed ranks and played Villainy, taking their attack dice down to one, but giving them five bonus defence dice plus +1 on their saves. The Flemish played Goedendag for 4 extra attack dice. They were rolling 14 attack dice, against my one single die.
They got 6 hits, but I saved against all of them. I got no hits on them, but they were forced to fall back.
What remained of their crossbowmen on the eastern flank then tried to fall back to get within range of the objective marker to deny it to me. But they couldn’t quite make it.
The Flemish got their usual two points.
For the Free Companies, there wasn’t really much to do. If they did nothing, they would gain a further six points. If we went into a sixth turn though, they would need to be defensive, so I rested units up and took as many defensive options as I could.
My crossbowmen did shoot twice against the hearthguard again, getting a single kill.
It was the end of my turn, and the Free Companies gained six points.
The Flemish diced to see if there was a sixth turn… and there was not. So that was the end of the game.
The total score was 9 points to the Flemish, and 18 points to the Free Companies. A game that I was fully expecting to lose, and was almost about to give up on, turned out to be another victory. Though this time, the victory had come in at a much higher cost in men.
Looking back over the scoring, even without the sneak behind enemy lines, I was actually not doing too bad. The Flemish got 3 points on their first turn, then failed to get anything on turn 2. They they were consistently getting 2 points a turn. I was consistently getting two points a turn, so would have been one point ahead. Enough to be considered a draw.
If the Flemish hadn’t had bad luck against my warriors in the east, then they could have been getting an extra two points each turn. If they’d kept hold of both the objective markers, they would have been getting six or more points a turn. They were suffering from lack of Saga dice to be able to do everything they needed to do (don’t we all?), but suffering some extra losses on the front line could have got them some more points.
It was an interesting game, and showed that the Flemish can be really tough when it comes to combat. So far though, they haven’t been great at being able to take and hold things. The Free Companies are weak in combat, but have some things that allow them to run around and be where they need to be.