Urban Uprising
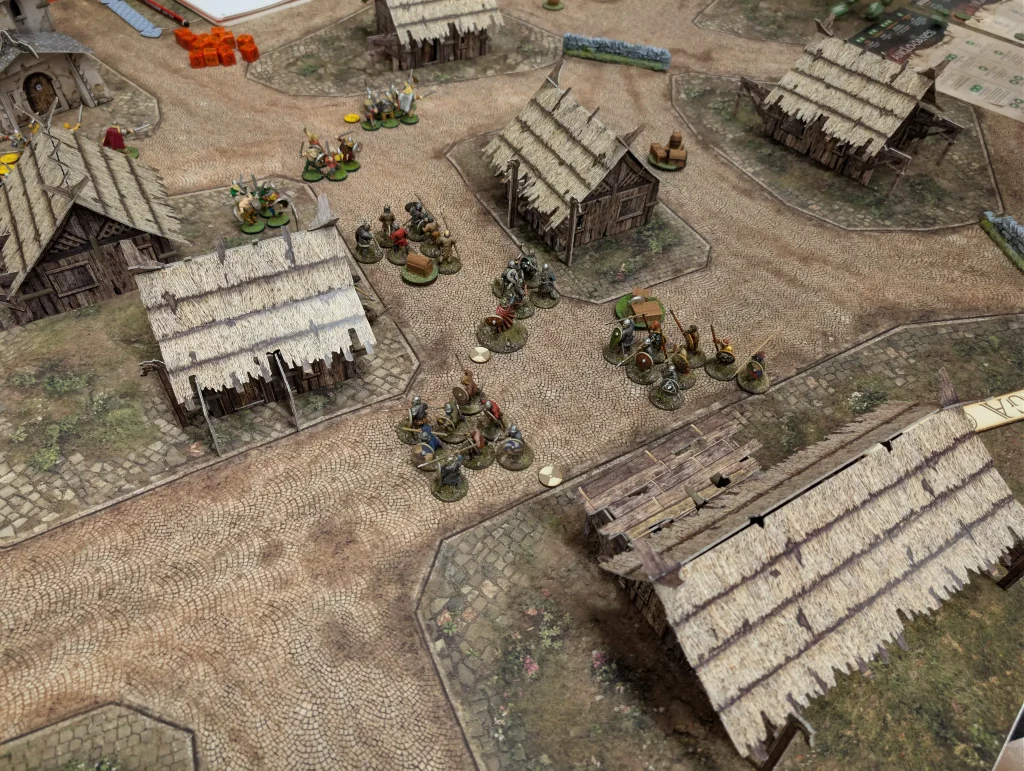
In our game of Saga: Age of Vikings this week, we went for the Urban Uprising scenario from the Book of Battles. This has required a decent street setup, so we haven’t done it before. With a set of buildings from Battlesystems, and a nice table mat from Deepcut Studios though, we had what we needed.
It was my Vikings (who I haven’t played for a while) against some Anglo-Danes. The scenario was set at night, so all ranges were cut down to Medium. This convinced both of us to not both with any missile equipped units. I went for points of hearthguard, and two points of warriors. The hearthguards had two units of six (for attacking) and a unit of four to bodyguard my warlord.
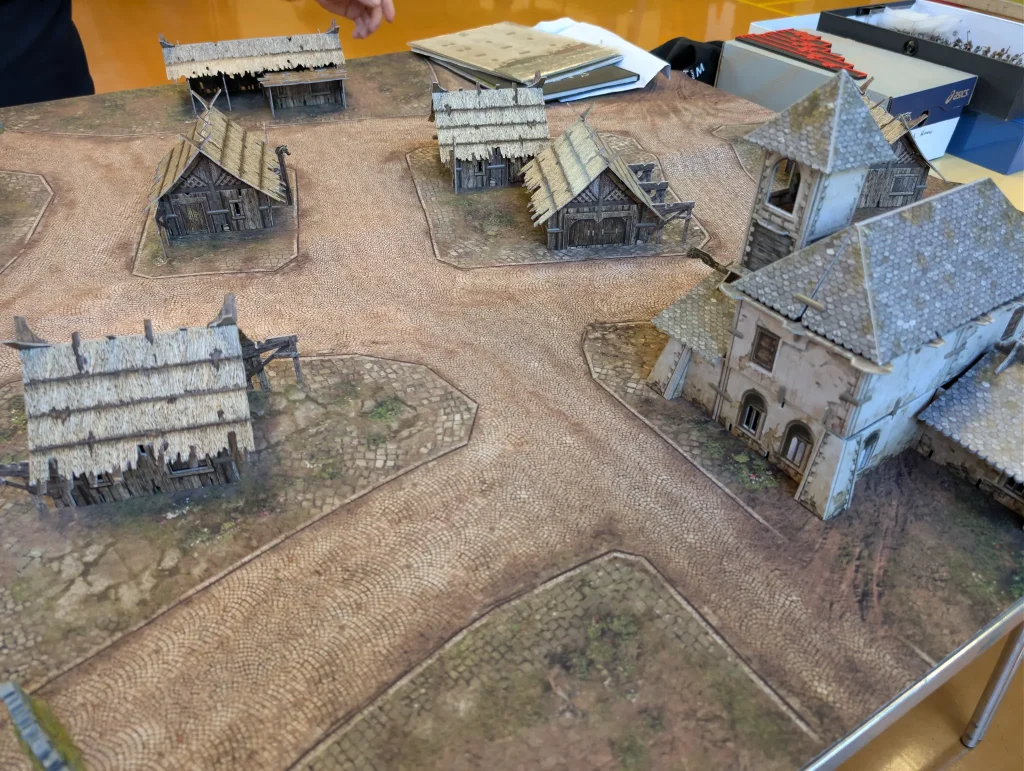
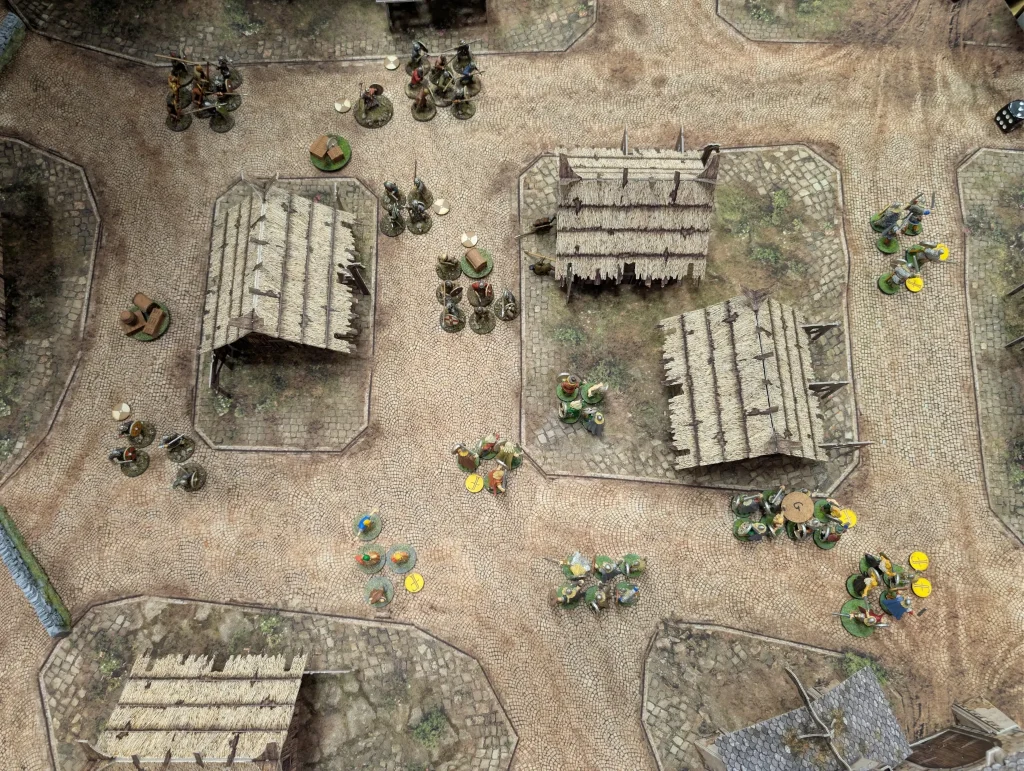
Since the battle mat is double the normal size, we just used half of it, with some walls being used to cut off some of the roads. We placed the buildings (mostly Viking, plus a monastery) on the non-road sections of the map. The idea was that the only passable terrain was the road. This would heavily confine movement.
We each have 3 objective markers to distribute. Each marker was a random objective (A-H), and we wouldn’t know what each was until we reached it.
Turn 1

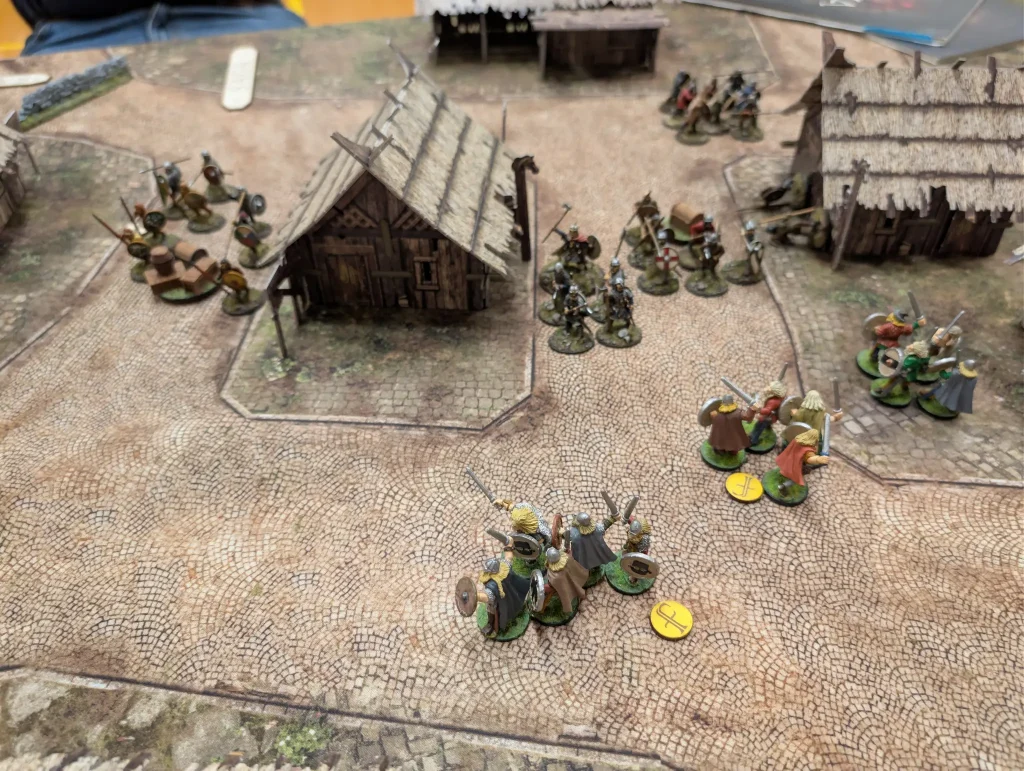
The Anglo-Danes went first, and made an aggressive set of movements to claim three of the objectives. It was a pretty successful turn, but meant they hadn’t used anything against me. Which was good for the Vikings. By the end of their turn, the Anglo-Dane units all had a lot of fatigue.
They managed to get objectives F (which gave them victory points if they held it), B (another objective for victory points) and H (a monument to the fallen, which gave points when figures were killed near to it).
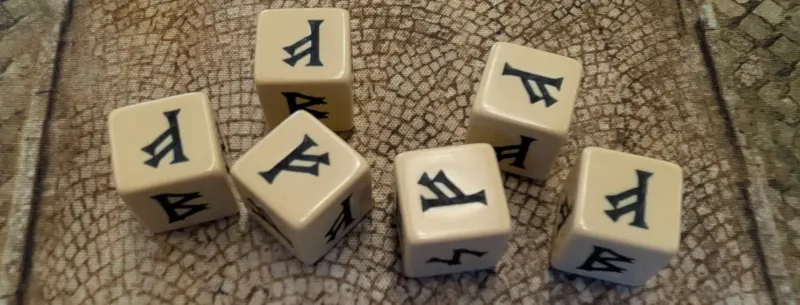
The Vikings managed to roll a very consistent set of dice, getting all commons.
This meant I couldn’t do much more than just move, so I did. We also racked up a lot of fatigue, with the hope that next turn I could get rid of it. We encountered the town mayor pretending to be an old woman (objective G), which we left along for now, and a set of town guards (A) which we had to fight. Not wanting to exhaust my unit of 6 hearthguard, I took a casualty.
Turn 2

The Anglo-Danes did a lot of resting this turn, and a bit of movement, but didn’t make any attacks and didn’t manage to grab any more objectives. There was one they could have gone for near the main junction, but I think they didn’t want to risk combat with fatigue.
It was the Vikings‘ turn. The Danes played Intimidation as an Orders/Reaction, which meant my first two units to activate would get a level of fatigue. I got a better set of dice, and was able to use Njord to remove a fatigue from all units within M of my warlord.
I sent a unit of warriors to grab the mayor (and they got a fatigue), and then shuffled up my unit of 4 hearthguard giving them a fatigue. Since I was planning on just keeping them with my warlord, I didn’t have any major movement plans for them.
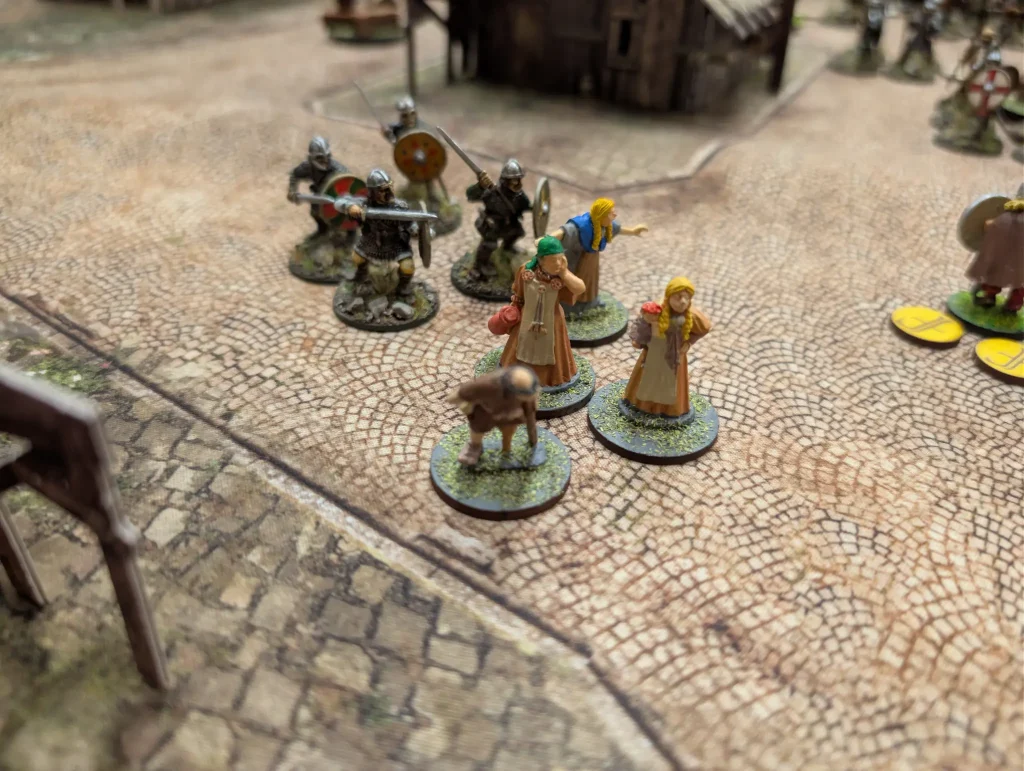
My warriors I moved up to the last hidden token – it was a unit of Civilians which were now under my control. I used their independence ability to move them out of the way.
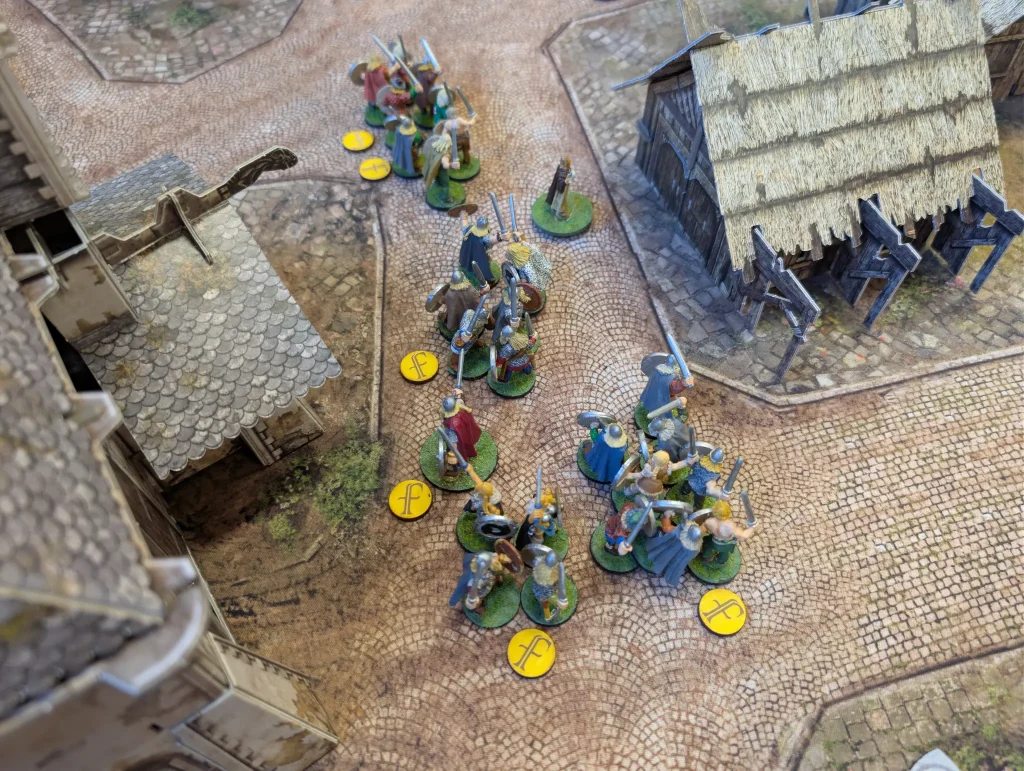
I then sent the same unit of warriors into combat against the Danish warriors. I would have two fatigue to their one, but I was hoping to balance things out a bit.
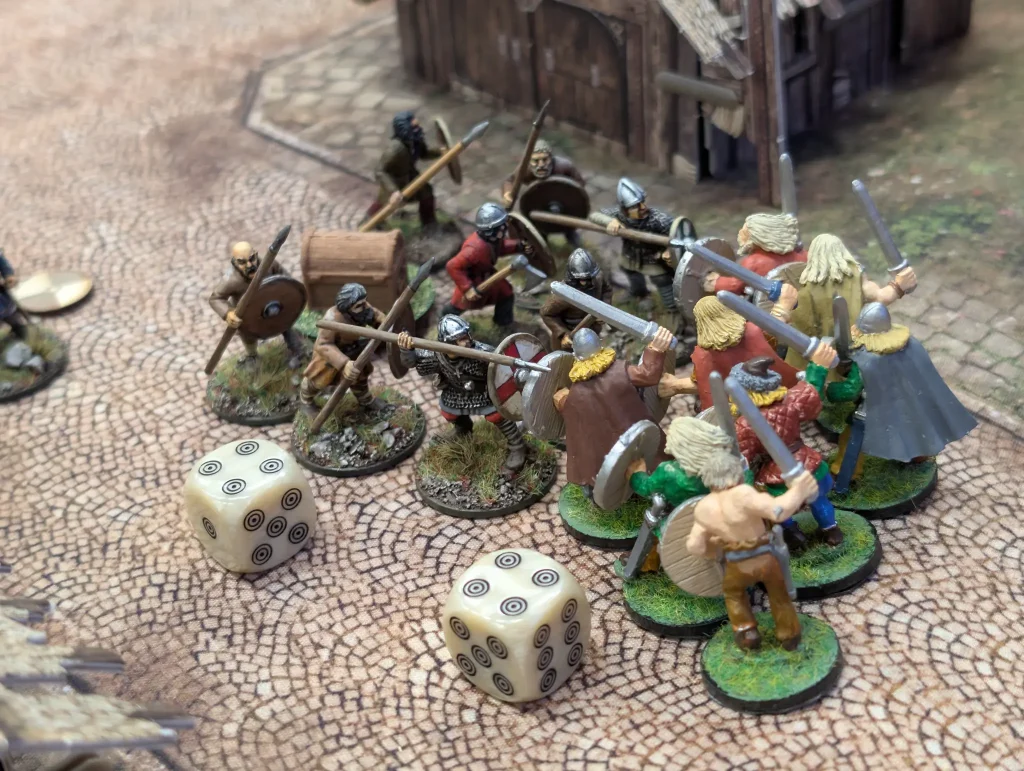
They closed ranks, and I played Frigg and removed a fatigue. Then they used my fatigue to raise their armour. So I used theirs to drop their armour. They played Determination to give themselves +1 attack die and +2 defence dice. Then I used Valhalla to remove two of my figures to give +6 attack dice, taking me to 14 dice versus their 5. What should have been a one sided battle though didn’t go well. I got 9 hits, to their 3, but we both got 2 kills. The Vikings had to fall back.
We’d both lost figures within range of the monument to the fallen – I had lost 4 (including those lost to Valhalla) and they had lost 2. So that would hurt me later on when victory points were calculated.
Turn 3
The Anglo-Danes played Exhaustion – on my newly found Civilians (which I had to protect), and two of my units of hearthguard. They each got a level of fatigue.
Then their hearthguard rested and charged in against my Civilians in an act of cold blooded murder. I mean, who would attack a group of defenceless women? The Vikings never would.
The hearthguard went in using Shock for a charge with 8 attack dice, and went to use the Civilian’s fatigue to lower the Civilian armour. I pointed out that the Civilians were unarmed, so would have -1 to attack rolls. So instead the Danes raised their armour to 6. I only had one attack dice, but it meant there was now no chance of me hurting the attackers.
Then the Danes played Crush the Weak to give extra attack dice. They ended up with 7 kills, easily wiping out the unit and gaining themselves +4 victory points (and denying me them). I had wanted to try and get the Civilians out of the way, but in the previous turn I had been severely limited in what I could do.
The Danes then do some resting of other units, moving their Warlord up to help with that.
The Vikings decided to get revenge for the murder of the innocent women. They charged in with Frigg to remove fatigue, then Determination was used by the Danes to give themselves bonus attack dice. Then we played Ullr and Thor. The latter meant any rolls of 6 would count as 2 hits, and the former that I could re-roll any attack dice that missed. Since the Danes had a fatigue, I also raised my armour to 6.
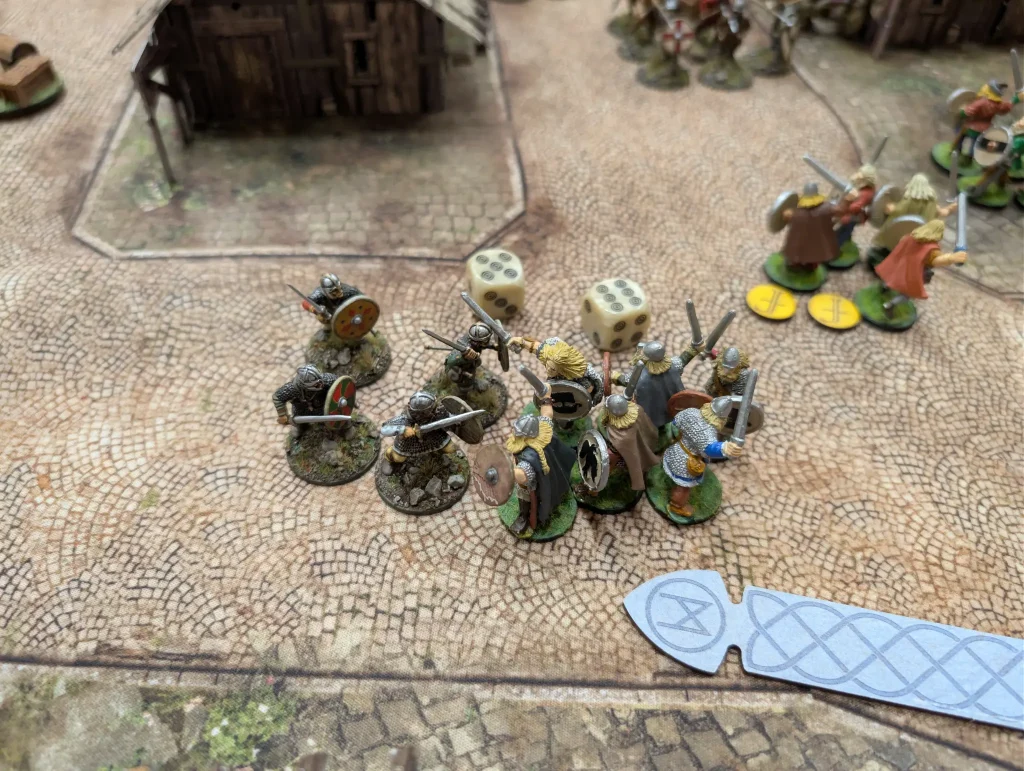
With 12 attack dice, I rolled 18 hits. It was a good roll, with 5 sixes on the first roll, then a further 3 on the re-rolls. The Danes responded with a single hit which was a kill. The Anglo-Dane unit was completely wiped out. Revenge!
Turn 4
At this point, given the time, I suggested that we play for just five turns, and it was agreed.
The Anglo-Danes did some resting and movement, bringing a unit of warriors back around to defend objective F. Other than that, they didn’t do anything.
The Vikings similarly had a boring turn. Now that I knew when the game would end, I double checked the victory conditions and started to think about how to try and maximise points. The Anglo-Danes were concentrated in one quadrant of the table, with a few in a second quadrant. I could try and keep what I had, and maybe challenge the others.
There probably wasn’t any point to the Vikings getting involved in any more fights from this point on though.
Turn 5
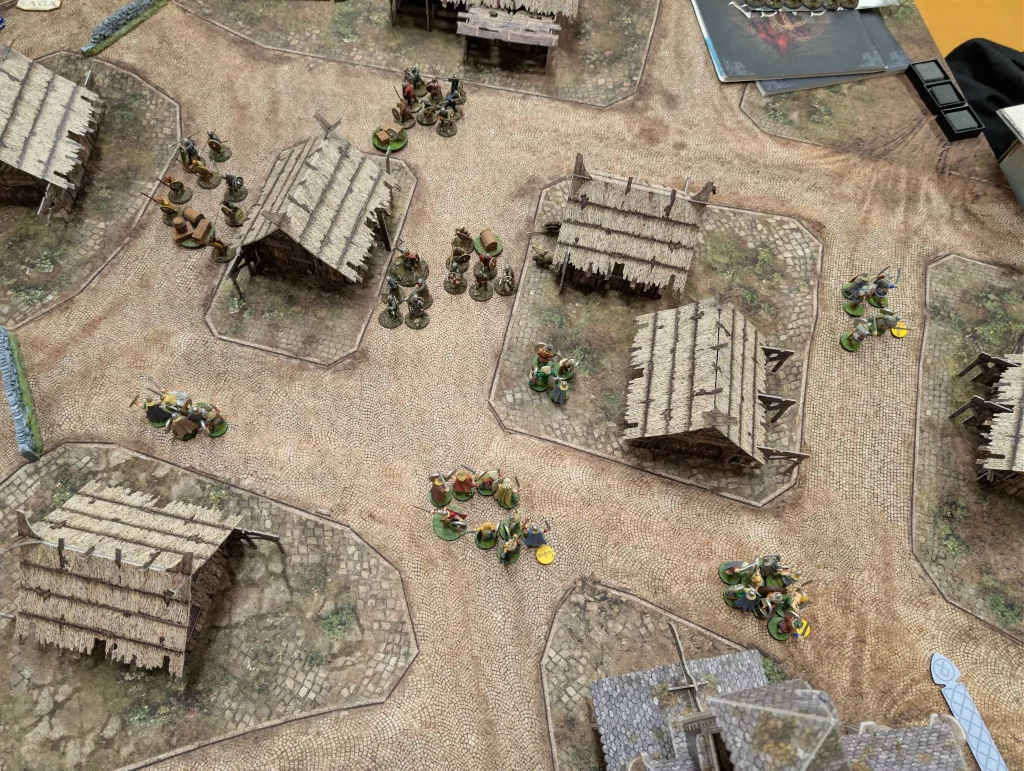
The Anglo-Danes rested and fortified their positions, moving some units back towards their Warlord. This took them out of their second quadrant. It seemed like they had forgotten (or maybe not read) the victory conditions. I wasn’t going to remind them at this point.
So the Vikings made sure they dominated three of the quadrants. In hindsight, I should have moved up towards western objective F to contest it. Having a unit within short of it would have prevented the Anglo-Danes from gaining points for it.
Victory
So it was time to count the victory points. This scenario has a mix of points, and the Anglo-Danes clearly won the fight over the objectives, getting 14 points to my 8. Killing all 4 civilians gave them +4, and denied me a possible +4.
However, I had clear control over three quarters of the battlefield, which gave me a further +6 points. The Anglo-Danes controlled one quarter, which gave them a further +2.
So it was a win to the Anglo-Danes of 16 points to 14.
It was a good game, with some interesting dynamics. It also looked good – several people came up whilst we were playing it and commented on how it looked (especially the battle mat, which is from Deepcut Studios).
The Anglo-Danes did well at the start, taking on lots of fatigue to take control of objectives.
For Victory conditions, possibly it’s something that should be clearly discussed at the start of the game, to ensure everyone is aware of what they are. I know my opponent had read the scenario at the start of the game, so I didn’t feel a need to remind them during the later turns of the points gained from controlling each quarter of the battlefield. However, I don’t know whether they did actually read all the way to the end. Even I was only vaguely remembering. It’s always a lot easier to just have everyone read the scenario though.
I also forgot the rule about being able to contest the objective markers. I could have dropped their points by enough to maybe get at least a draw if I’d moved further up towards marker F.
Thank you for the game. I had forgotten the victory condition of controlling board quarters – despite reading them; my fault!