Rise of the Saxons
After a long break, we are back to actually doing some wargaming. This time it is Saga, and Age of Invasions. I was playing the Romans, up against the Saxons. I’ve found the Romans to be a good defensive army before, whilst the Saxons are very aggressive. The previous time I played Saxons and Romans, I took the Saxons, and we had a 1-1 draw in the two games we played.
My purpose for this game was to try out some of the mercenary units that I’ve painted over the last year, but never got around to using. On the Saxons side, there was a unit of Roman Deserters. On the Roman side, there were Nomadic Horsemen and Vascone Scouts.
On the Roman side, there were:
- Warlord
- Hearthguards x2
- Warriors x1
- Warriors with bows x1
- Nomadic Horsemen
- Vascone Scouts
On the Saxon side were:
- Warlord
- Hearthguards x4
- Levee with bow x1
- Roman Deserters
We played a standard Clash of Warlords game, with the Saxons going first. This was probably going to come down to who could do the most damage, something Saxons are very good at. But I’ve found the Romans to be very good at holding the line against barbarian hordes.
Turn 1
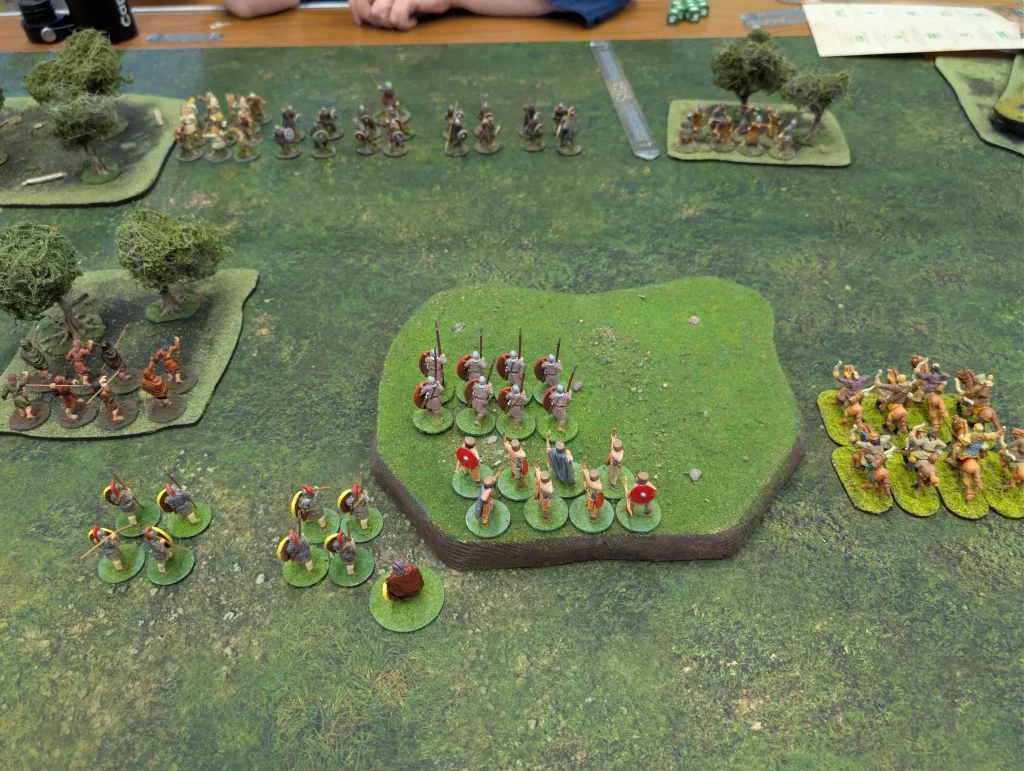
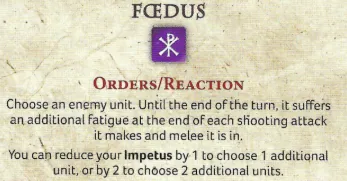
The Romans got to roll 3 dice, so took Fœdus and played that as an Order/Reaction on the Saxon archers. The Saxons began their turn, shuffling westward but not doing much else.
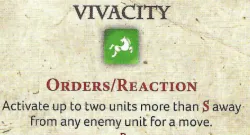
On the Roman turn, the Saxons played Vivasity, moving two of their units as an Order/Reaction. This allowed them to move two of their hearthguard units forward.
Then the Romans deployed their Nomadic Horsemen, riding them forward, shooting at the Deserters, and riding back. They got 4 hits but no kills doing this. I used In this Sign Conquer and the Saxons used Jeers. Neither added anything to the combat, which was good, since being mercenary units they weren’t actually allowed to use advanced abilities. We’d both used one when we shouldn’t, and both had had no effect (other than wasting a saga die).
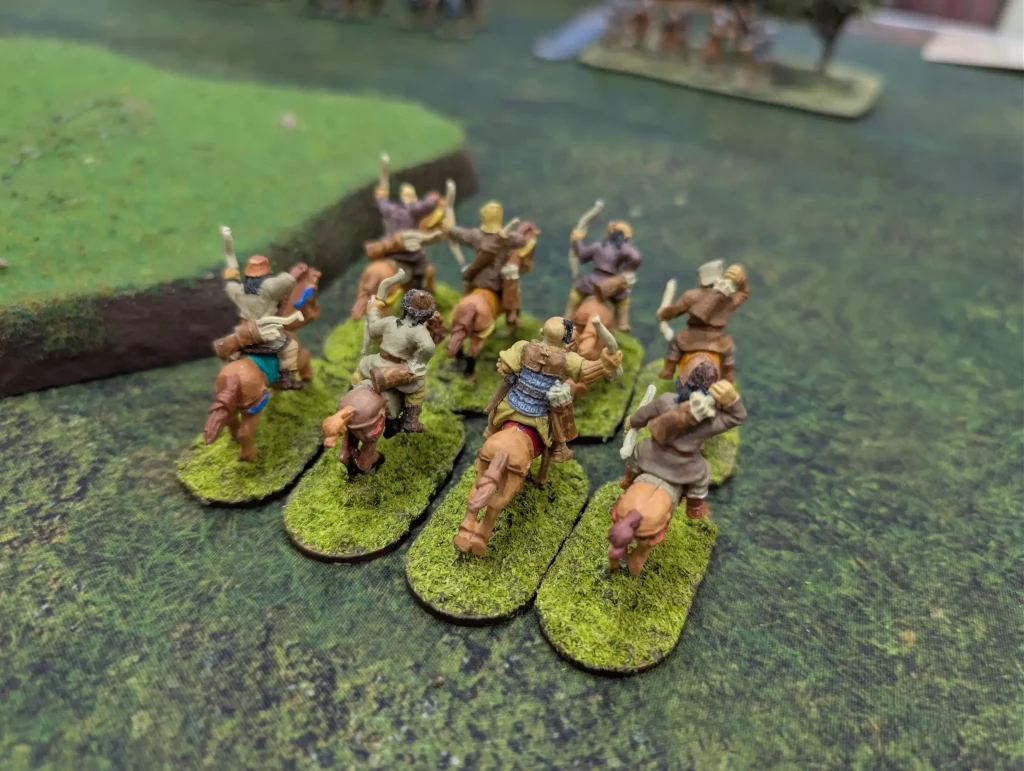
I then used a We Obey to order my warrior infantry forward to within Long range of the Saxon lines, then used a manoeuvre action to move my archers up behind the infantry. A manoeuvre isn’t allowed to bring a unit to within Long of an enemy. Using Combined Formation though, I was able to activate my archers to shoot, using the range and line of sight of my front line infantry.
Every shot missed.
Turn 2
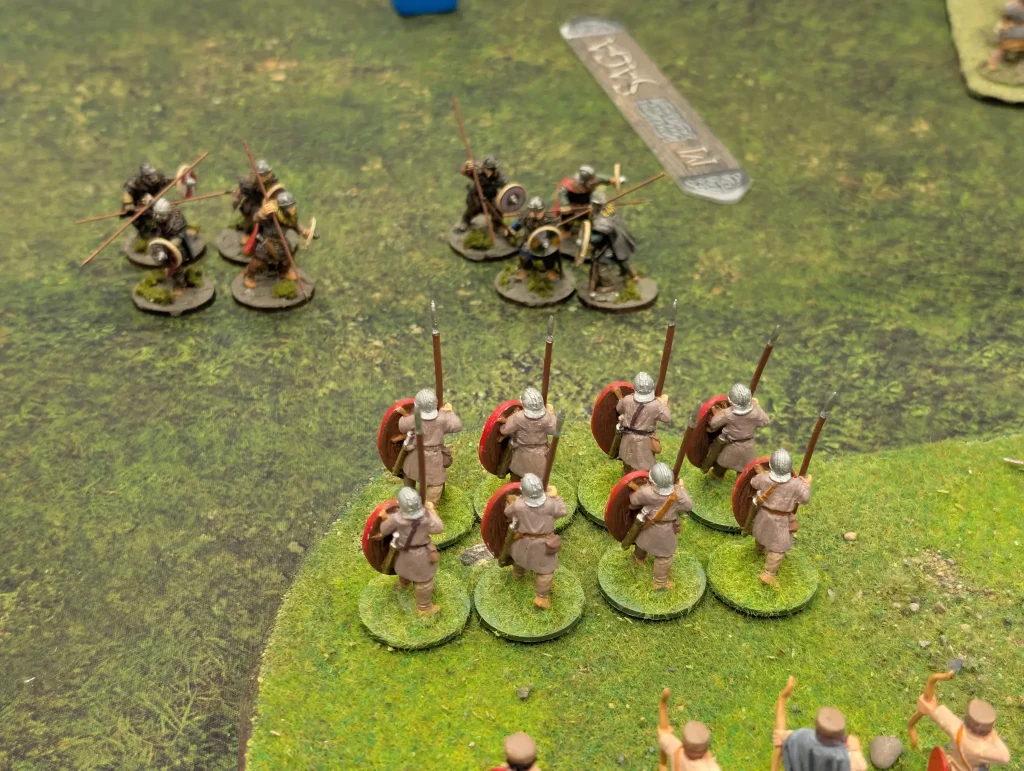
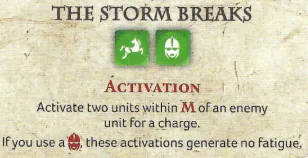
The Saxons played The Storm Breaks, which allows them to charge two of their units into combat. The first unit of hearthguard charged my infantry, which closed ranks to receive them. Generally, I’ve found a defensive tactic for the Romans has worked well. However, I wasn’t fighting Goths this time, but Saxons.
They player Shield & Seax, War Cry and Death is Nothing. I played a combat bonus die to give me an extra defence die. The Saxons got 6 hits and 5 kills, whilst I didn’t get a single kill. With only 3 infantry left, the Roman unit fell back.
With this result, my warriors were now out of range of the second Saxon unit, and so they couldn’t charge. A small blessing, because it wasn’t turning out to be a great start for the Romans.
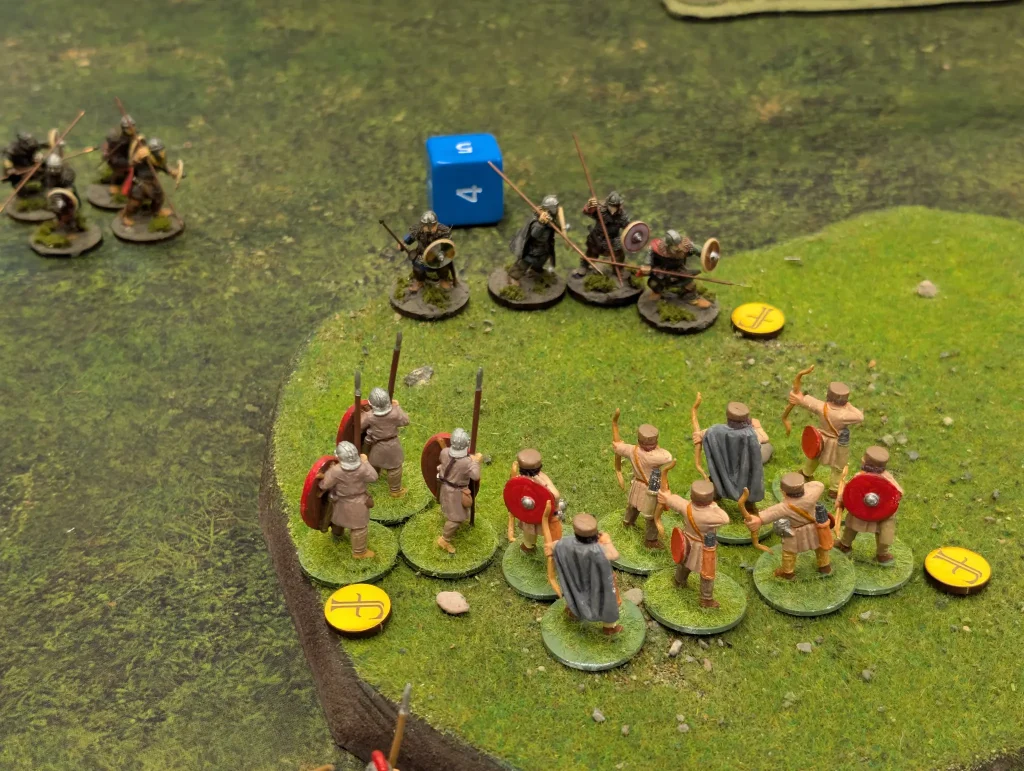
The Romans played Rallying Cry at the start of their turn to recharge their Impetus, and the Saxons played Vivacity again. Impetus is a special resource that Romans get. Some of their abilities use it up, so the trick is to manage it as best you can. The higher it is, often the stronger your battle board abilities.
My Nomads recovered their fatigue (a special ability of theirs, to automatically lose a fatigue level at the start of your activation if they are more than Short from enemy units), and I proceeded to completely mess up the rest of my plans.
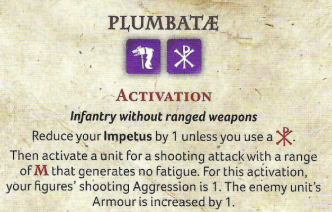
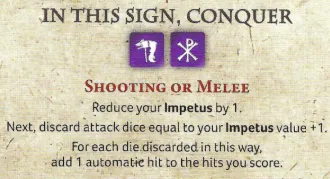
I used Plumbatæ from what was left of my warrior infantry, getting a single hit from my three attack dice, and no kills. I had meant to play In This Sign Conquer, which effectively turns my attacks into automatic hits. Really useful when your opponent has an armour of six. But I forgot.
My Nomads rode out again, coming around the back of the Saxon hearthguard and shooting at them with their composite bows. I haven’t used composite bows before, and they’re sort of like javelins but better. You get as many free attacks as you want – you just need to do another activation between each attack. I got two hits against the hearthguard, but they made all their saves and their were no kills.
My warlord used We Obey on my archers, again shooting at the Saxons. This time I played In This Sign… so got to have four automatic hits. All were saved against.
Finally, my Vascone Scouts got to make two dice of attacks against the hearthguard coming around the side. One hit… and no kills. So far, despite all my attacks, I hadn’t managed to kill a single Saxons.
Turn 3
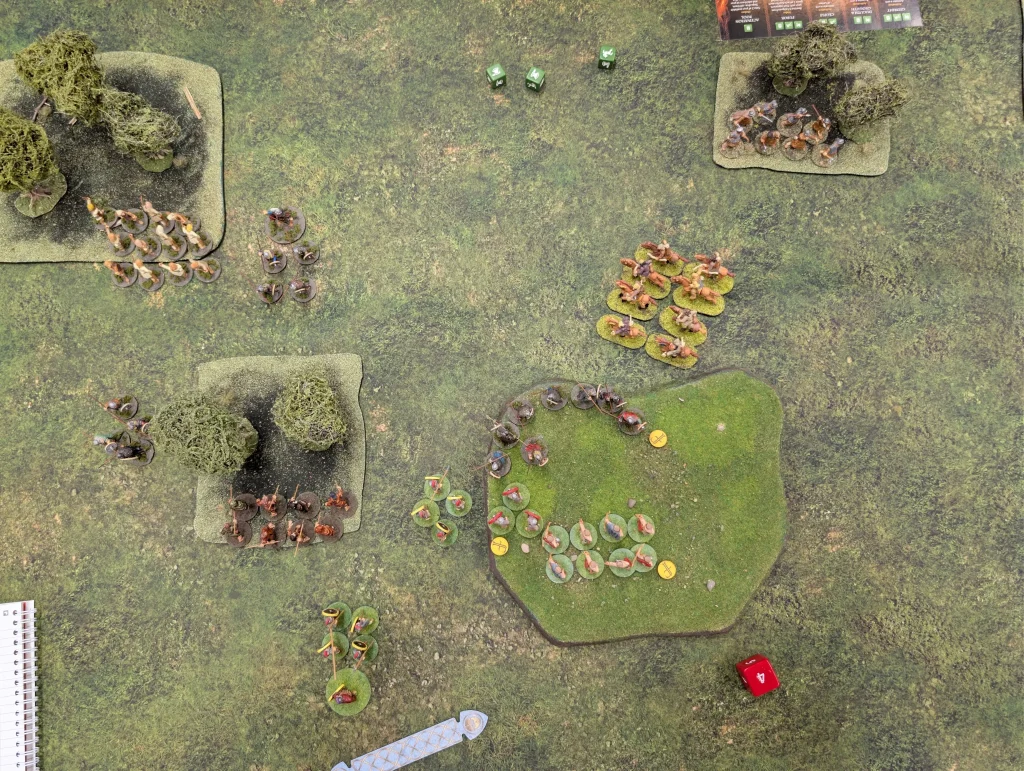
In the Saxon turn, the Romans played Fœdus and Rallying Cry as Order/Reactions. Fœdus I played on the two units of hearthguards threatening what was left of my front line, then Rallying Cry to bring my Impetus back up to four.
The Deserters shot at my Nomads, failing to kill anyone, which was good. The the Saxons played The Storm Breaks again. The first unit of Hearthguard charged what was left of my warrior infantry, wiping them out for no losses themselves. The second unit charged my archers, killing 7 of them, leaving a single one to fall back.
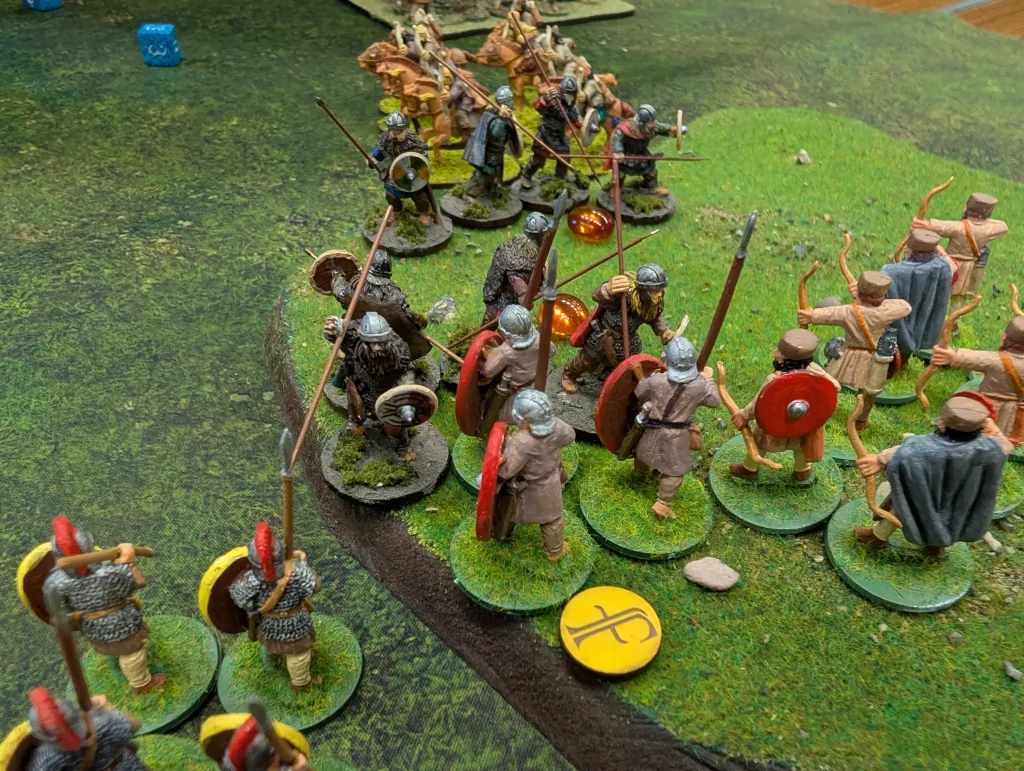
The only good thing to say is that because of having played Fœdus on them, the hearthguards now had a lot more fatigue. Still, not a single Saxon had died yet in this battle.
Finally, some We Obey and Determination was used to move the Saxon warlord further around the side of the table. Which wasn’t what I wanted.
The Romans were definitely losing. My plan was to attack his warlord, but he’d just been moved further away. With Vivacity again, the Saxon warlord was moved even further. But he wasn’t entirely out of reach. I gave all my dice to the Nomadic Horsemen. They chased after the warlord, getting close enough for a shooting attack with two dice, missing both times.
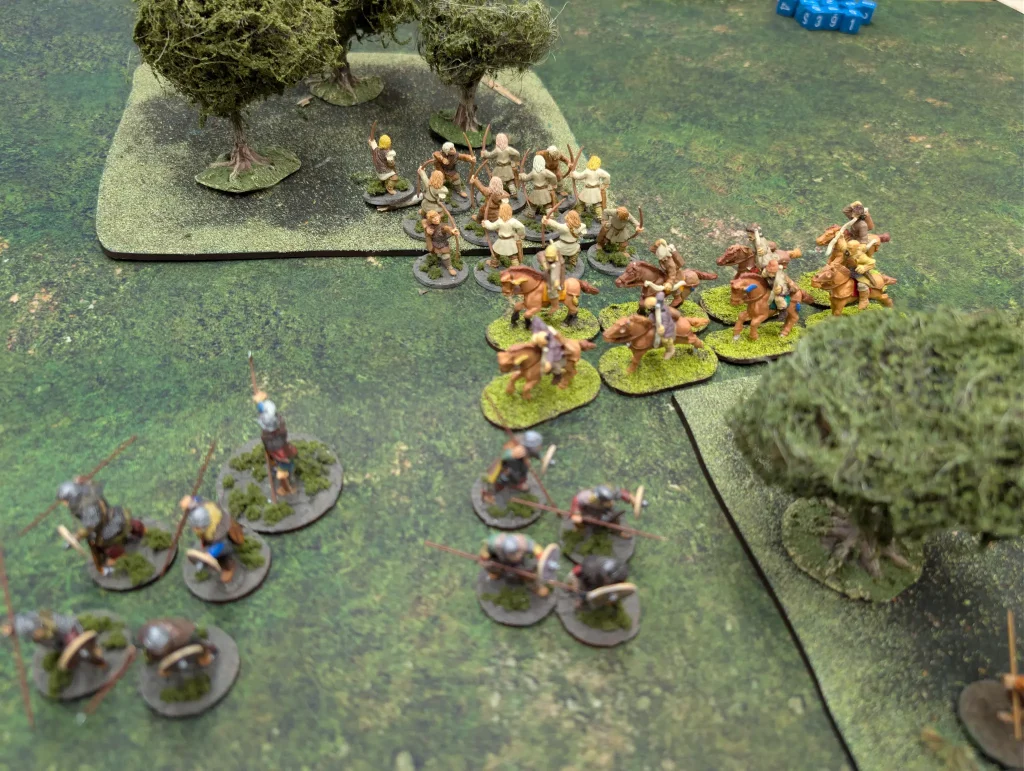
A second activation moved them fully in range, and this was followed by a second free shooting attack against the warlord. I got two hits, and 1 ‘casualty’ which was turned into fatigue by the Warlord’s Resilience. The Nomads moved a third time (just a little bit), and shot again, getting only a single hit and no casualties. With the Warlord spending the Nomad’s fatigue each time, they were able to keep on making attacks. Not that these attacks did anything.
My Vascone scouts threw some javelins, to no effect, and then my own Warlord We Obeyed his hearthguards to charge the nearby Saxons hearthguard. I didn’t have any advanced saga abilities to do anything with, but neither did they. They also had a fatigue, so I lowered their armour. With both had 8 attack dice, but I had the armour advantage.
However, only a single Saxon died, to three Romans. I was forced back, and it was clear that I’d lost this battle quite decisively.
Turn 4
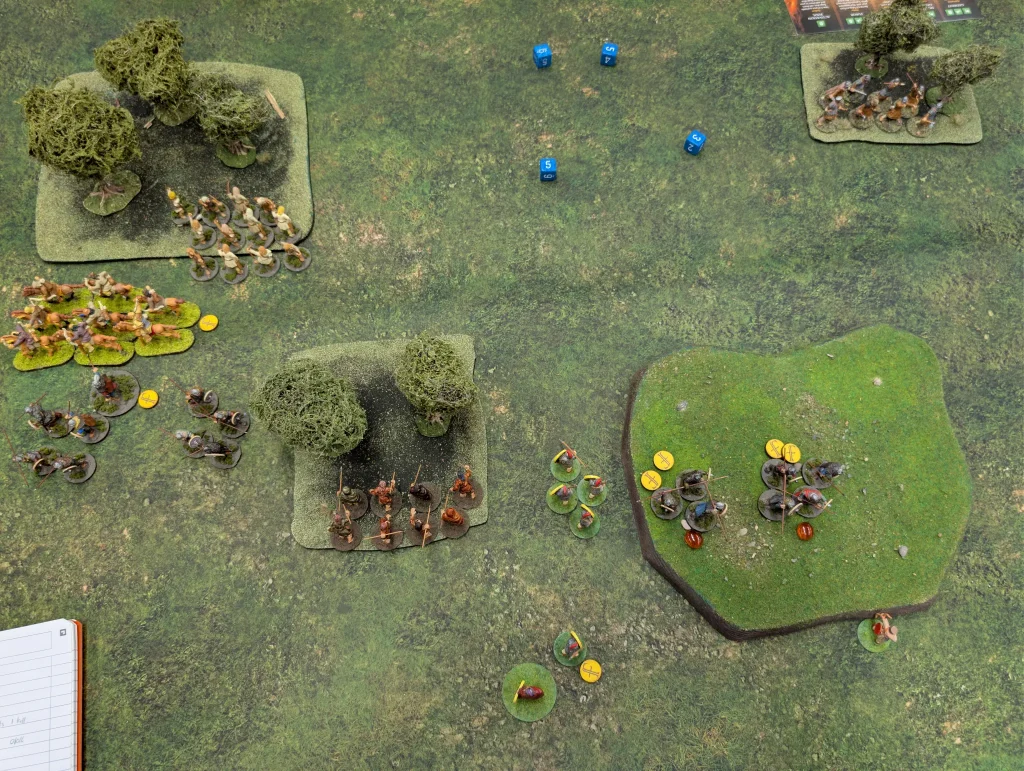
With the start of turn 4, the Saxons attacked the nomads with their levee, killing three of them with arrows. The Saxon hearthguard then made multiple moves down towards my warlord, finally playing The Storm Breaks again to charge at him and kill him. I got two kills back on the Saxons, but at this point it was all over.
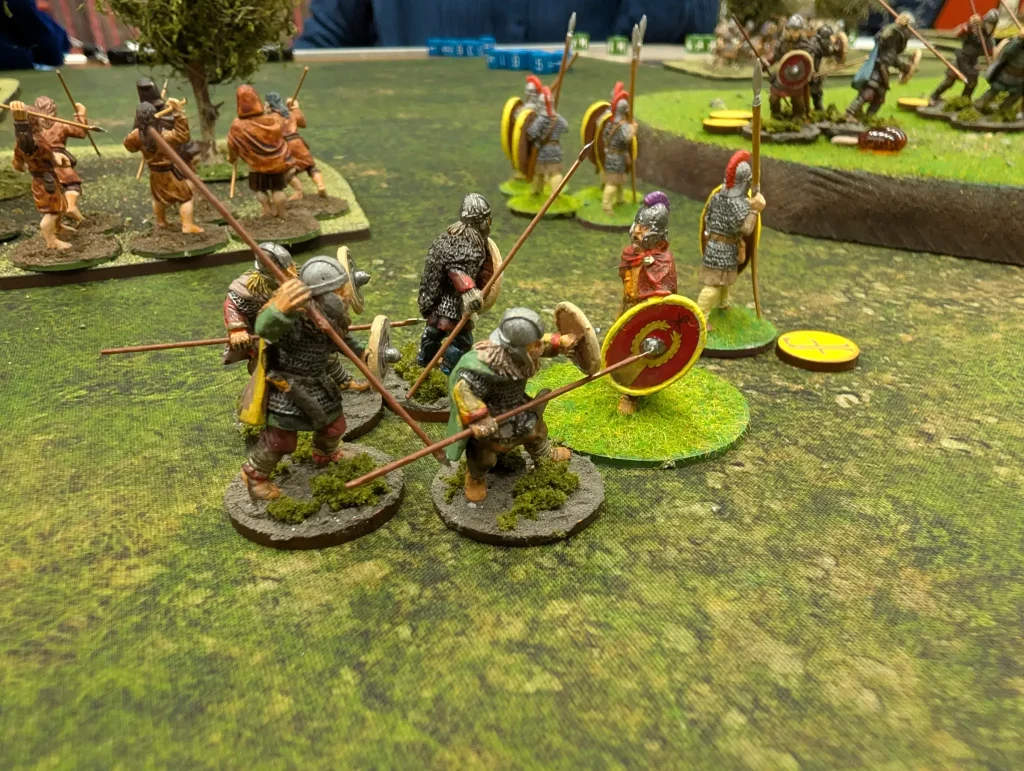
Just because they could, the Saxon warlord charged the Nomadic Horsemen, who played their Evasion ability to turn all their attack dice into defence dice. The warlord got three hits, but no kills.
Endgame
It was a pretty bloody battle, but very one sided. The Saxons had a lot of luck with defence rolls – consistently saving against every single hit right until the end. For the Romans, they often failed their defence rolls, and also failed to roll well in any of their attacks.
The point of this game was to try and get out the mercenaries. The Roman Deserters didn’t do much. They got a few free shooting attacks, but were too far away from the main combat to be that effective. I think if they’d been brought in closer earlier on, then they could have been really annoying for the Romans. As it was, they weren’t needed though.
The Vascone Scouts never moved, and only ever managed a few partial free shooting attacks with their javelins. These didn’t kill anyone, so weren’t effective. I never really had the nice to do anything with them.
Finally the Nomadic Horsemen were interesting, but also really expensive in turns of action economy. Part of the reason my scouts did nothing, was that all my warrior activations were being spent on my horsemen. Getting a 3xM move, followed by a free attack, plus a free rest every turn, really encouraged me to burn dice on them. So even though they weren’t being effective, I was often spending two activations on them a turn.
I think I should have just parked them behind the Saxon hearthguards, and made use of one or two free shooting attacks each turn.
I’ve been very used to the Romans being able to just close ranks and withstand attacks, especially when fighting the Goths. This didn’t work in this game. Too often I didn’t have the dice to be able to counter-attack, and my units were just being chewed up by the Saxons.
Though I was disappointed by how well the Romans played, I’ve had enough success with them in the past to be able to put some of it down to luck, and some down to me misusing activations.
I also ended the game with four Impetus. Which is bad, because it meant that I wasn’t using it. Again, bad planning on my part.
This was an interesting game, but a huge defeat for the Romans.